Greg's Handyman Services
I offer a wide variety of services, such as
Web Site development,
Floor plan,
Construction drawings, Business Process flow diagrams, and
Deck Repair and/or Renovation projects, like a
Whole House Renovation, some
Porch Gates,
Cabin Renovation,
Covered Porch Enclosure, a
Utility Blind, and a
Garden Fence.
While I am retired, I do not rely on these hobbies/services as a primary source of income. I do these projects primarily as a challenge, I enjoy doing them, and they help to keep me active,
engaged and invested. I also like helping other people, especially those who might have had difficulty getting anyone to help them with their projects - without charging an arm and a leg.
Here are a few projects that I've done lately:
Home Repair Projects
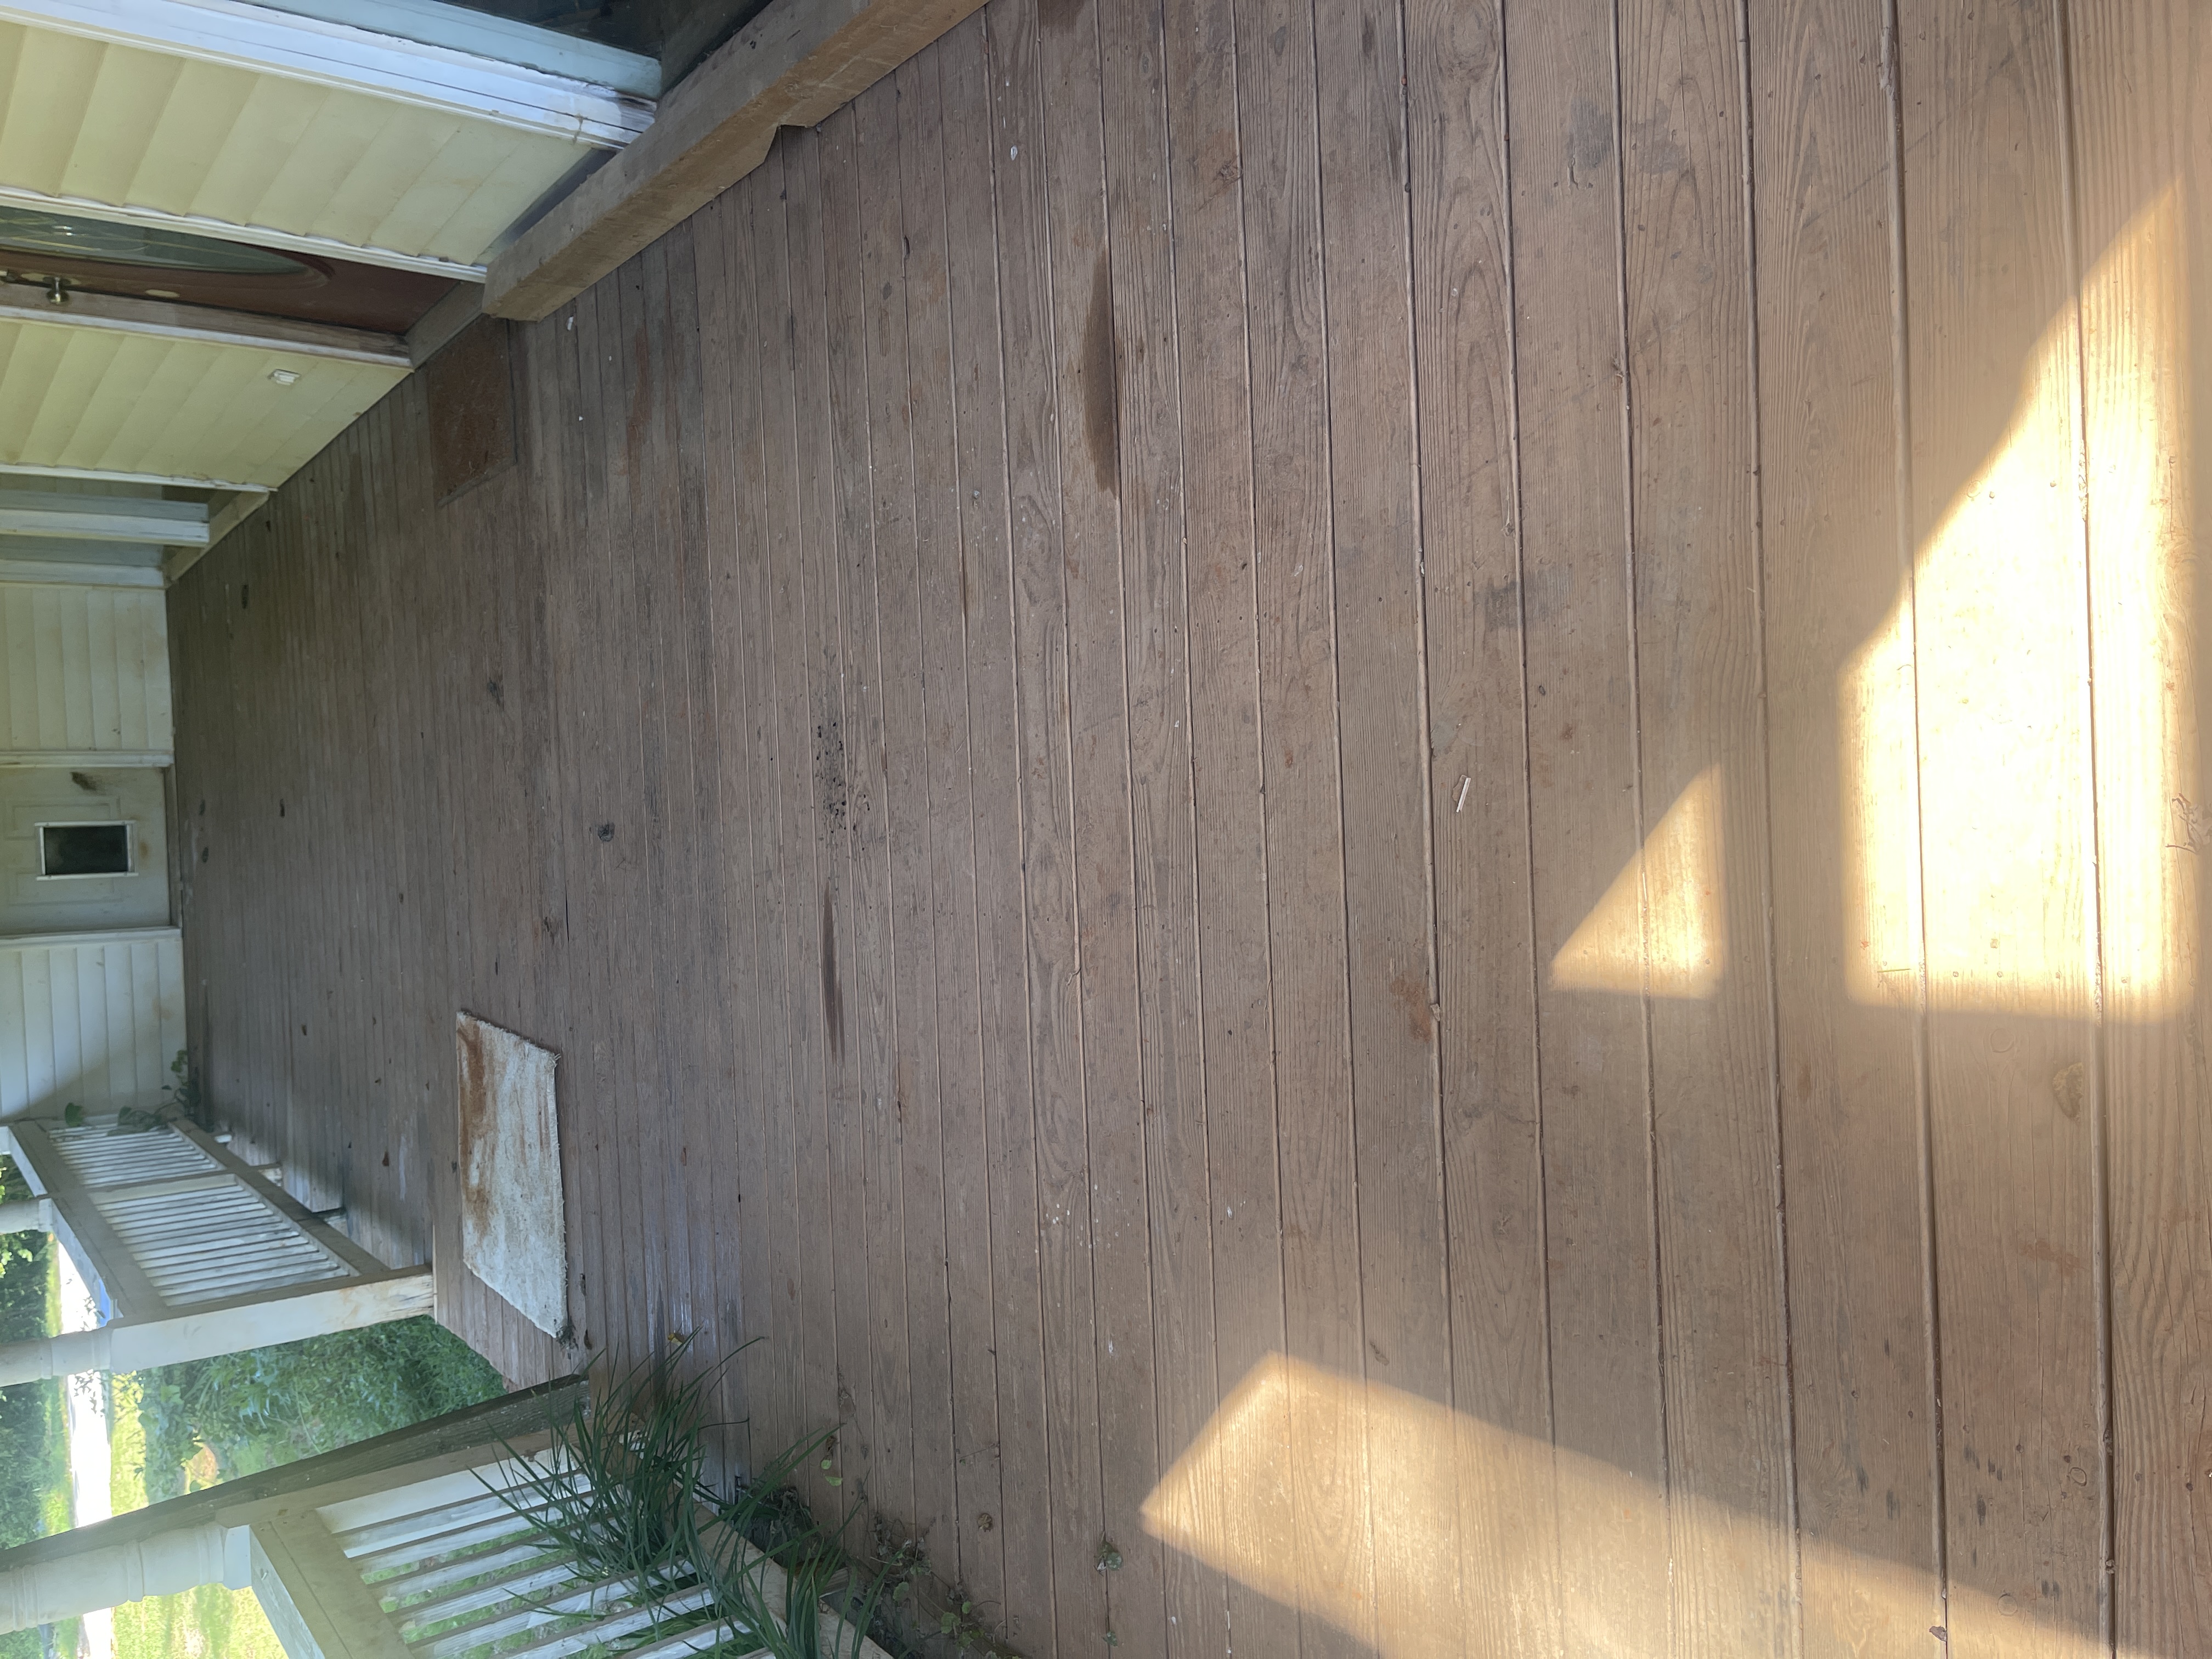
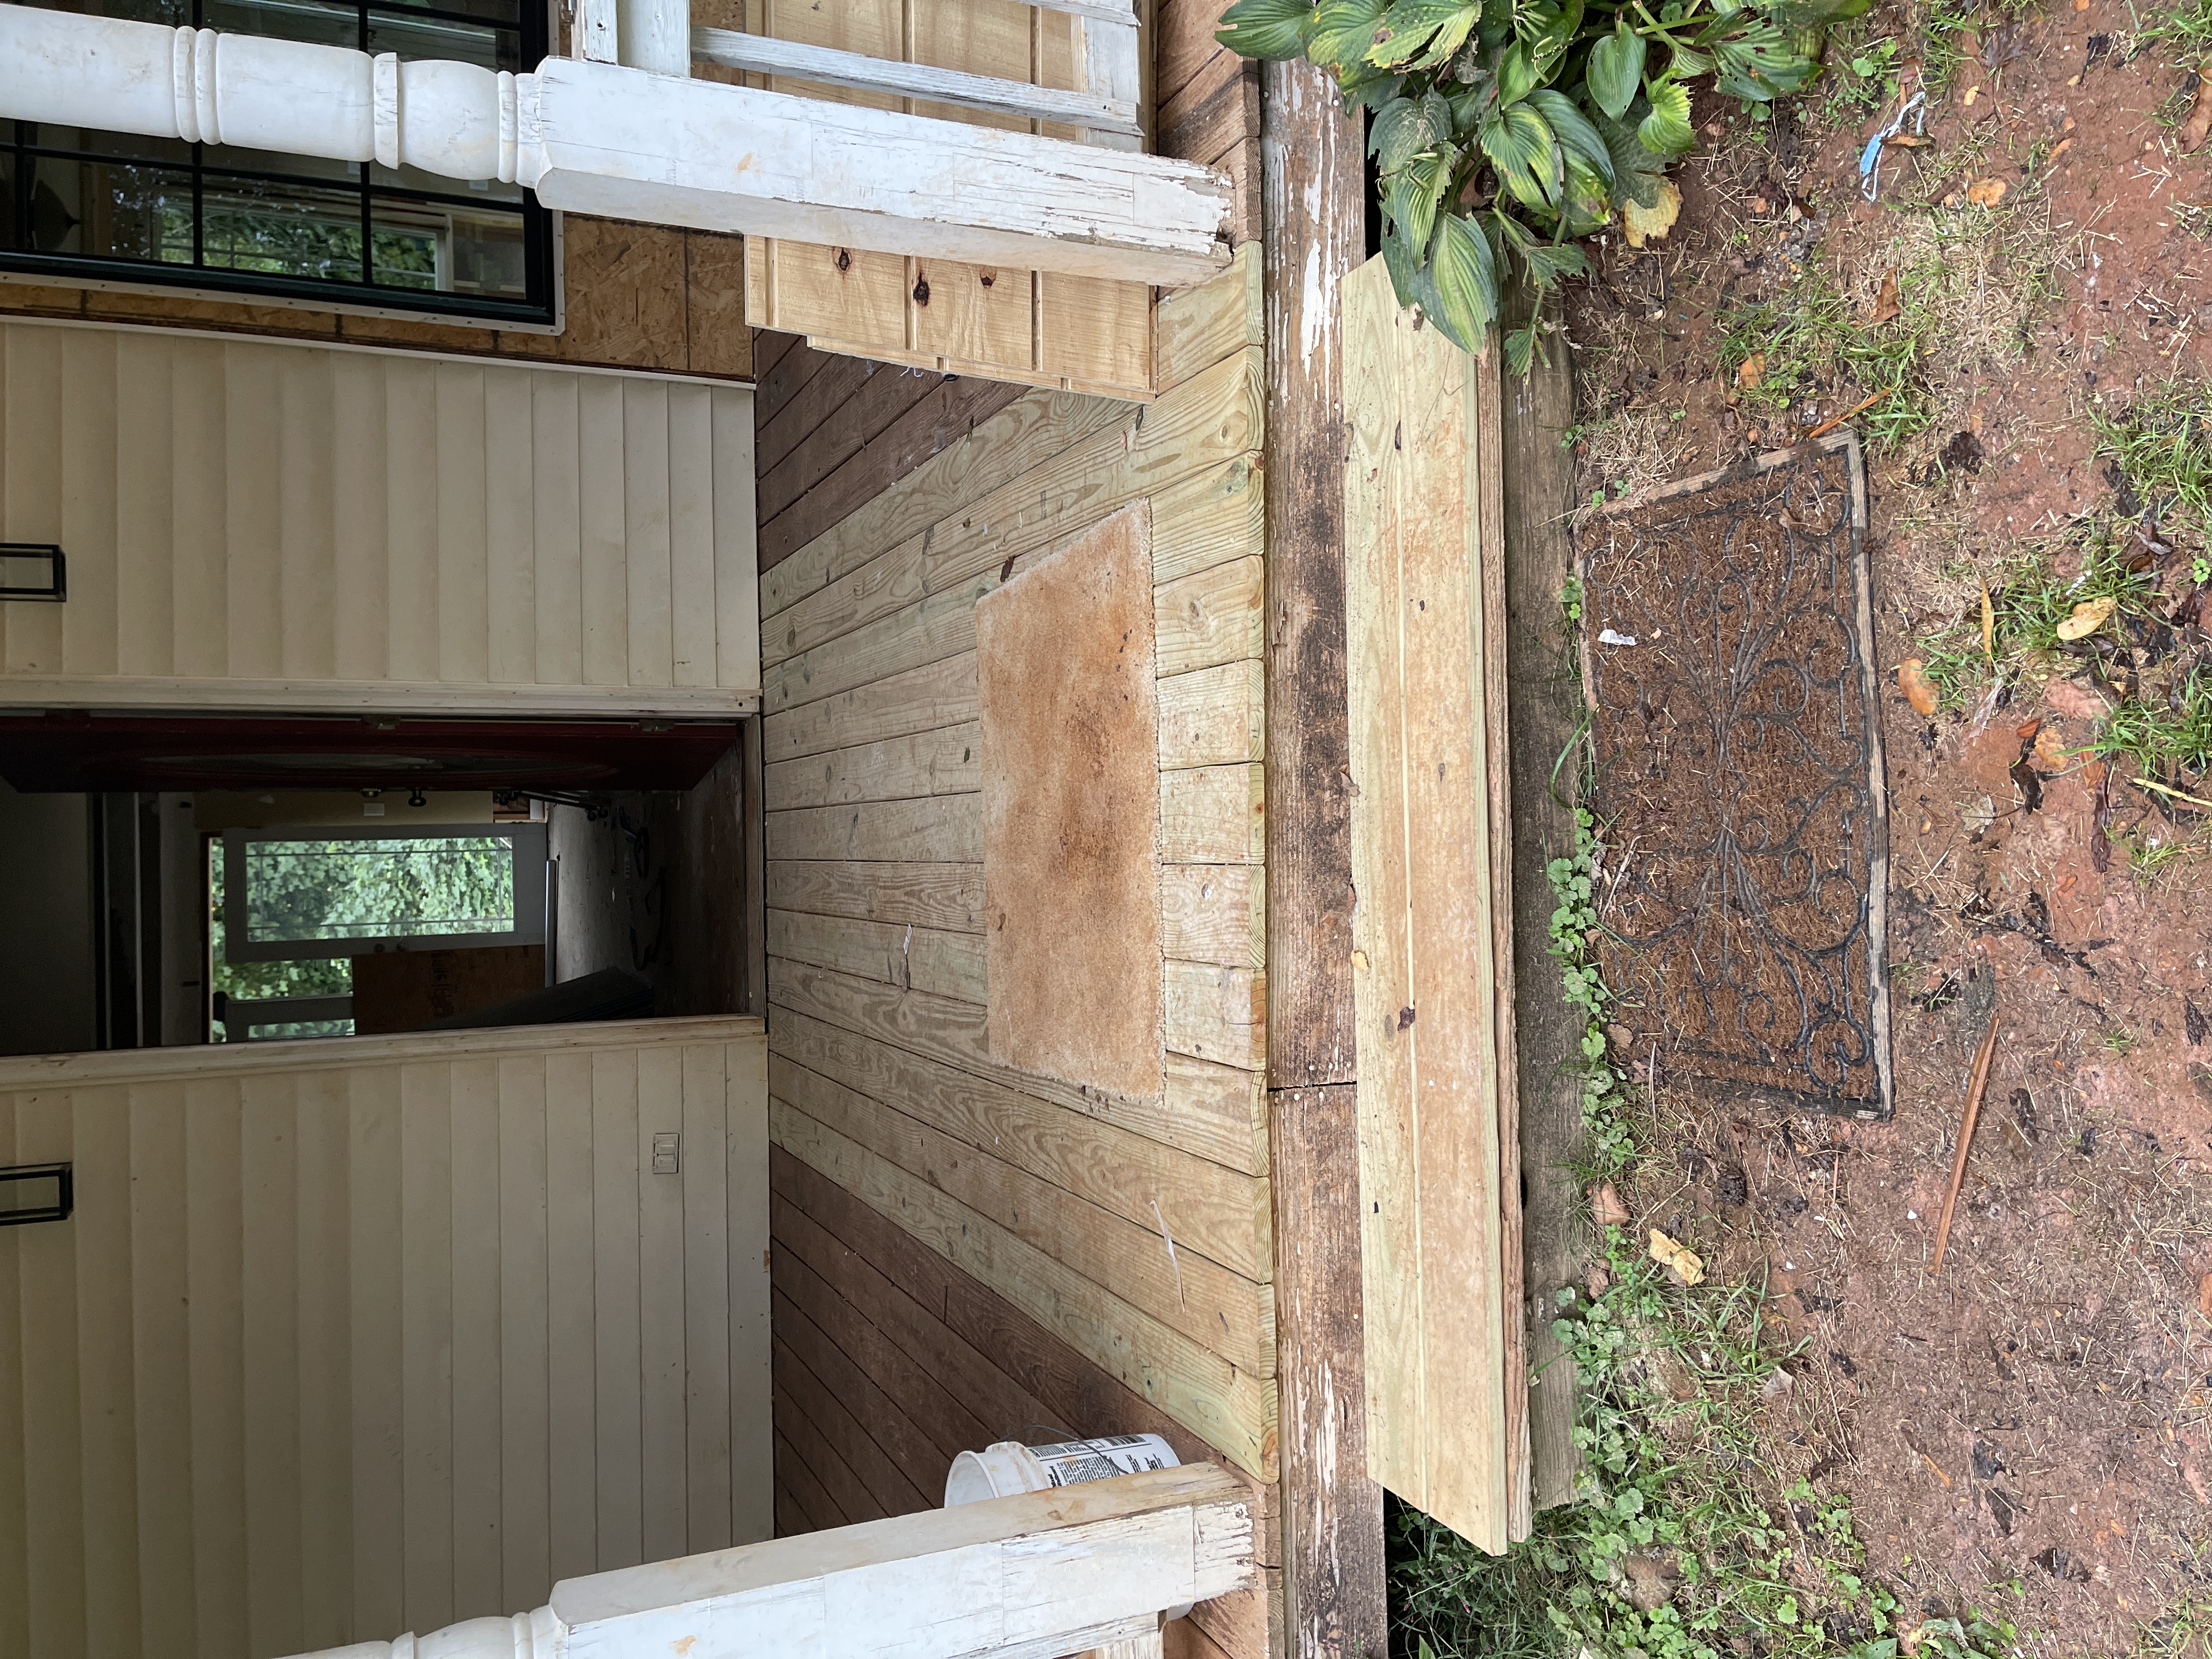
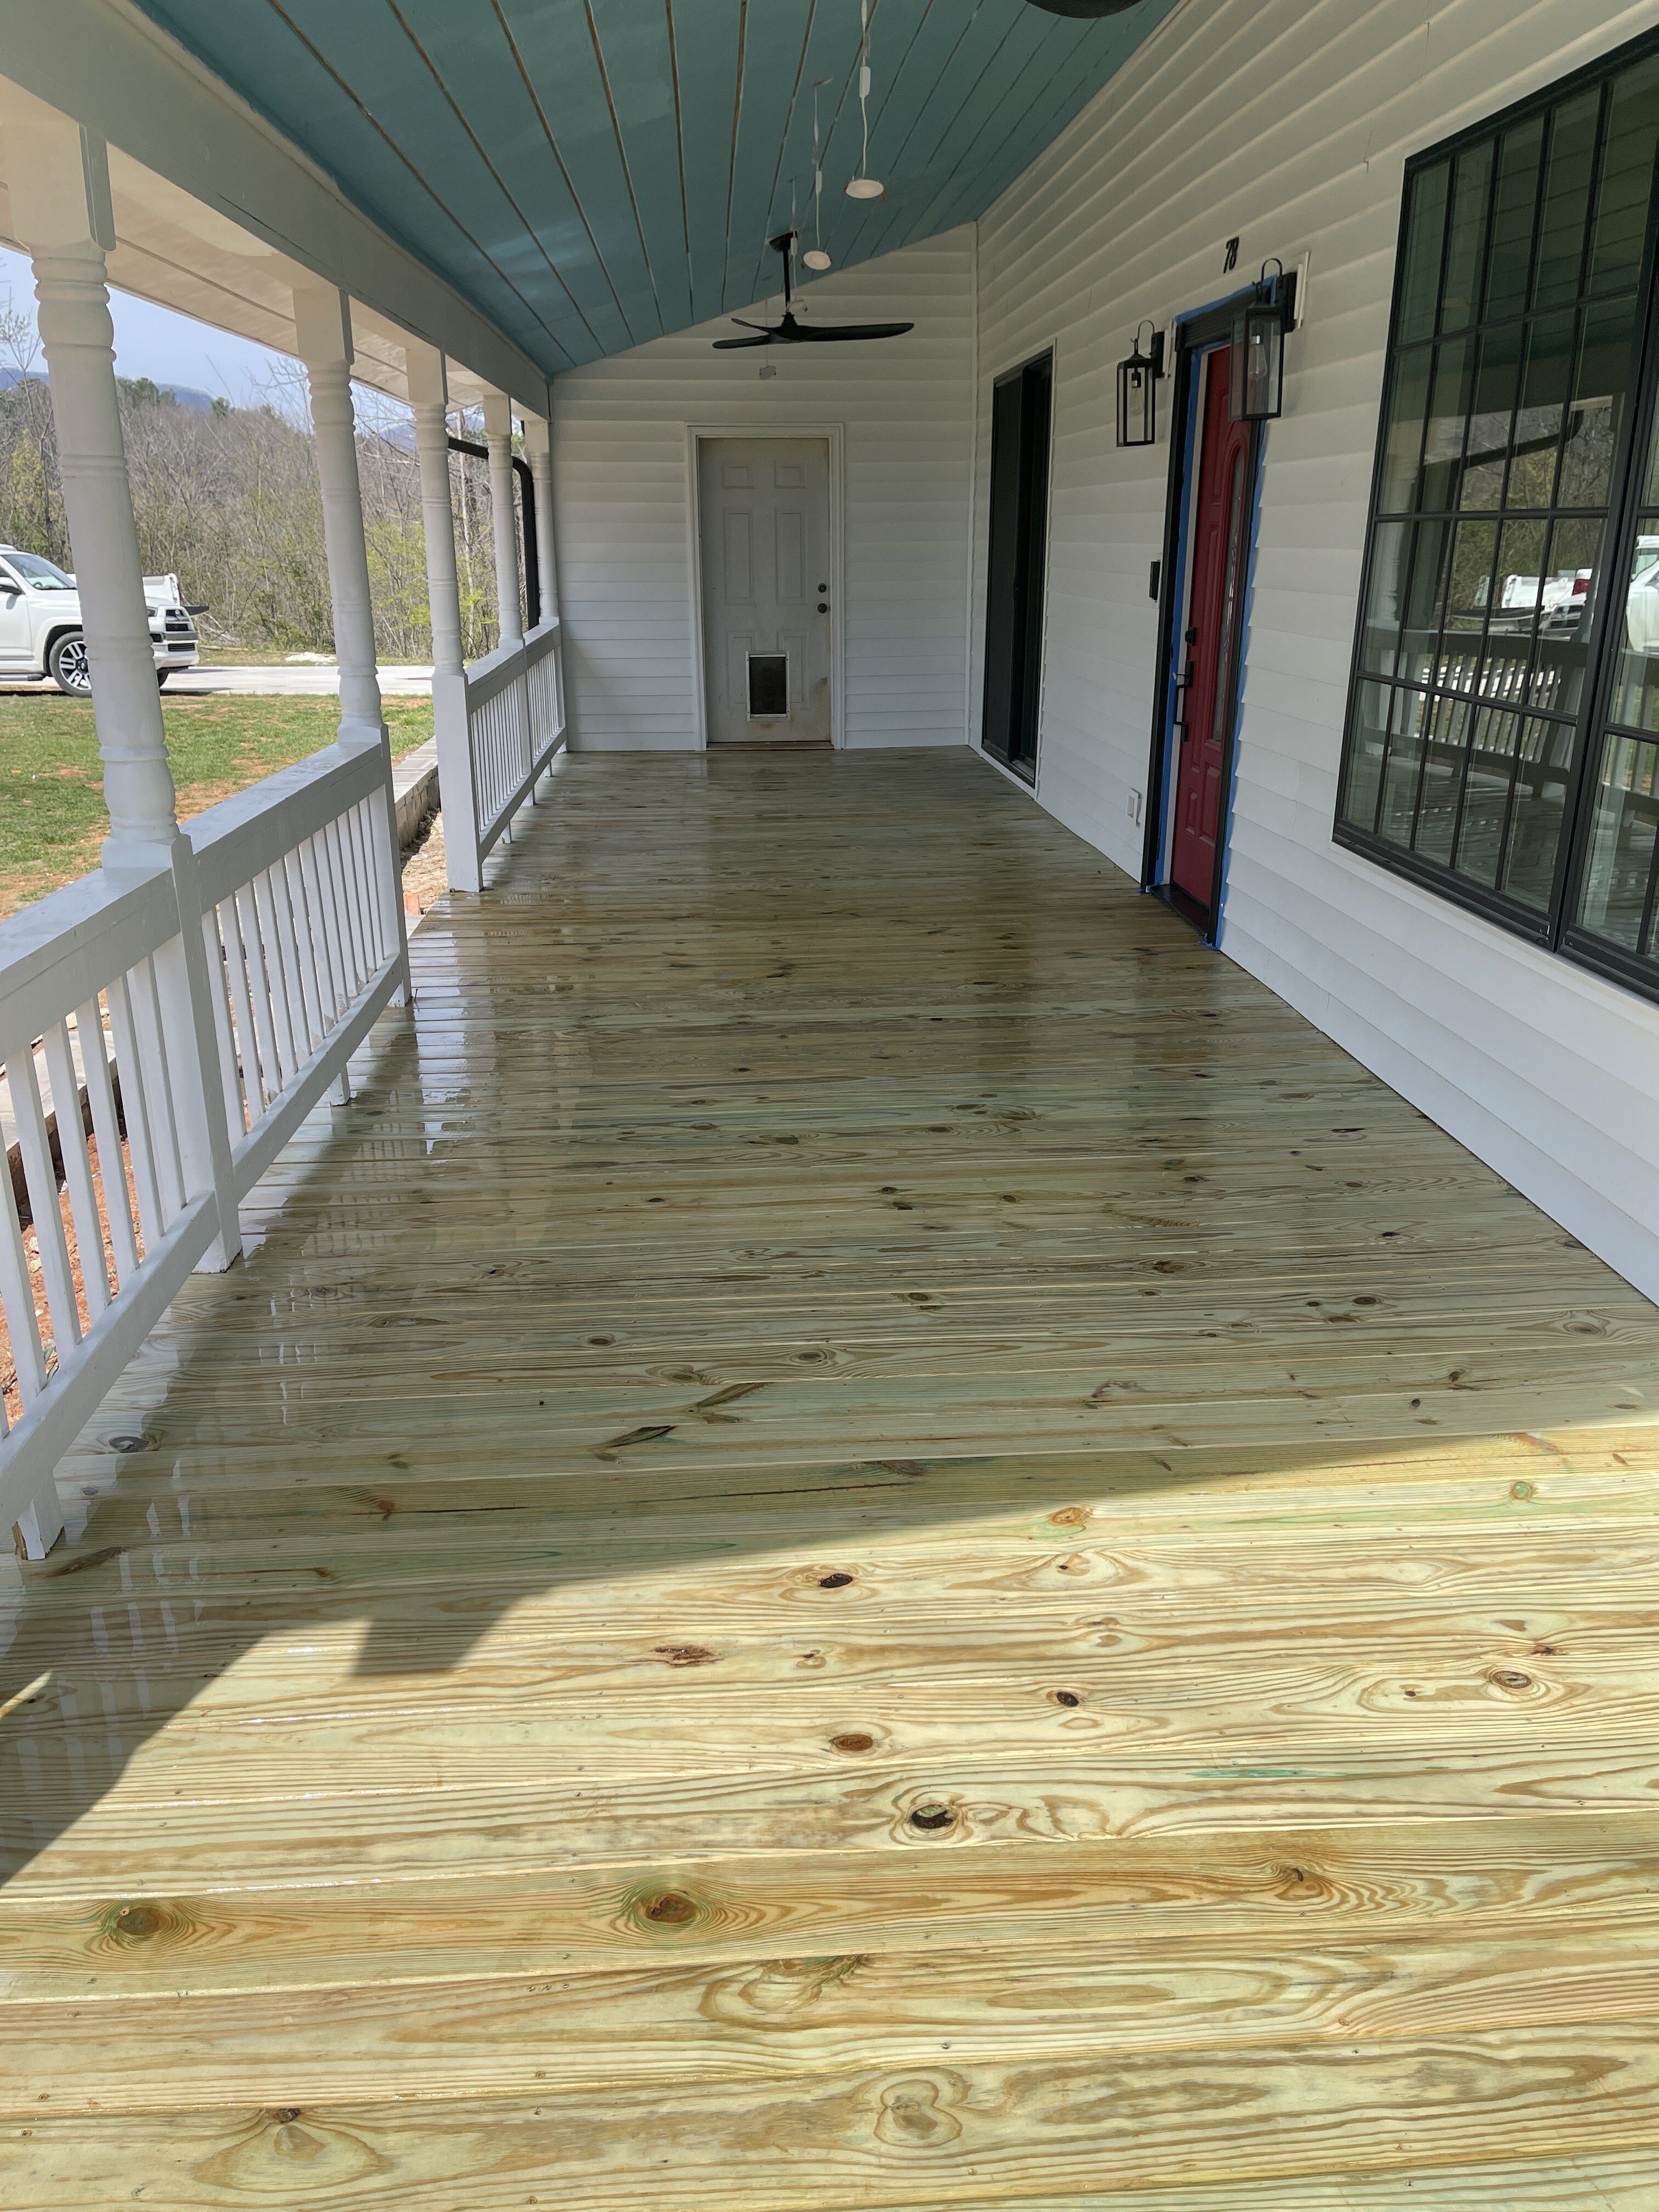
This project came about as a request from the Owner who had purchased this house that needed a lot of work. First, he wanted me to replace just some of the deck boards on the front porch. But
eventually, he had me replace all of the remaining deck boards from a fresh, new look.
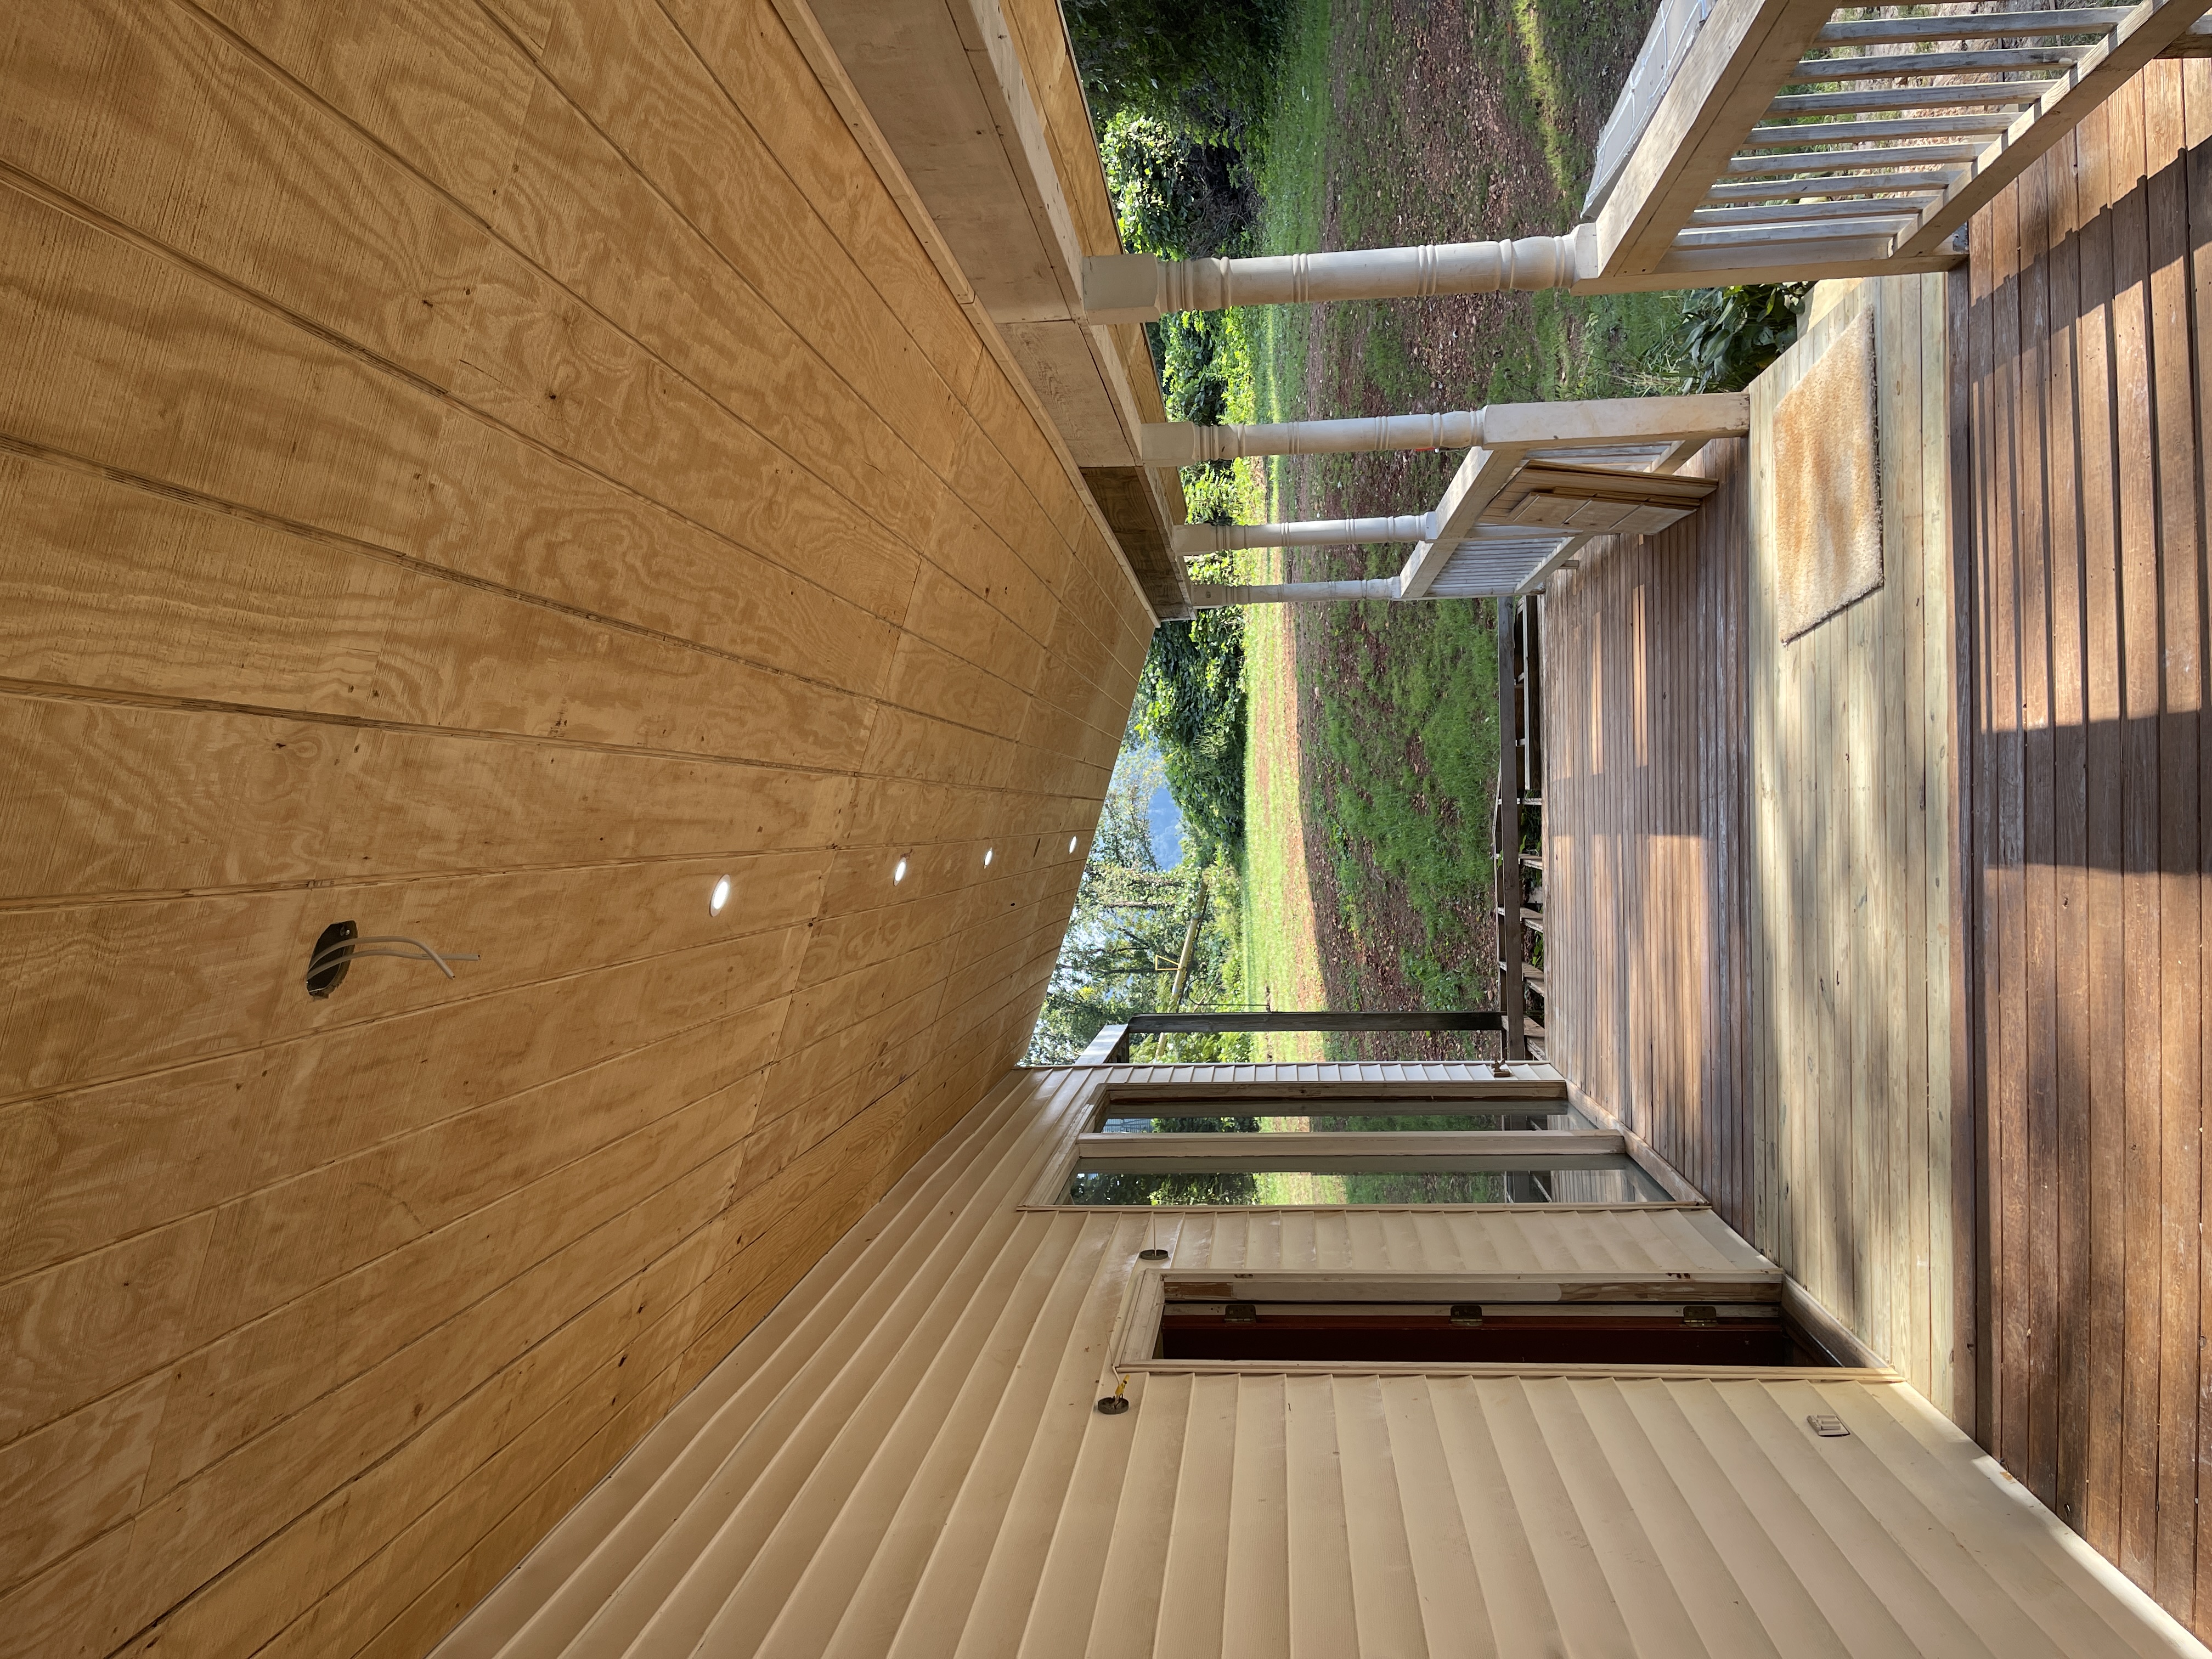
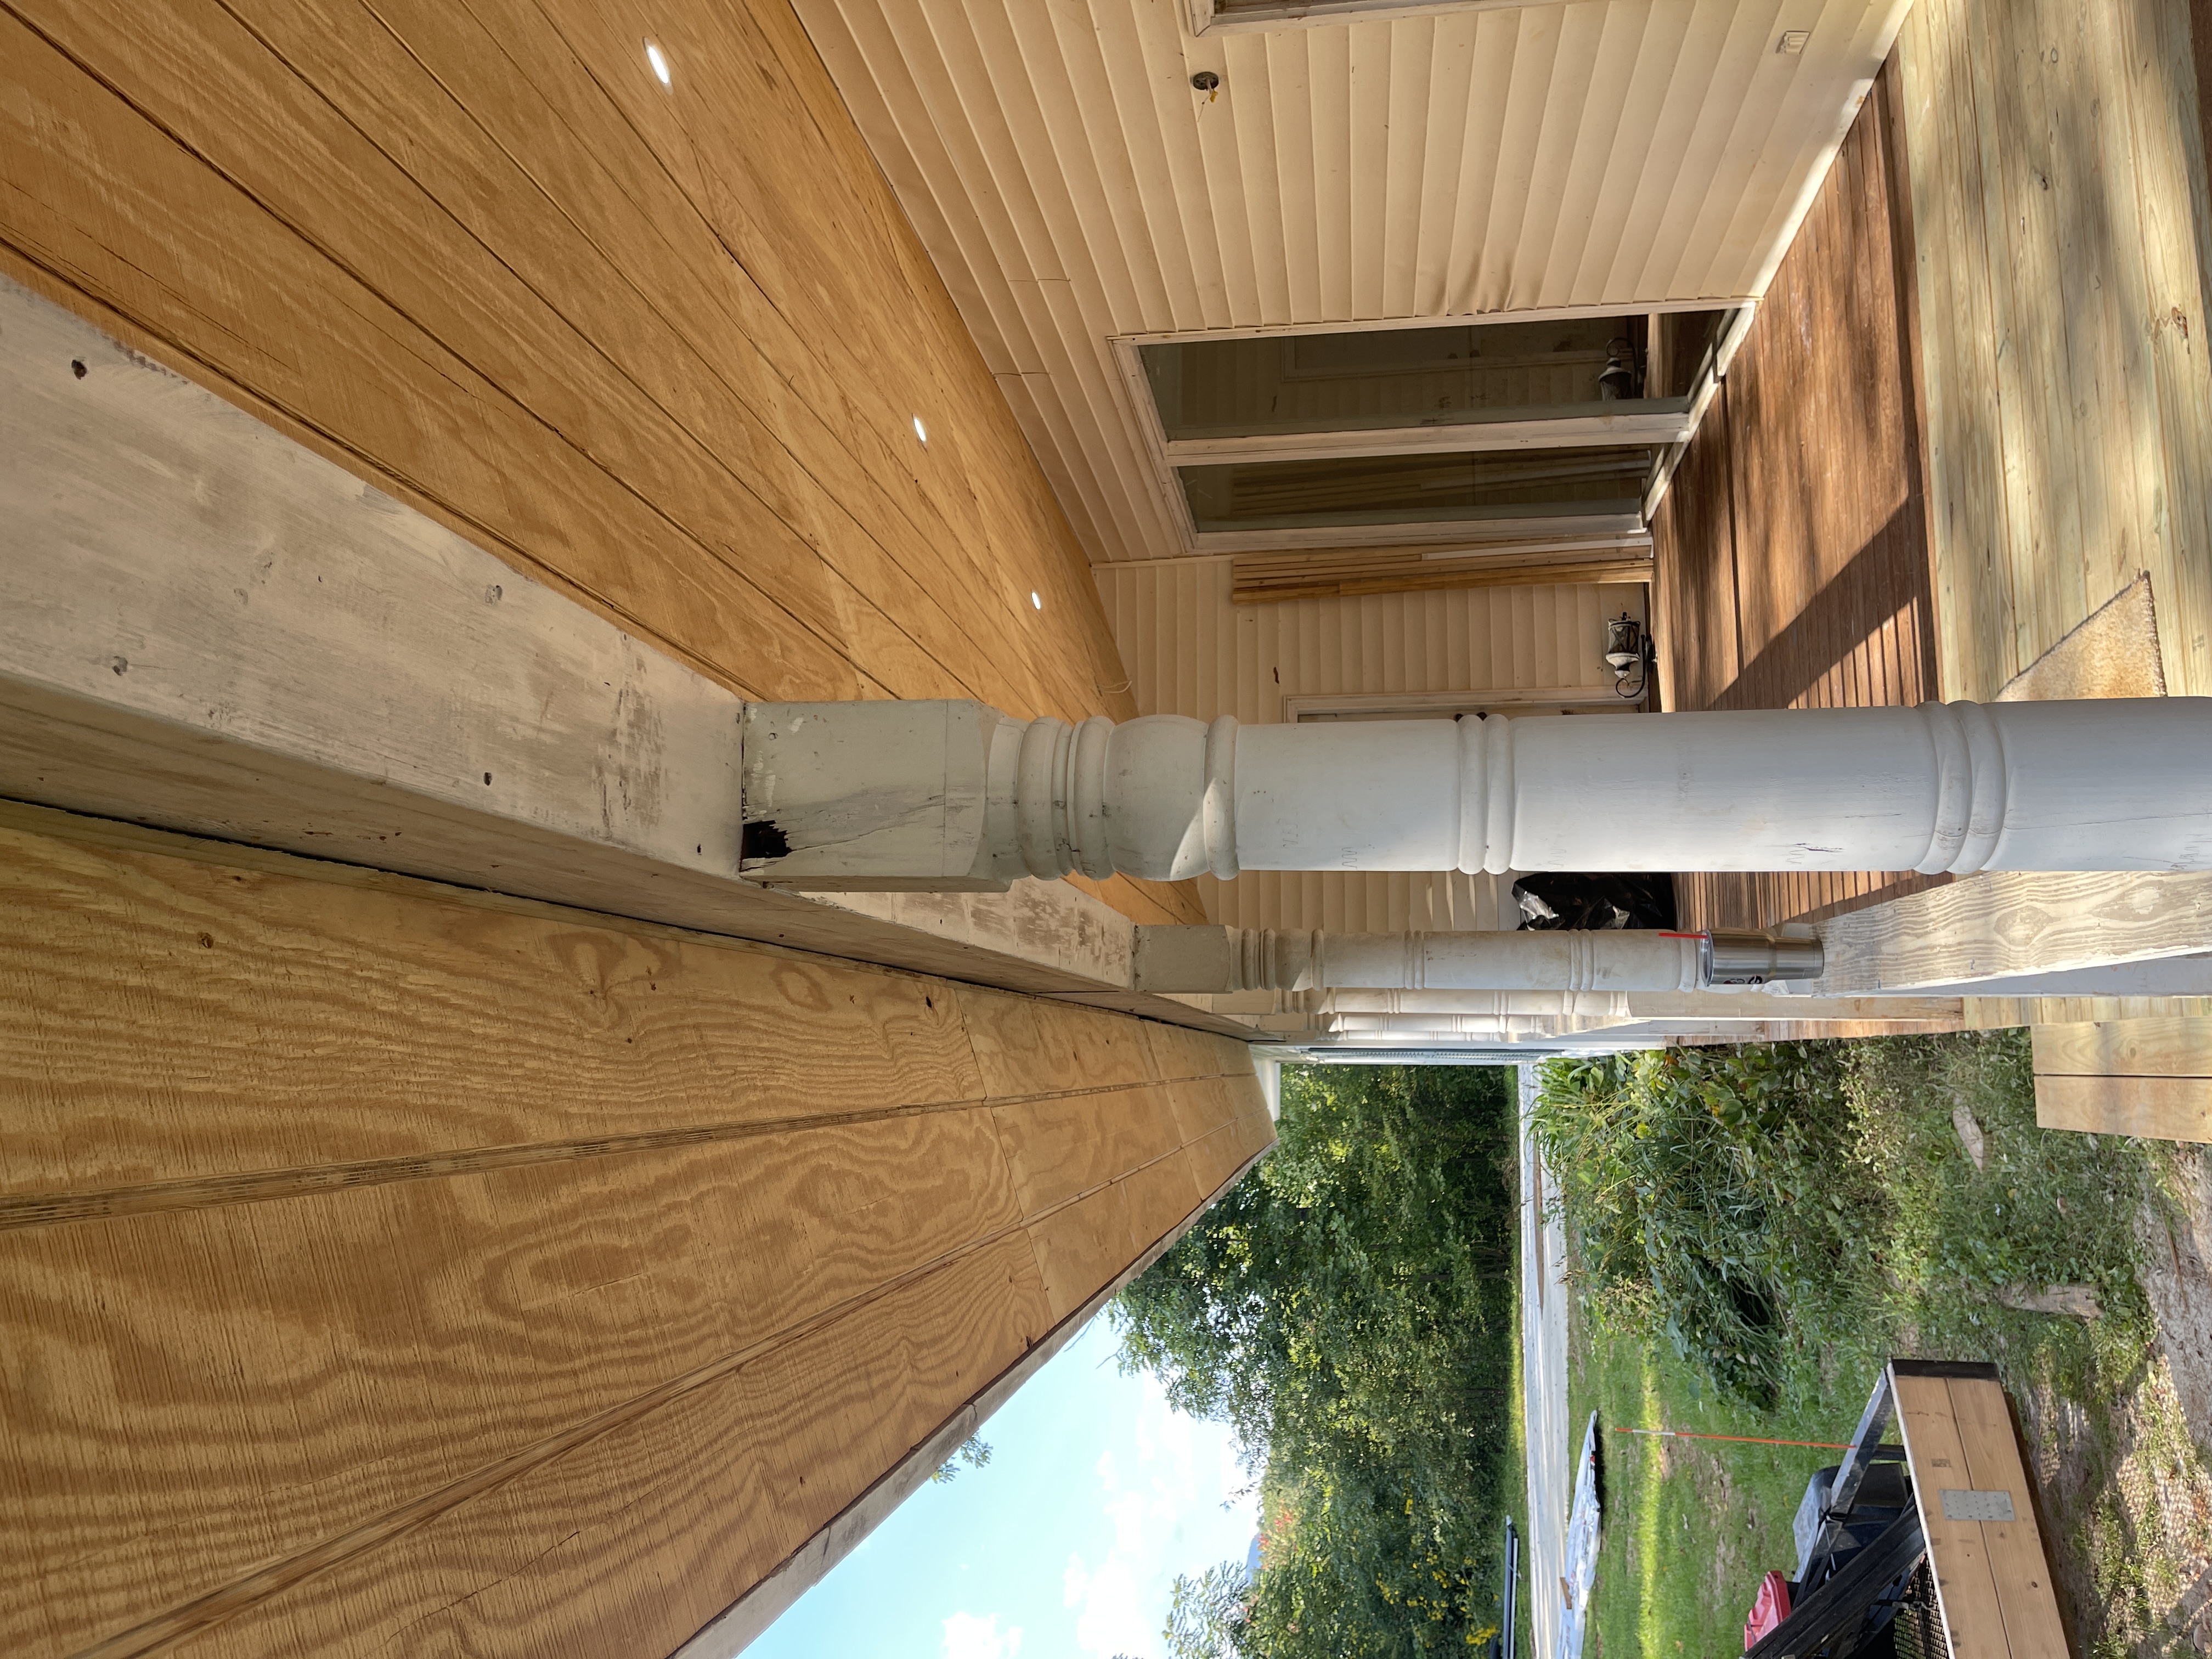
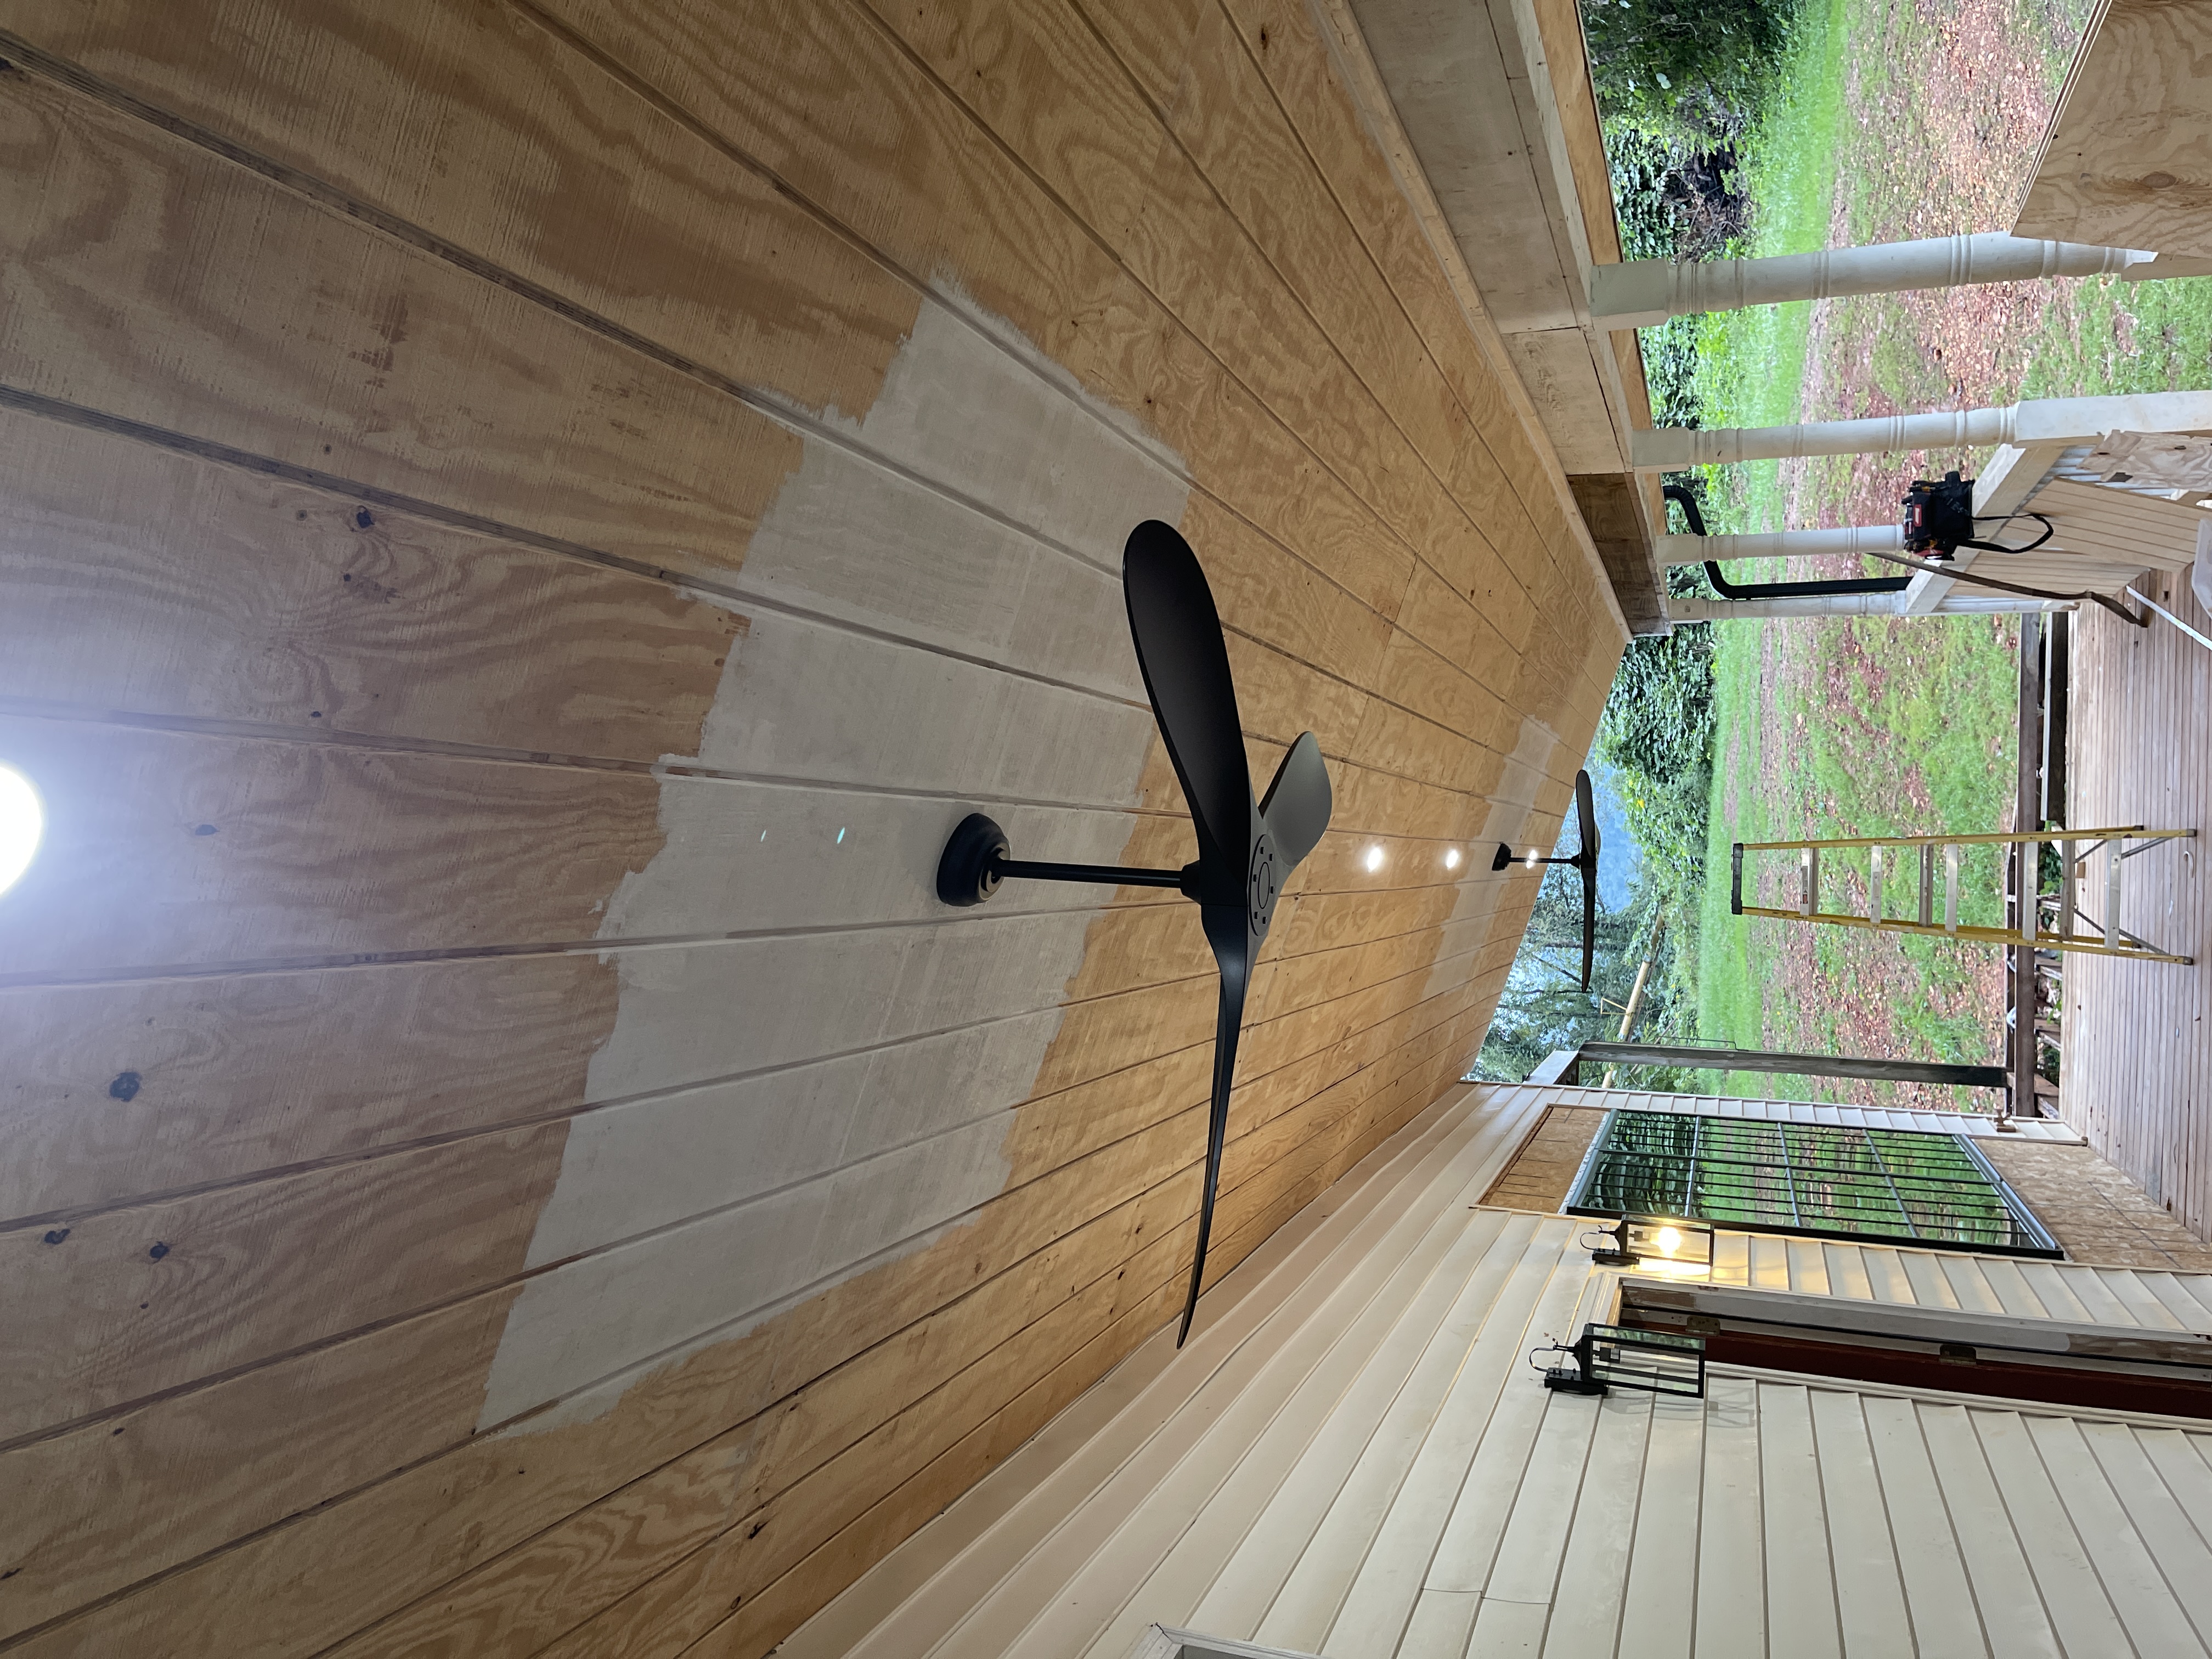
Since this front porch ceiling was open and the rafters exposed, he wanted me to close up the ceiling and front soffit. I also installed some LED lights and a couple of ceiling fans.
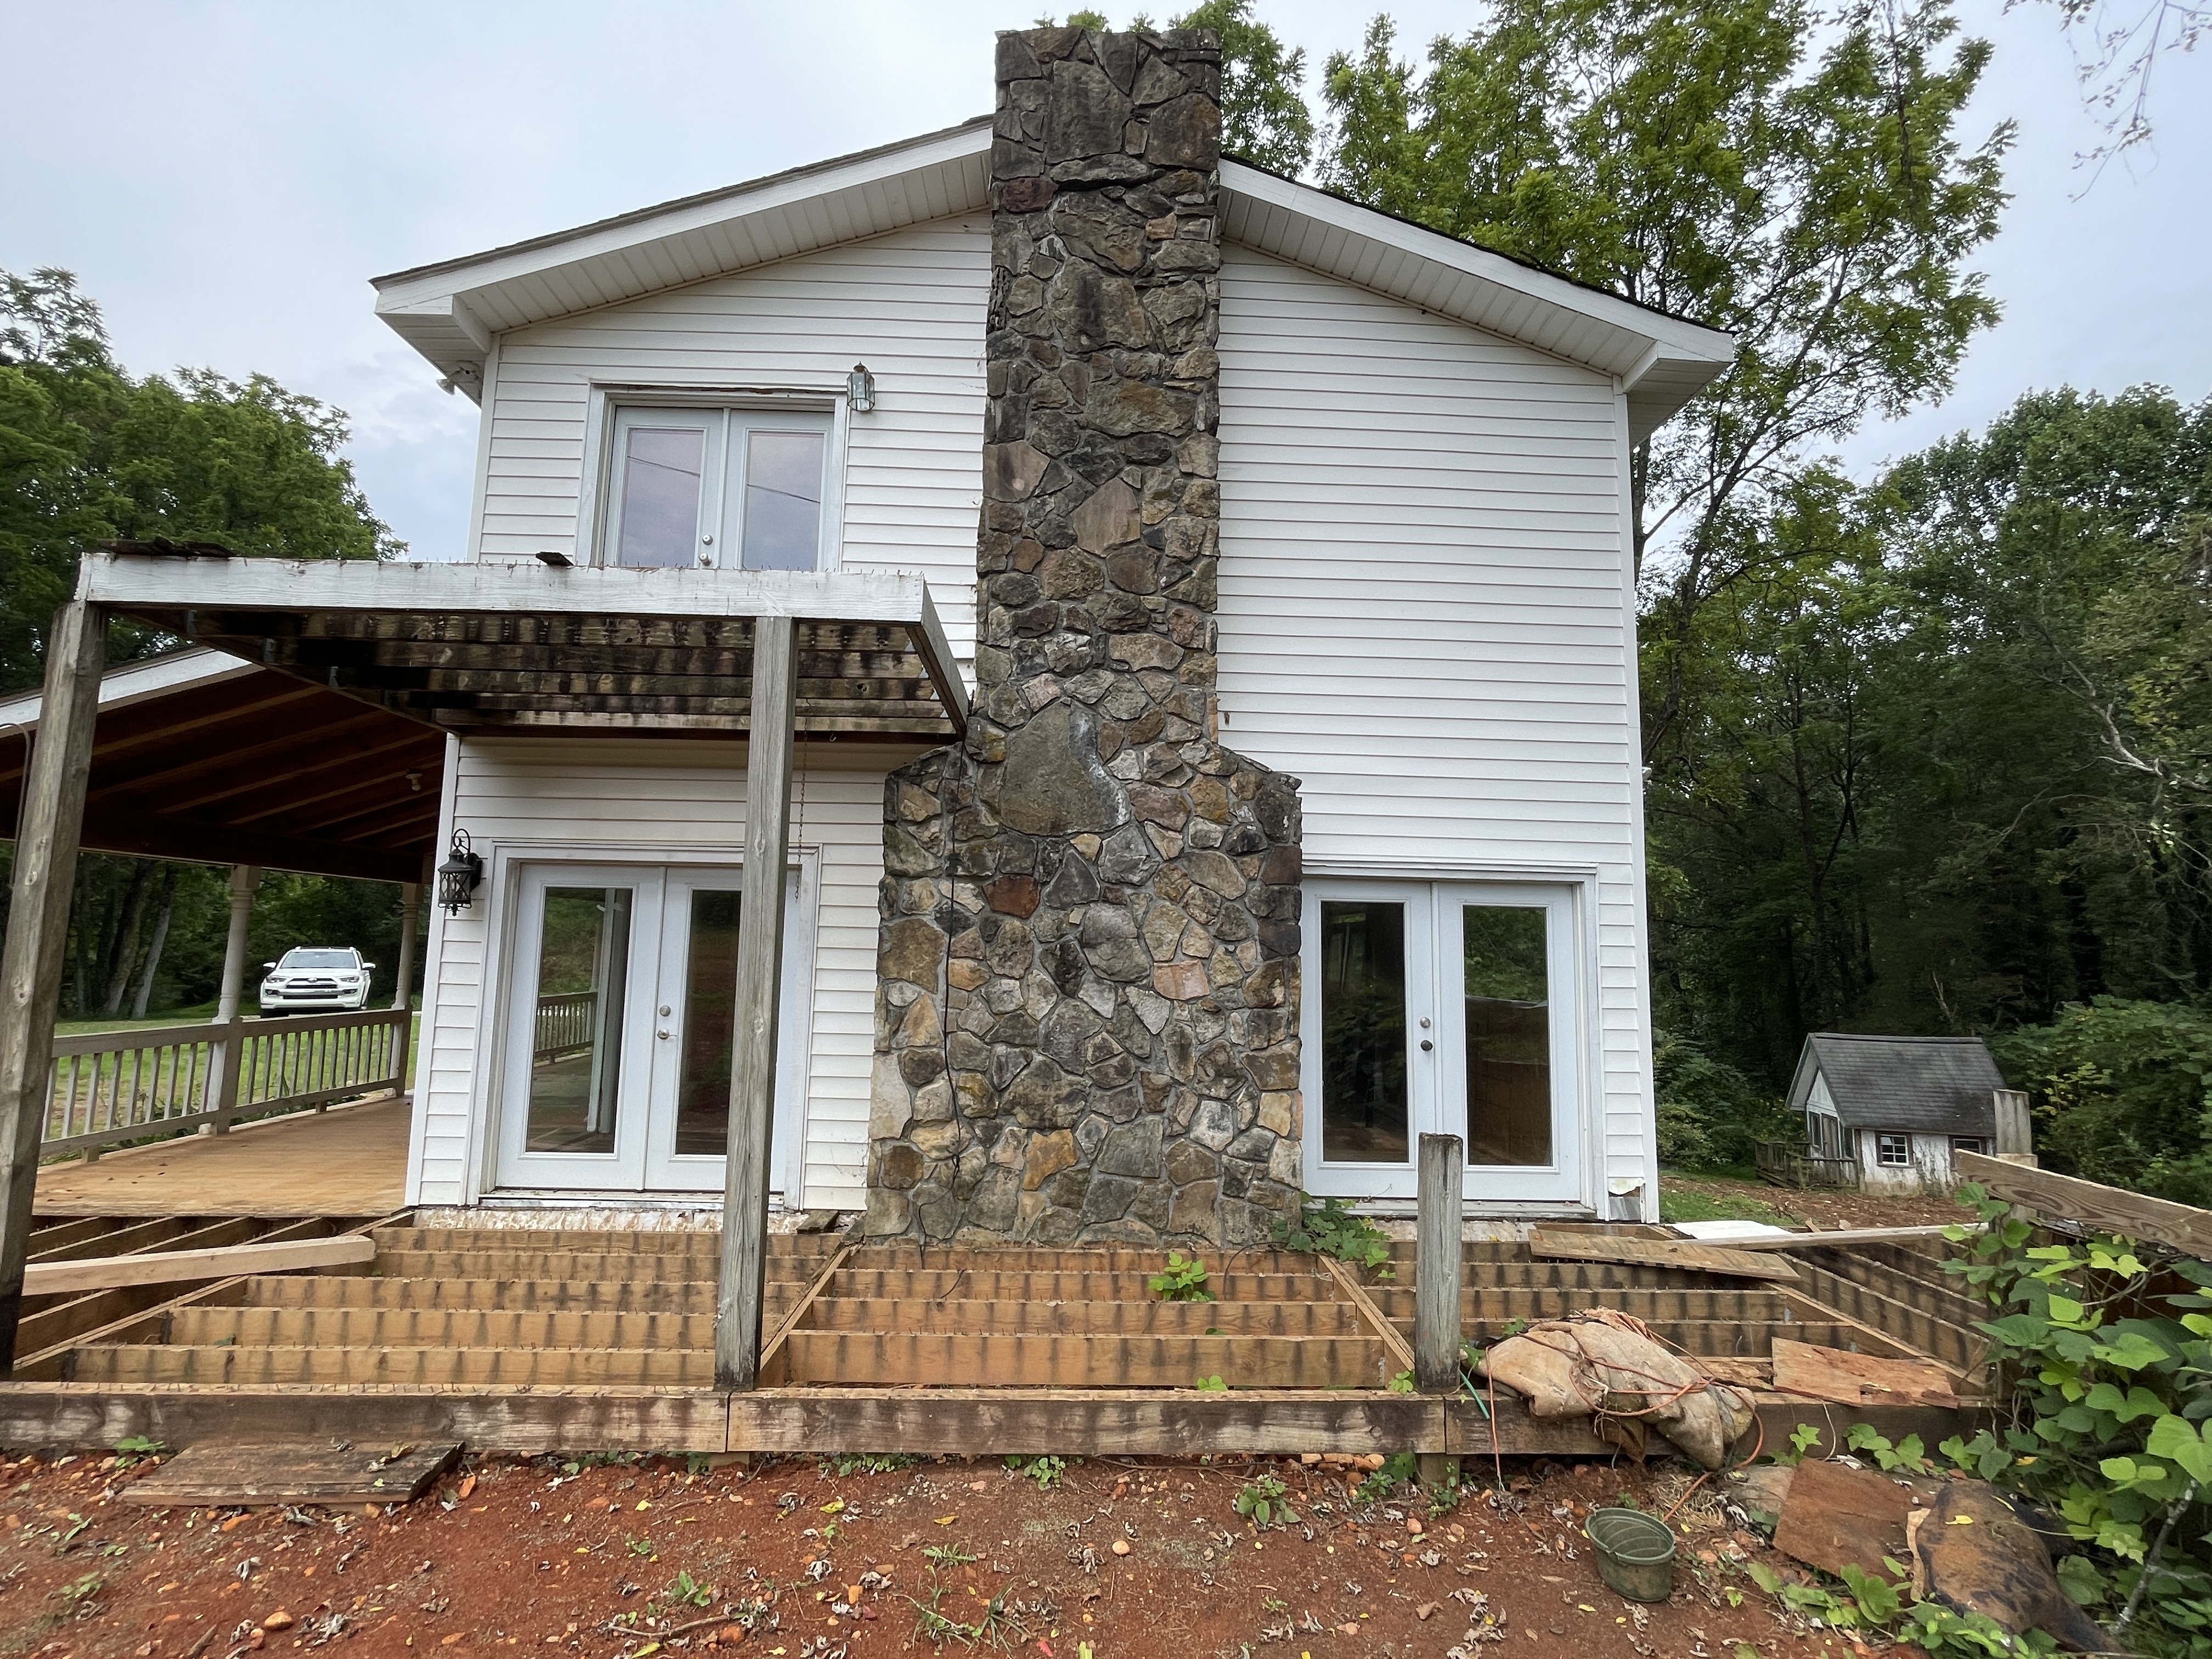
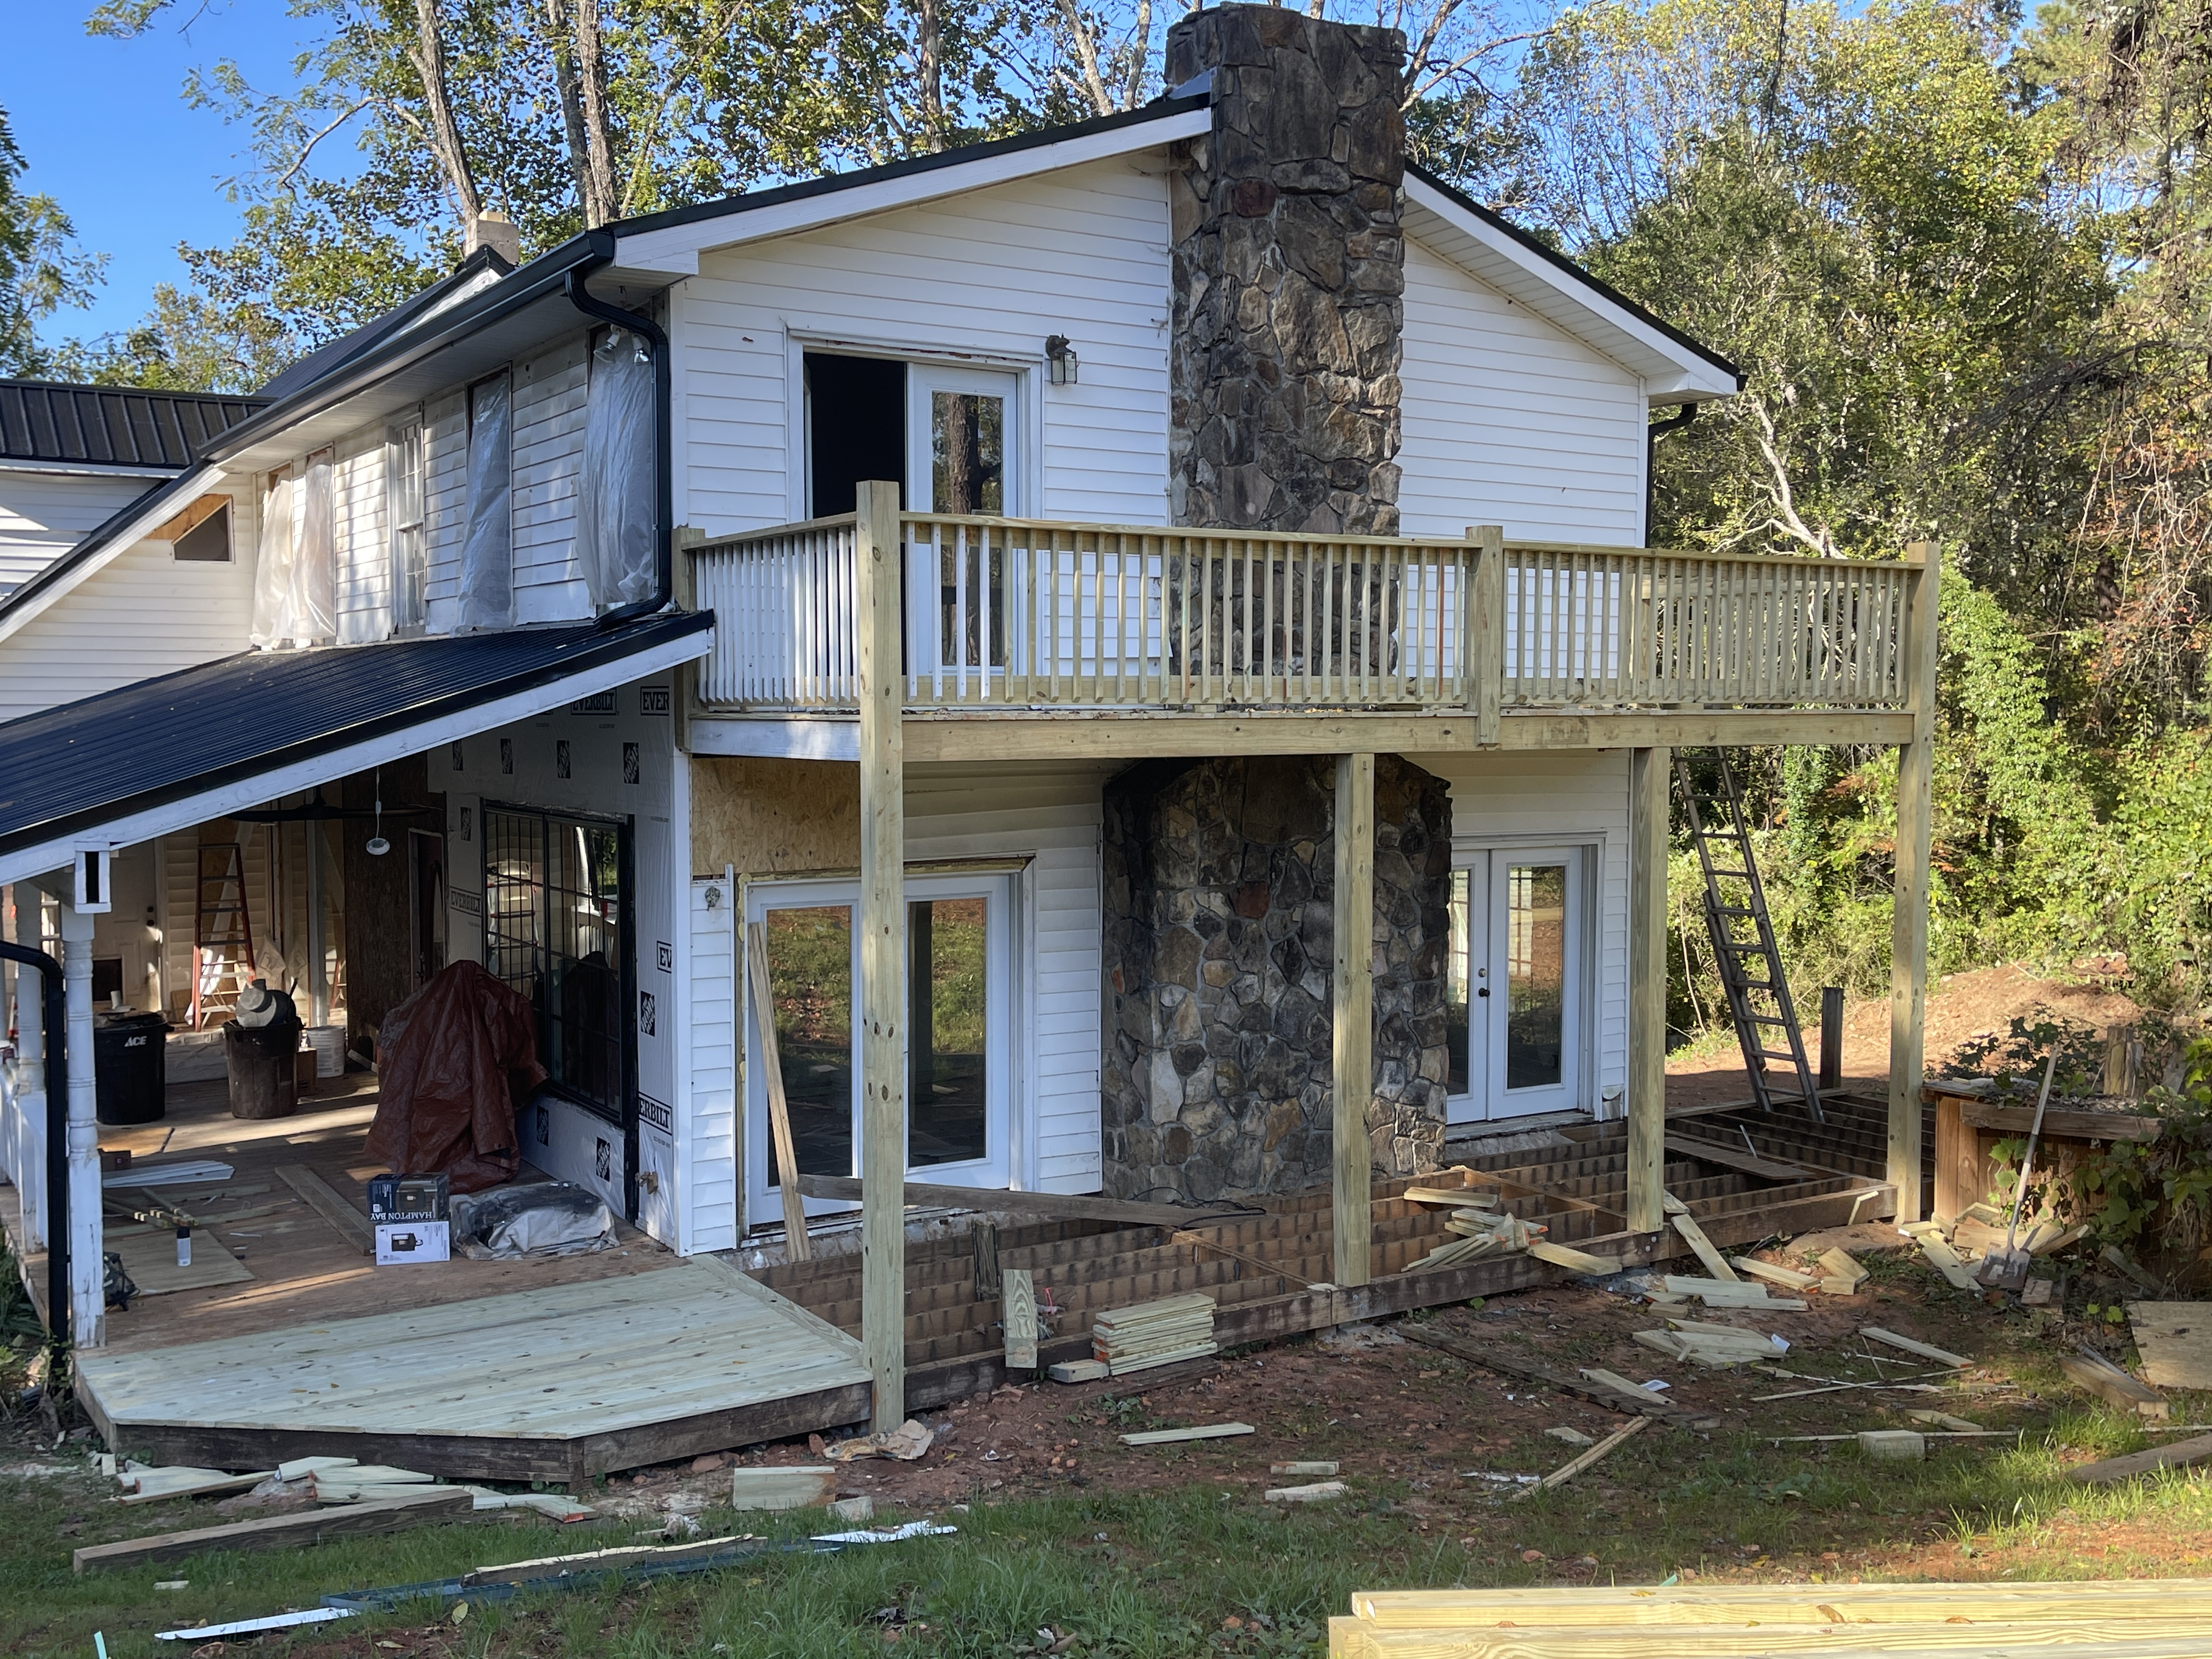
The side deck was in really bad shape and they had already removed the rotten deck boards. I replaced all of these as well.
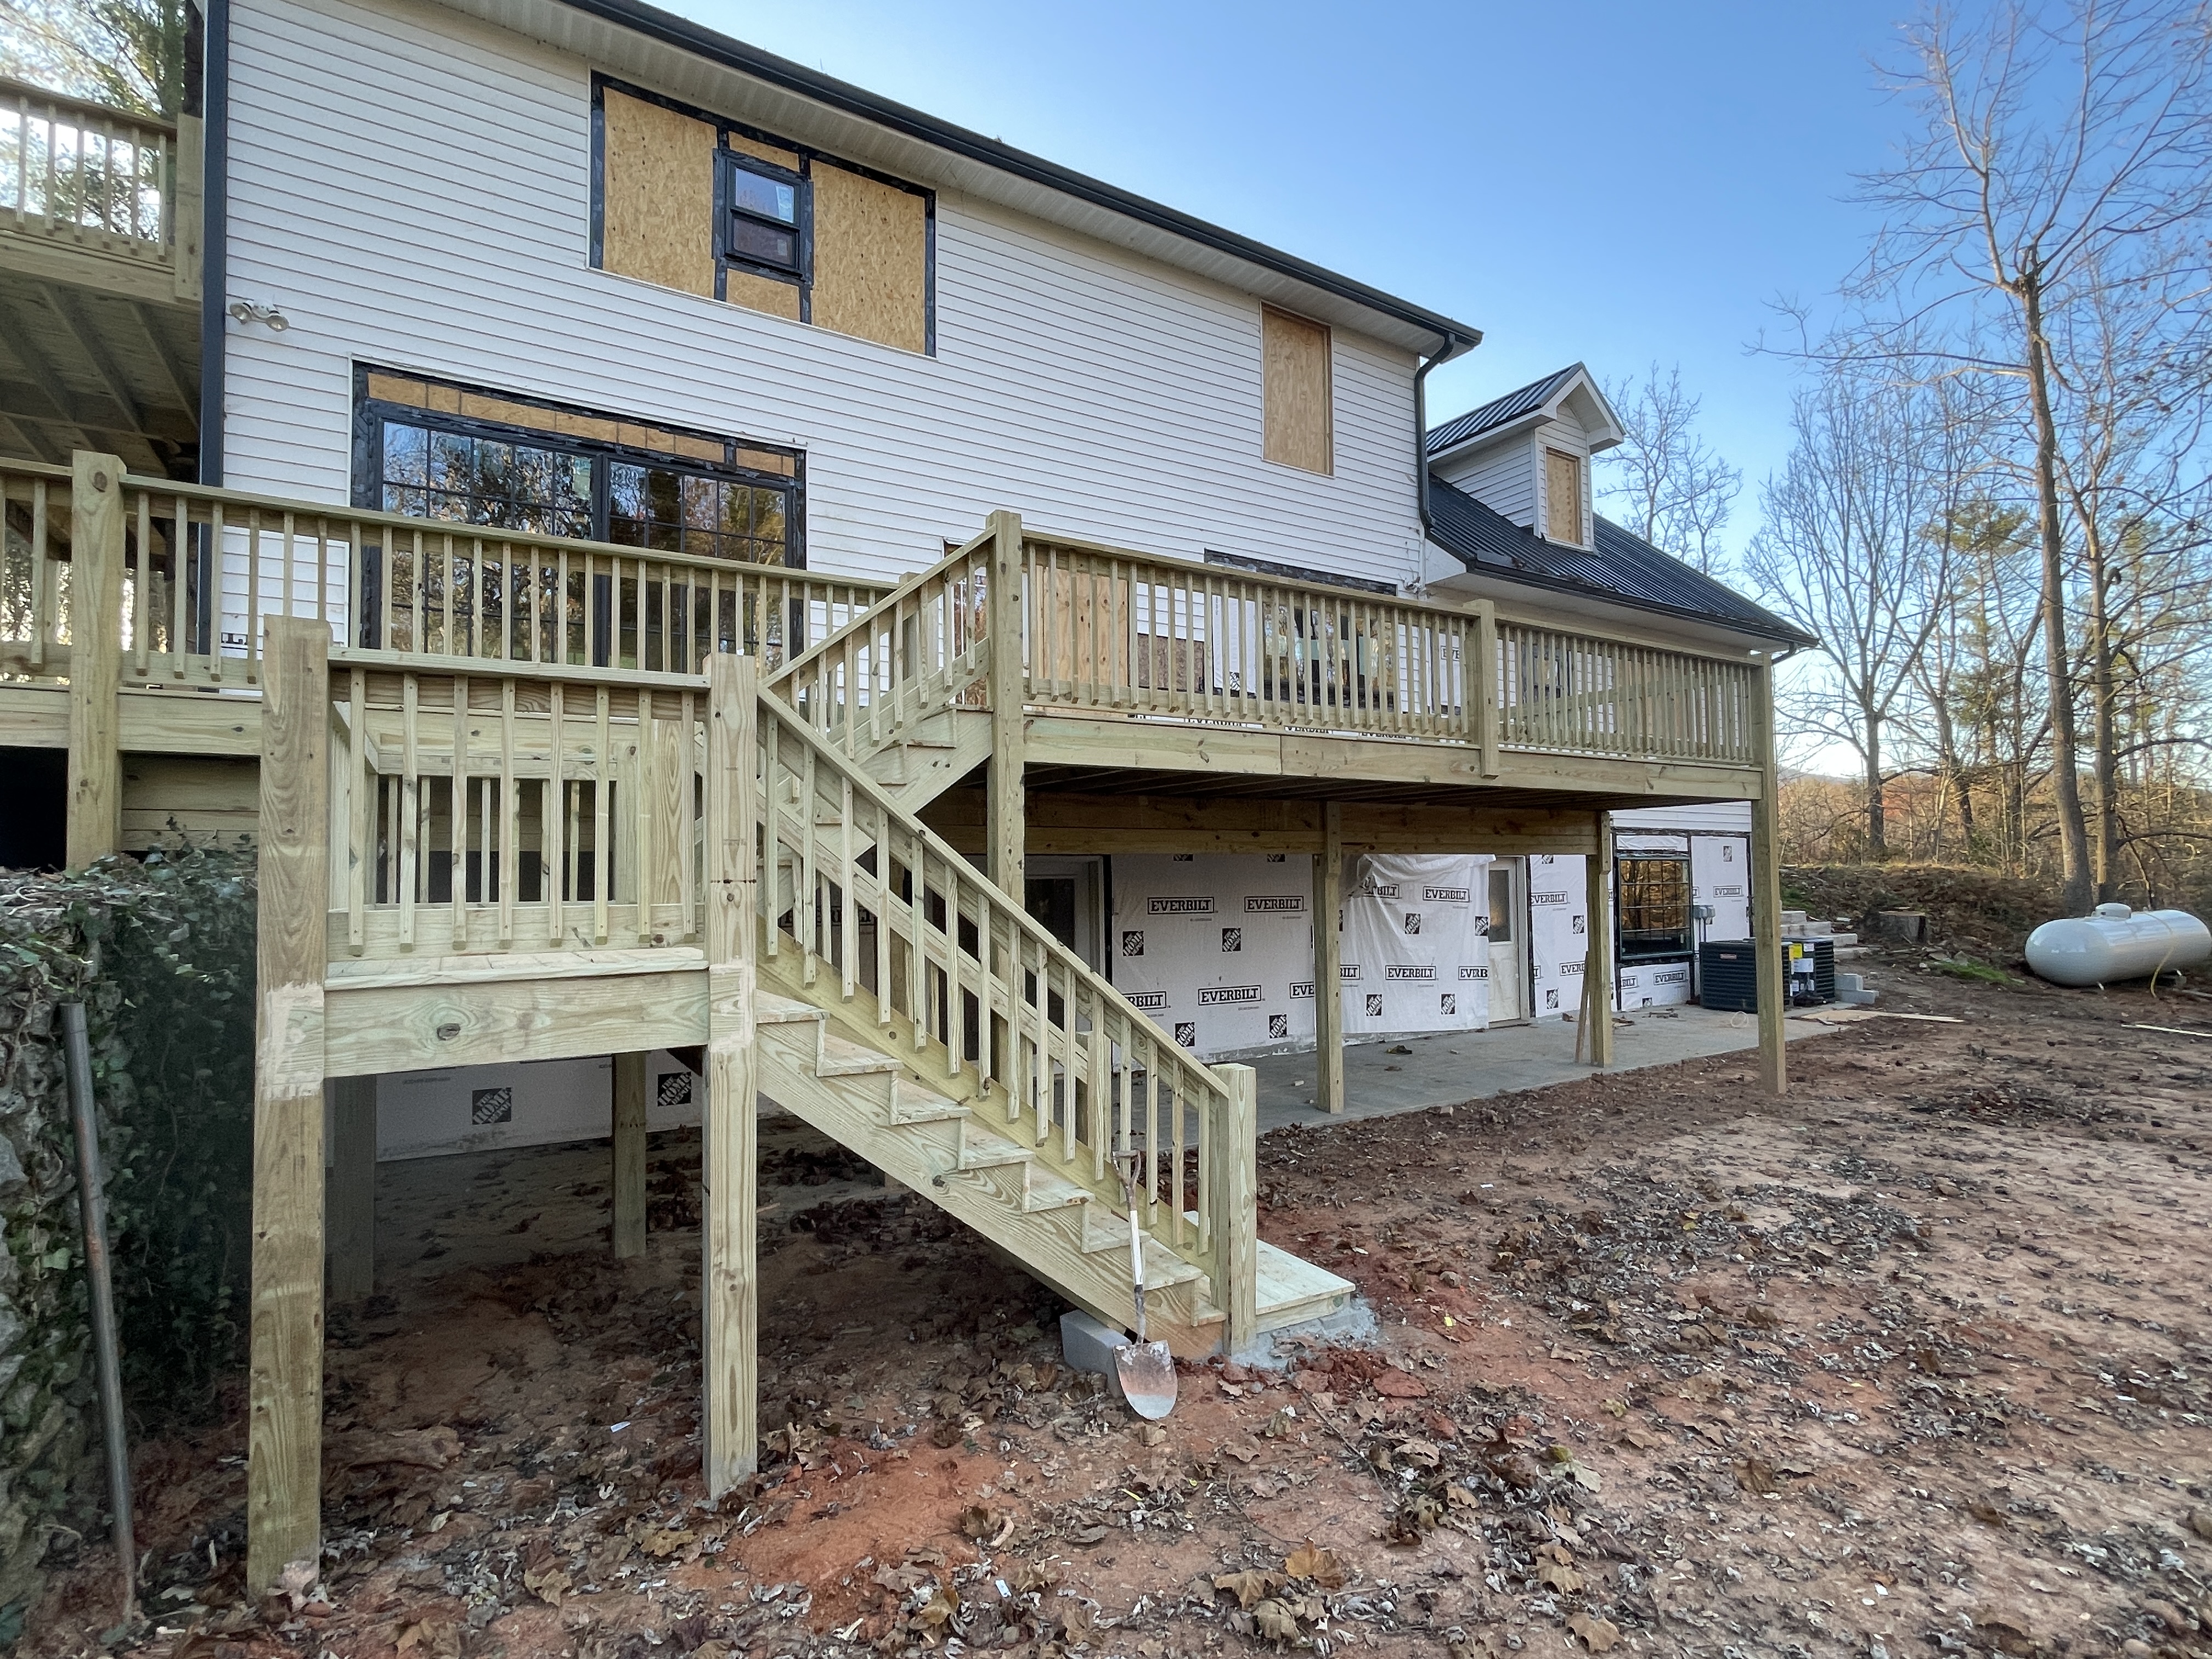
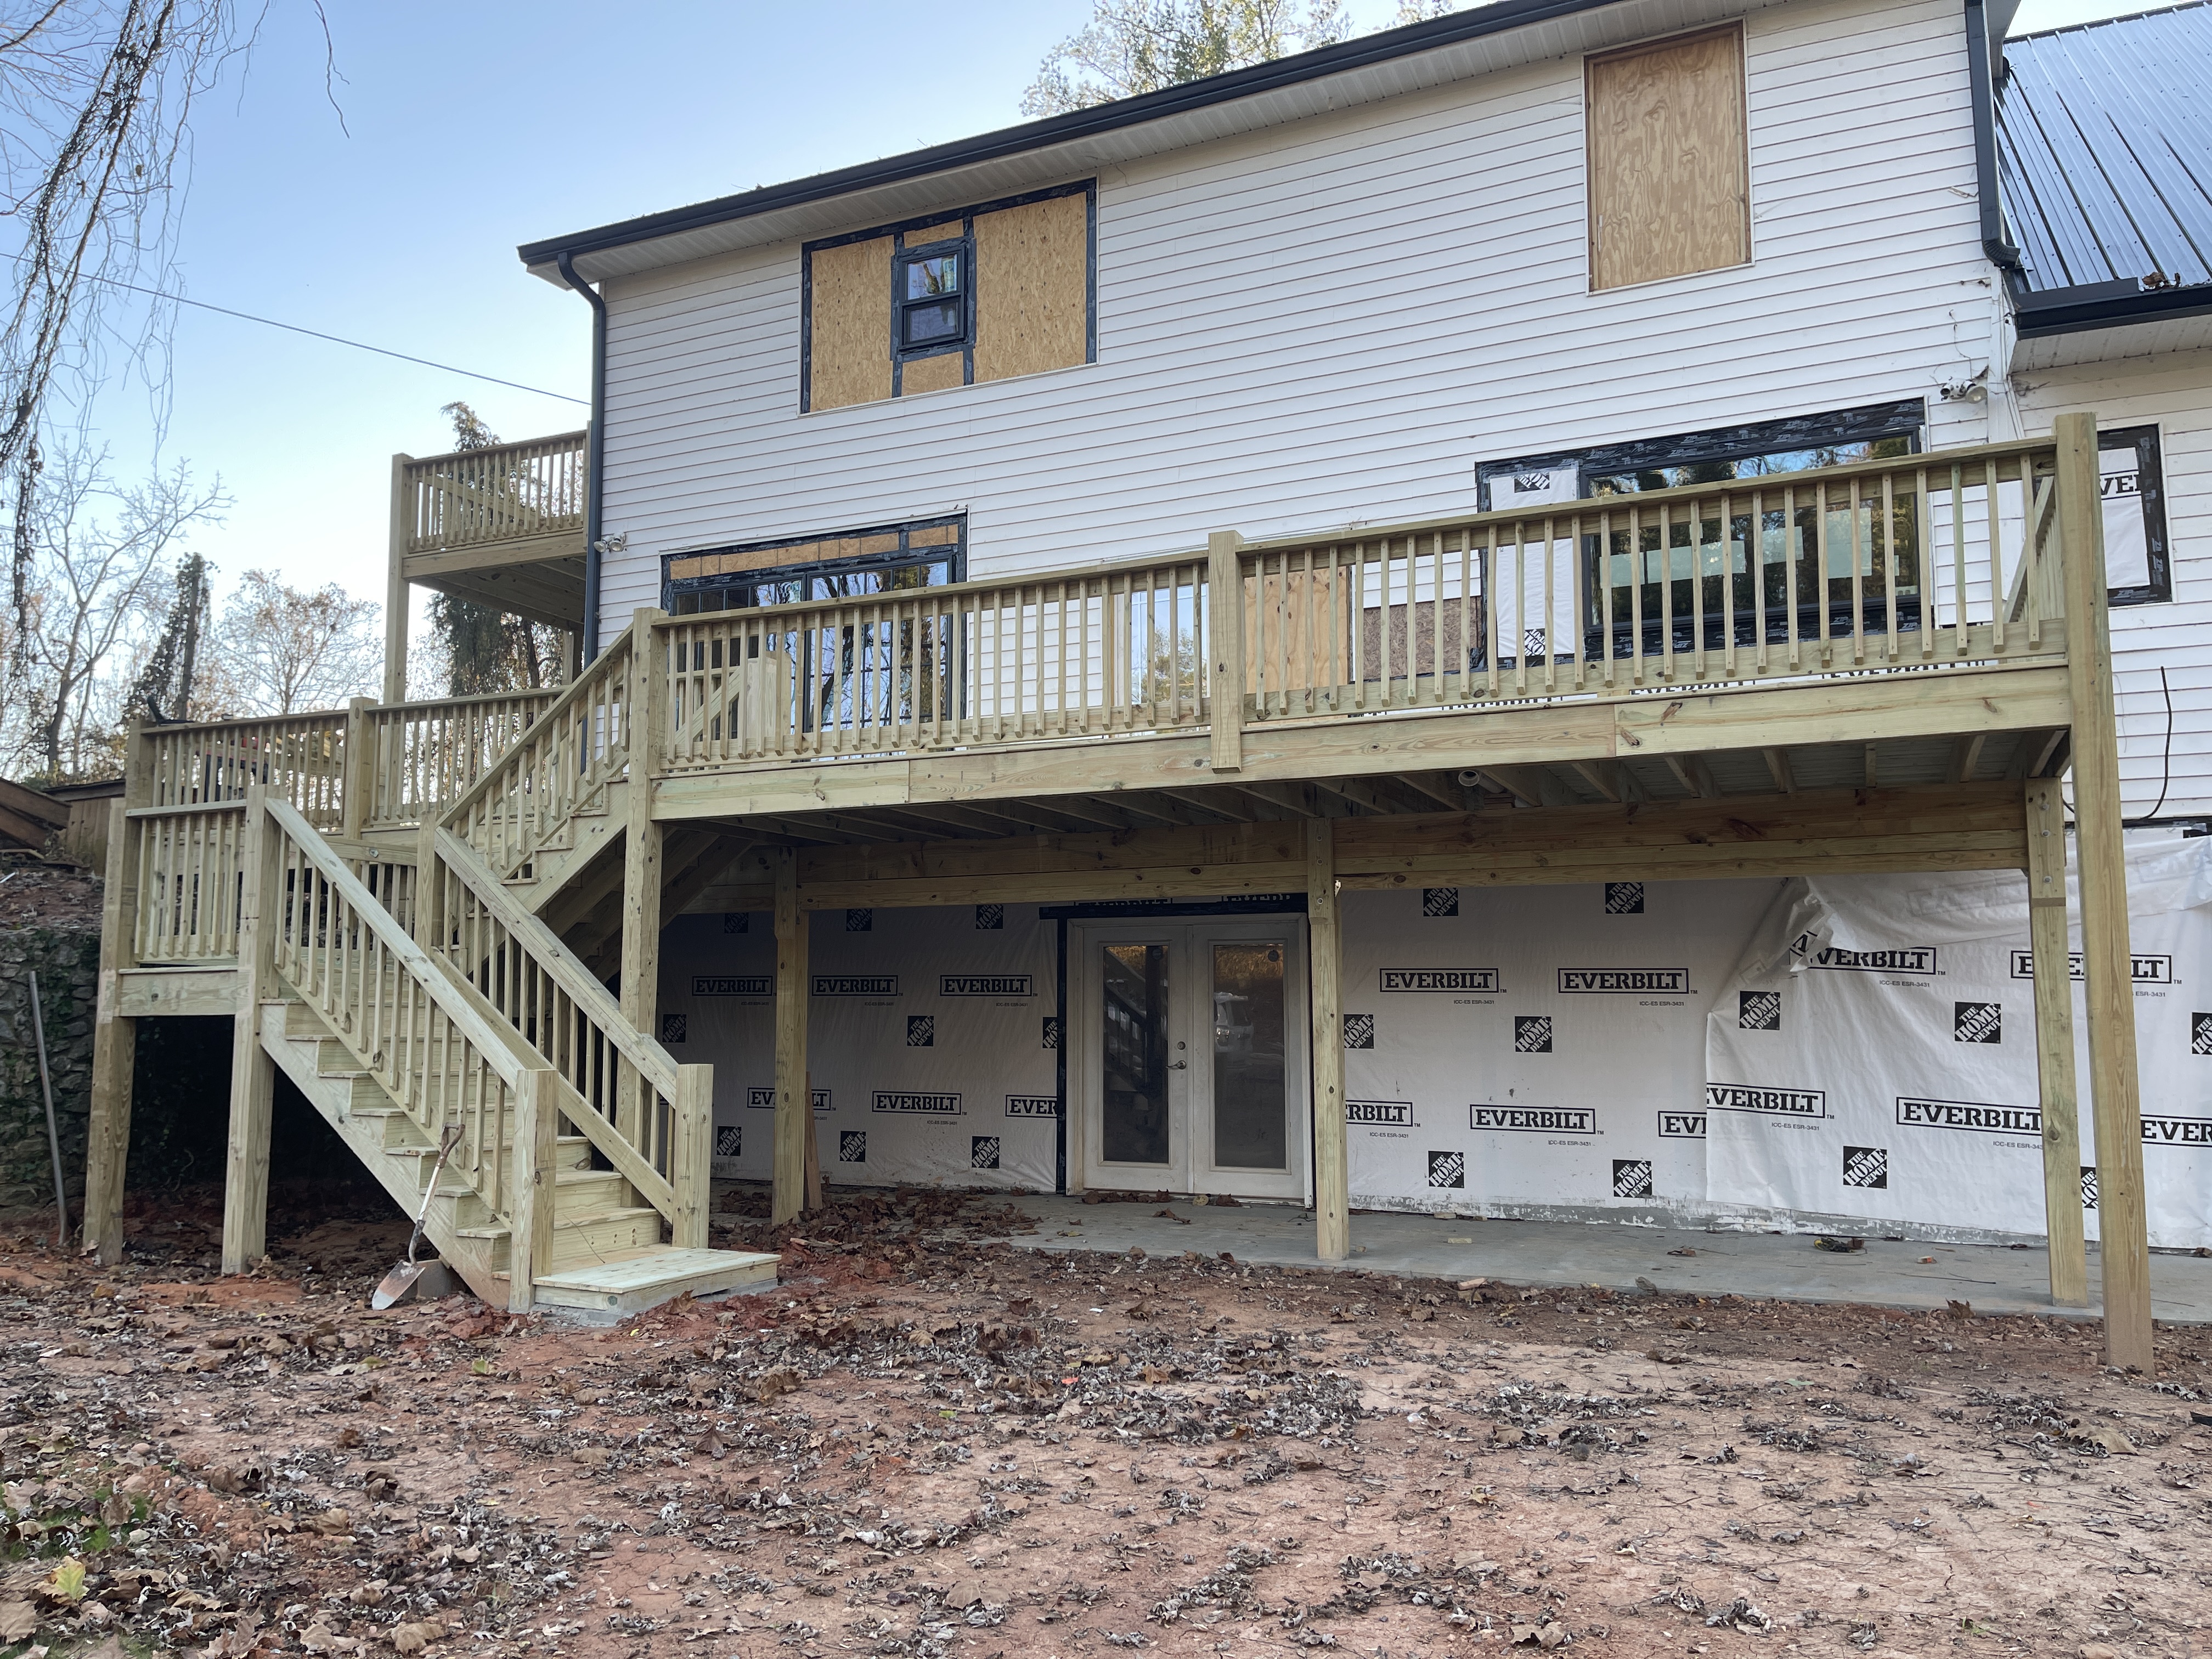
Above this side deck was a small deck off the master bedroom. I convinced the owner to let me enlarge this deck to span the width of the house.
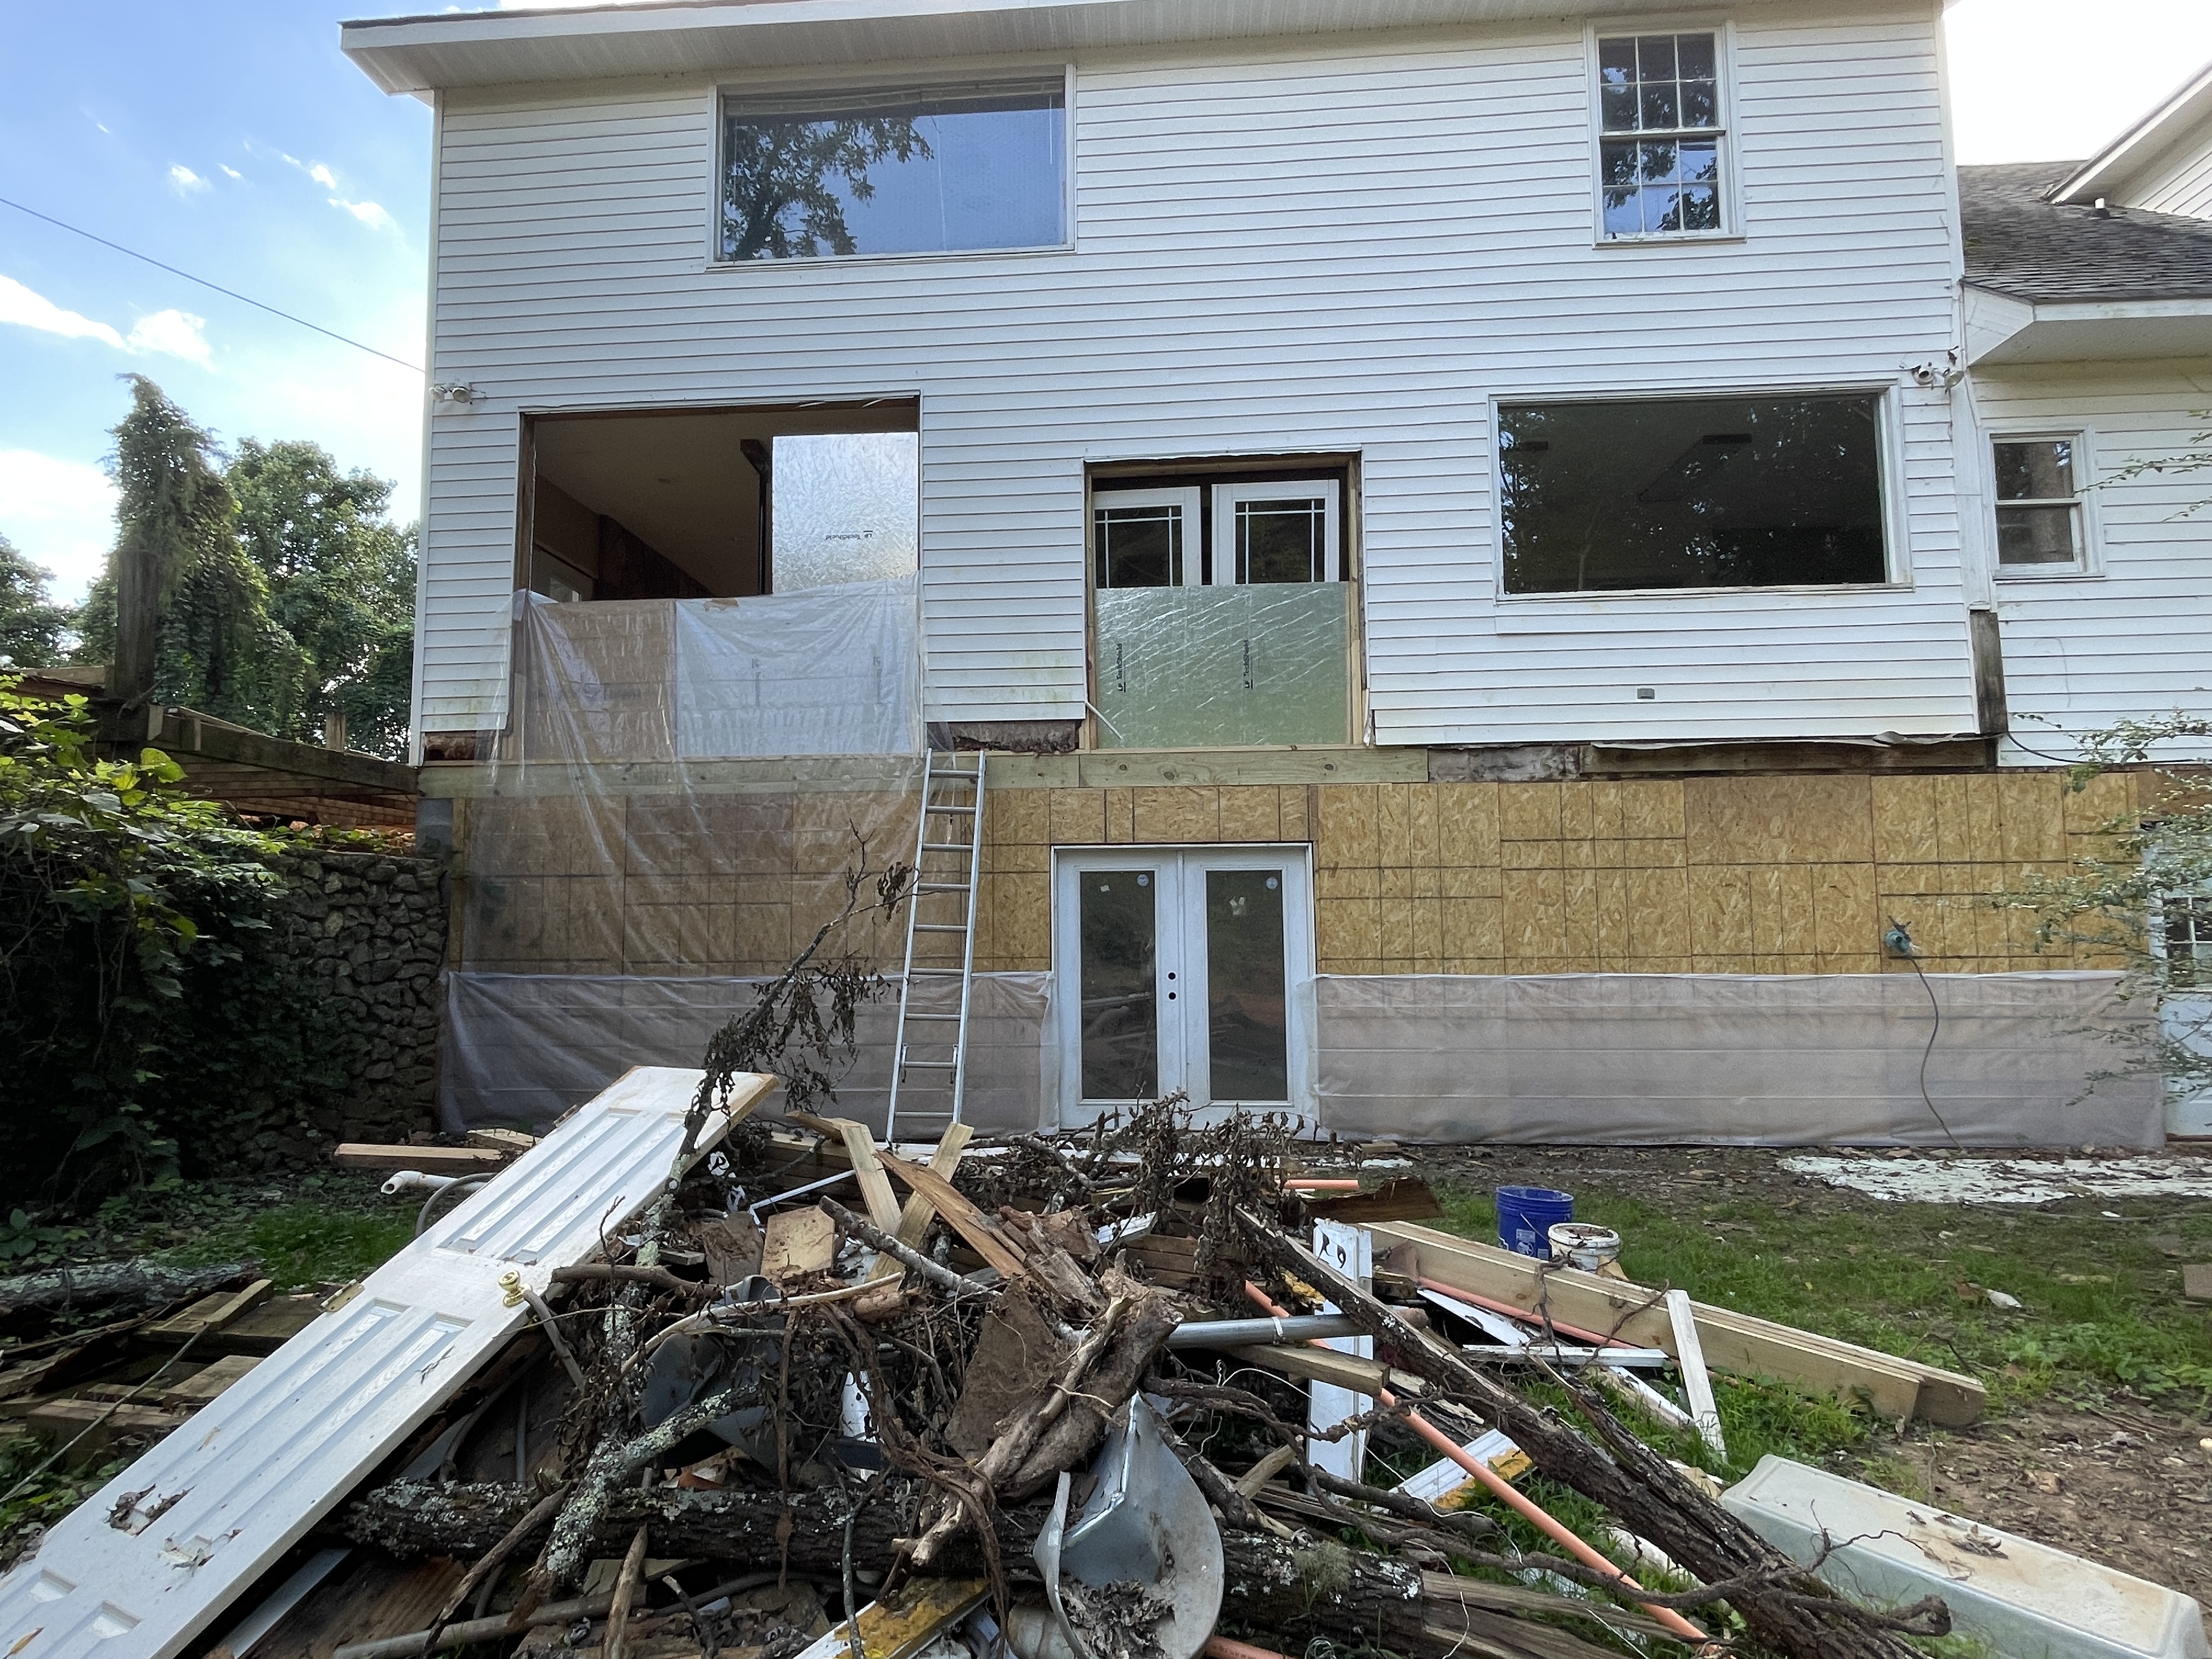
And lastly, there was no deck on the back of the house. I drew up a design that would tie a deck on the rear of the house to the one I was completing on the side.
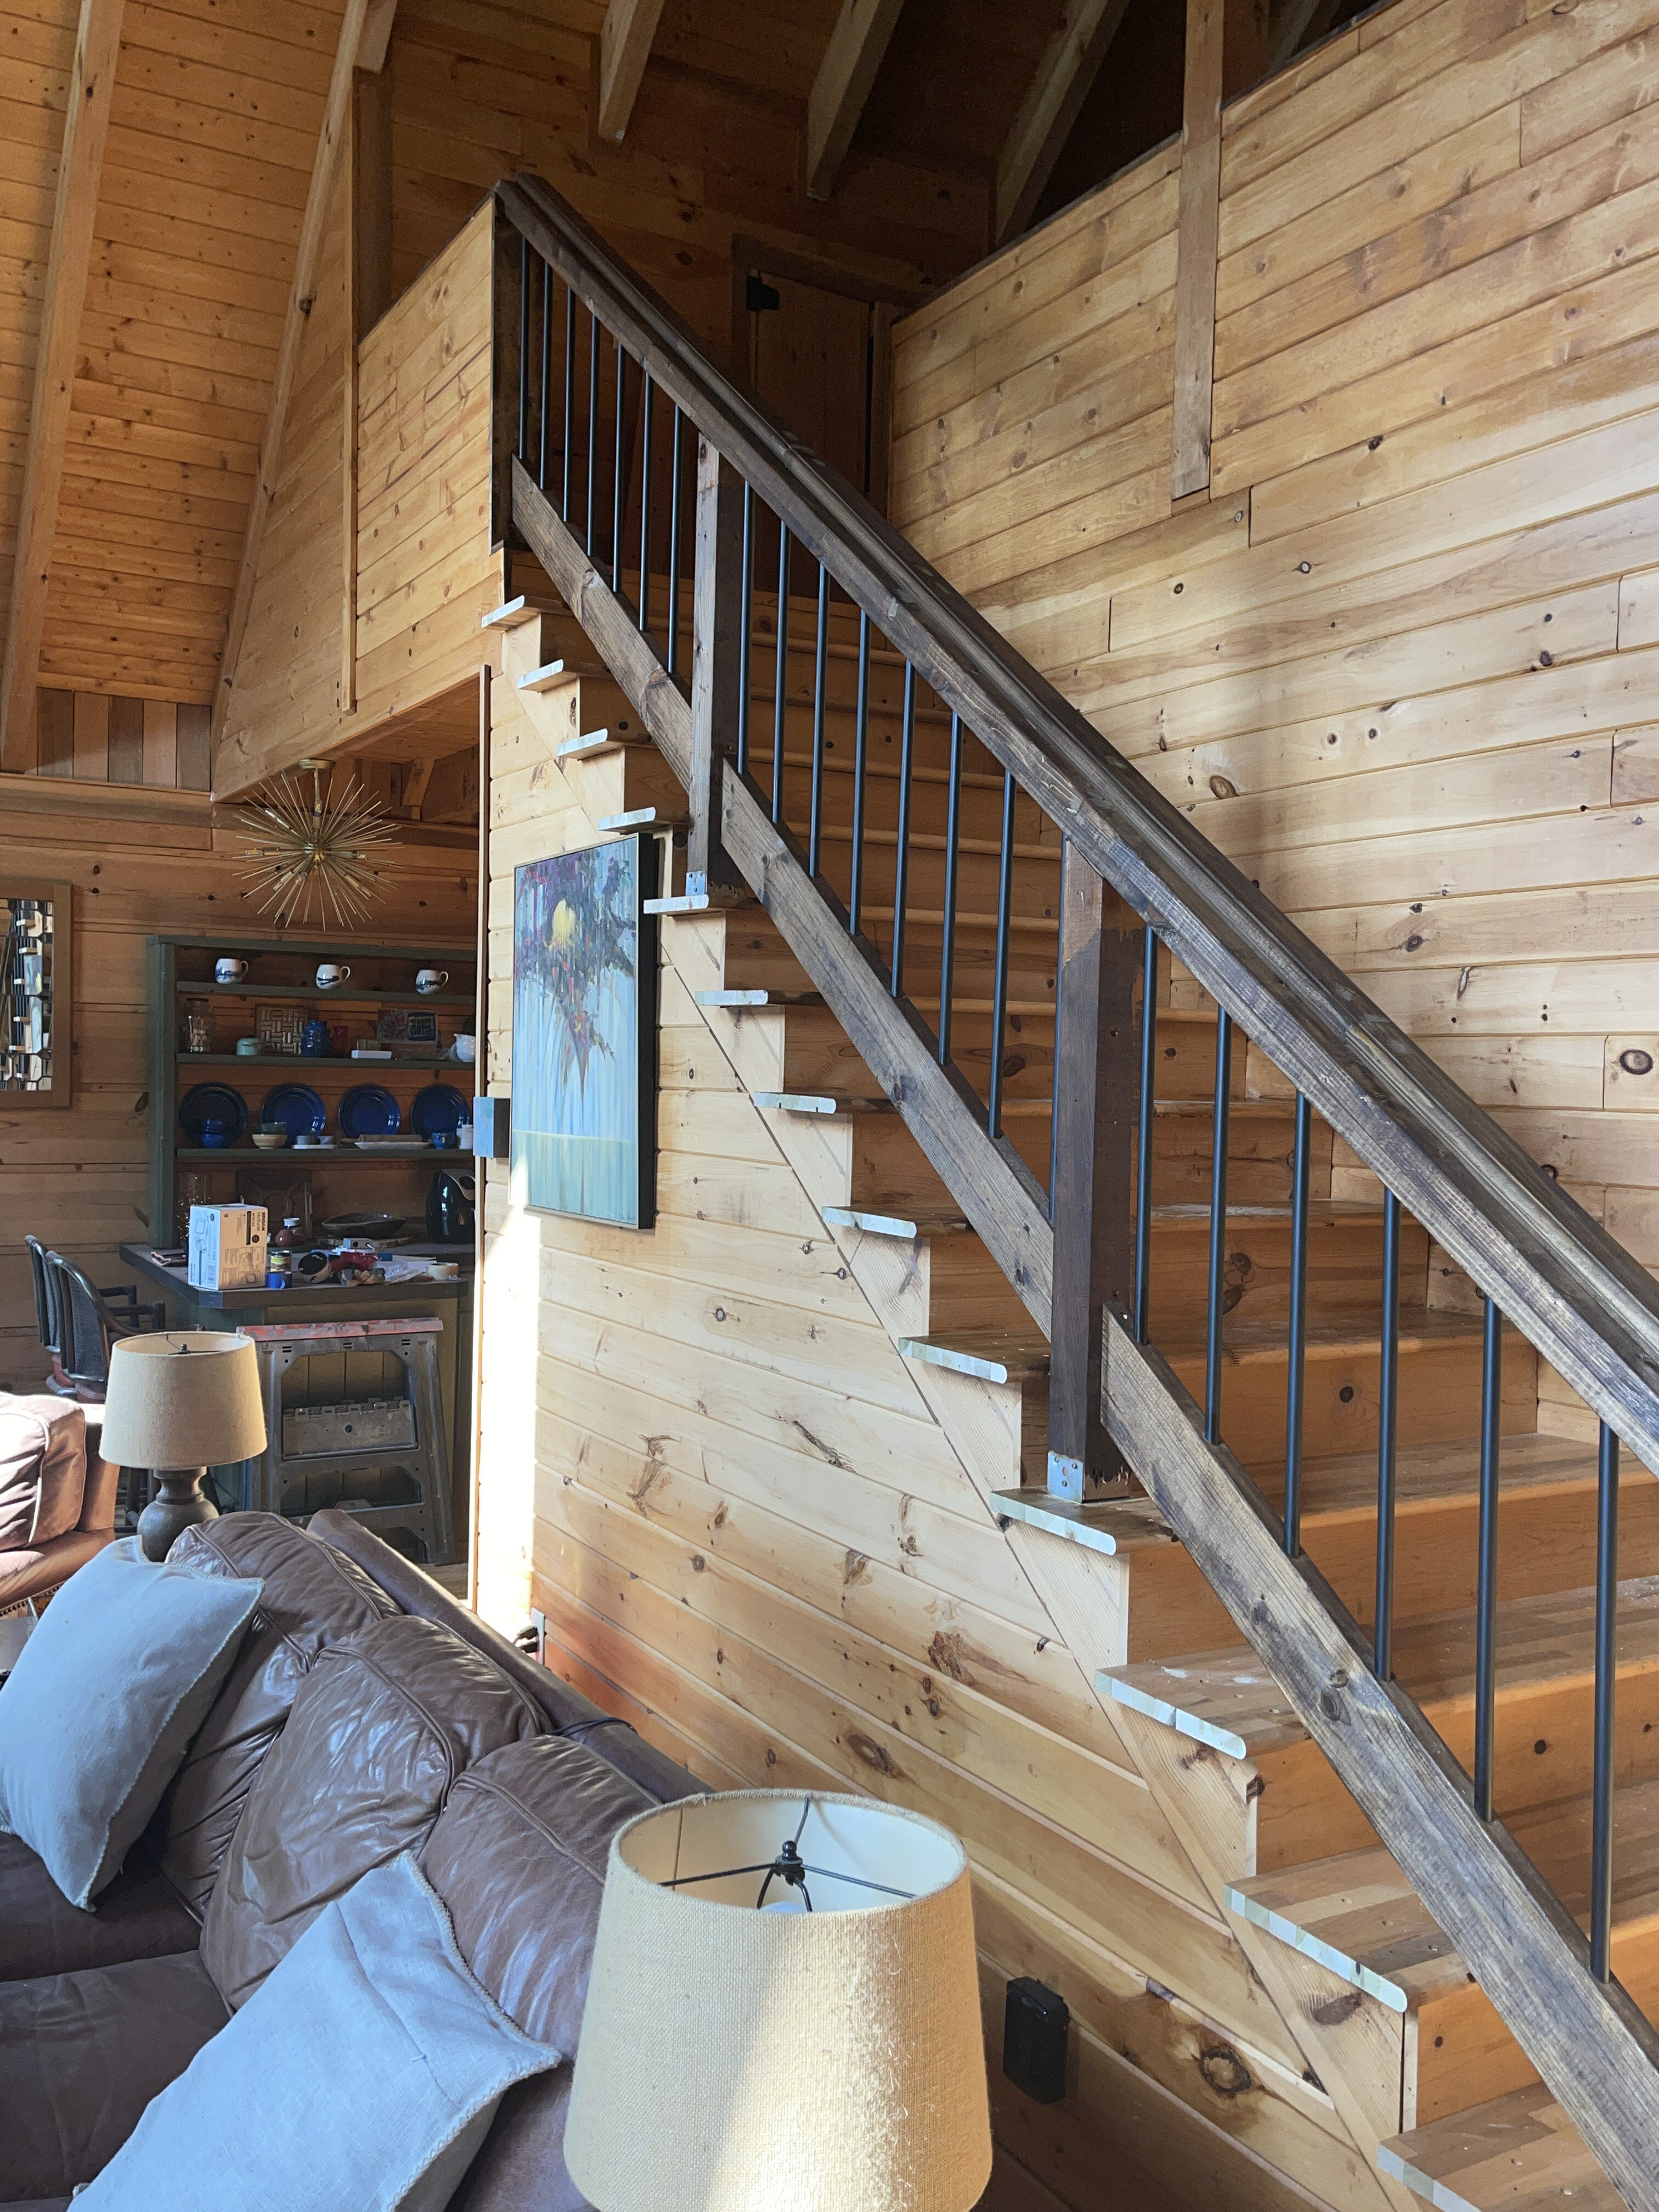
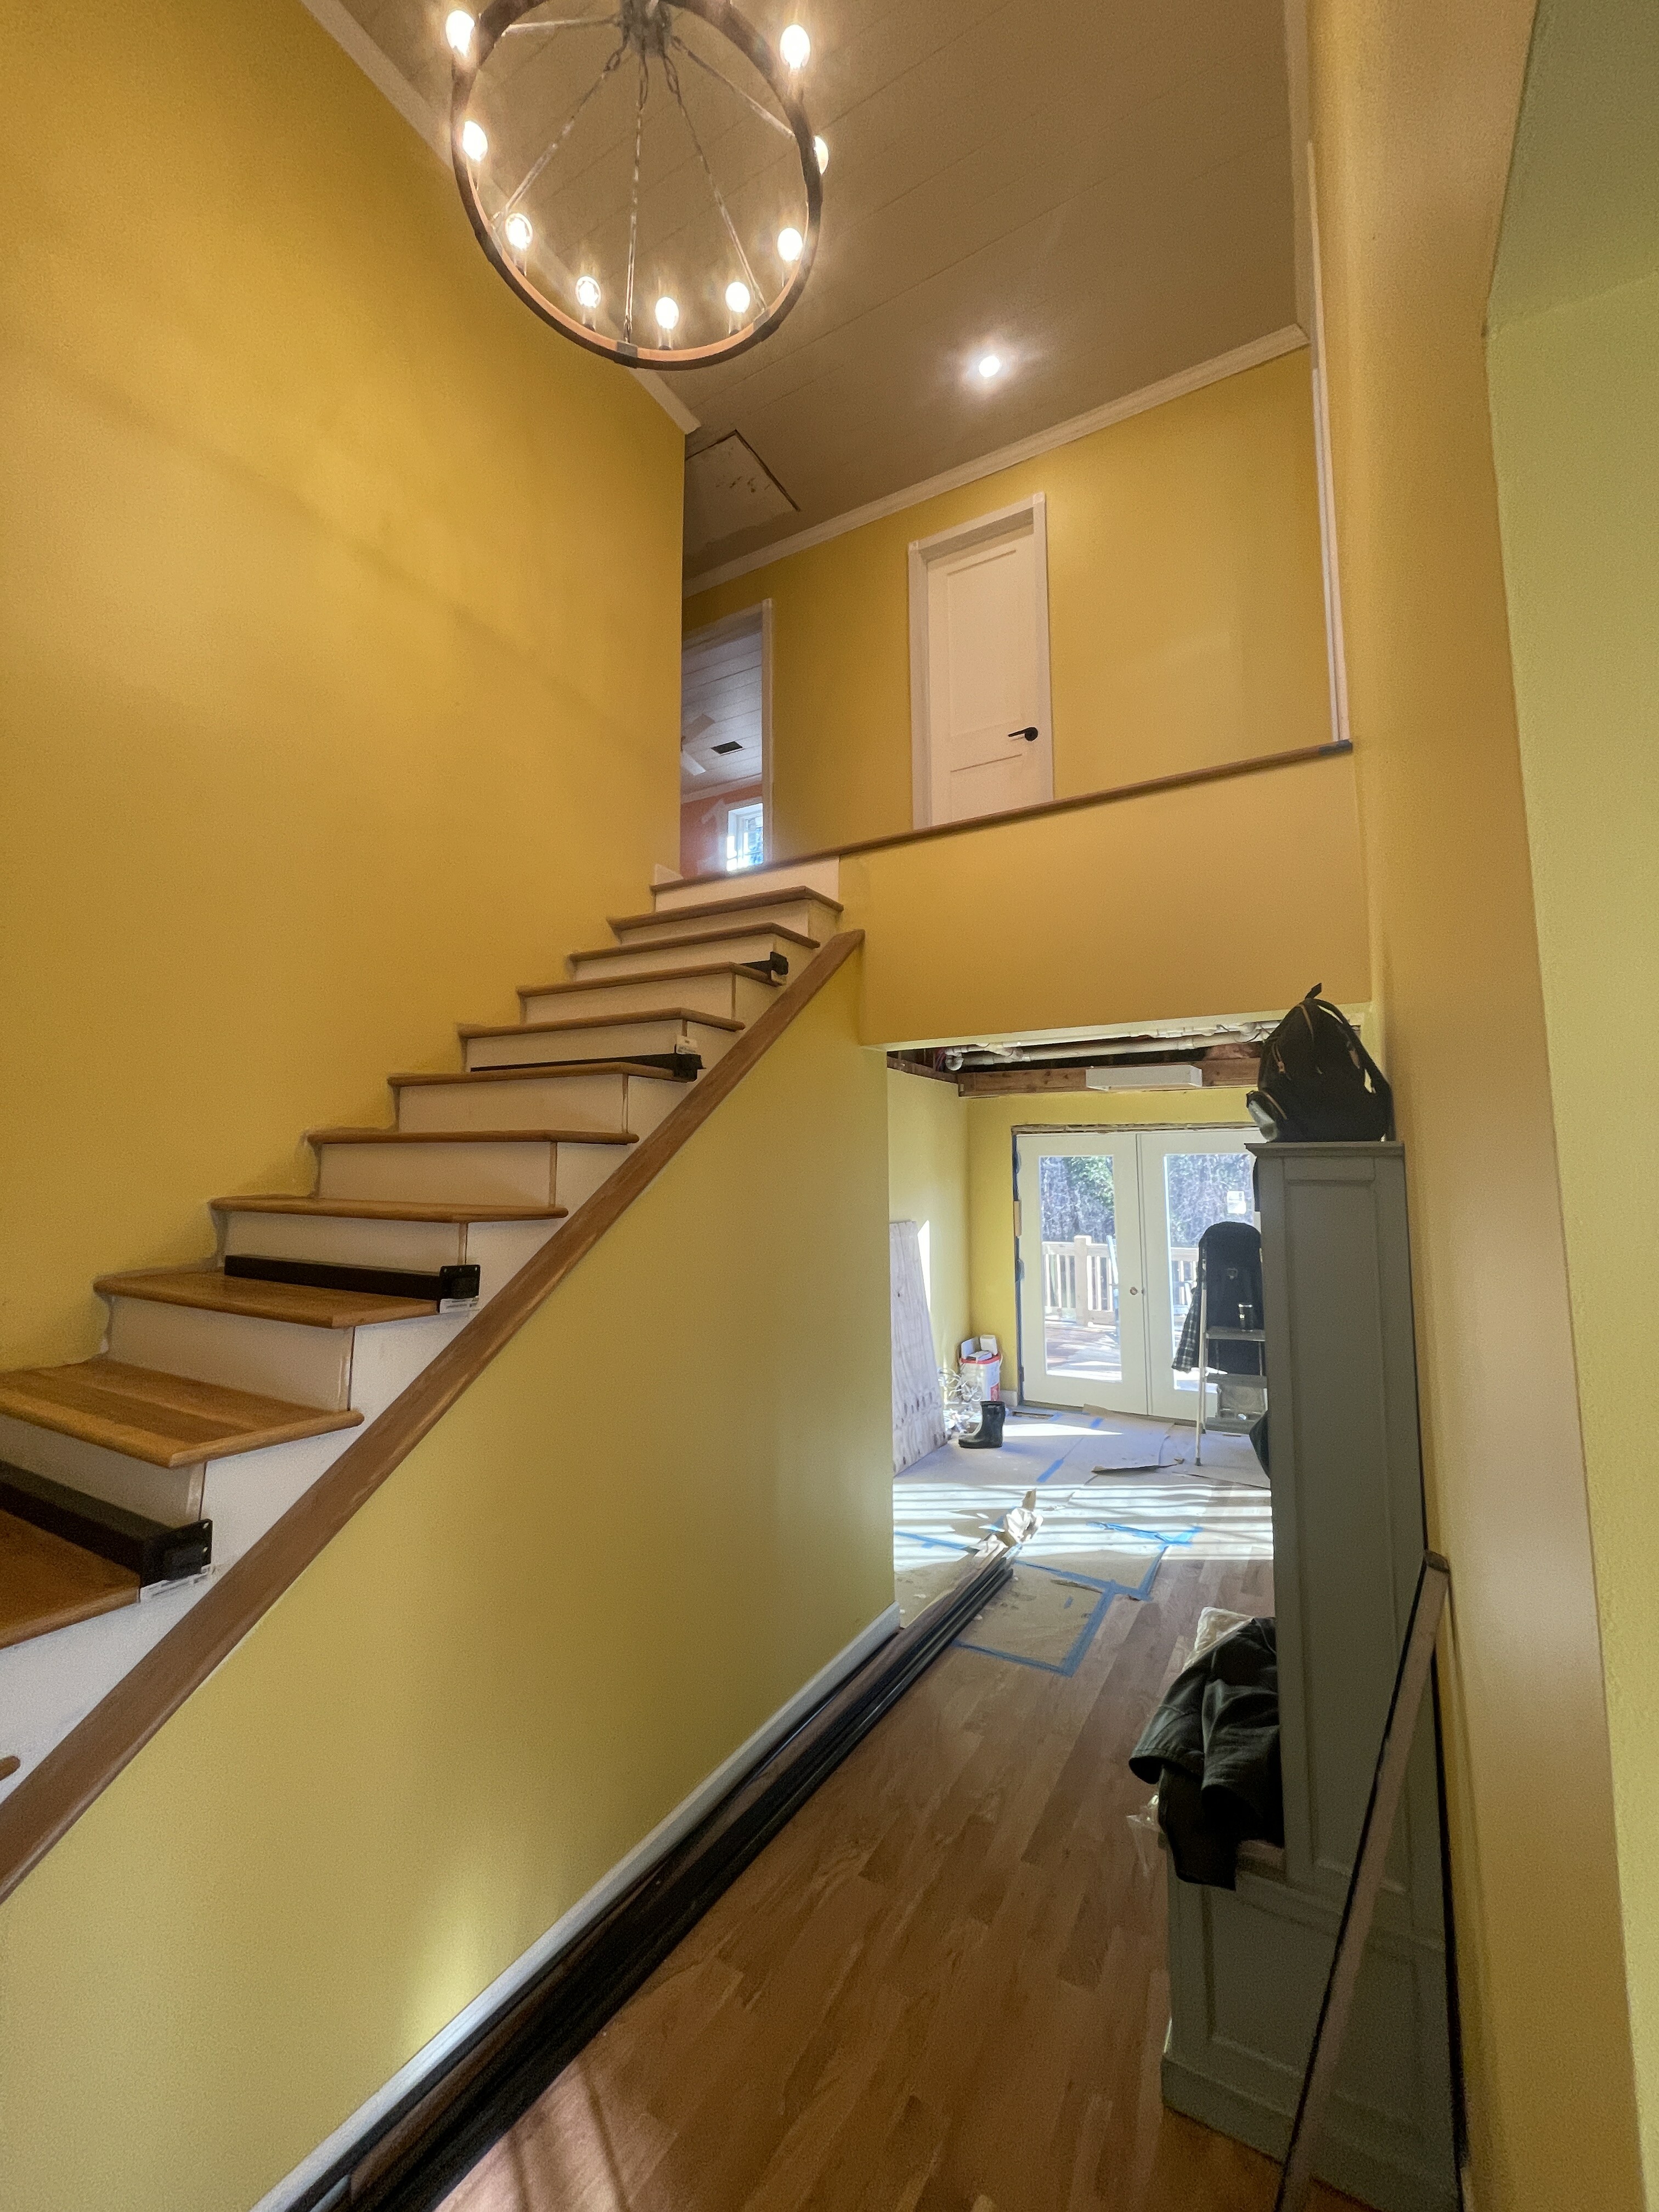
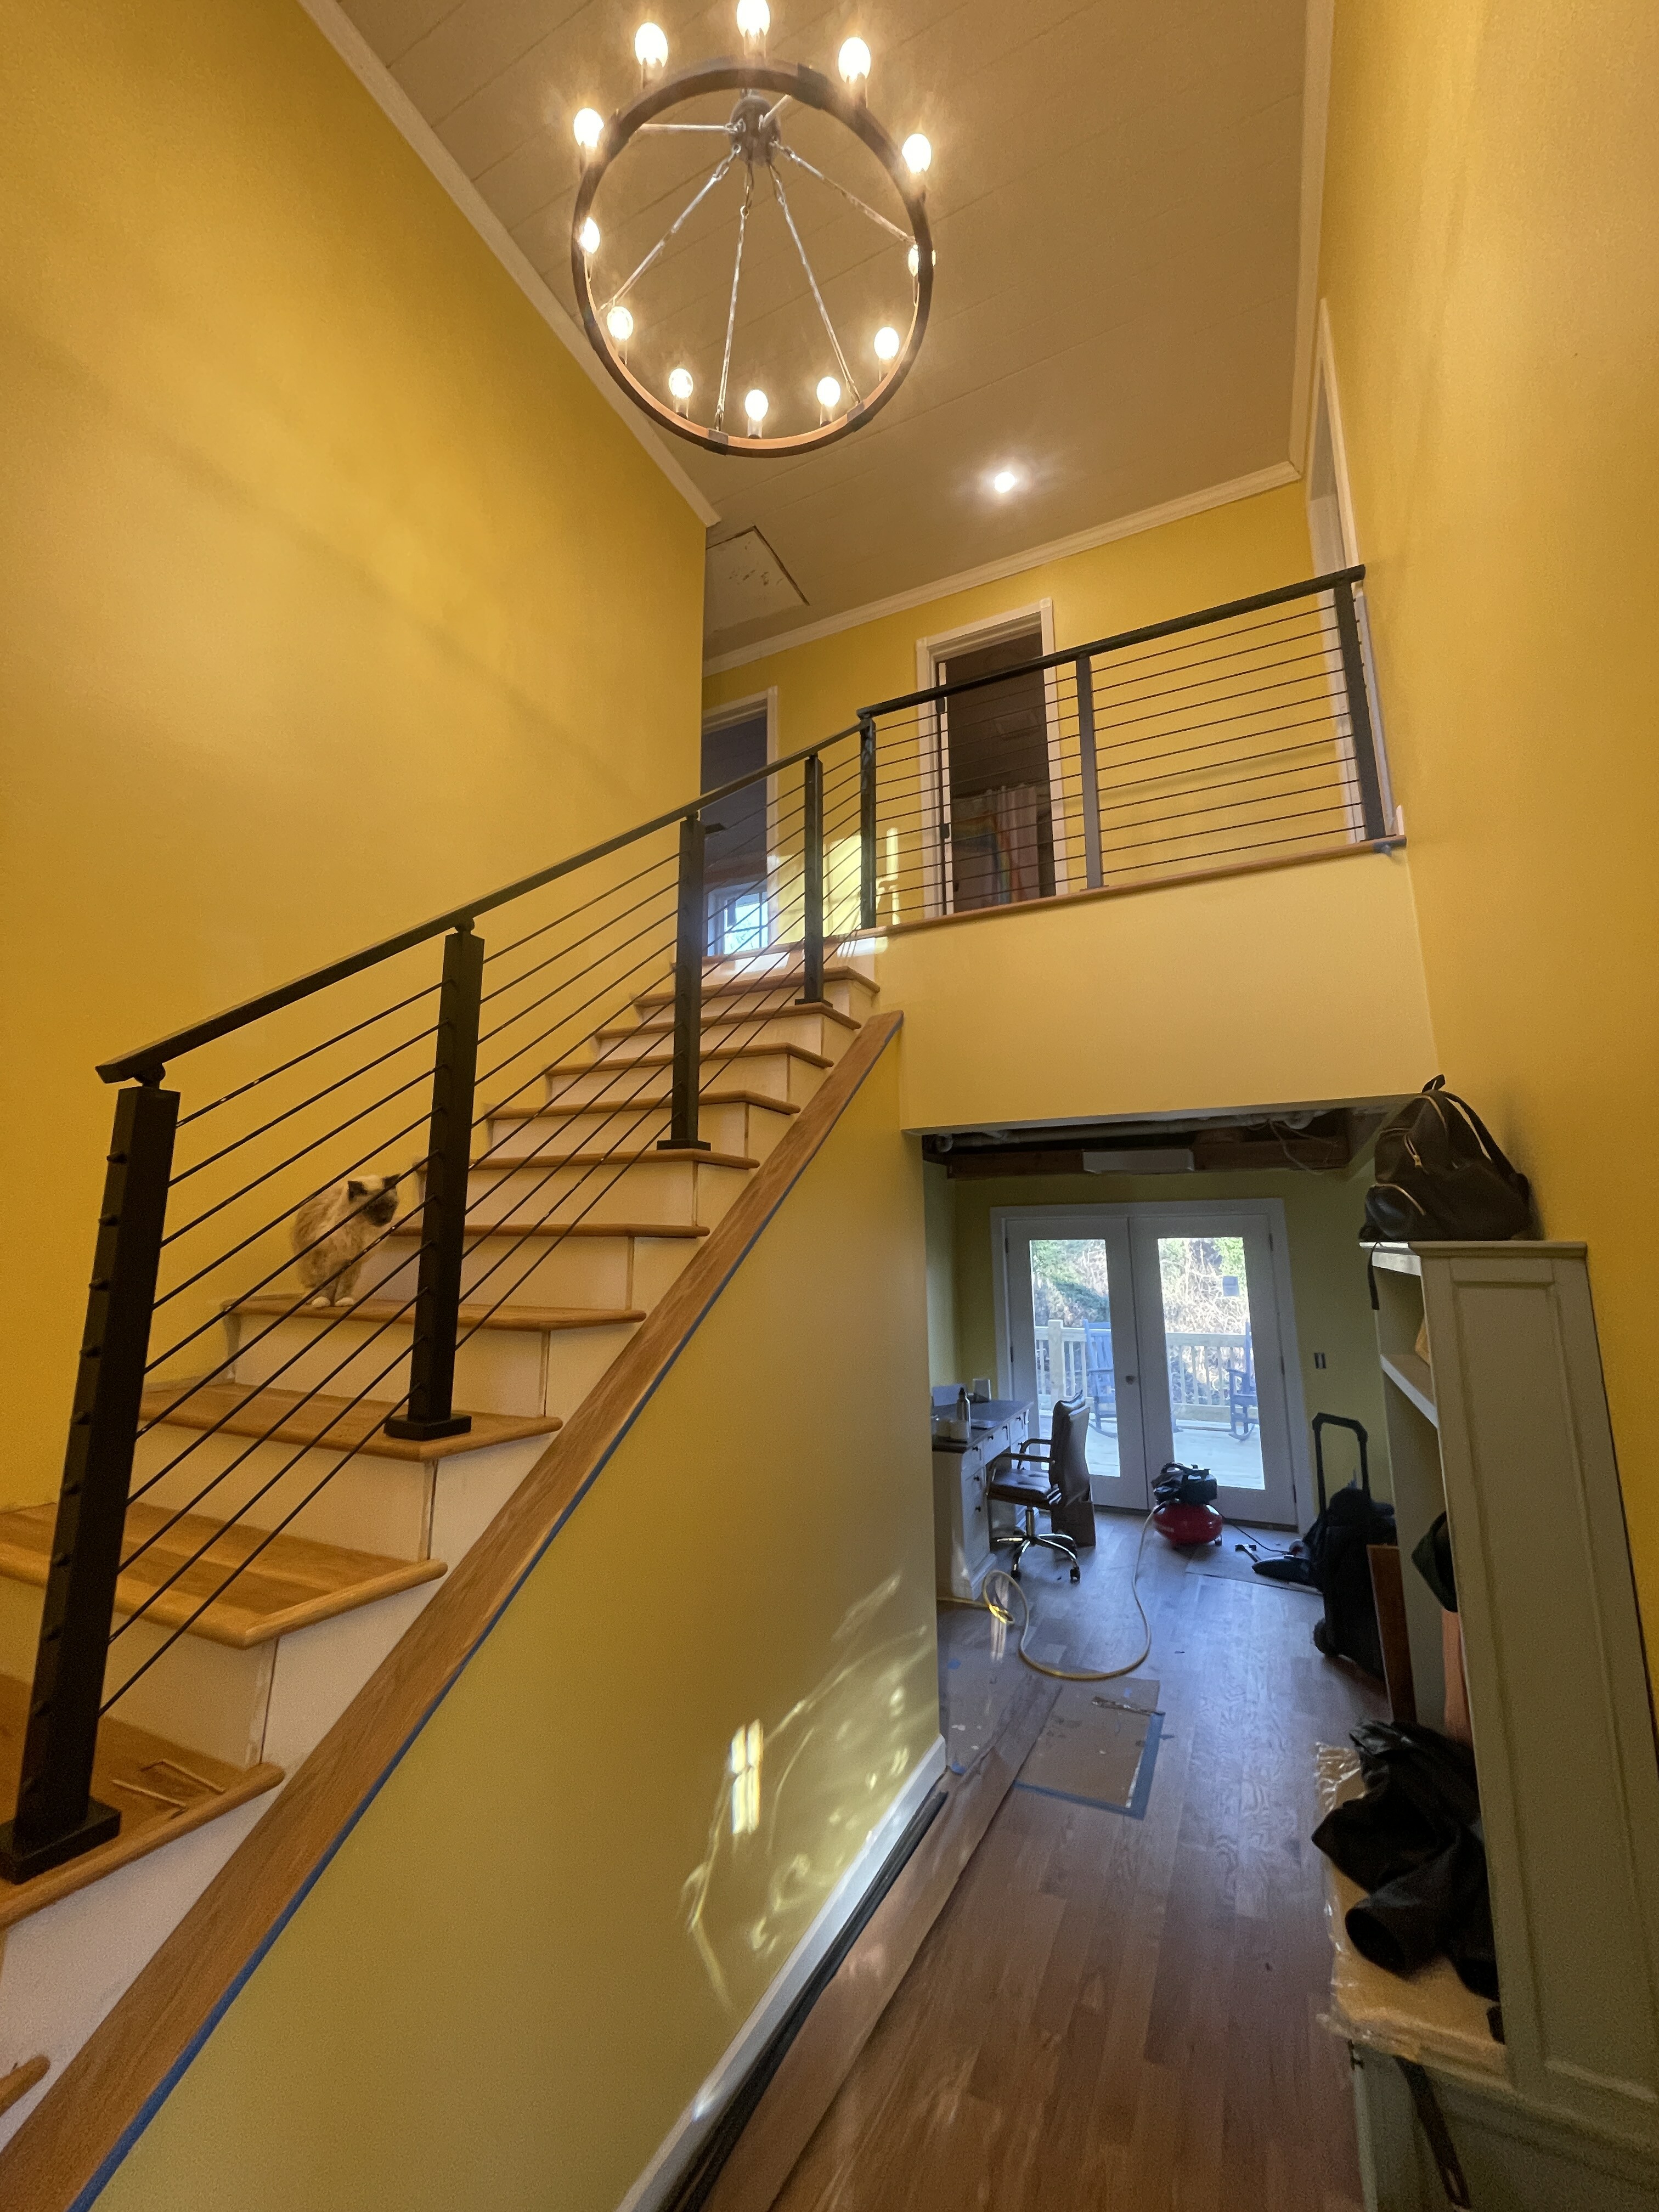
Inside the house, they had removed the old stairrails that were falling apart. In their place, I installed some metal stairrails that the owner purchased.
 |
 |
|
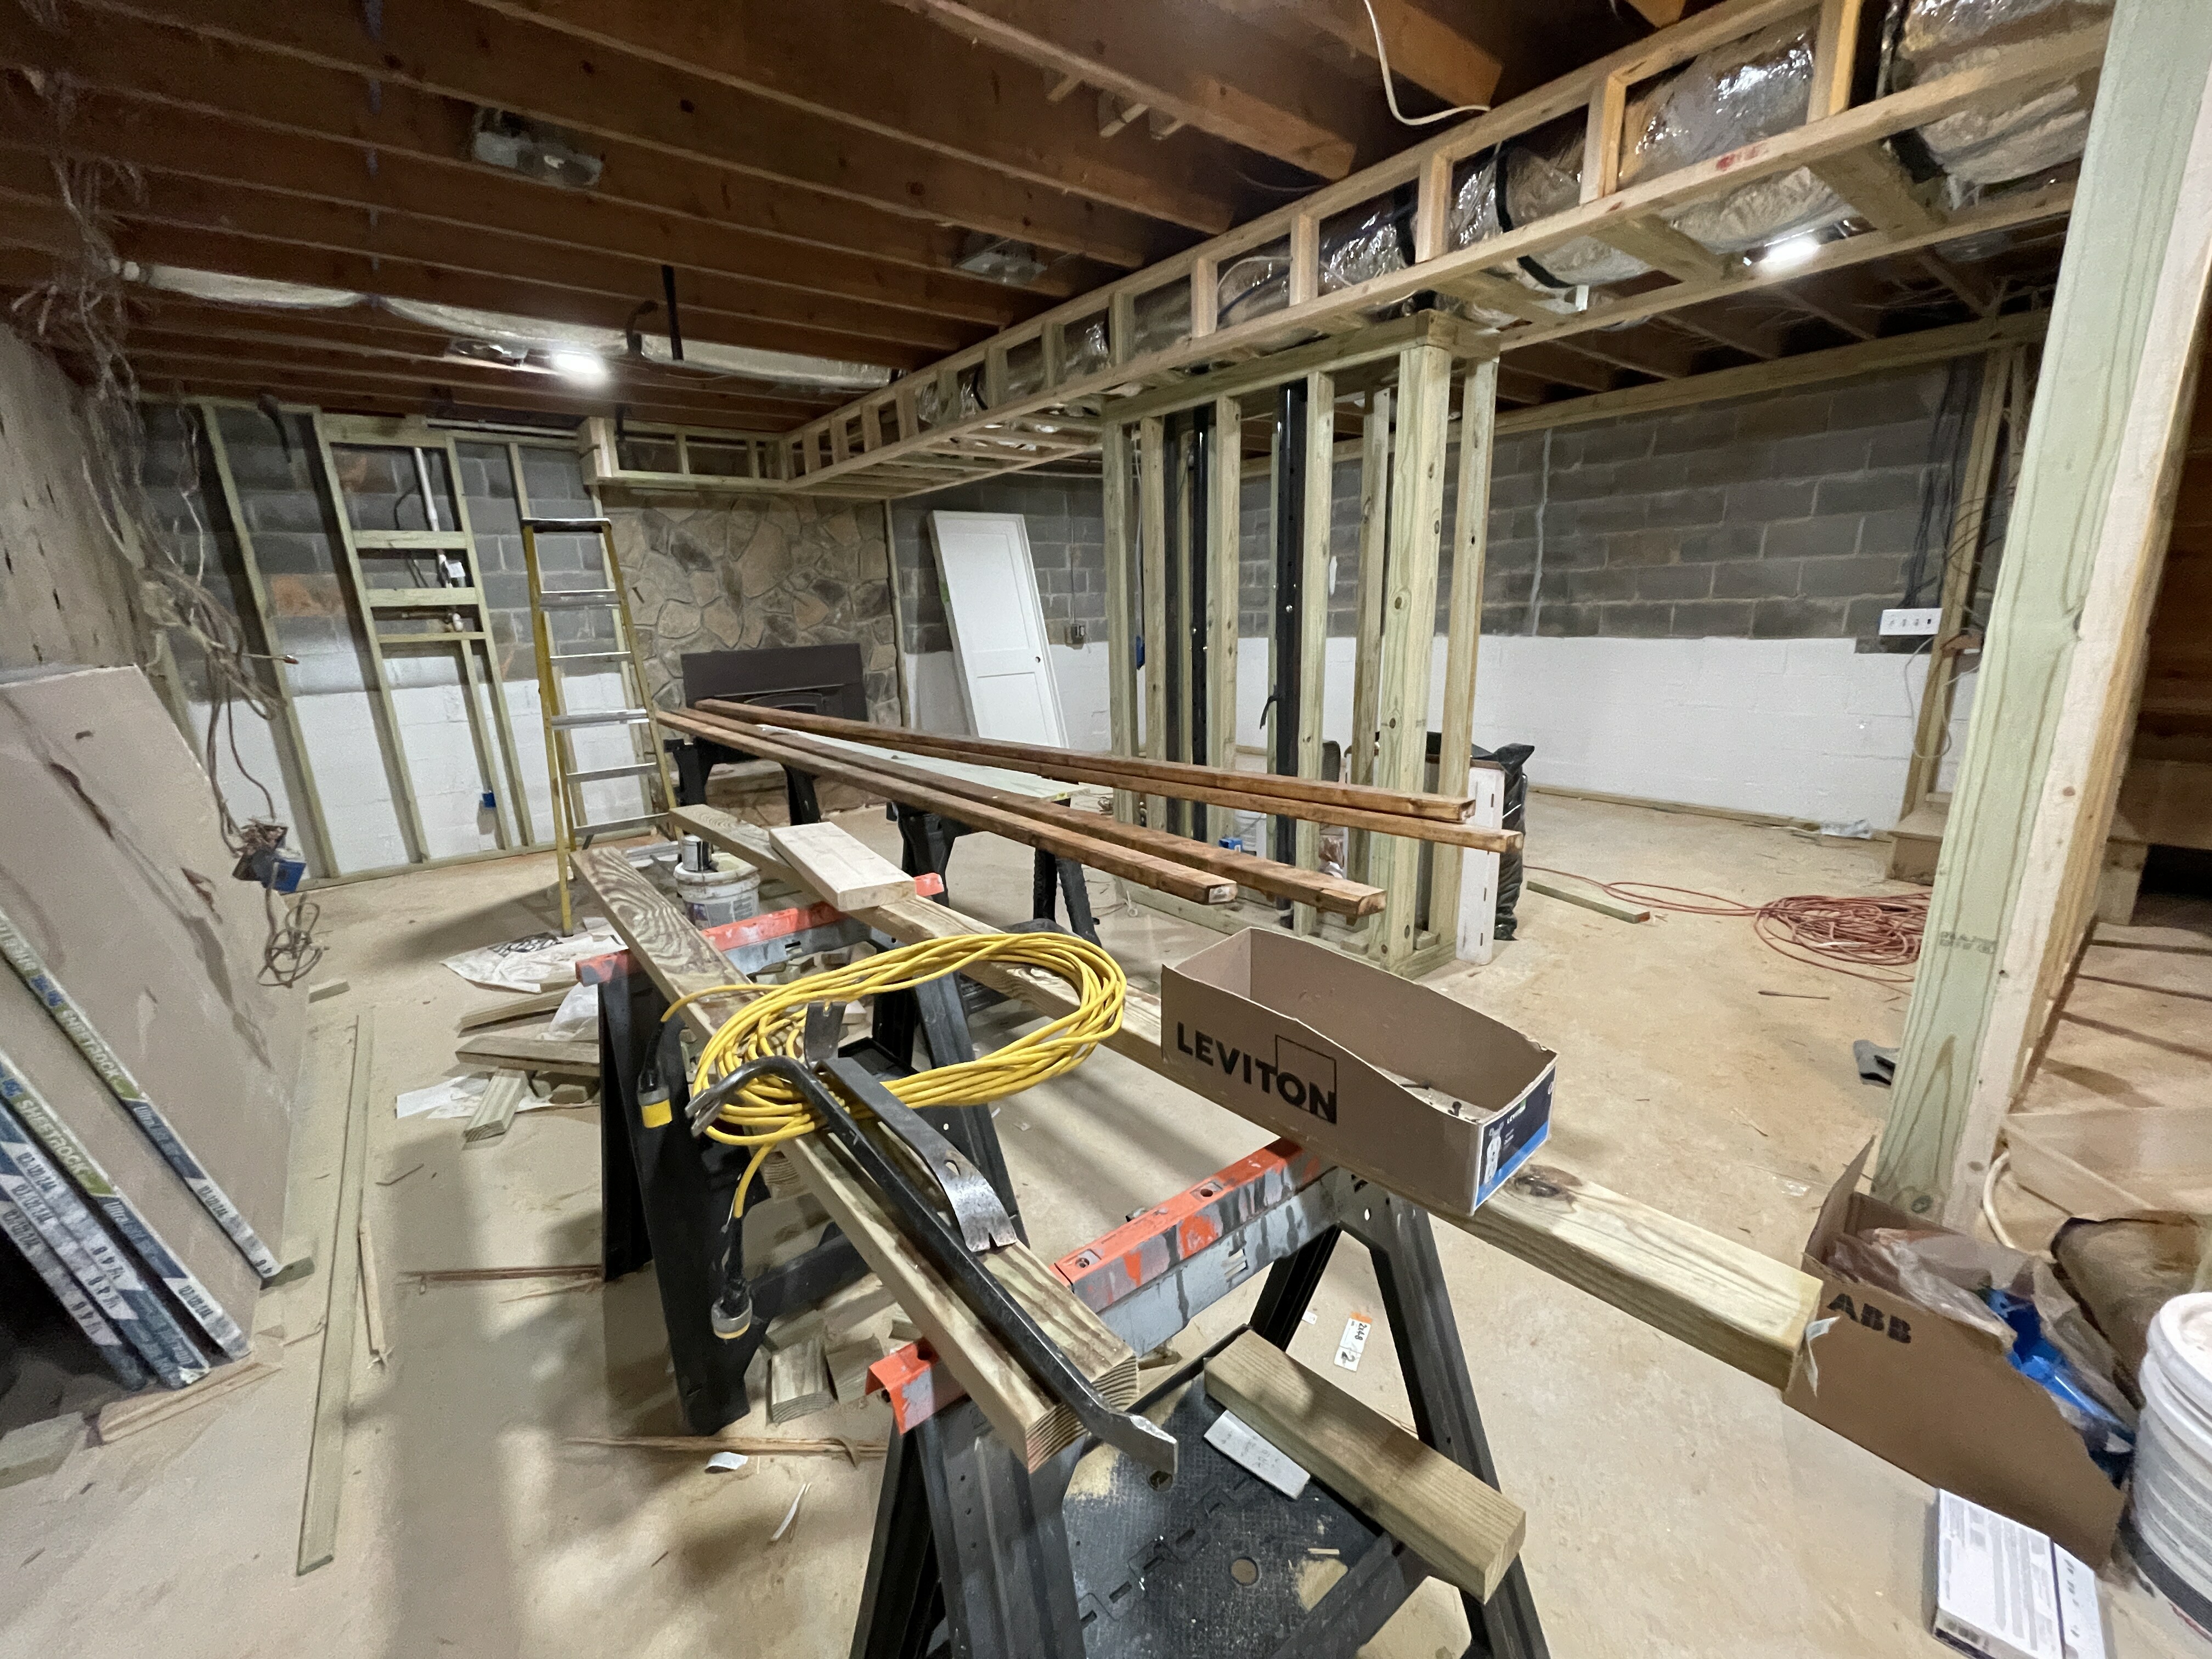
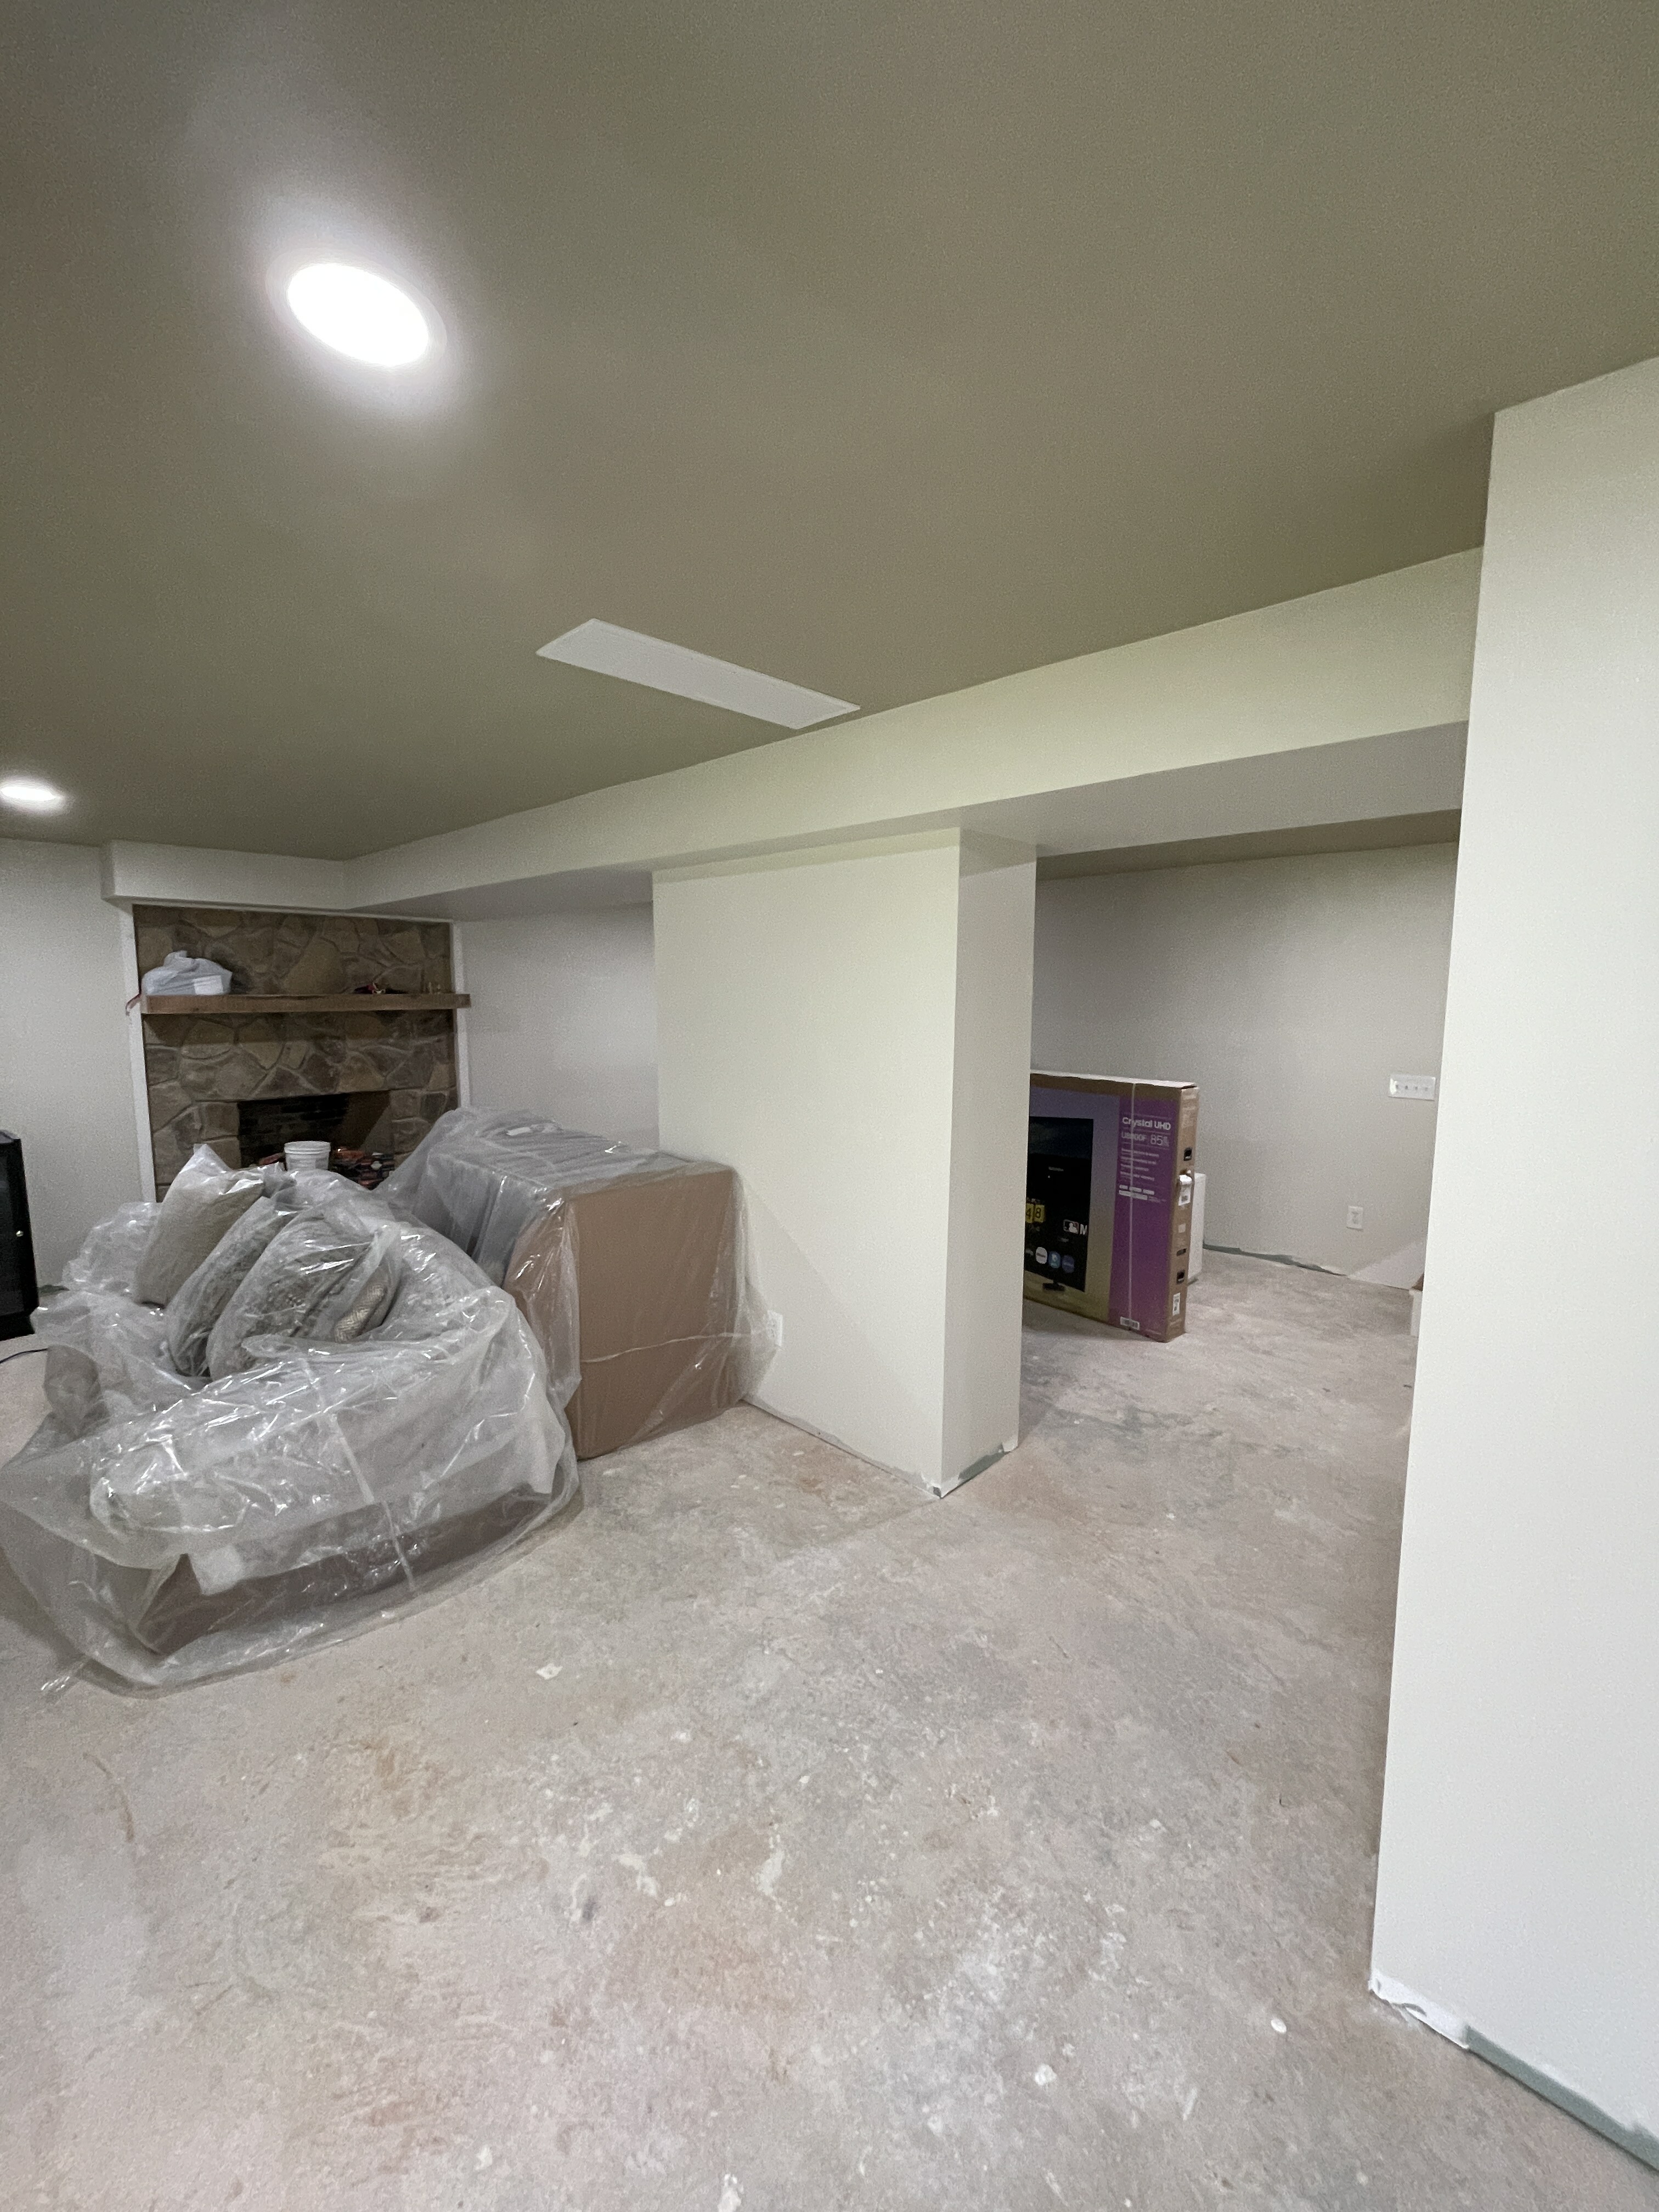
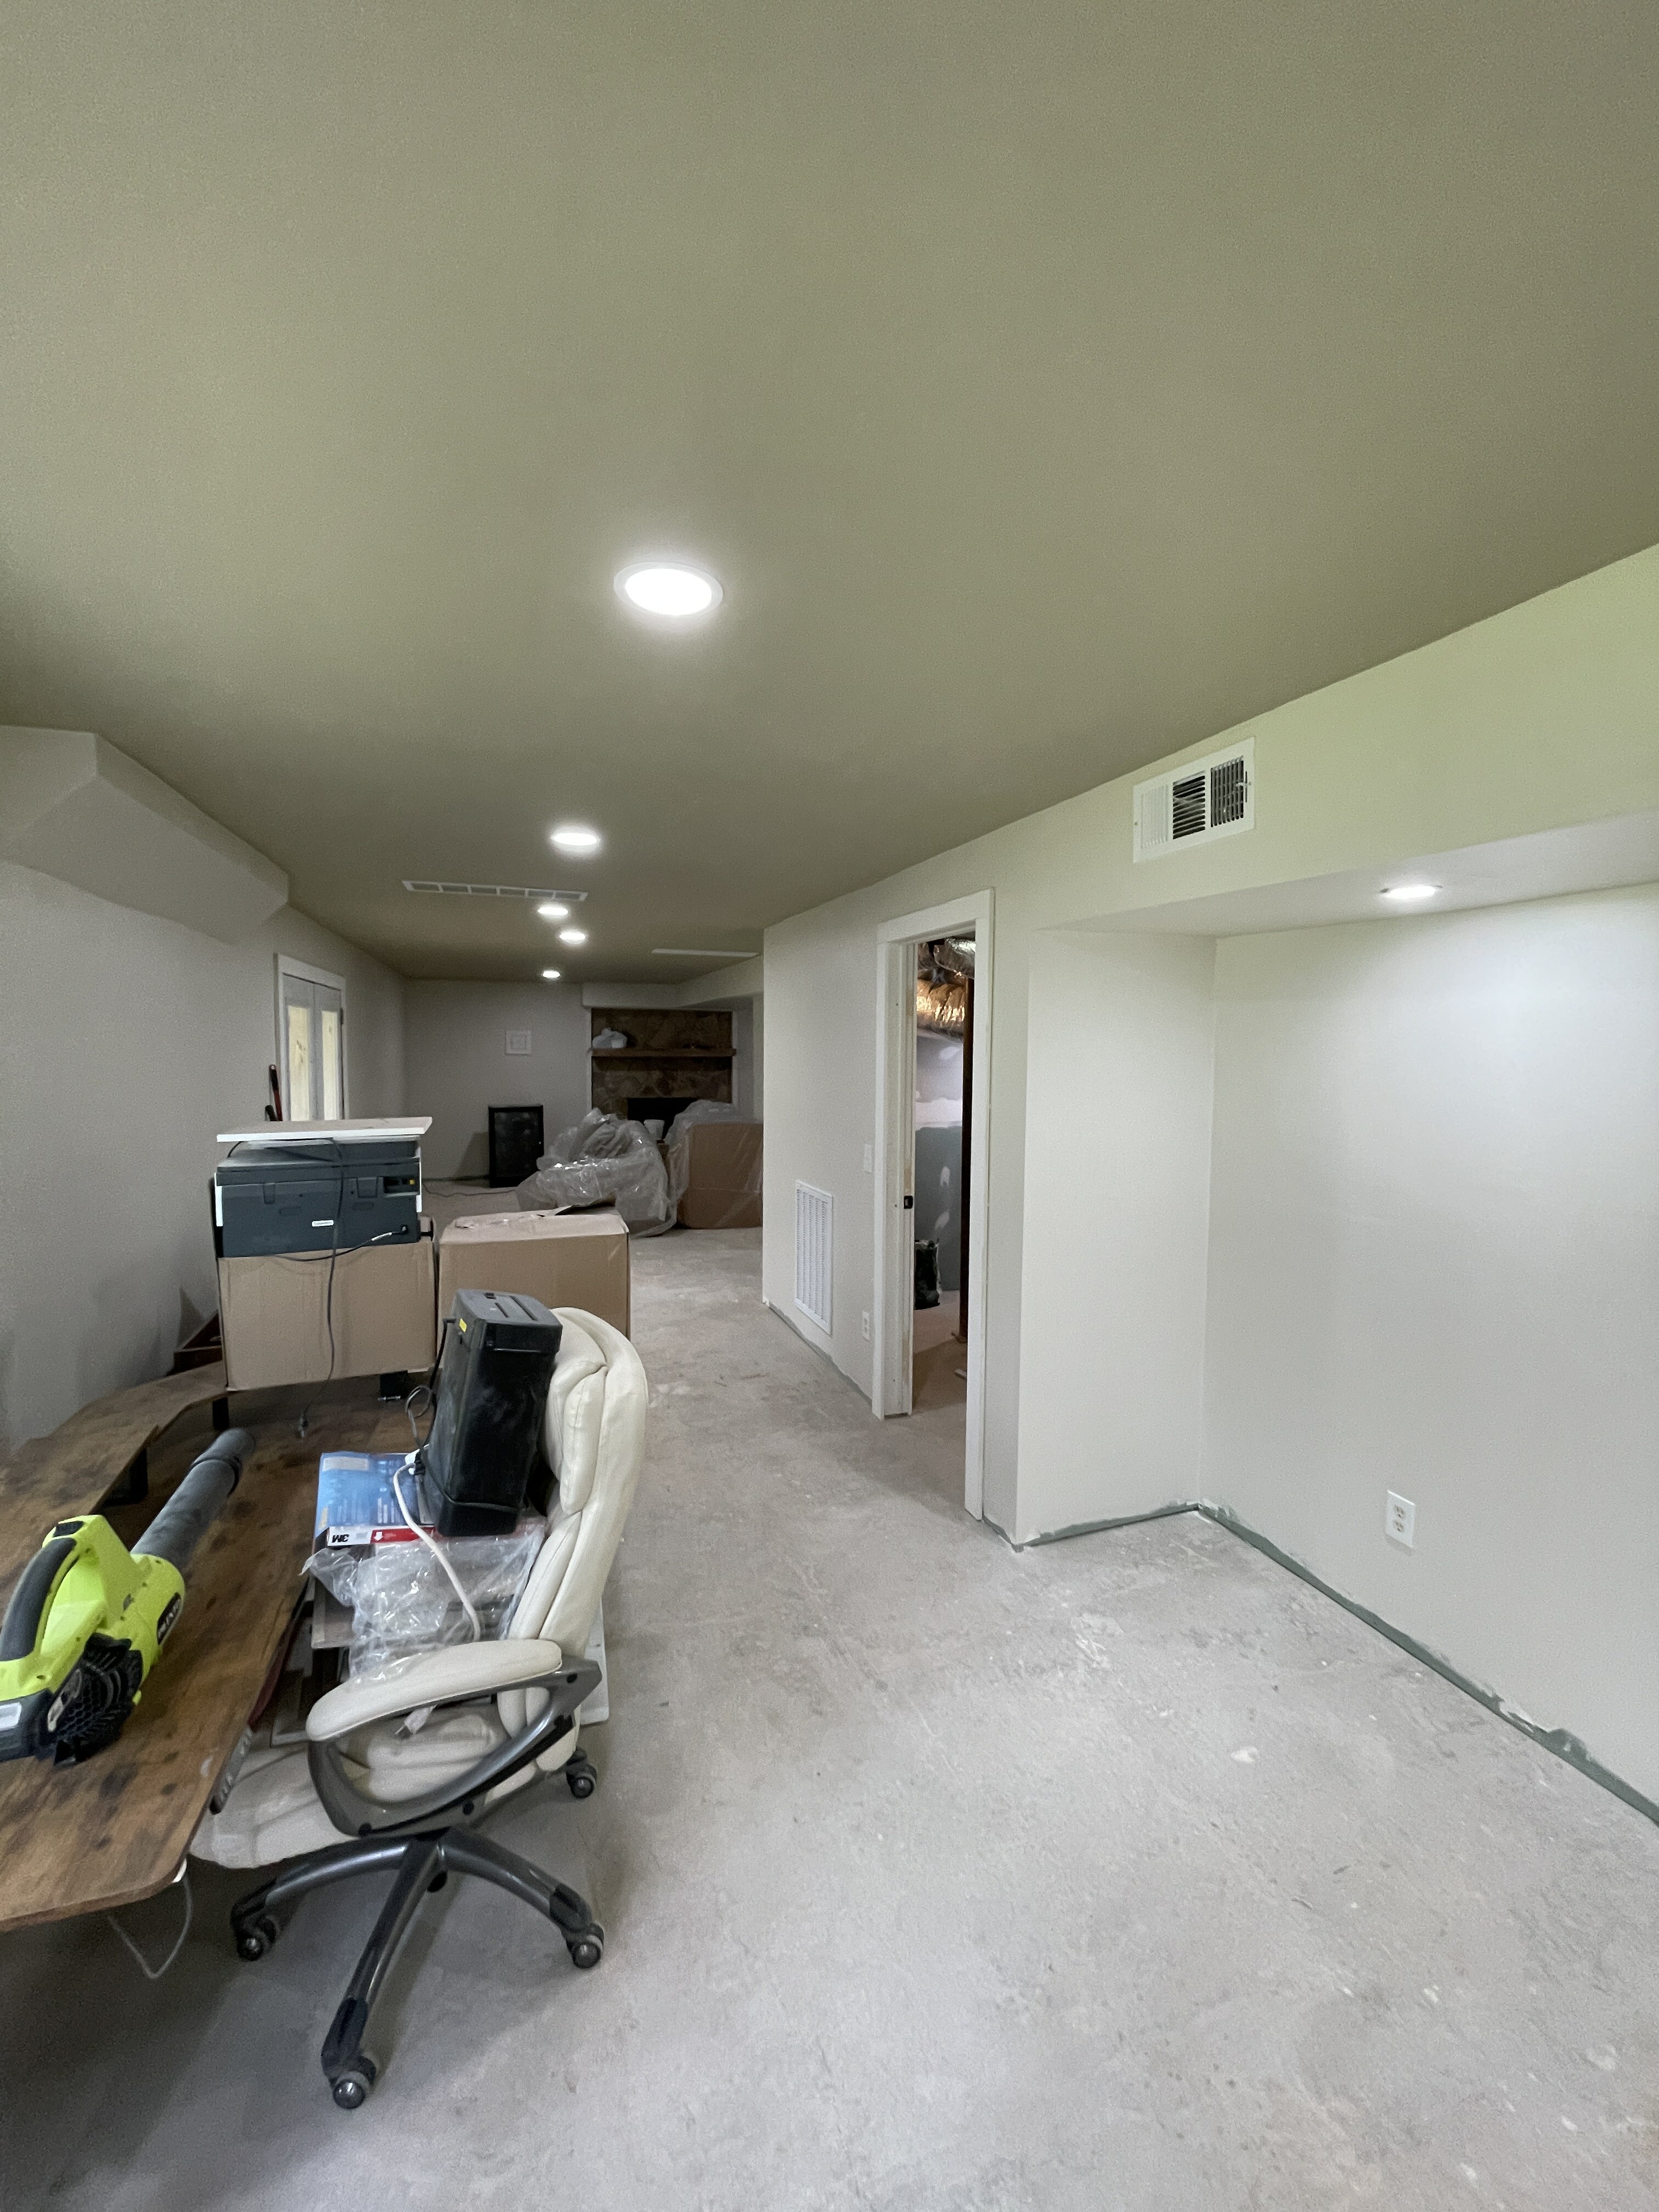
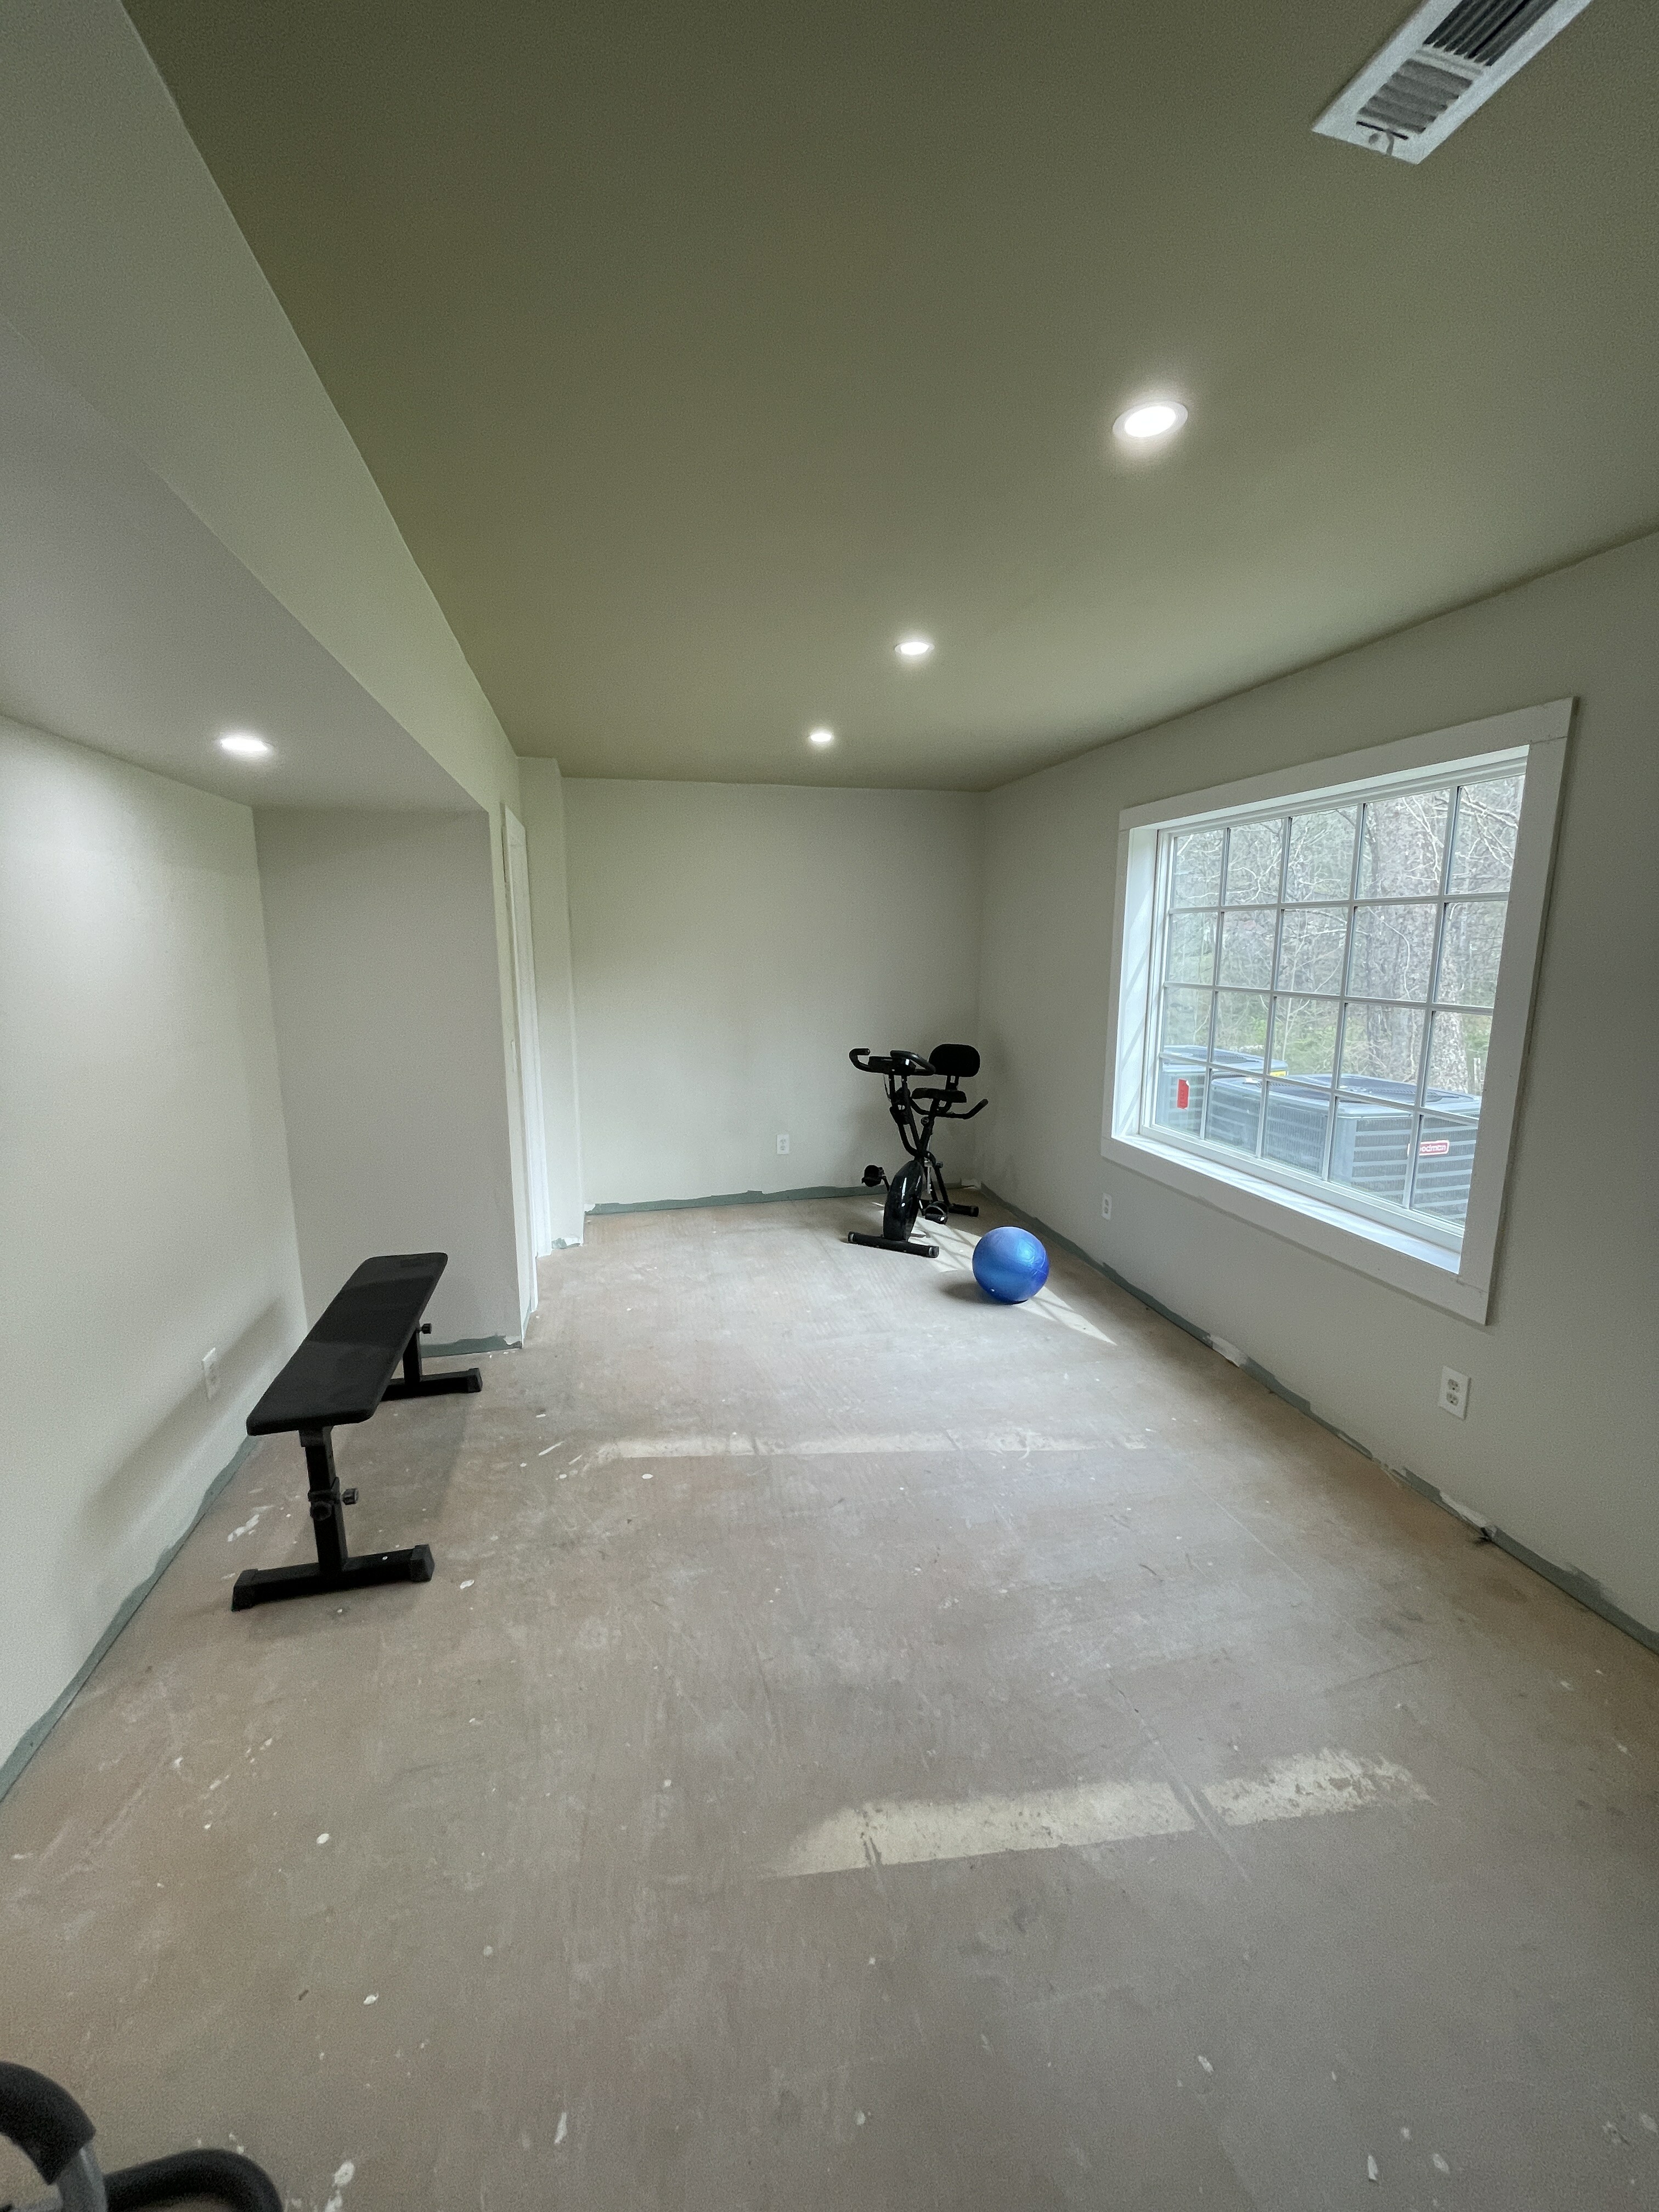
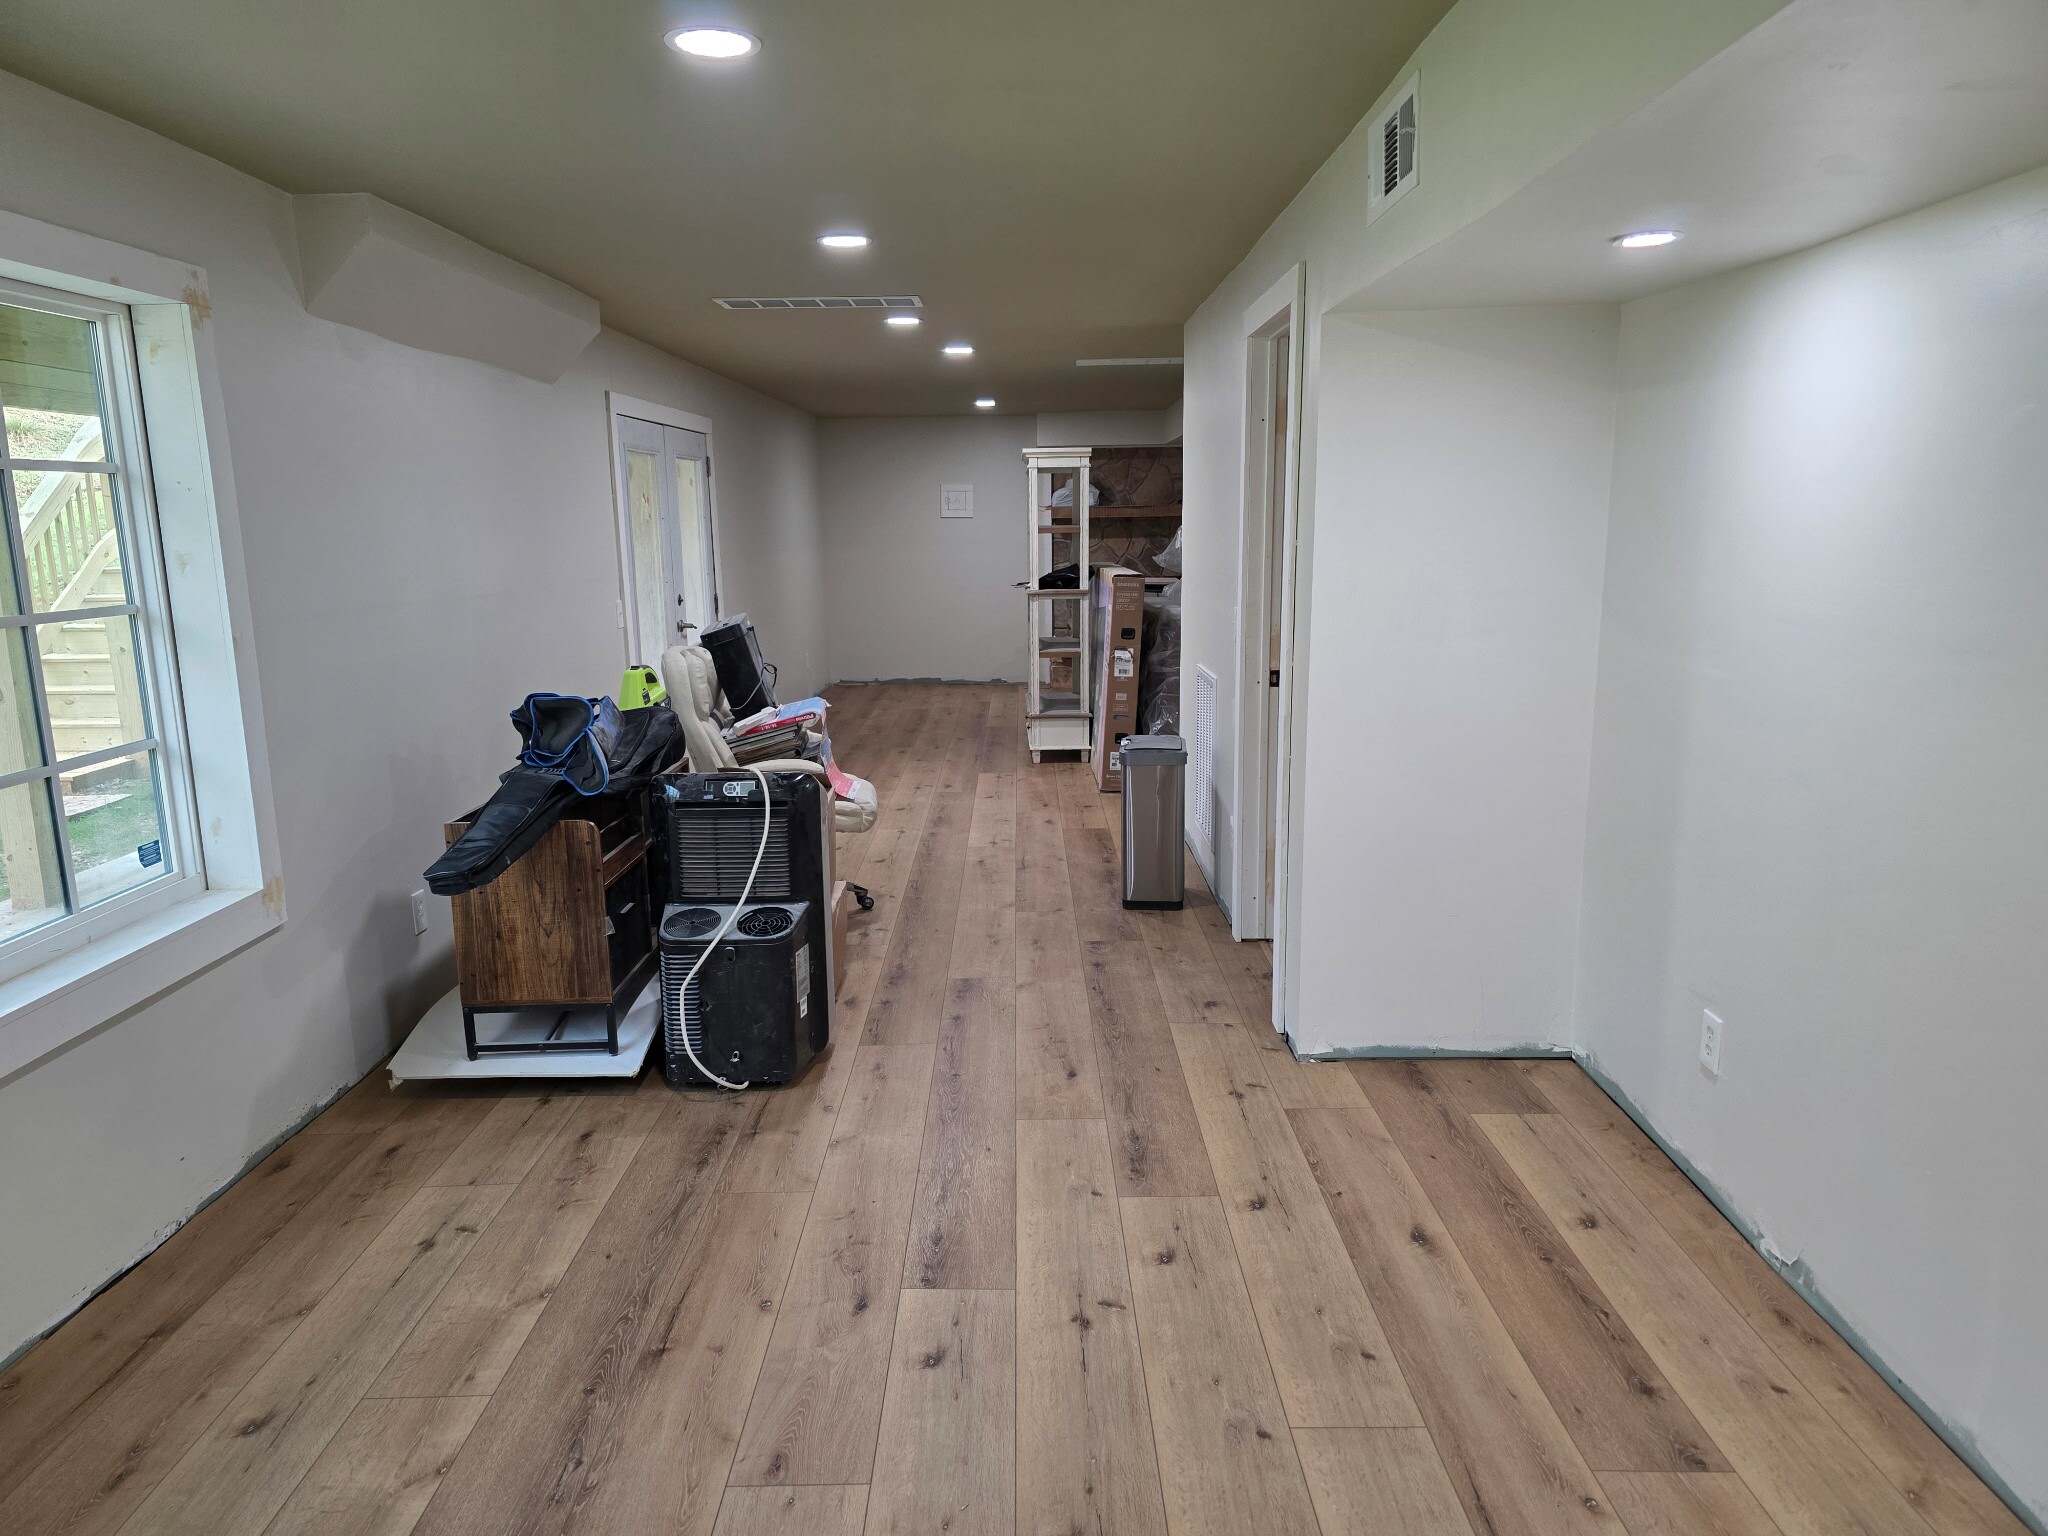
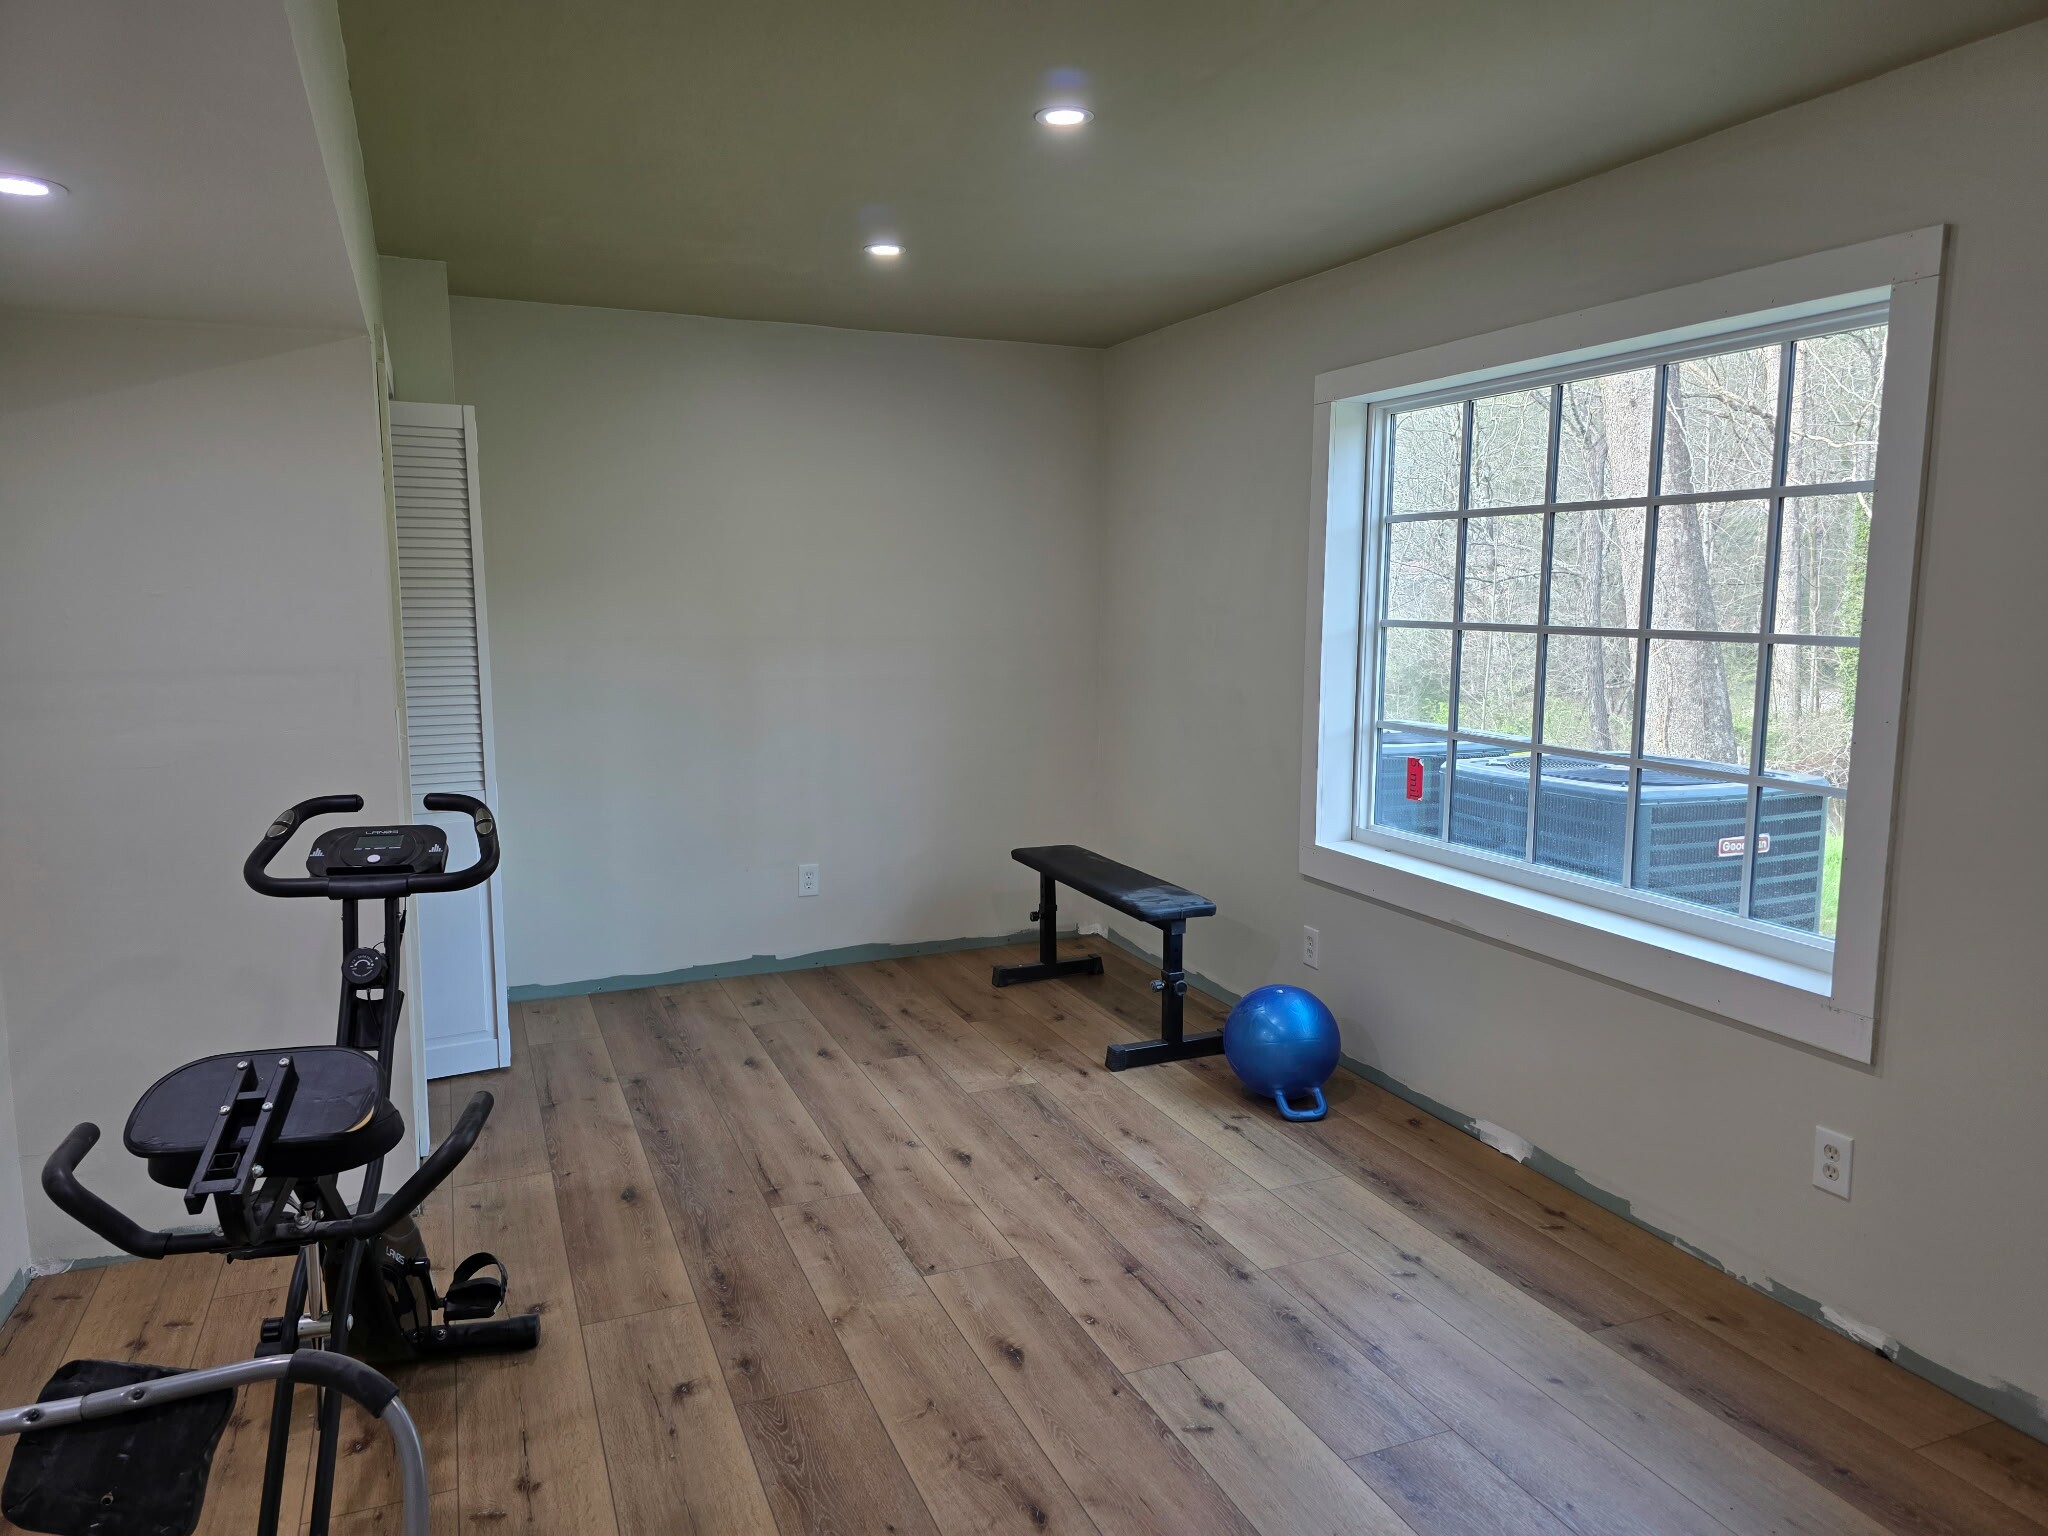
In the basement area, the owner wanted to convert this into a usable living space. He wanted a den area, an office and he even mentioned a workout room.
The main issue in the basement was that there was a lot of exposed HVAC ductwork and a lot of bad electrical wiring.
So, I used my laser to align a bulkhead from one end to the other to hide the ductwork, and I removed all of the electrical wiring and boxes.
Then I installed all new wiring, boxes, lights, and switches (as well as 3-way switches) where they made the most sense.
I impressed upon the owner that we really wanted to make sure that everything was done to code so that he would have no issues if he decided to sell this house in the future.
After completing the framing, I insulated the walls and hung, finished and painted the drywall. I recommended a local company to install the LVP flooring for him.
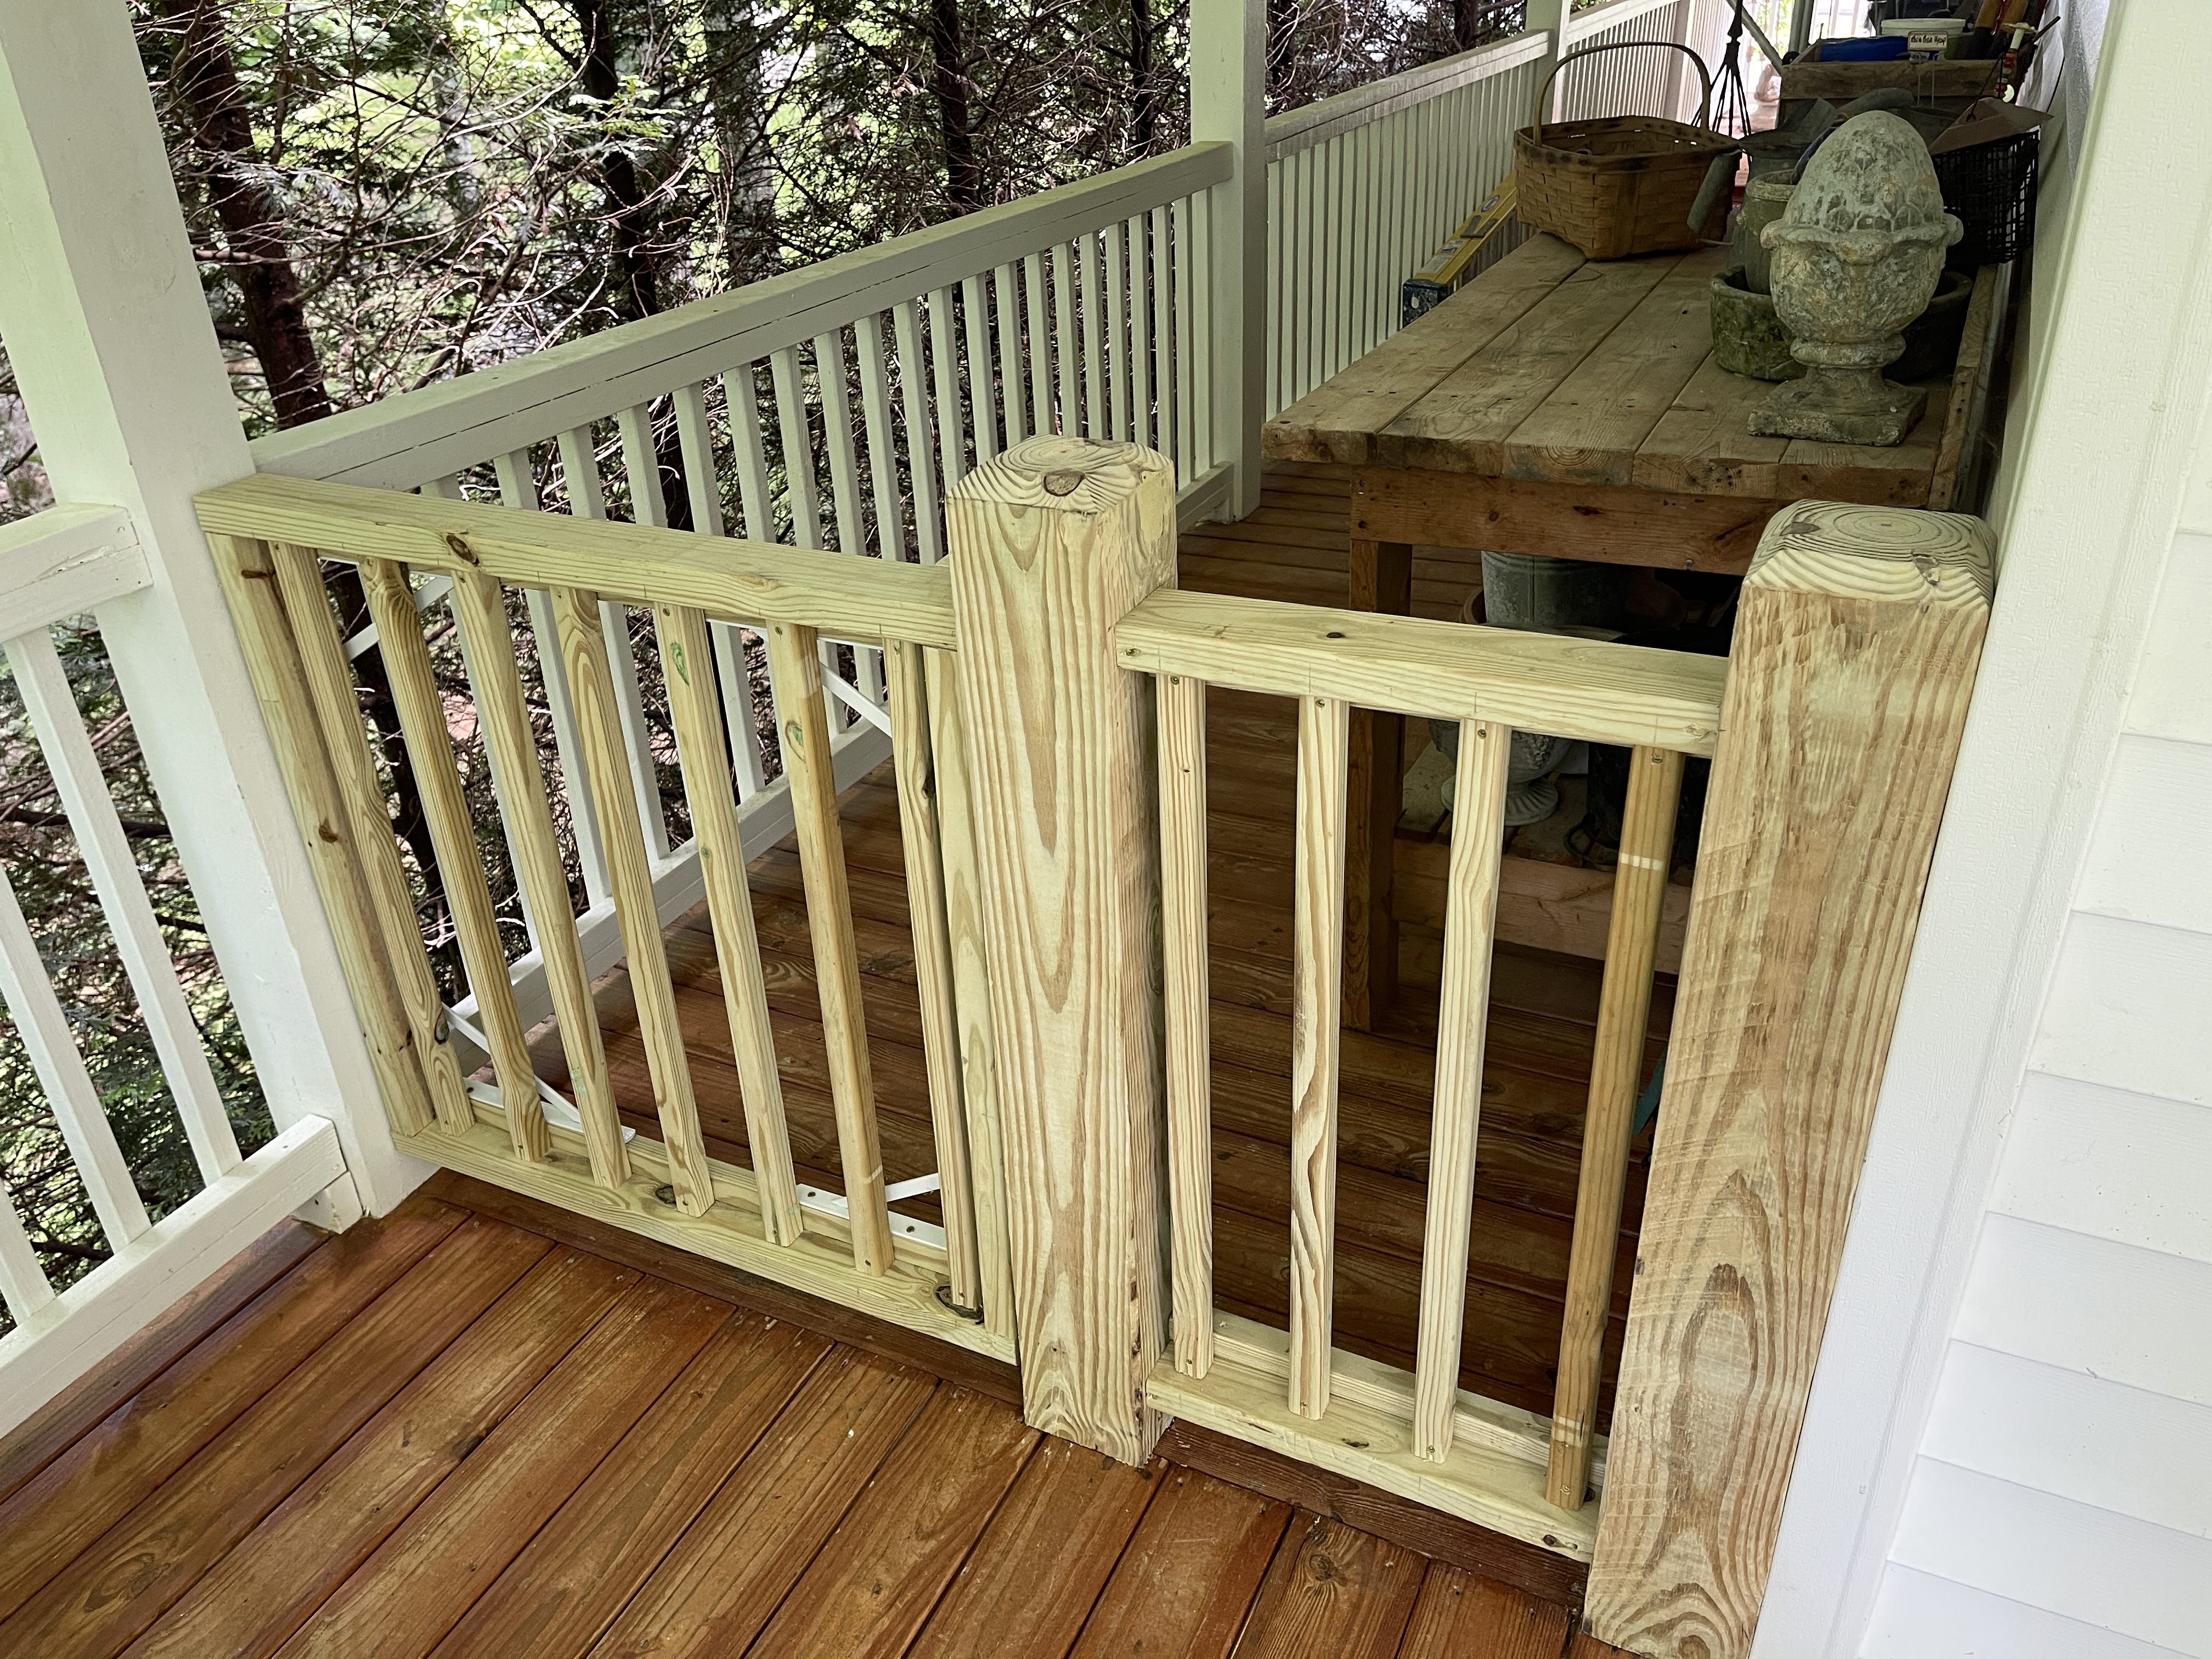
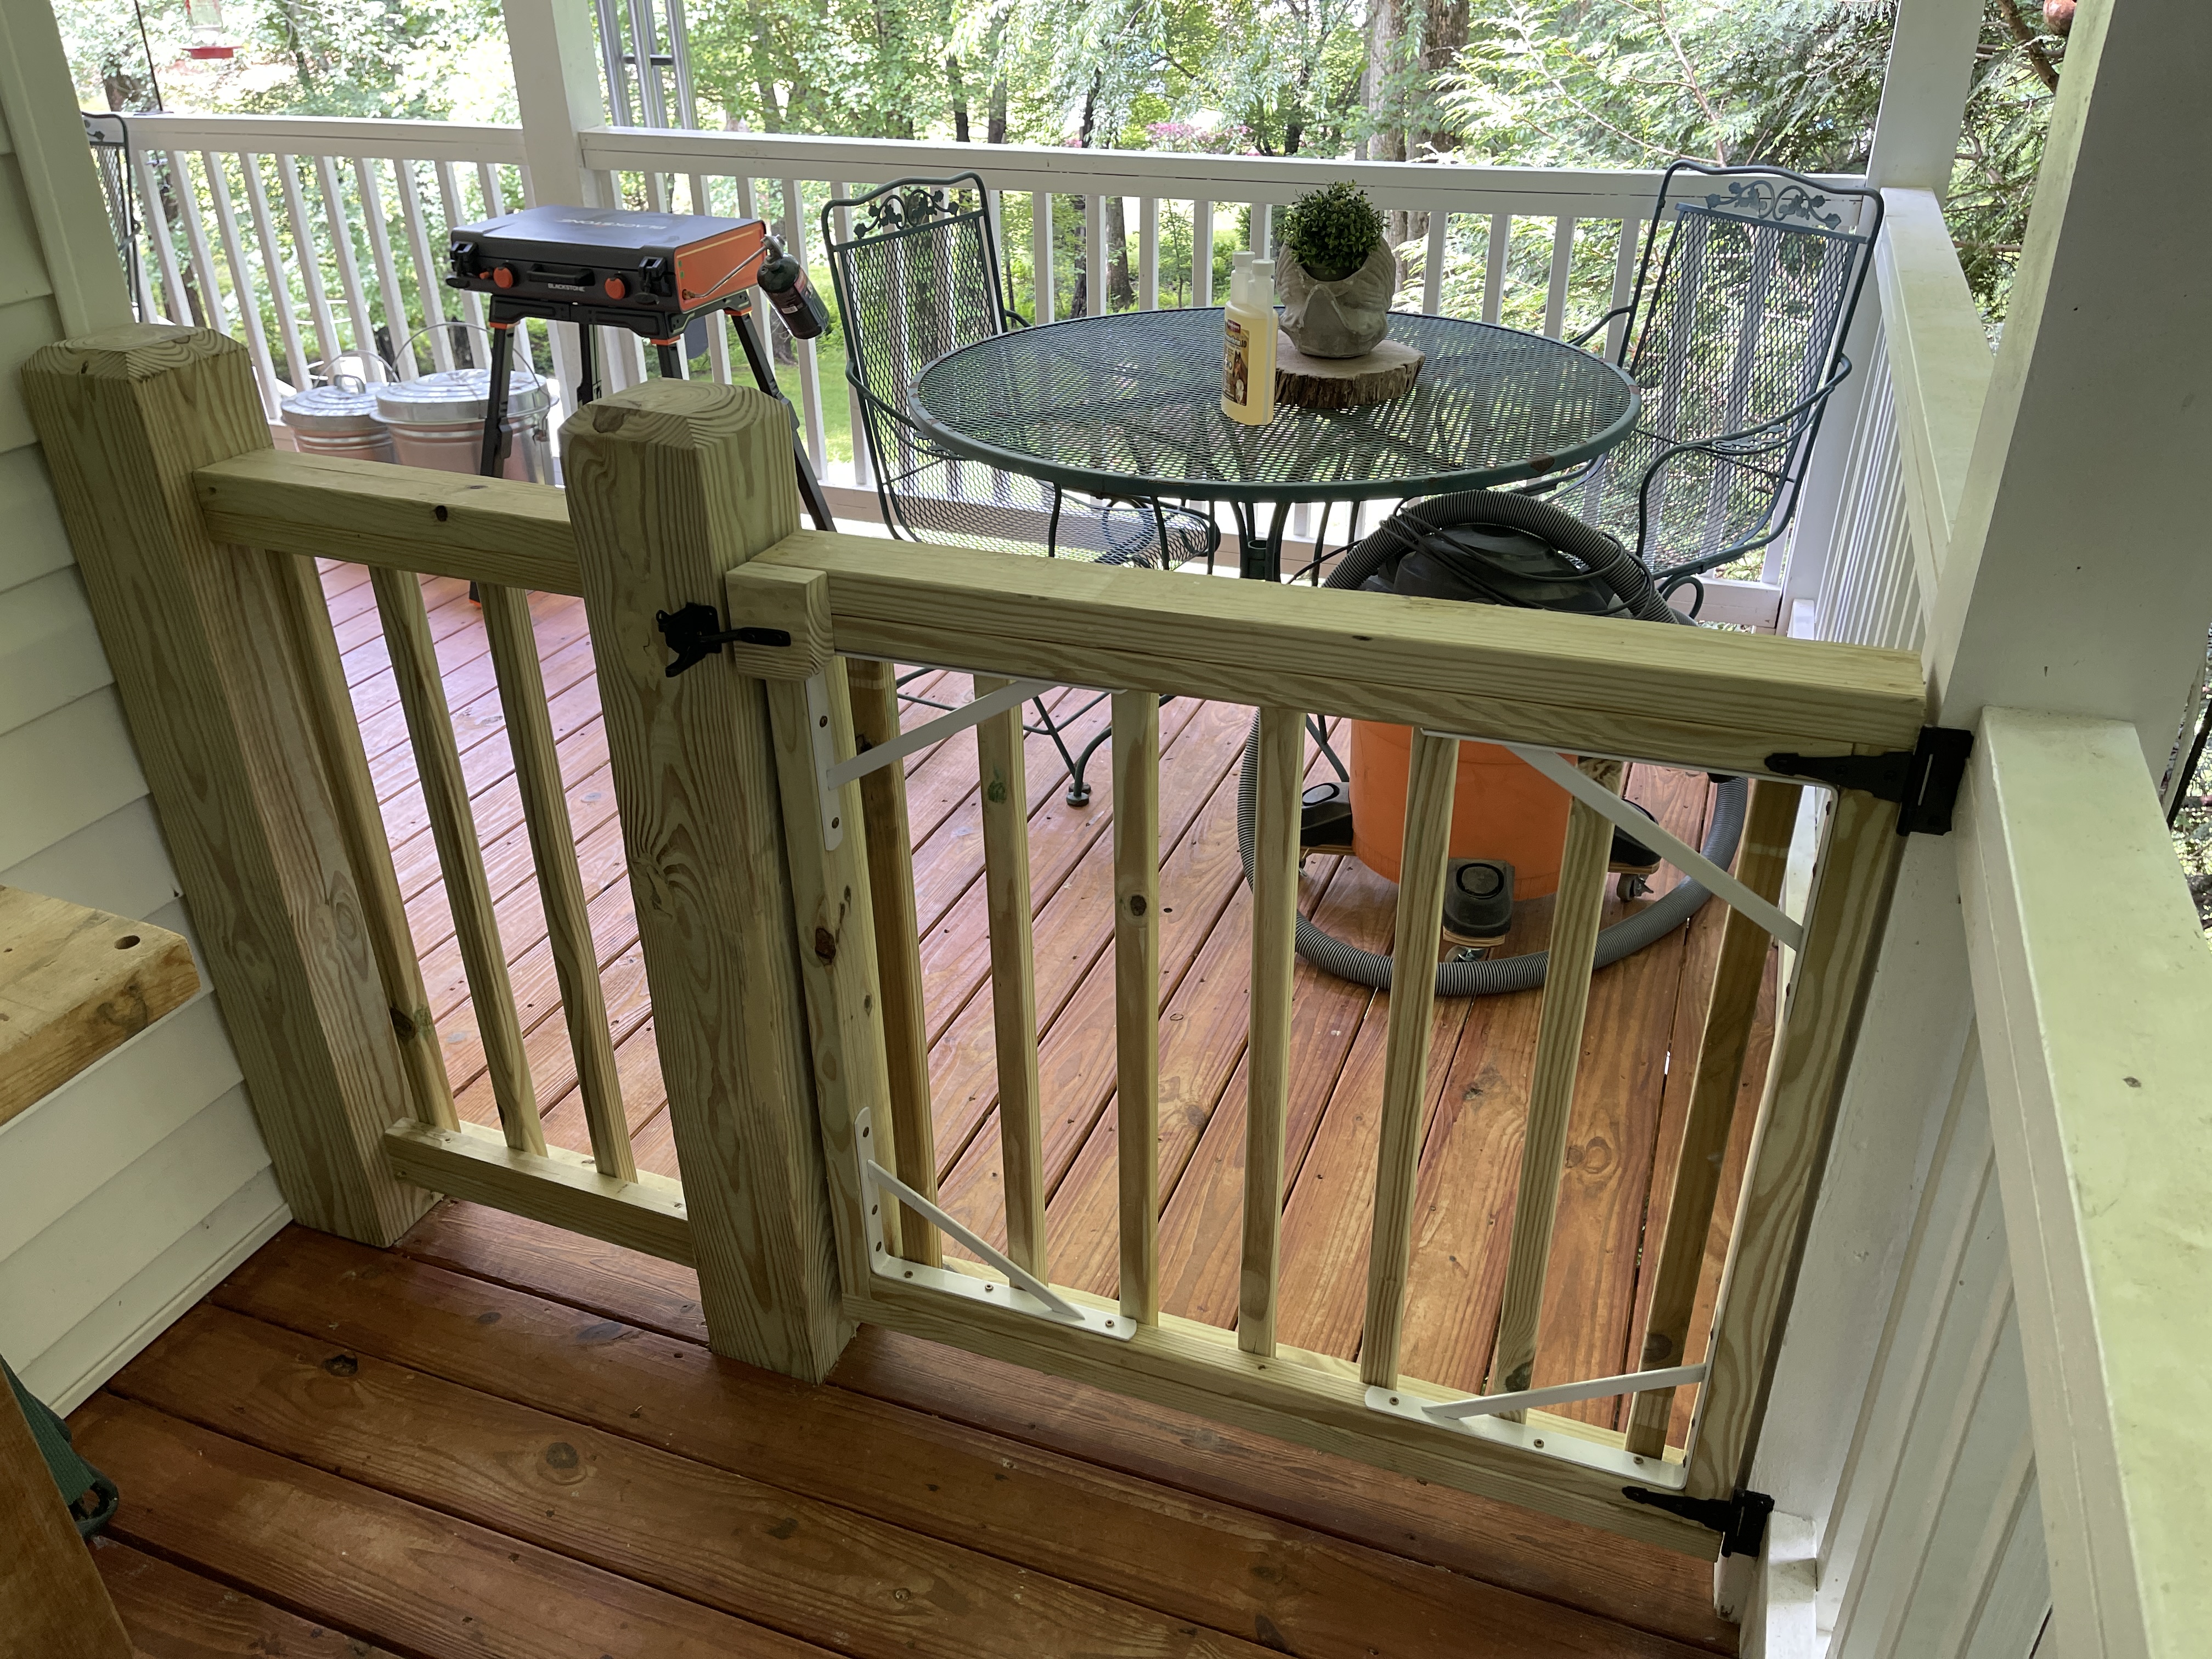
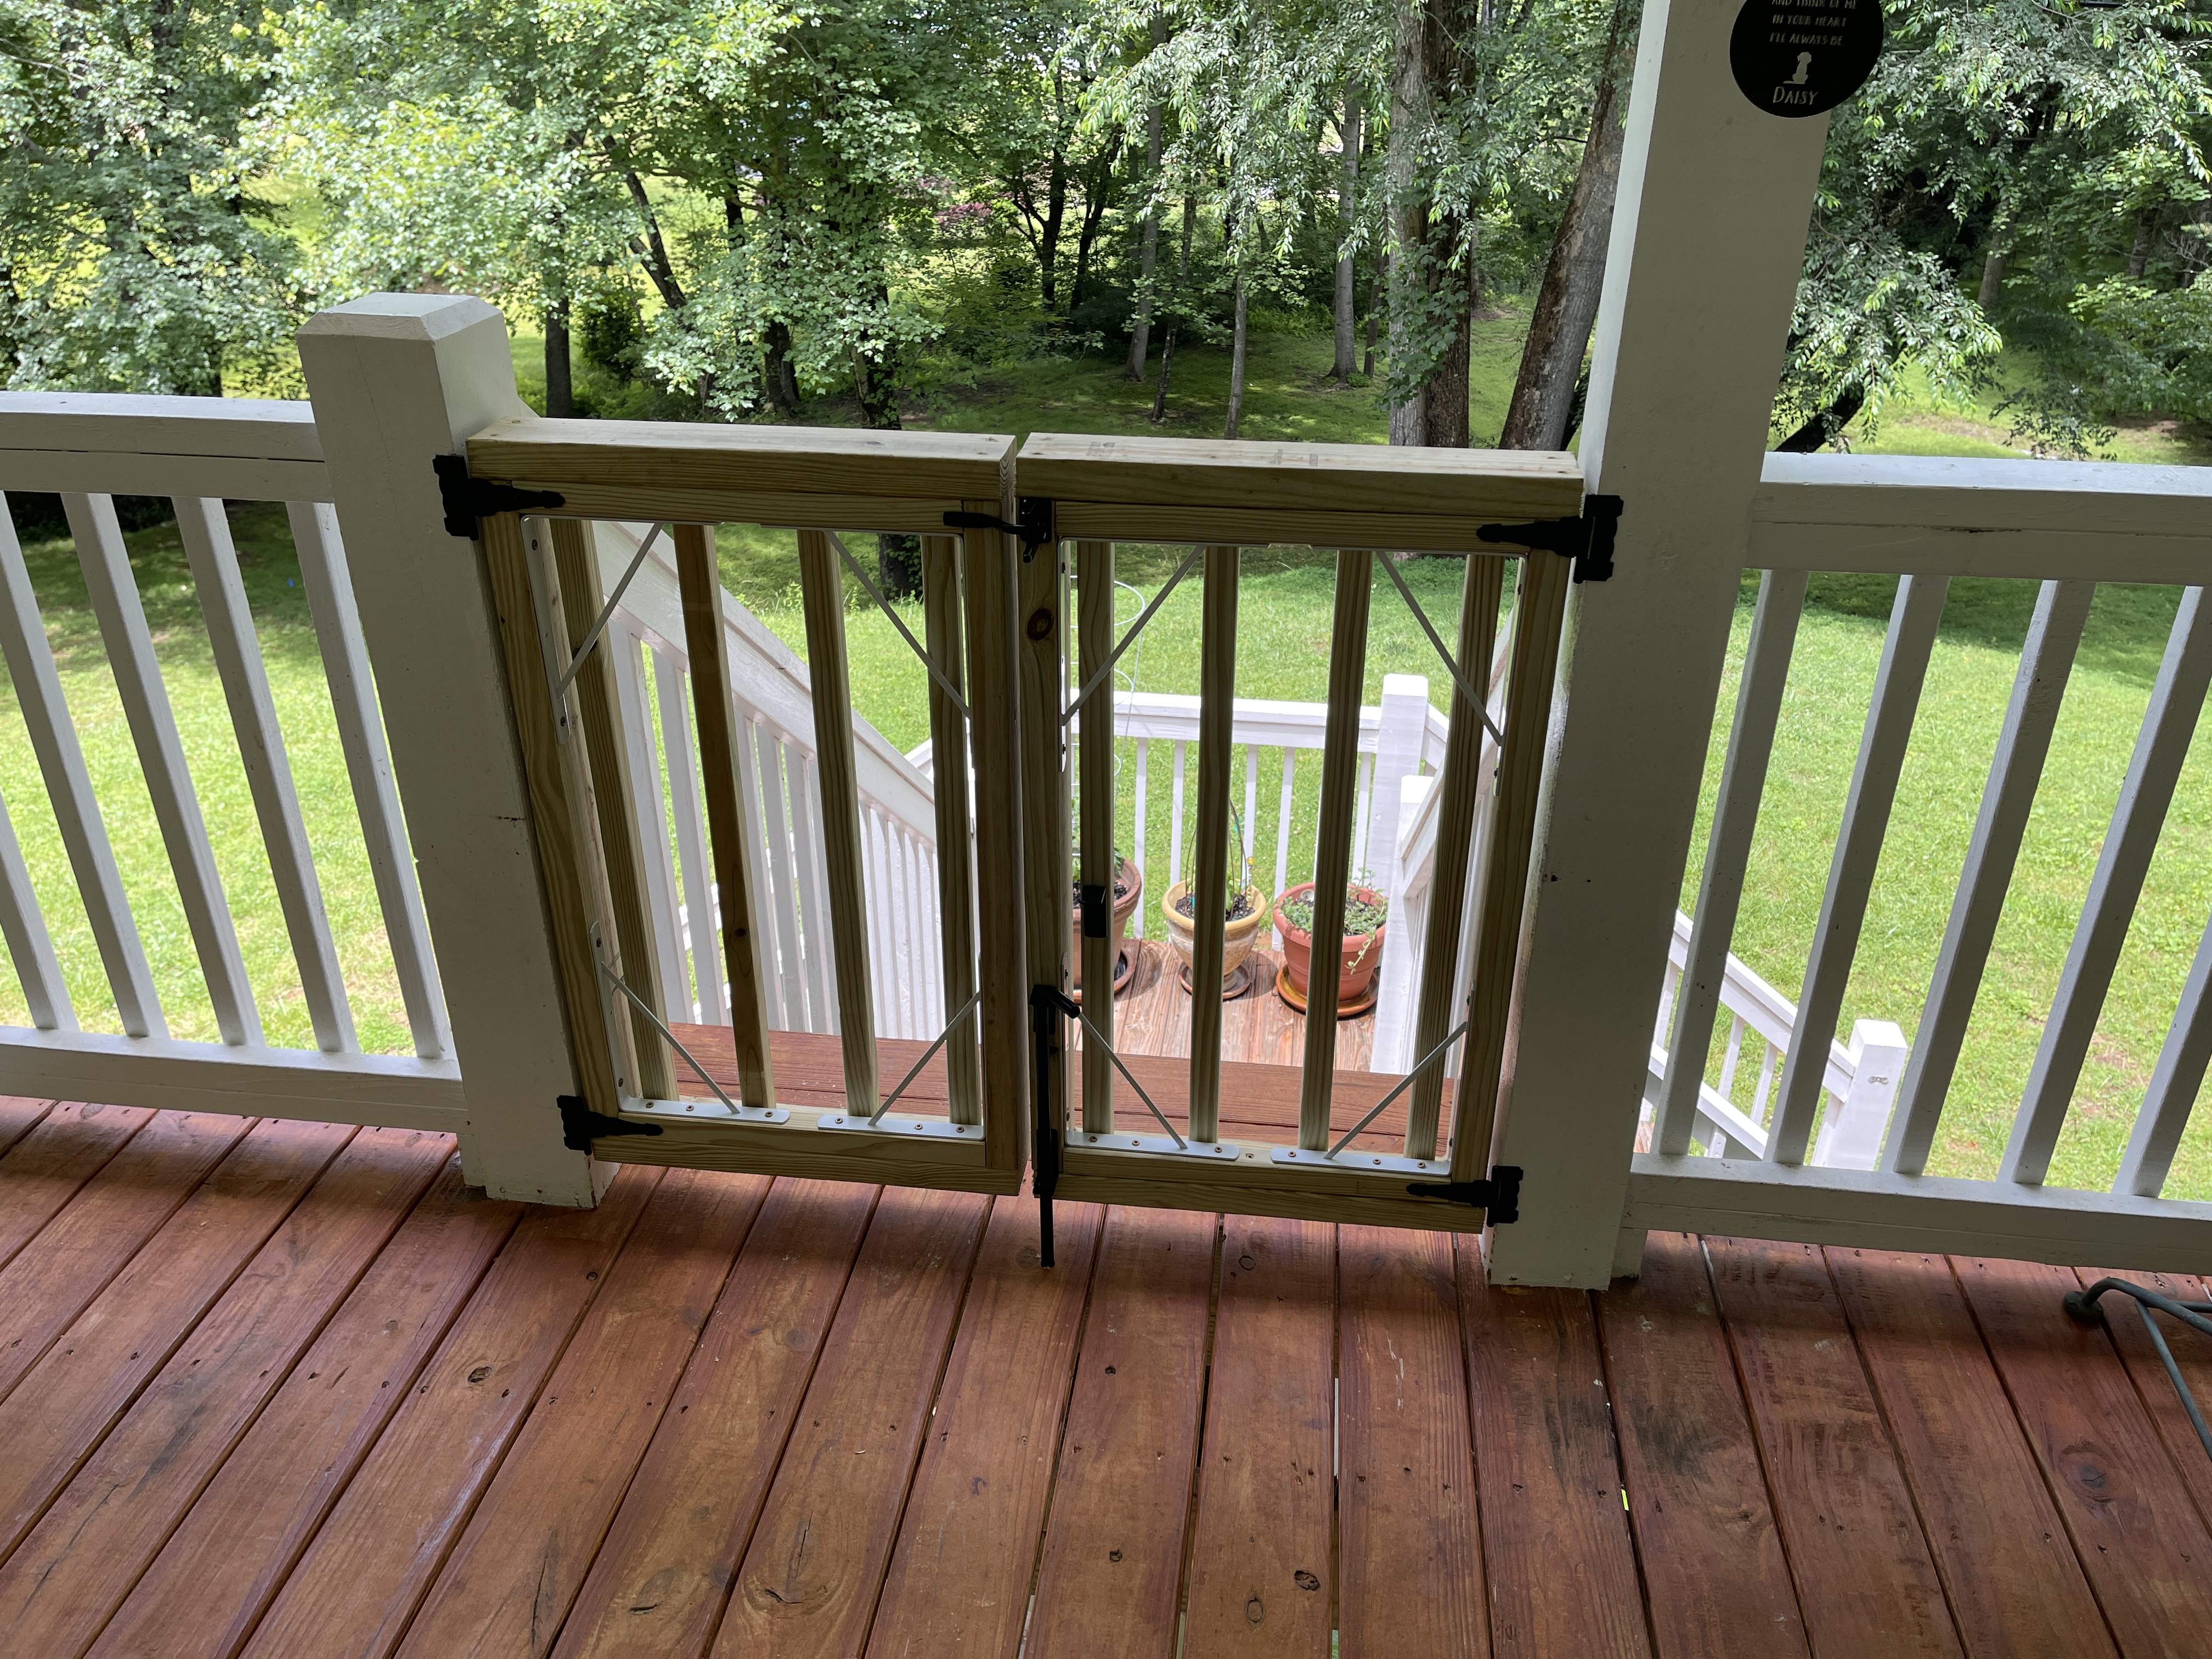
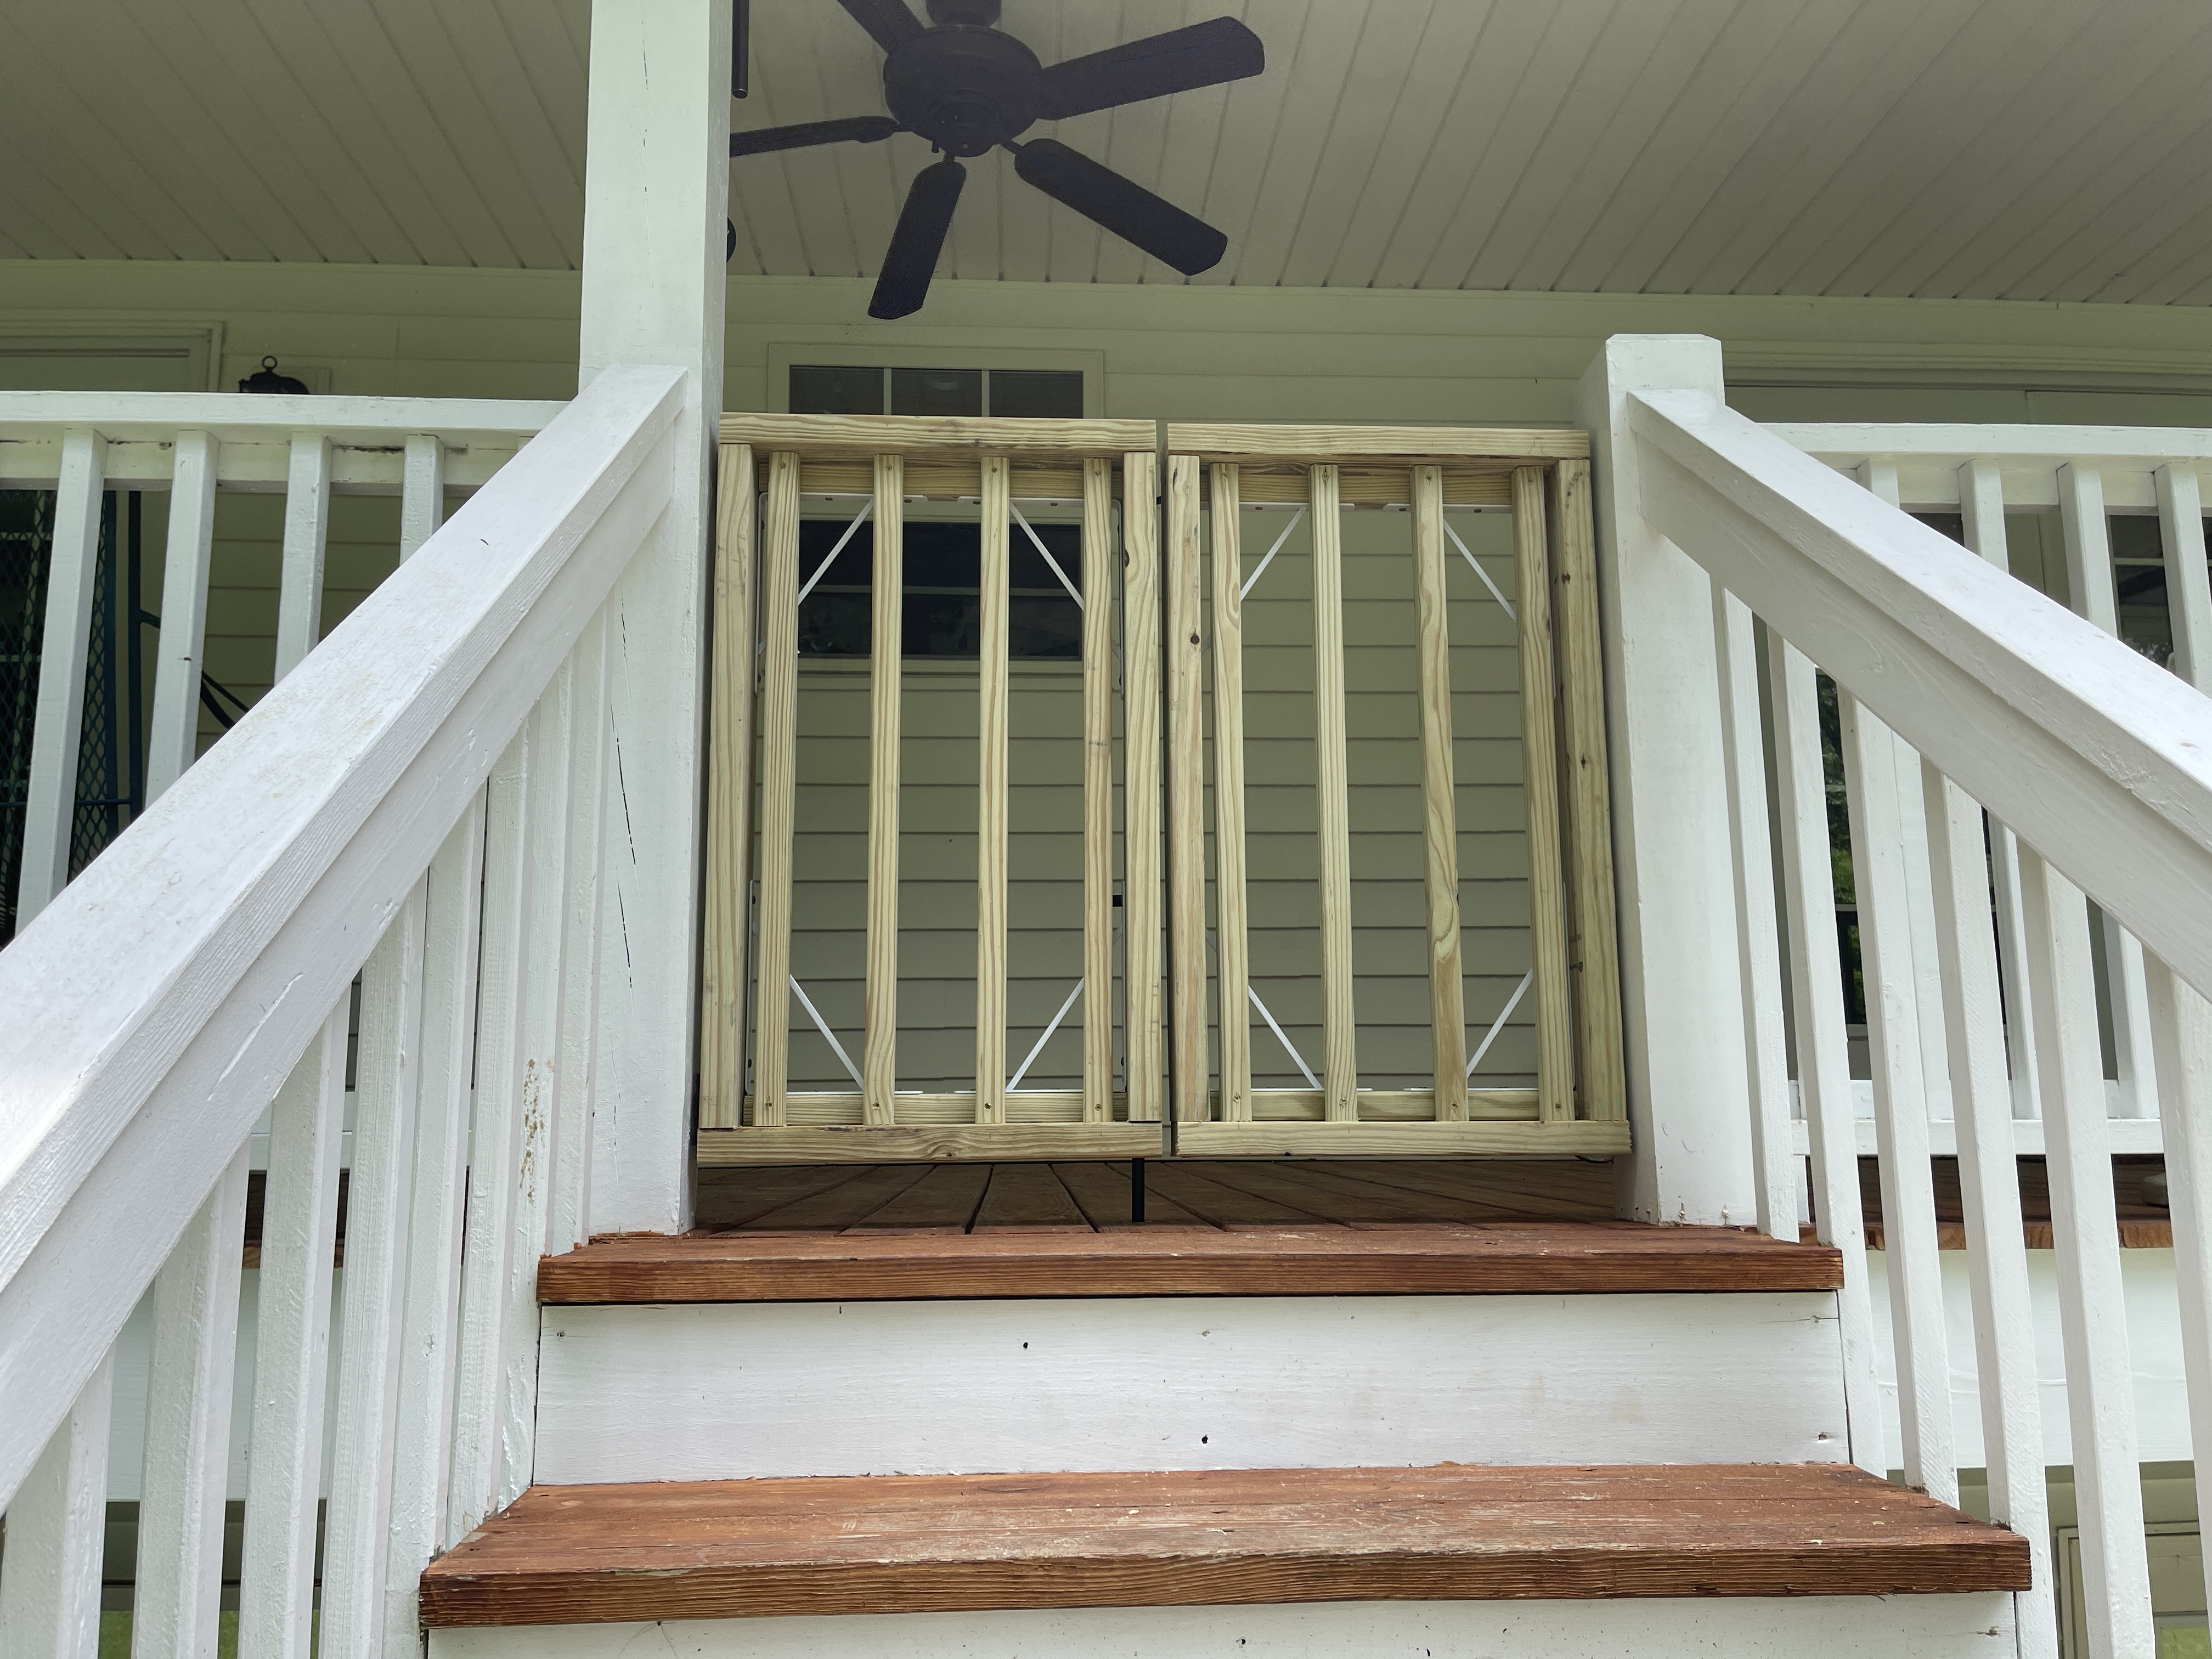
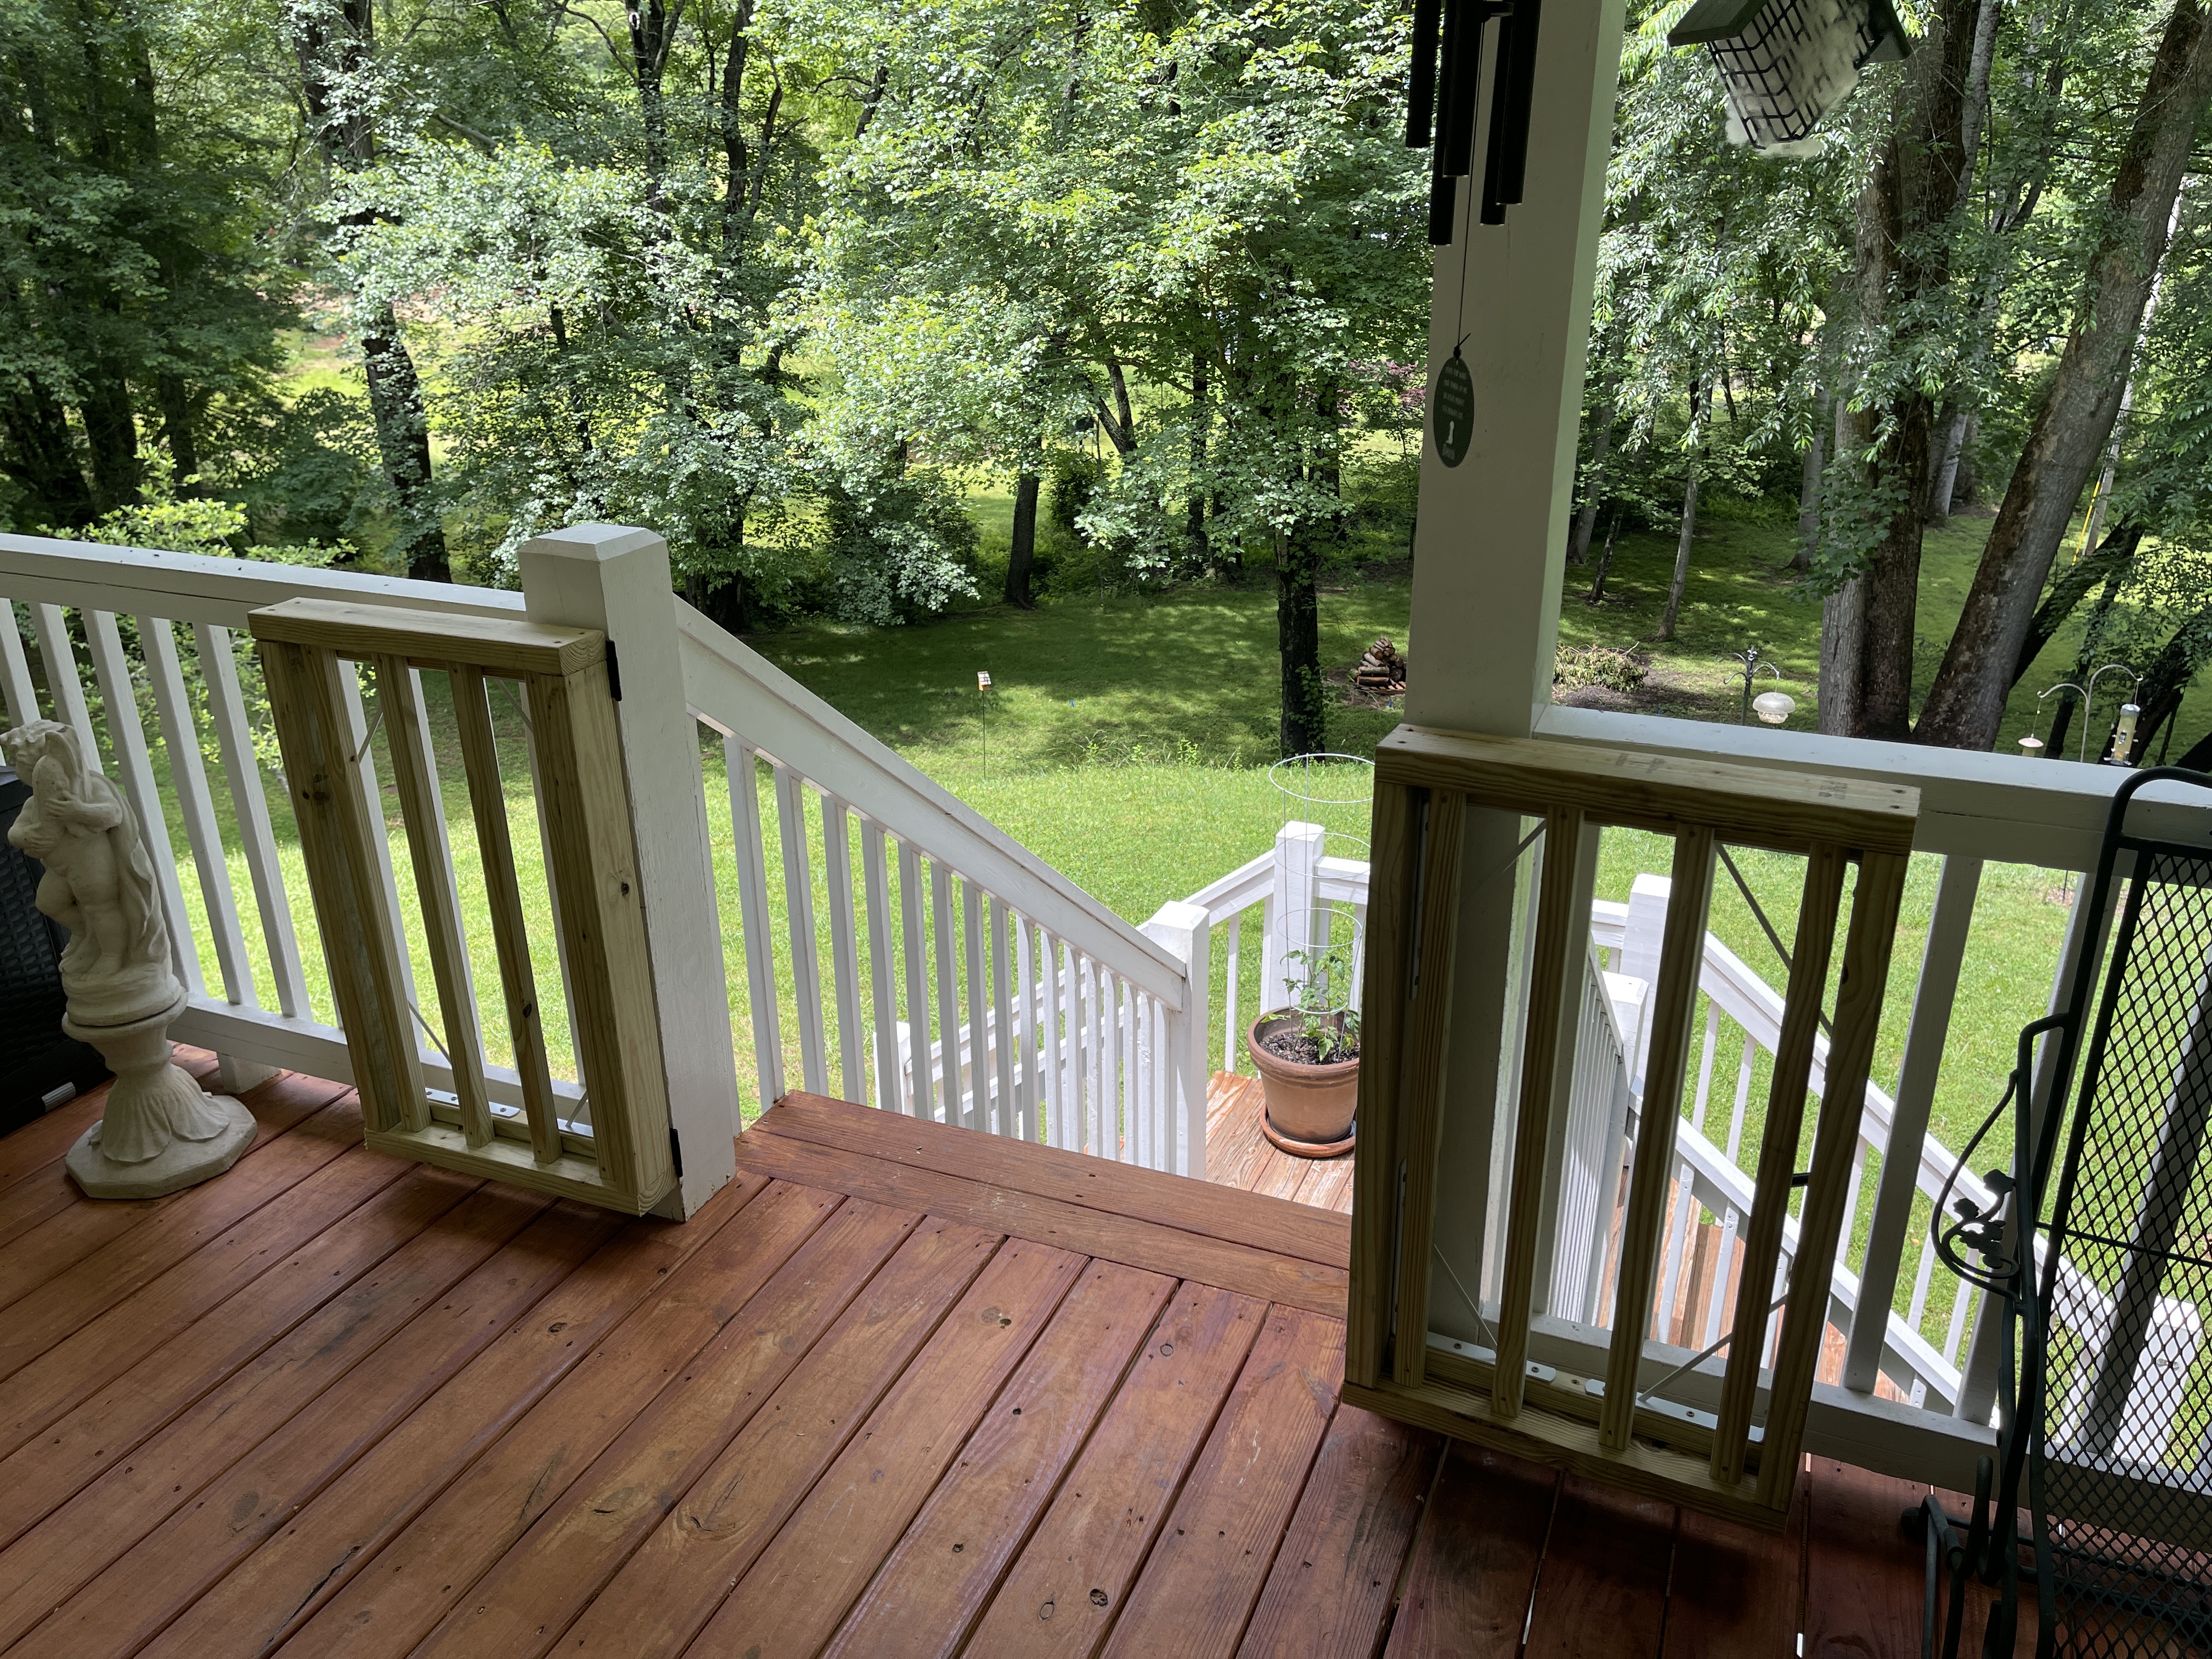
This project came from someone who wanted some gates on their porch to get their pet confirmed.
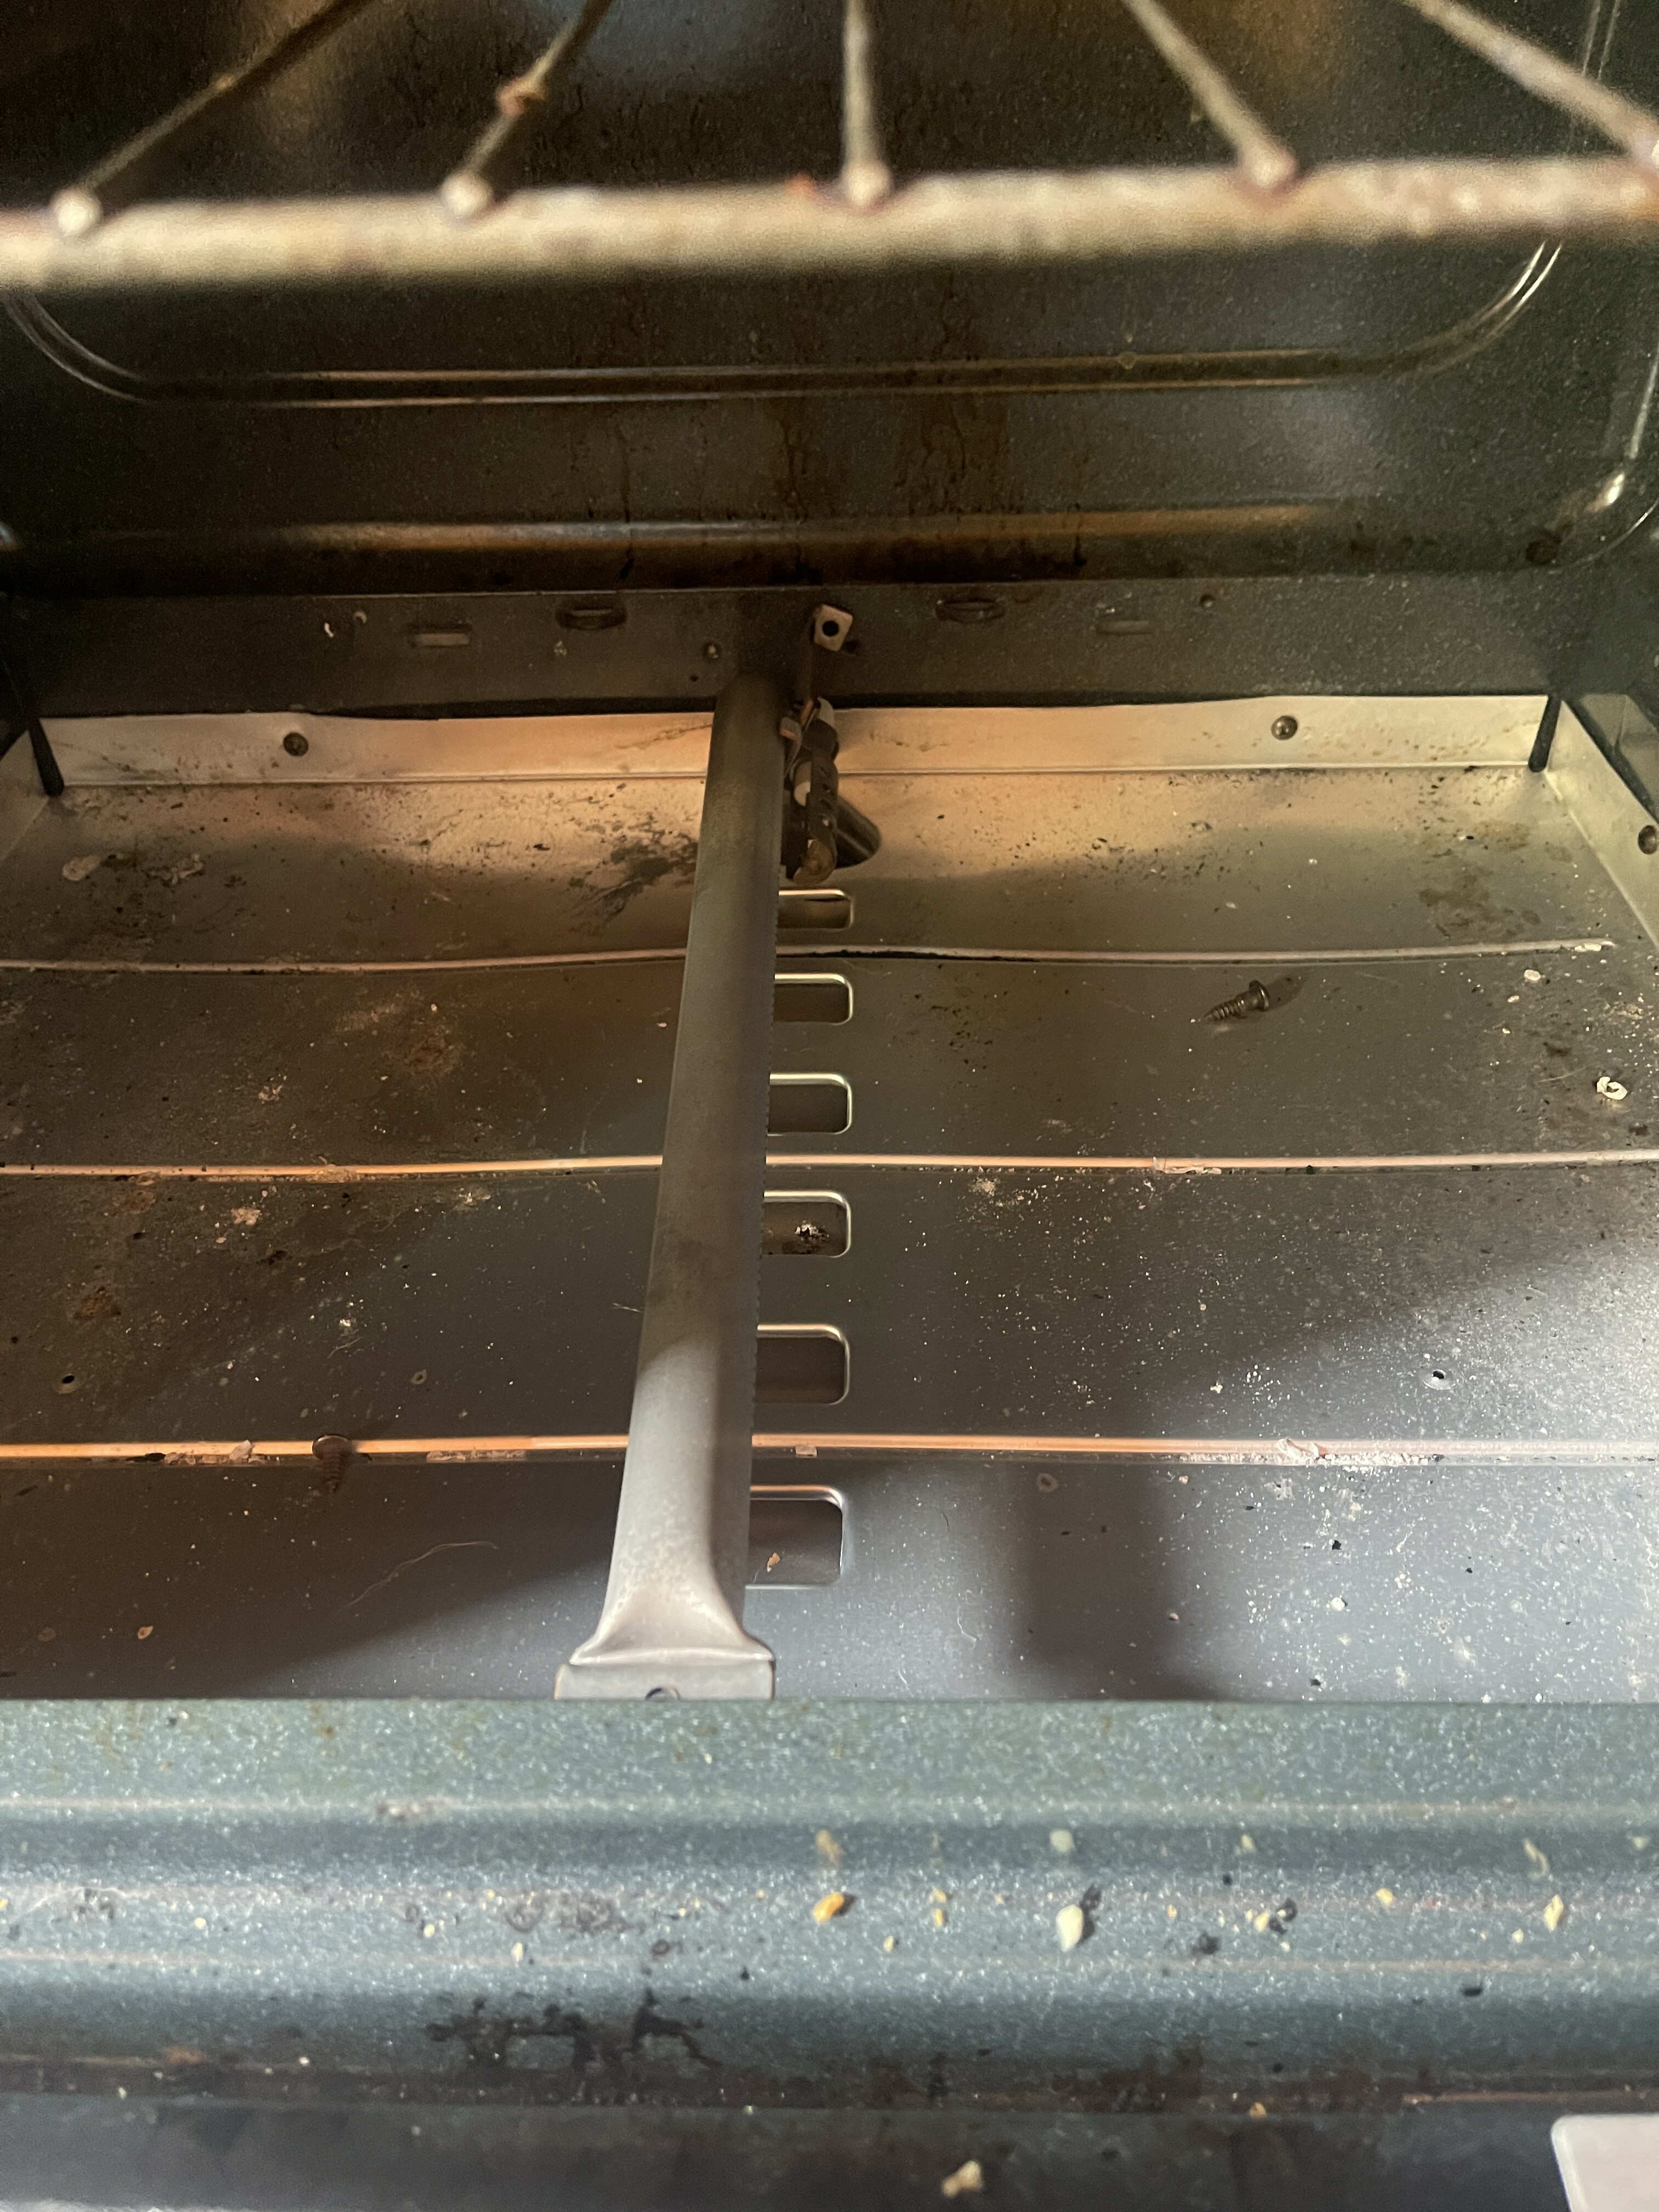
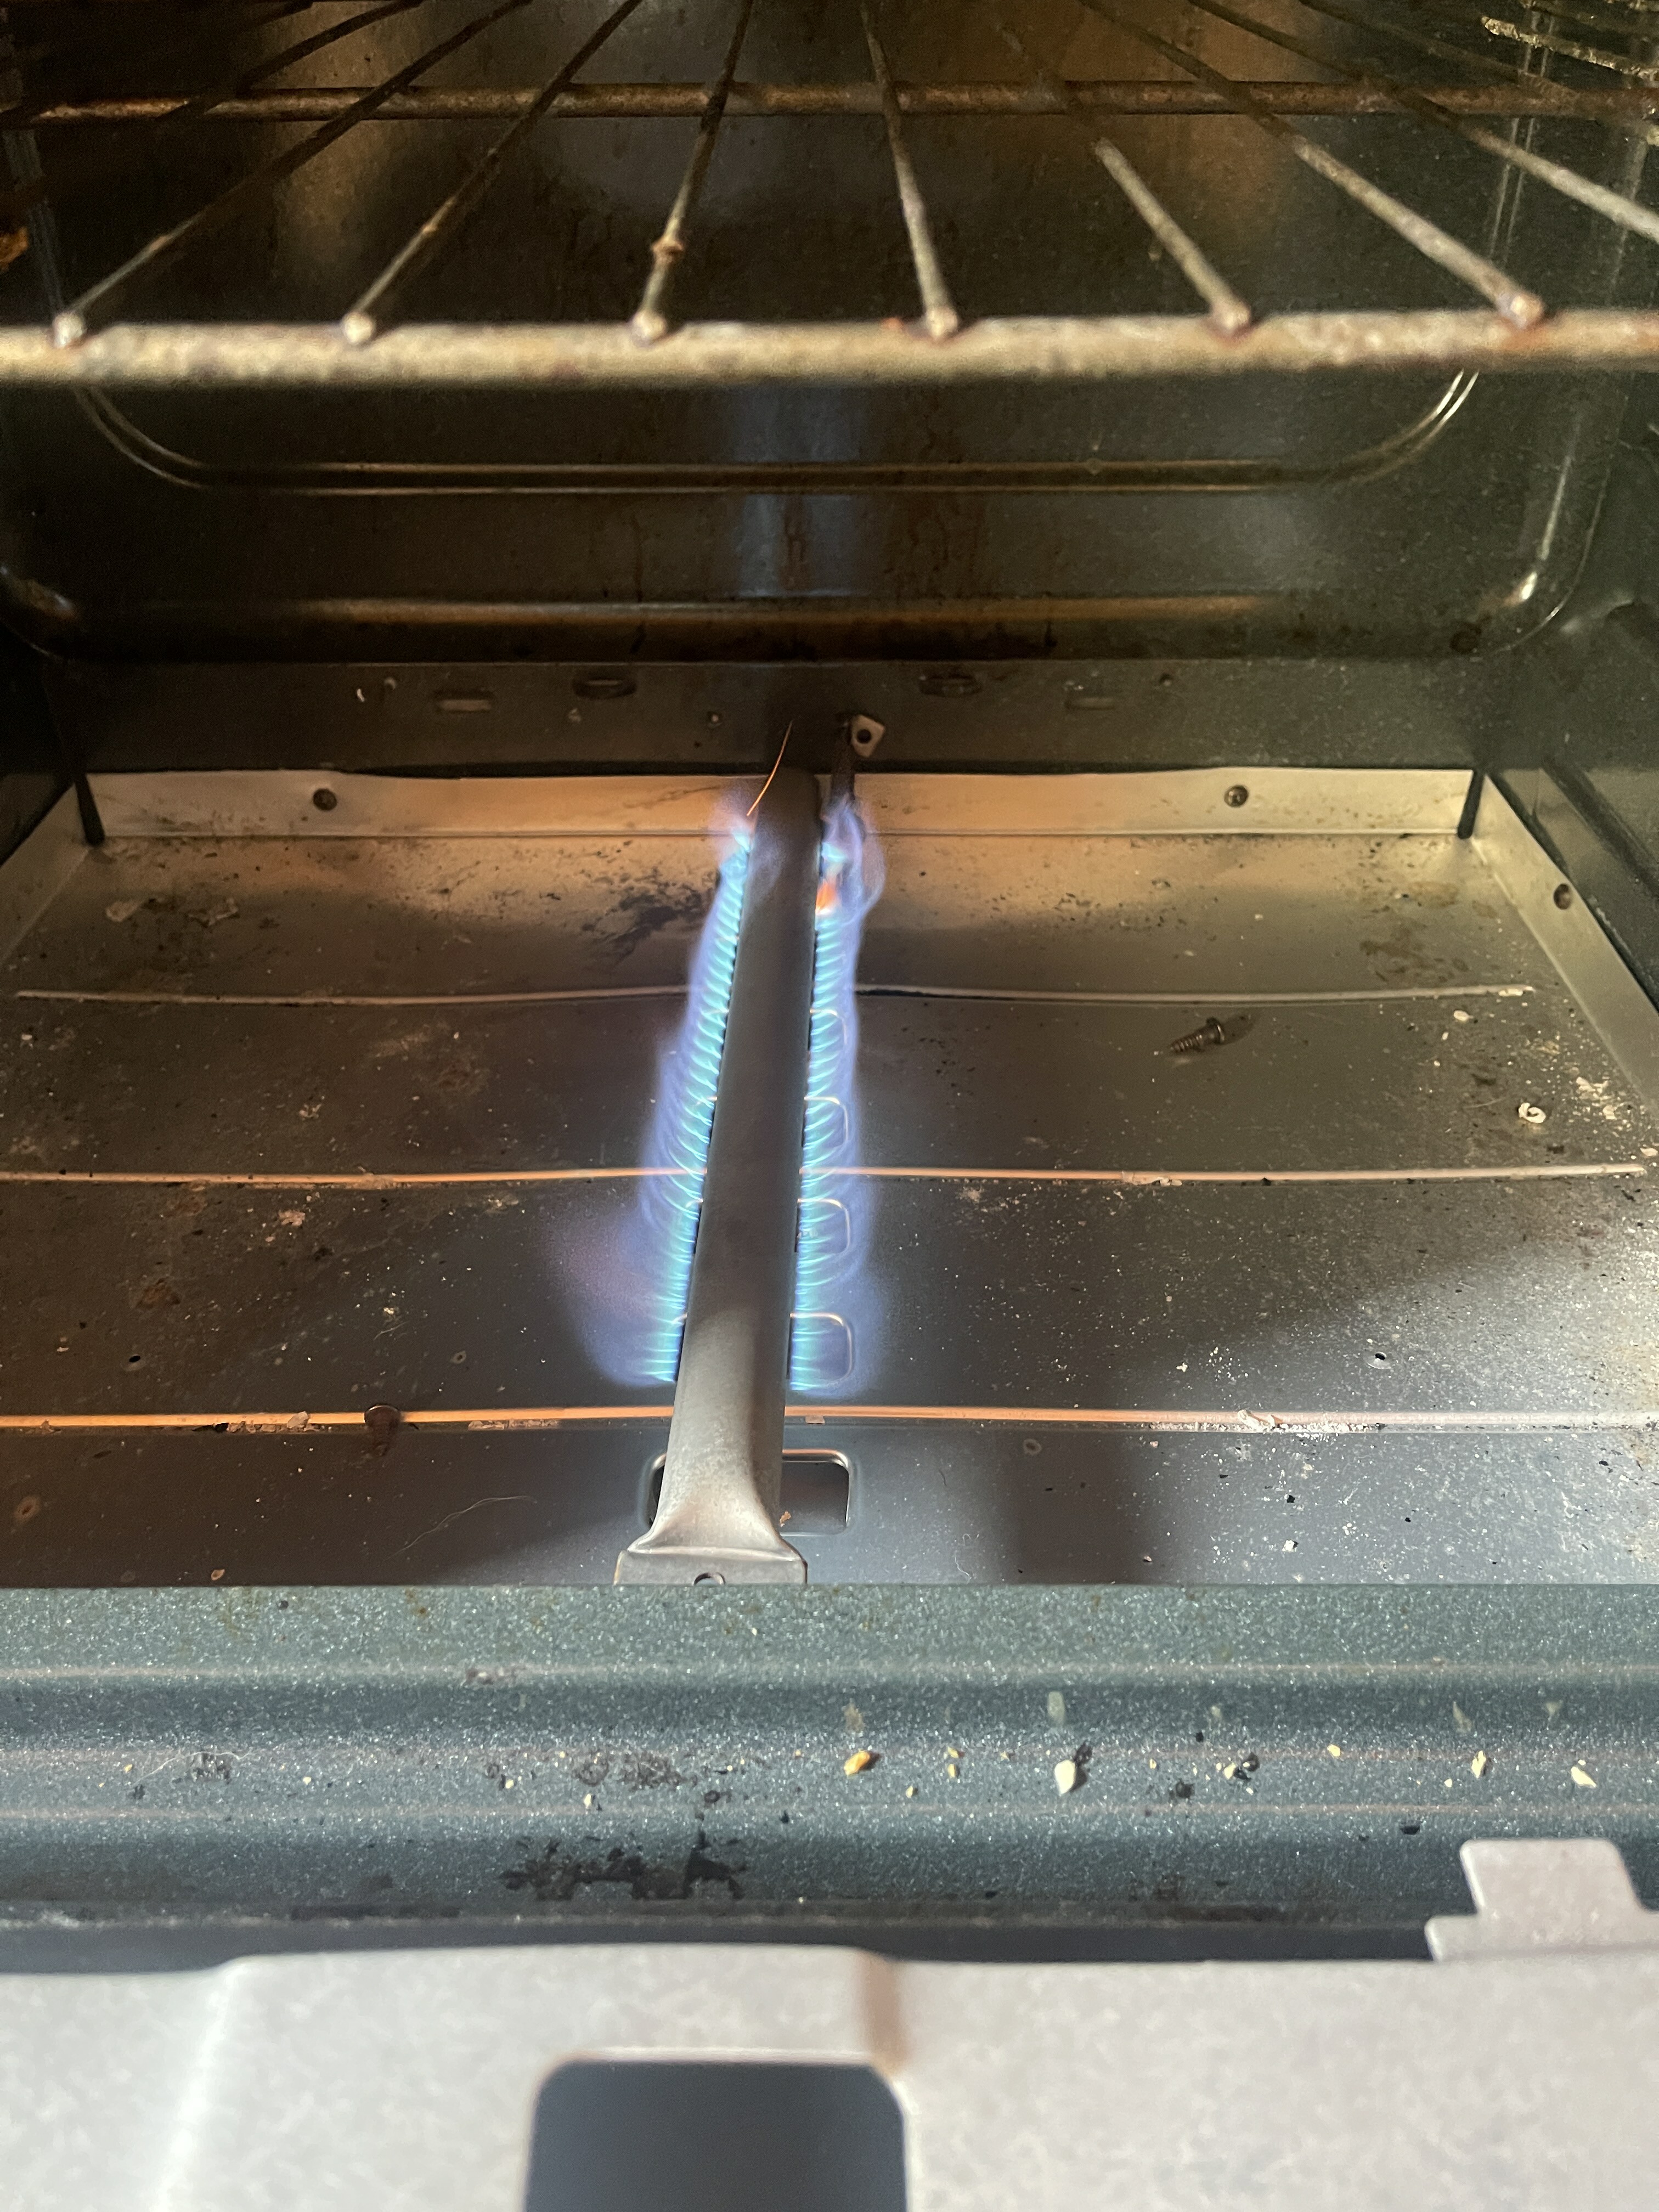
This project came about as a request from the Owner who had an issue with their propane oven. I was told that it would not "bake" any items.
After correcting the placement of the burner and securing it in place, the oven is working as it should.
 |
 |
|
This opened an entire list of items that the Owner wanted to be addressed.
Apparently, they had been trying to get other contractors to take a look at some of these things, but they found that they would either not call back, or wouldn't show up, or wanted to charge way too much.
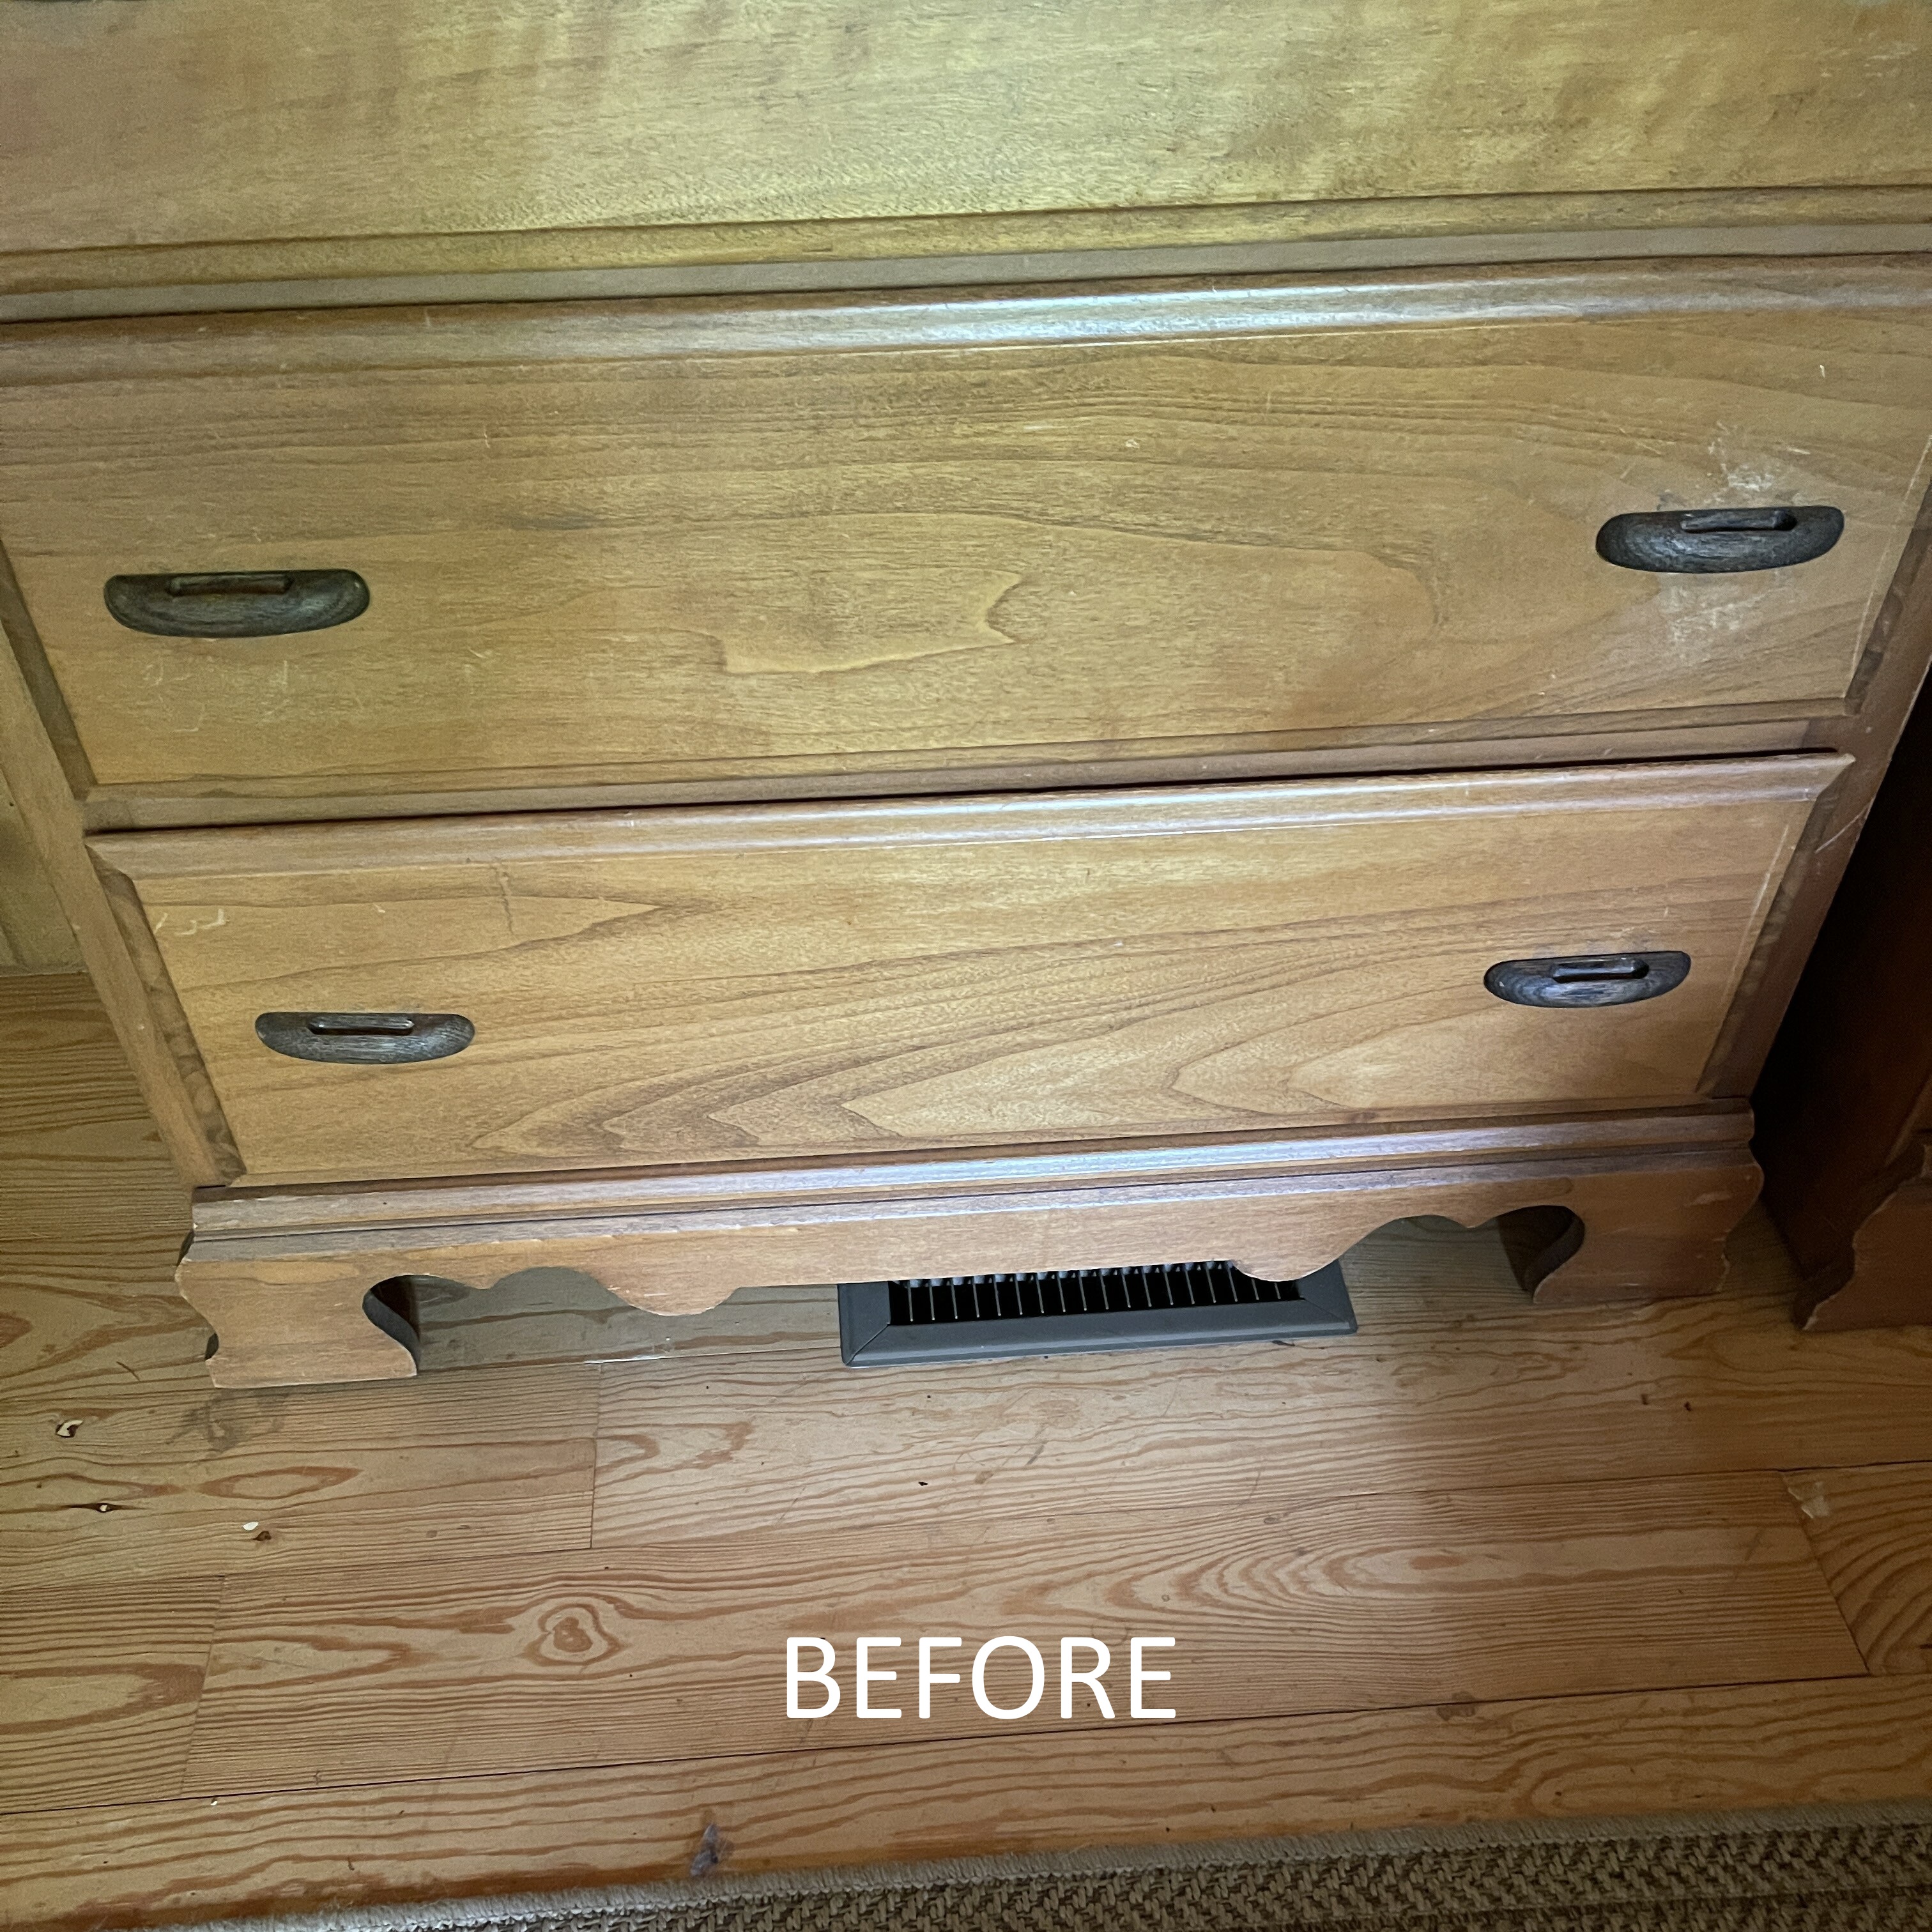
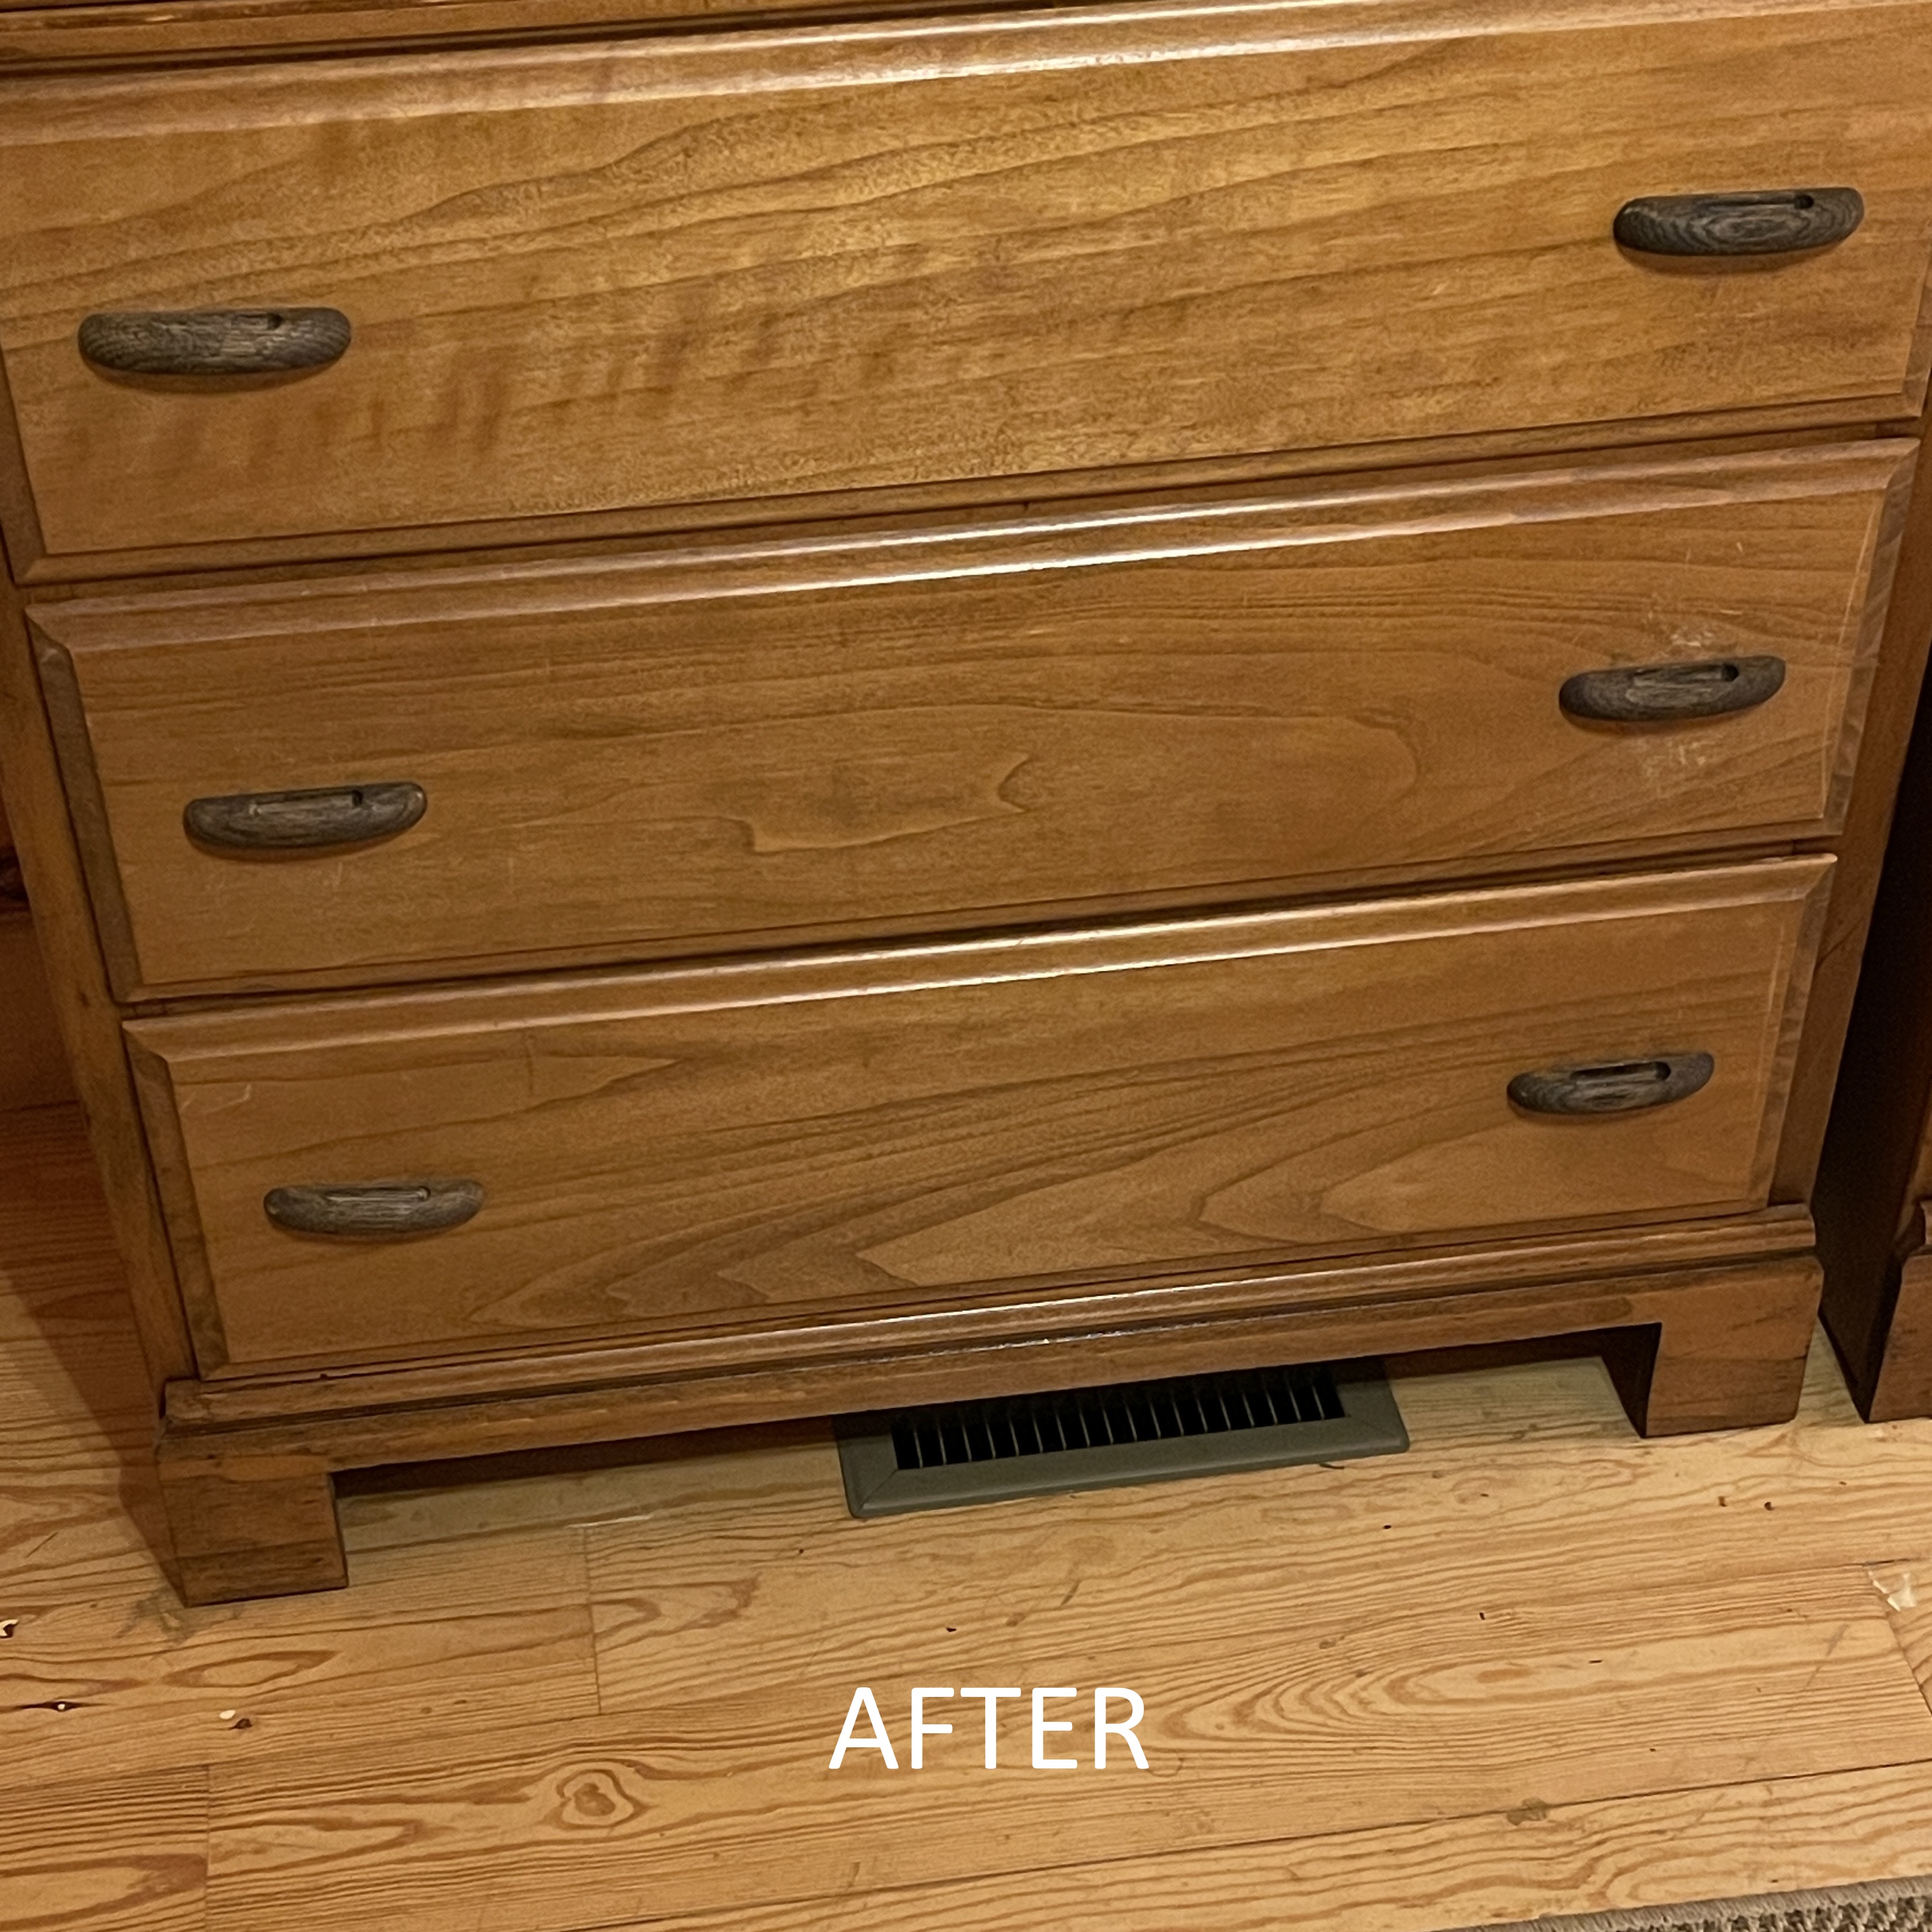
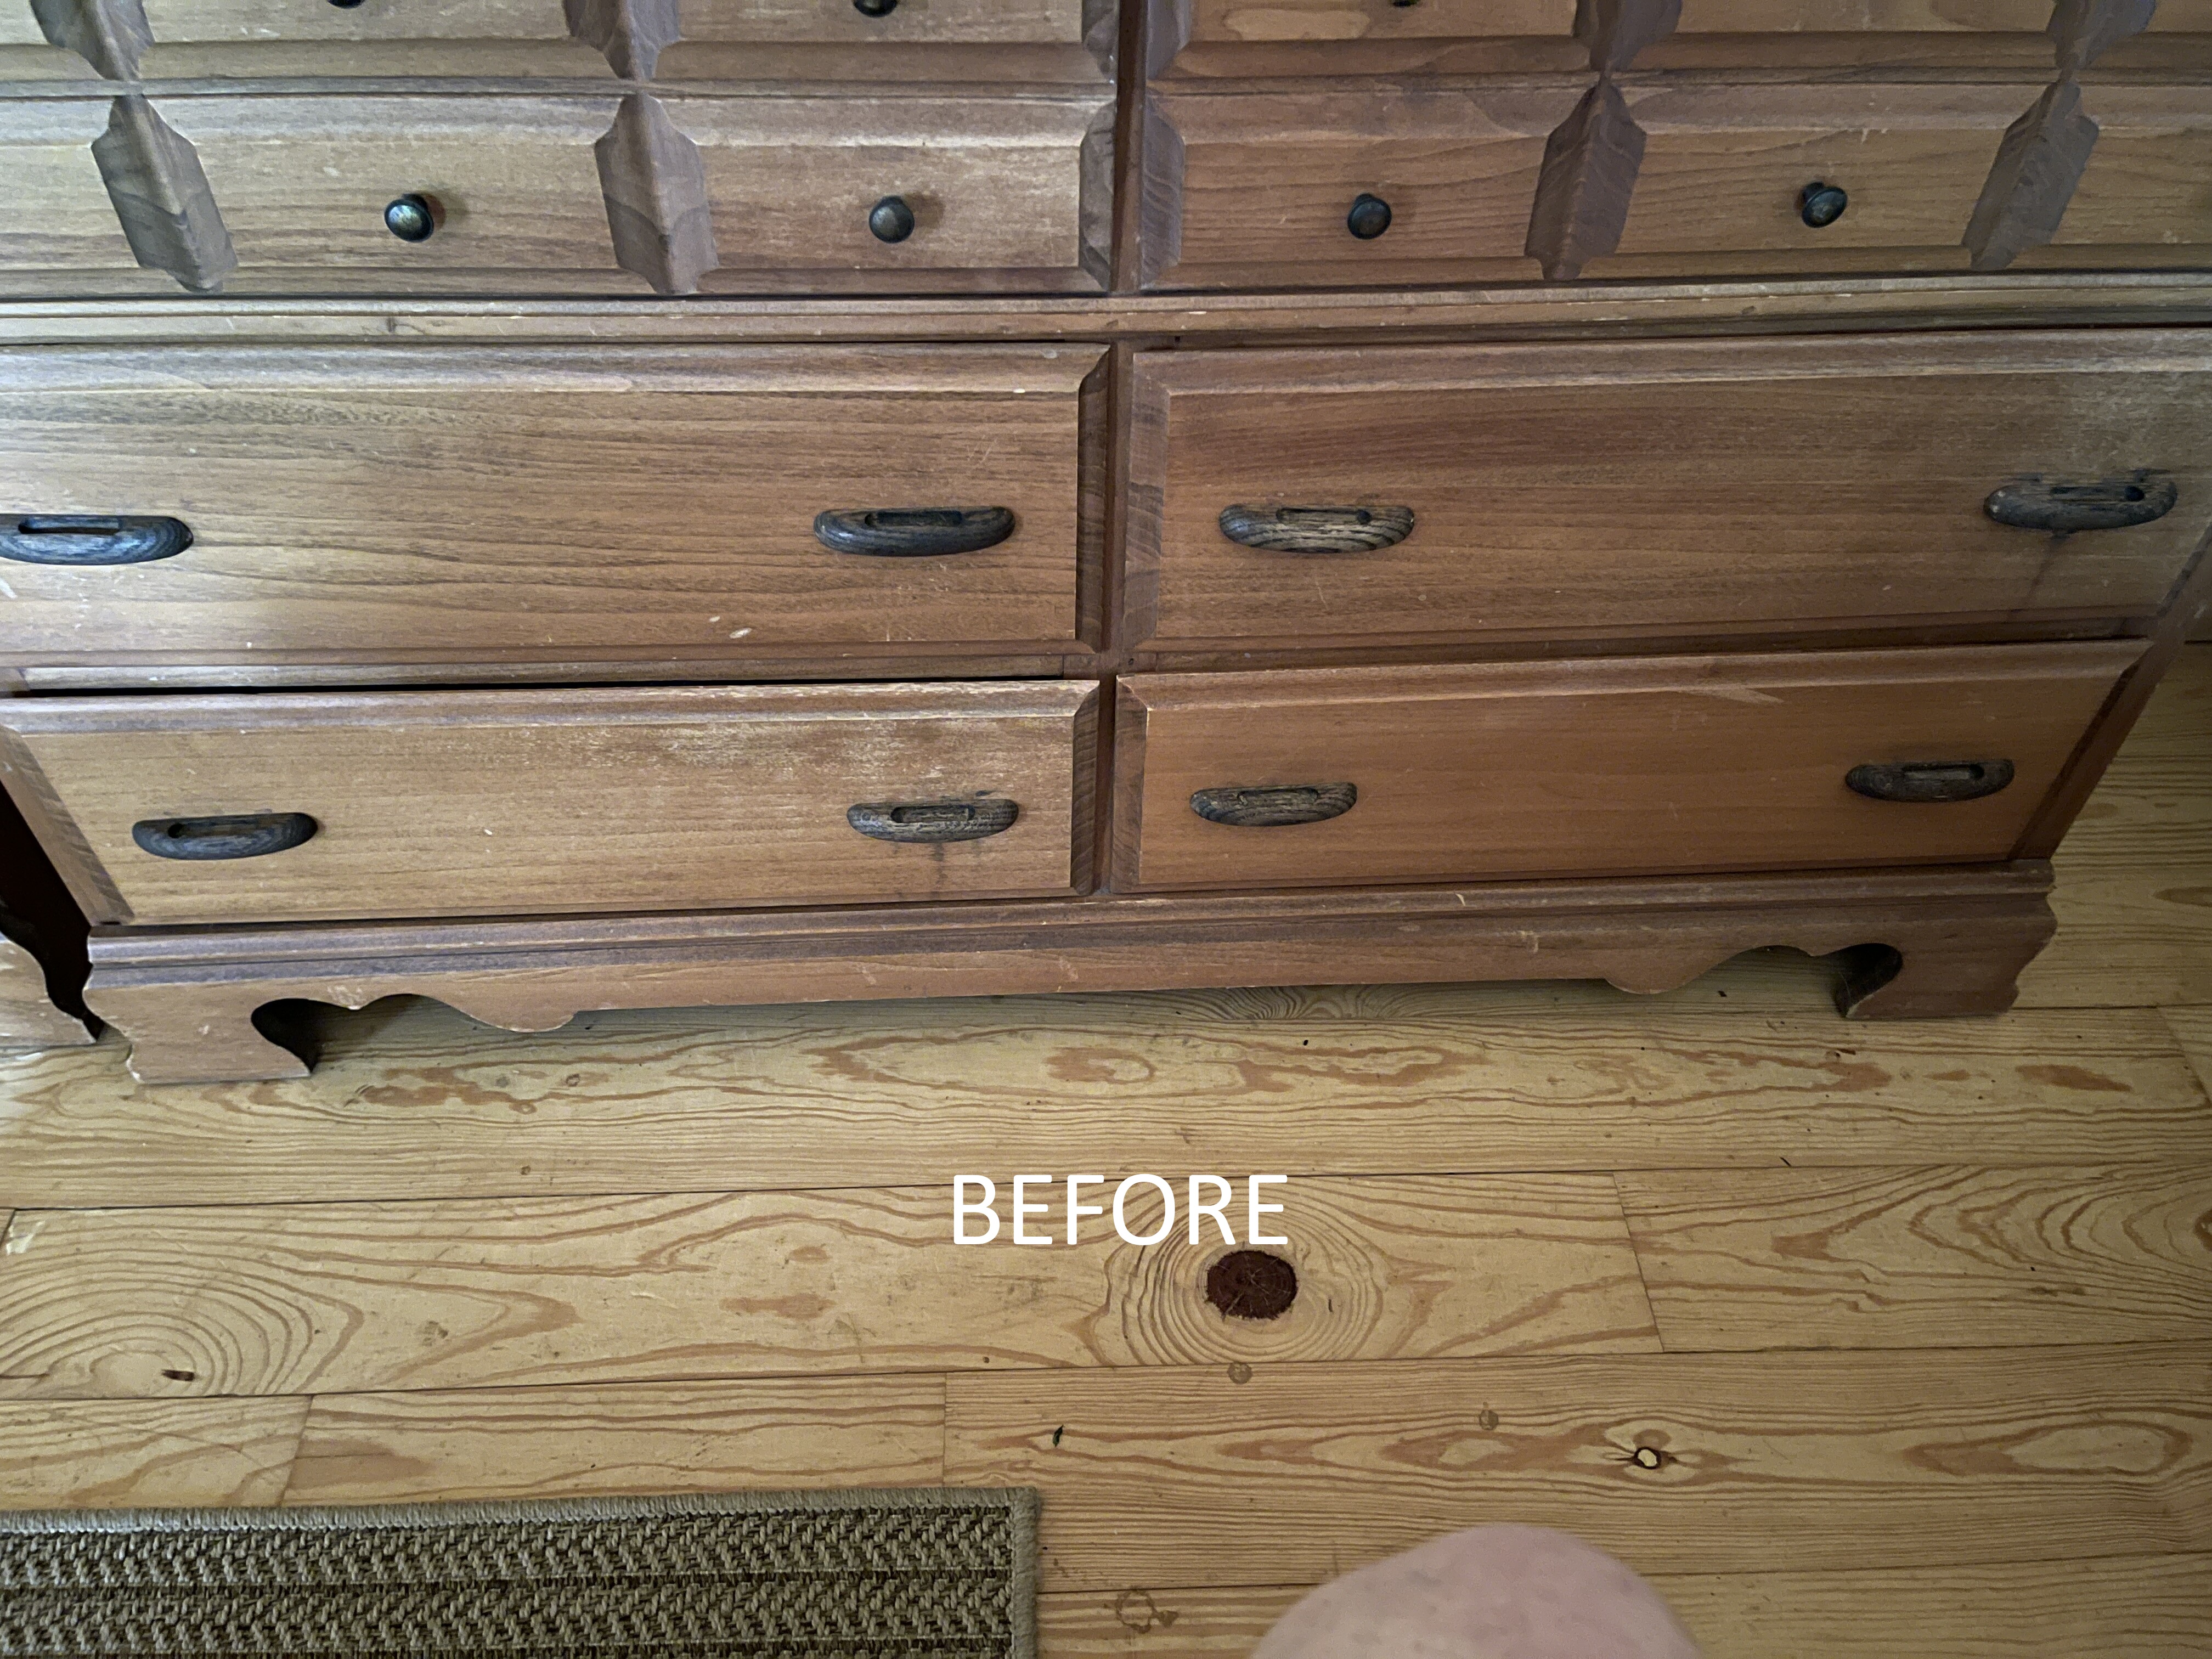
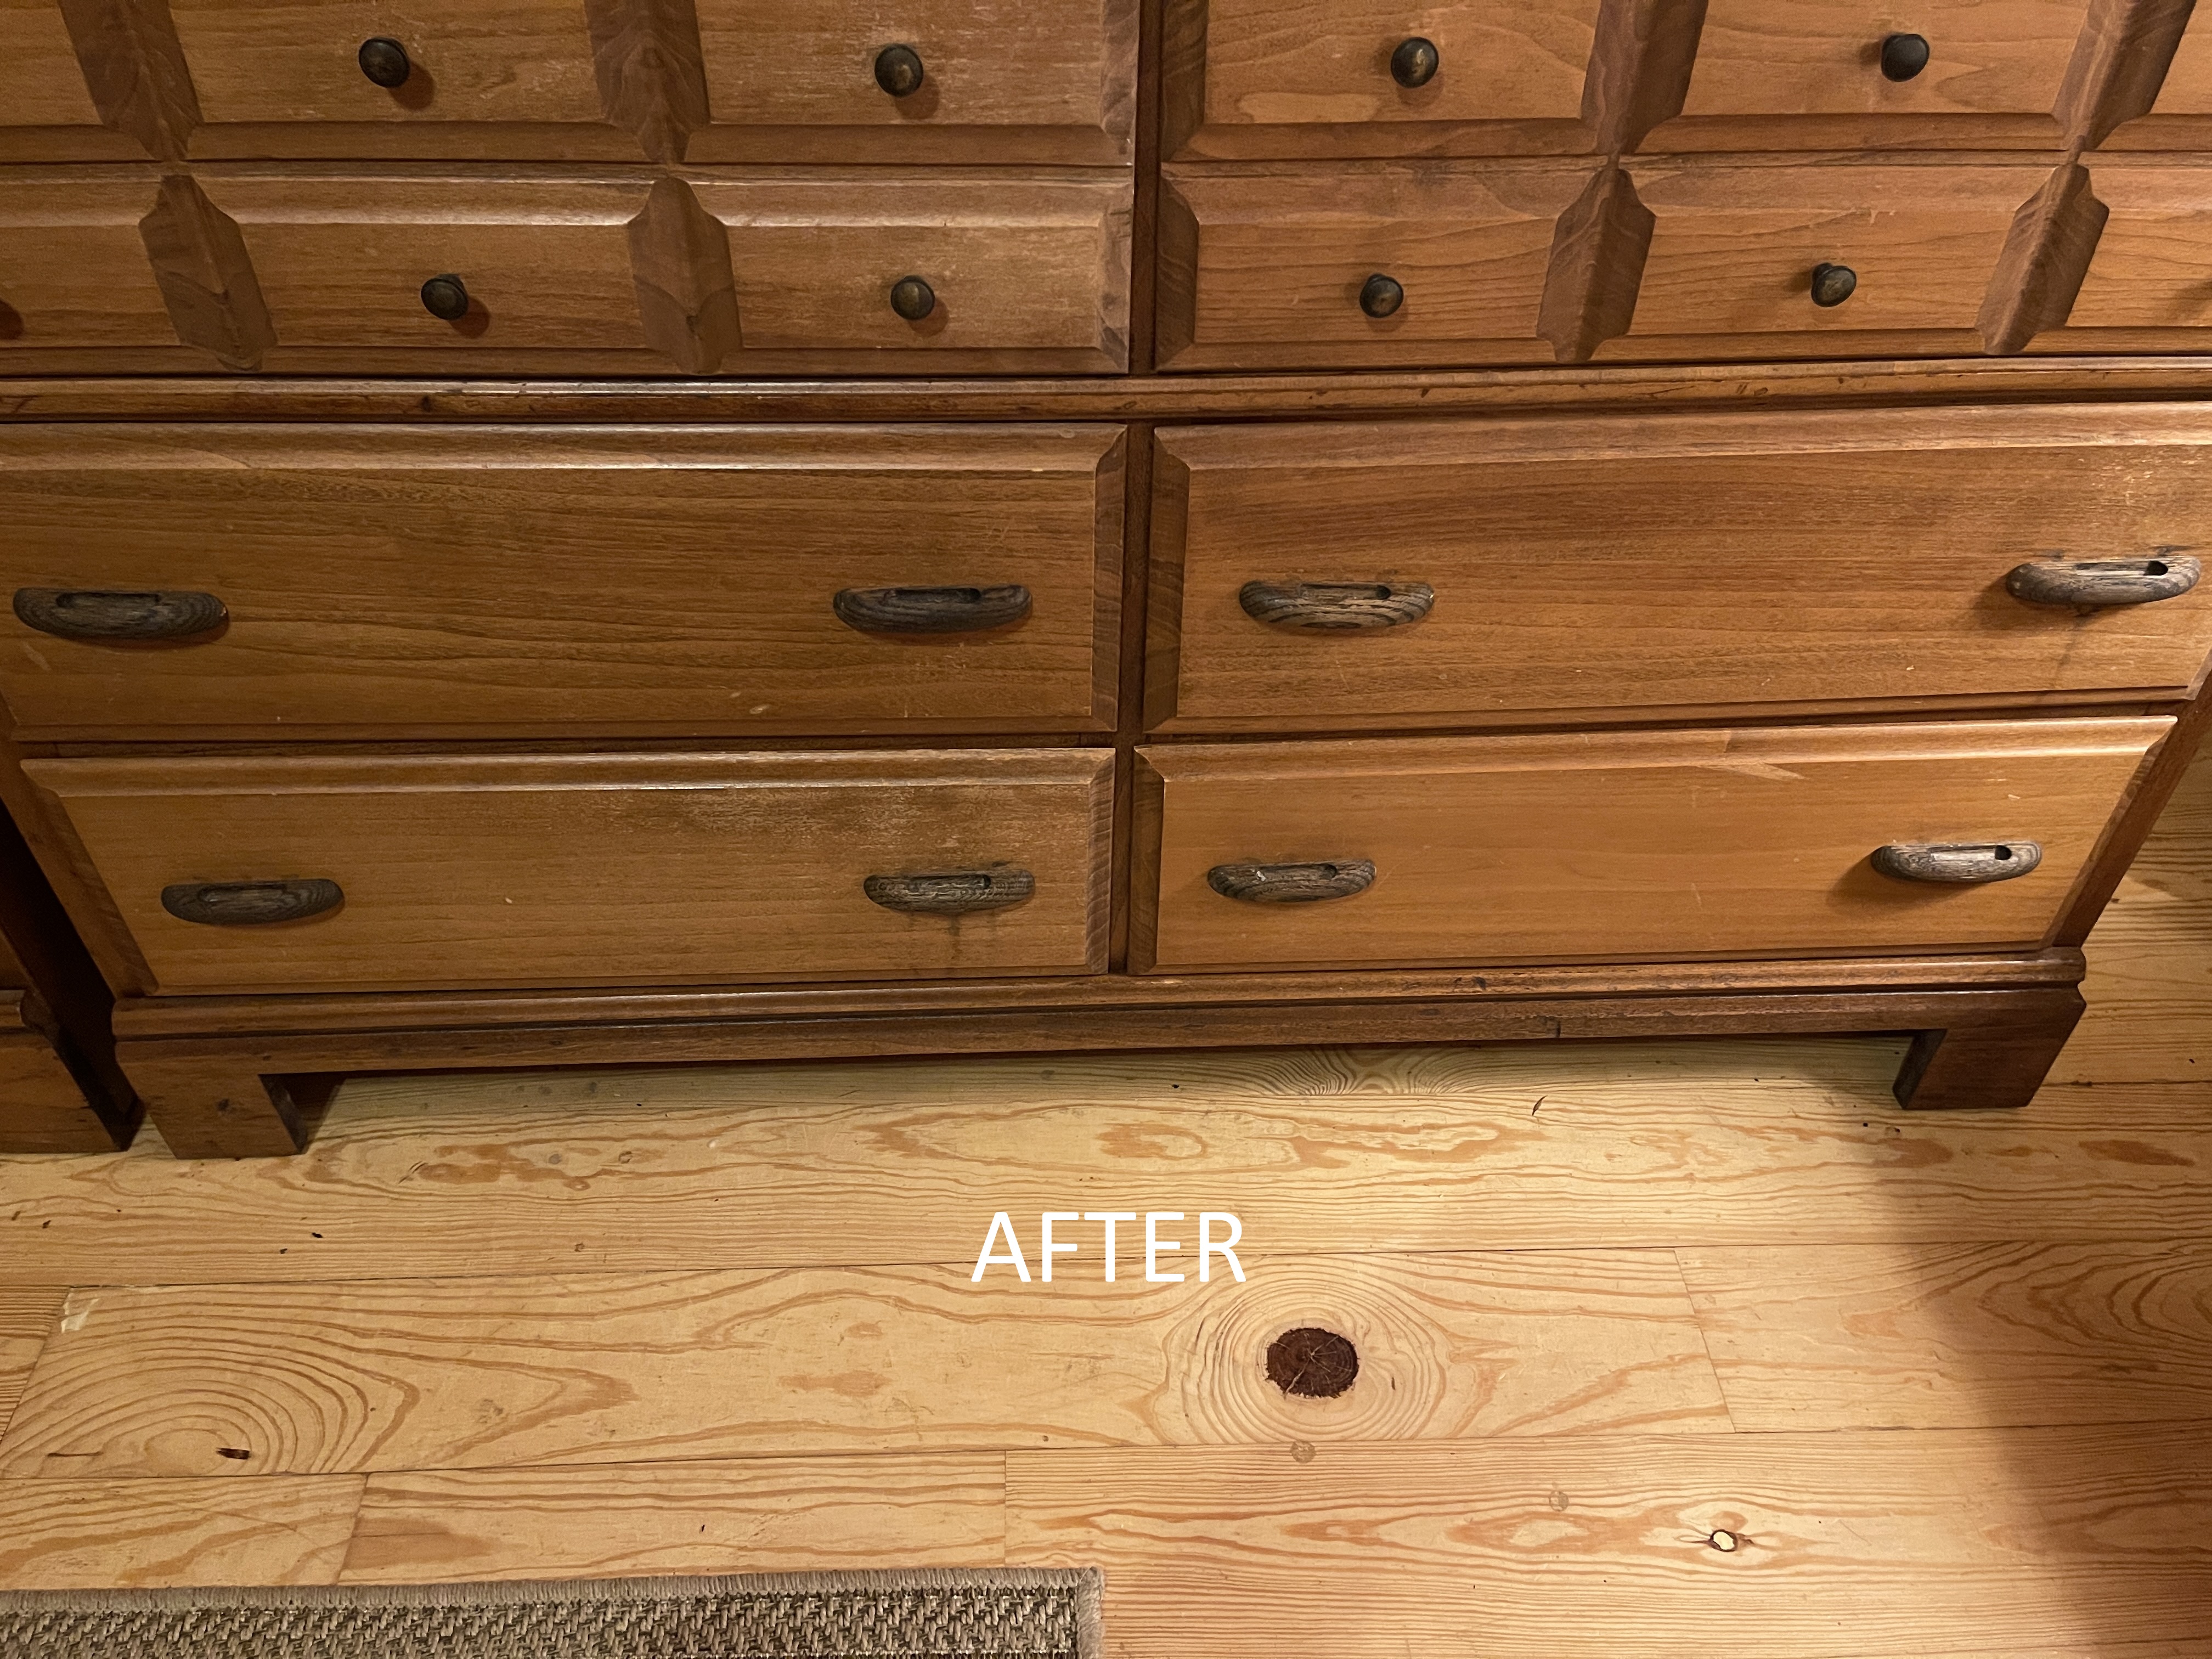
The next item they wanted done was to update a Chest of Drawers and Dresser. These pieces of furniture were functional, but they just did not like the curvy detail on the bottom.
They thought about just removing that detail piece, but it would be unknown what the stain, if any, would look like. And it would be difficult to get a stain to match it as it would be very visible to anyone.
So, I offered an option to just cut the front of each of these pieces of furniture so that the curvy detail was removed.
I also stained the inside edges where I cut them and since those raw edges were not facing outward there would not be any surfaces that needed to match the wood next to them.
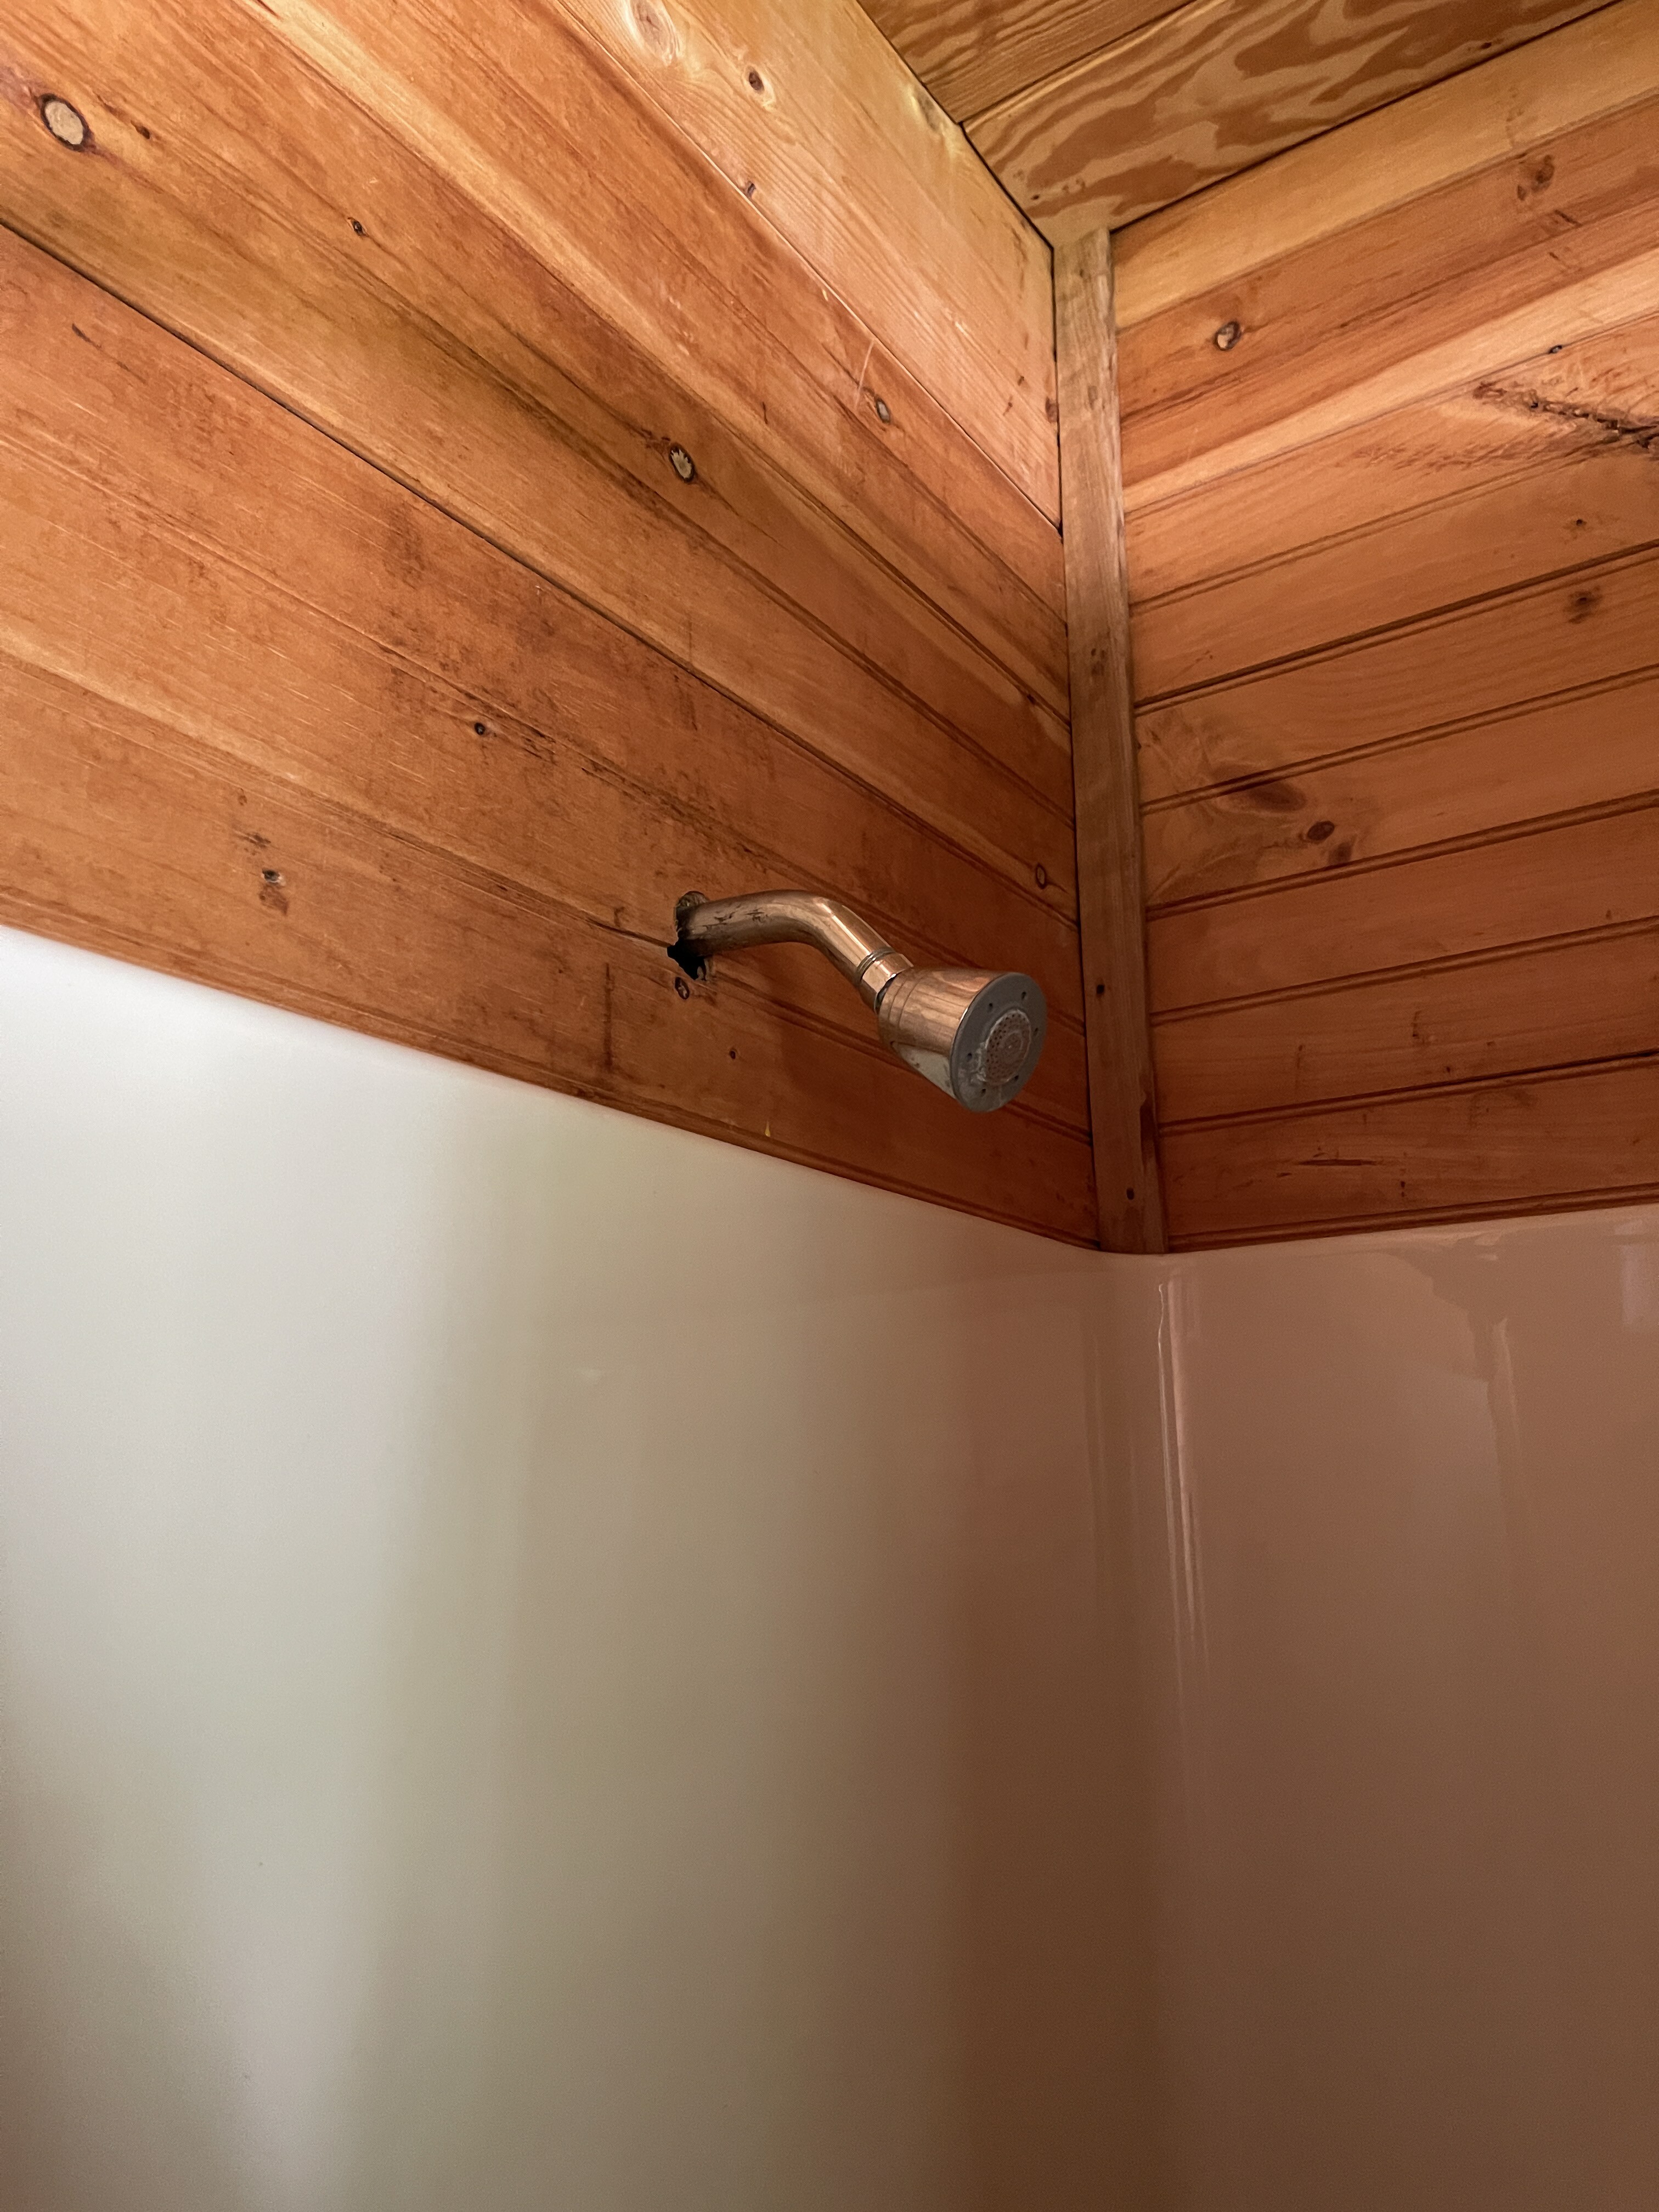
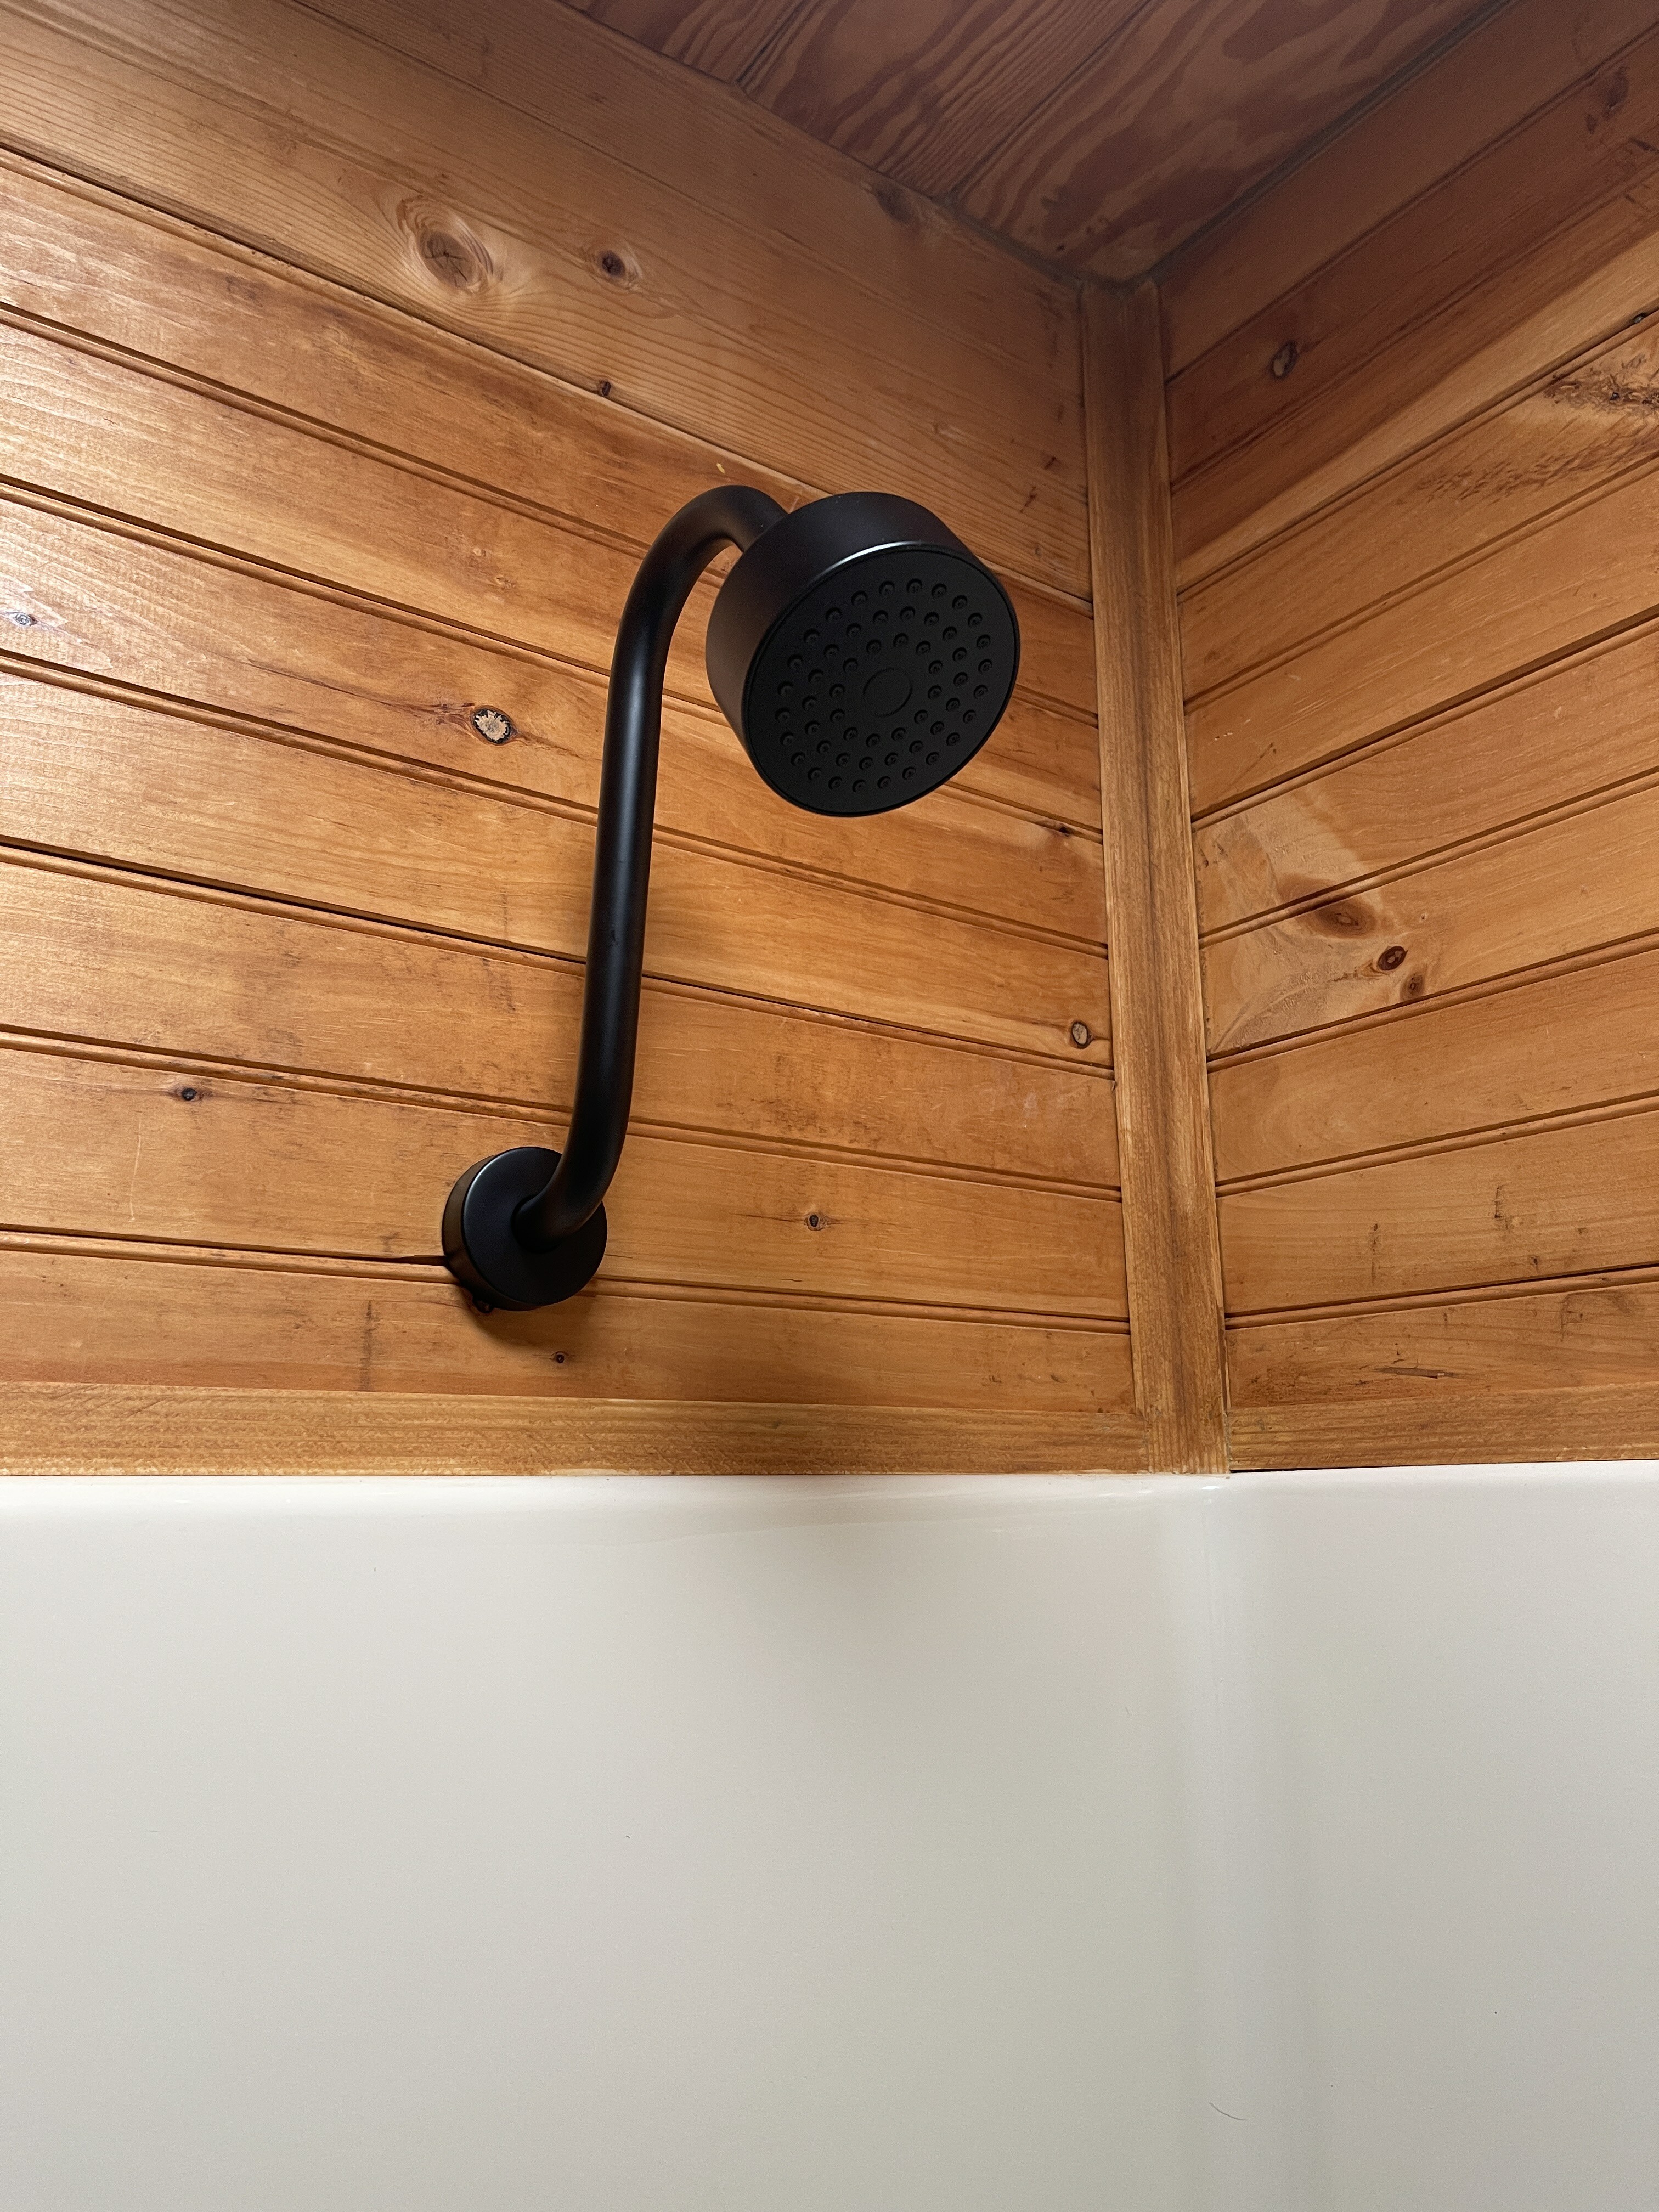
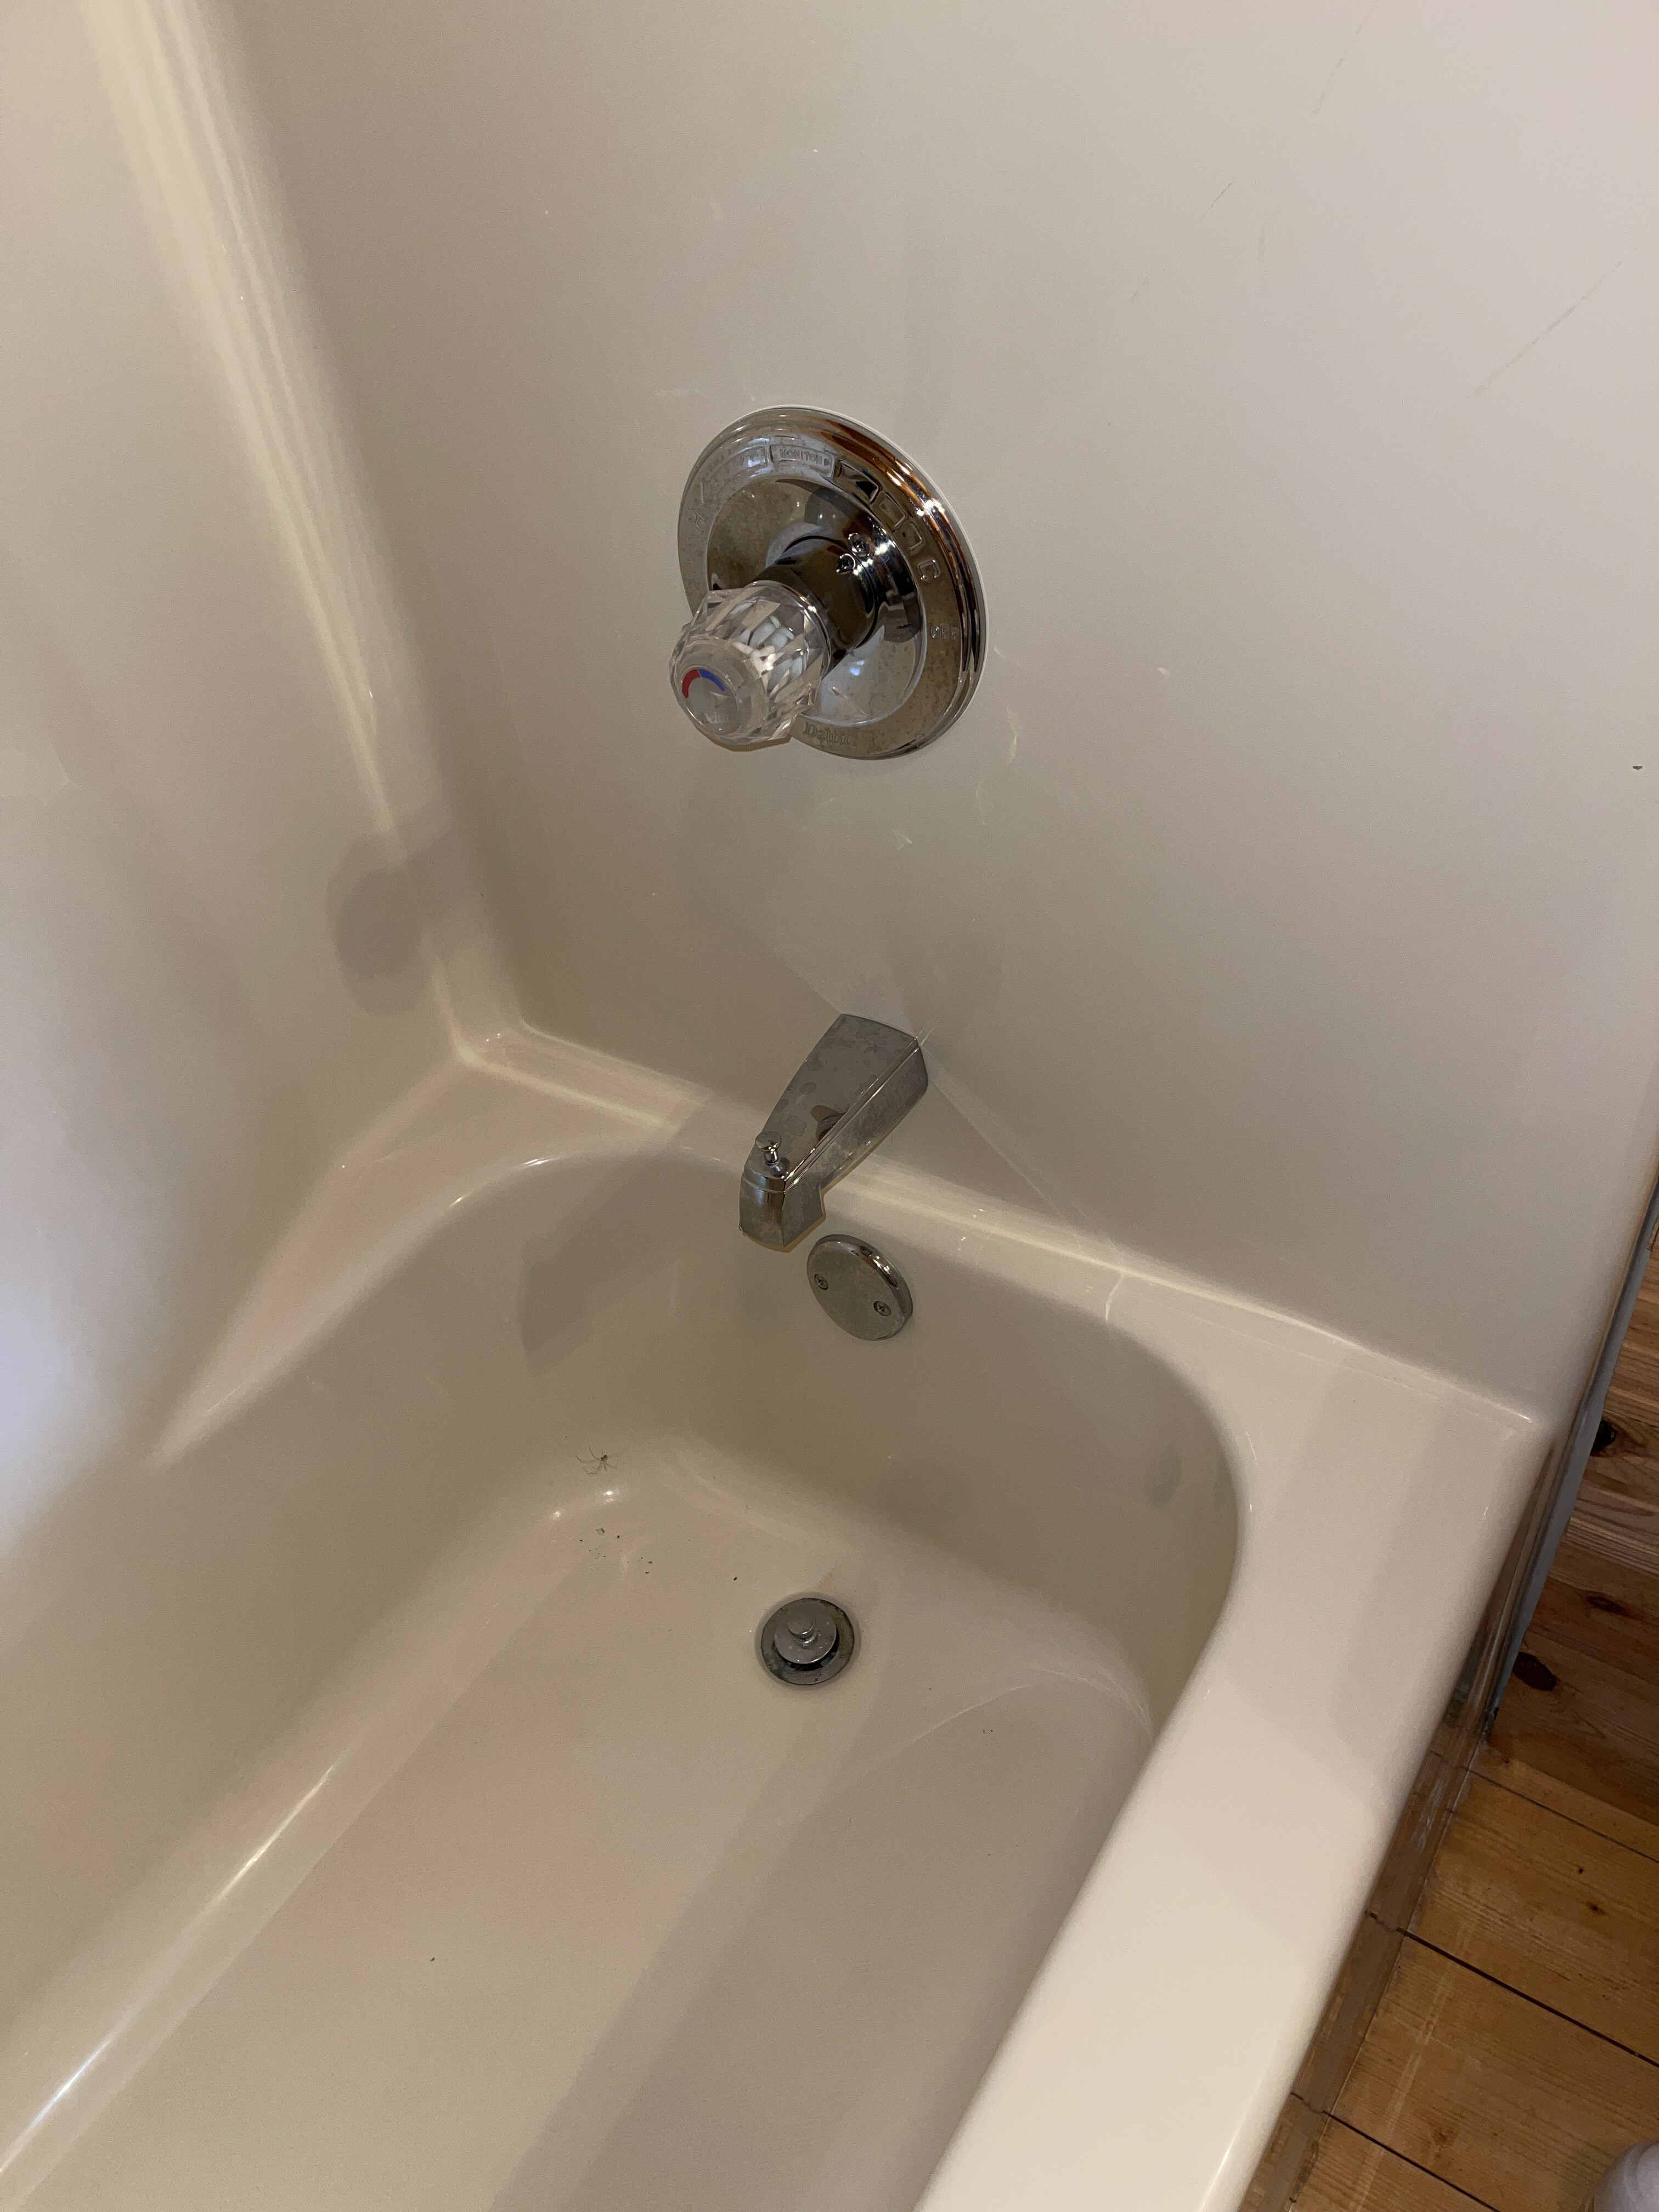
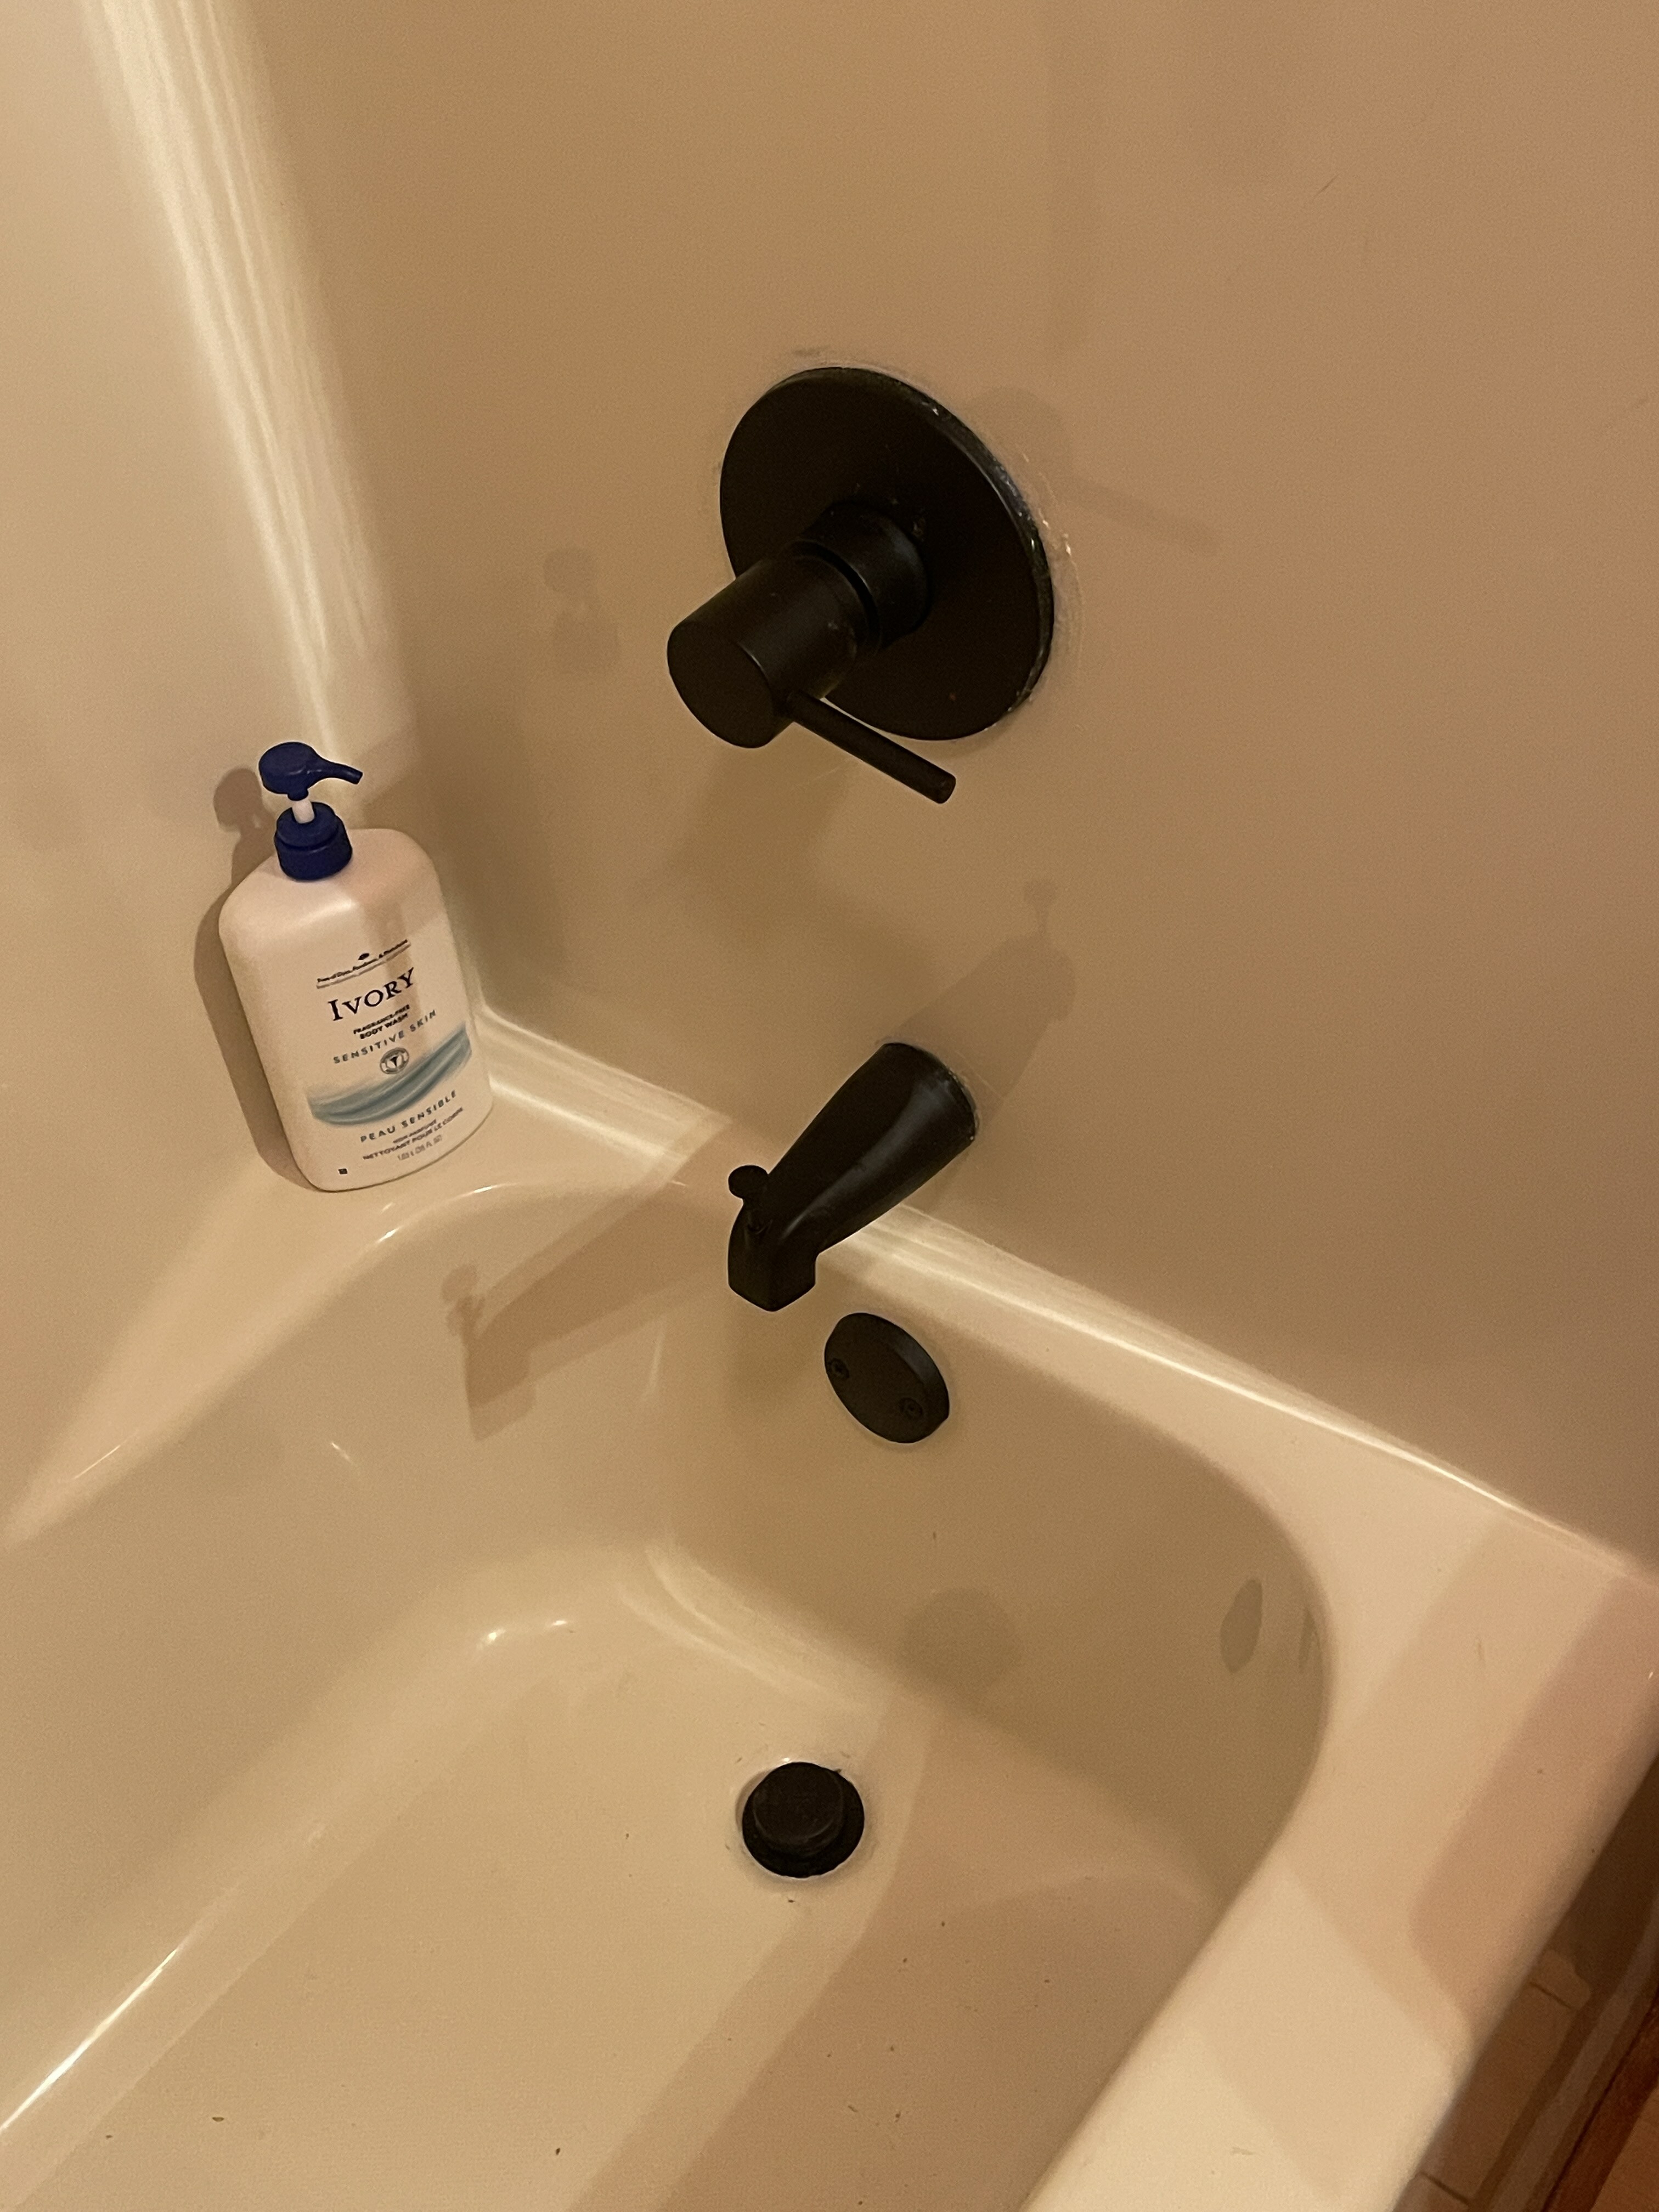
Next, they wanted to update the main bathroom. Due to the low placement of the shower head on the wall, they wanted me to replumb the shower head and raise it to another location on the wall.
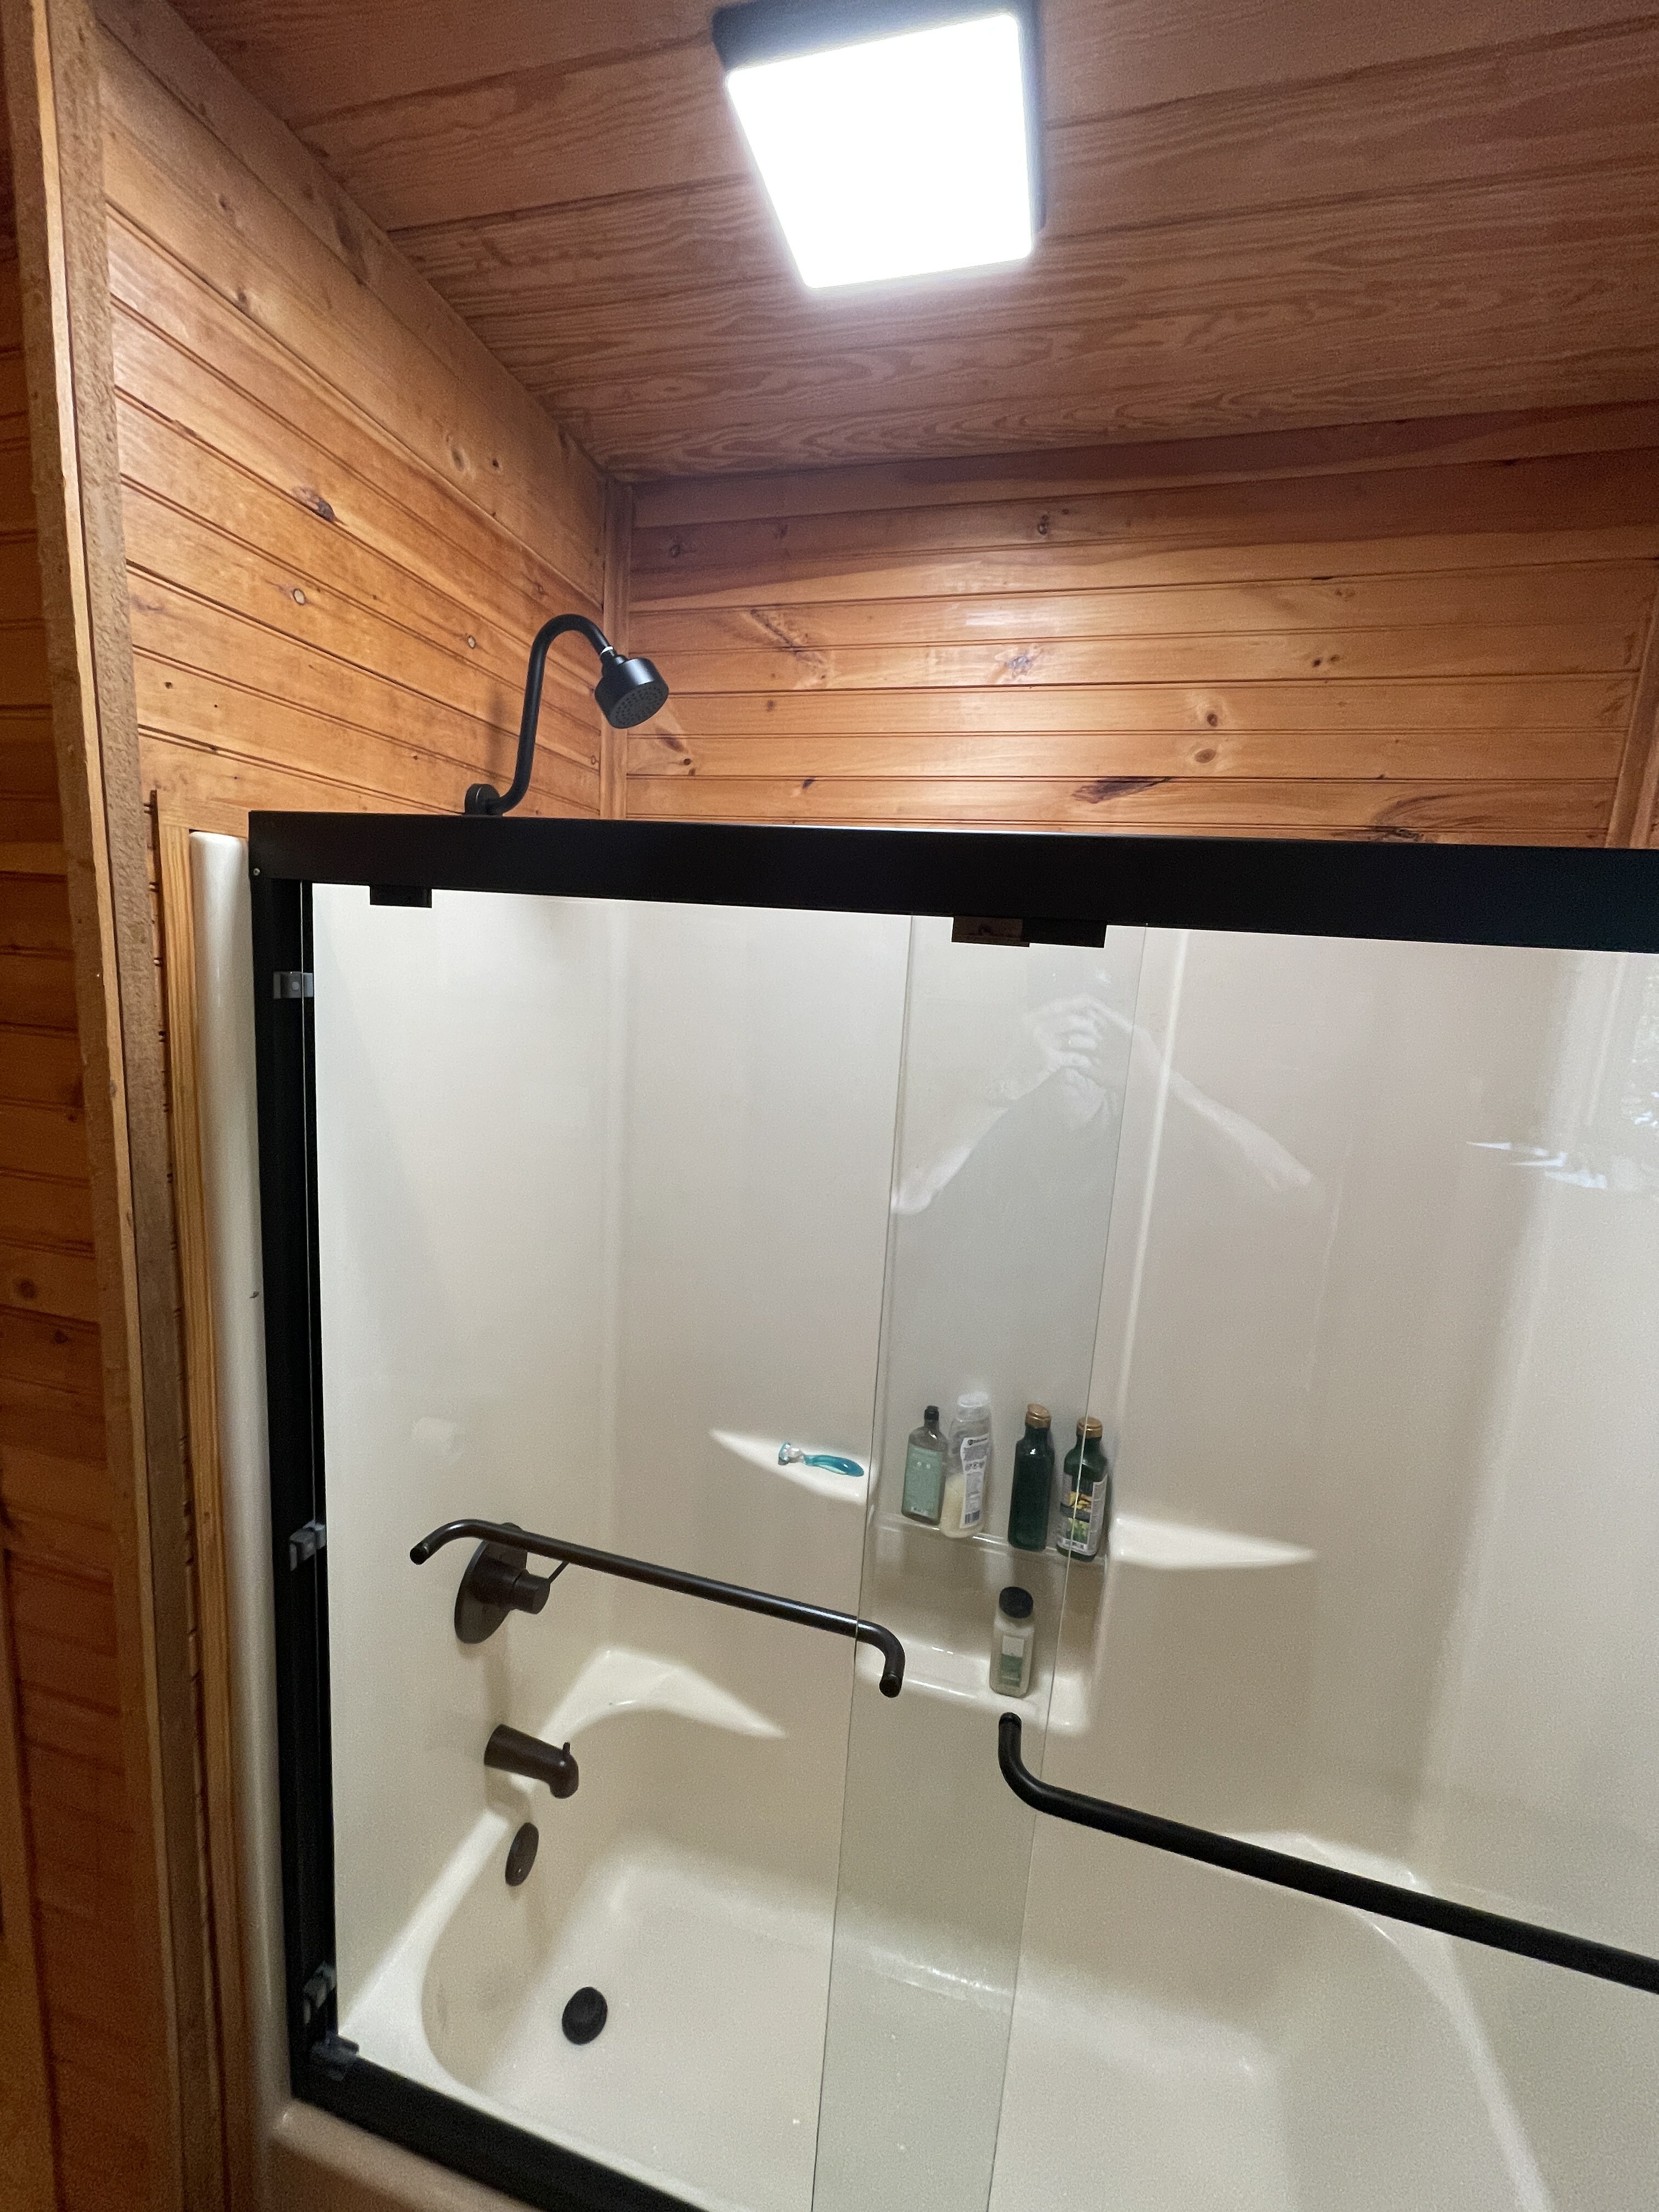
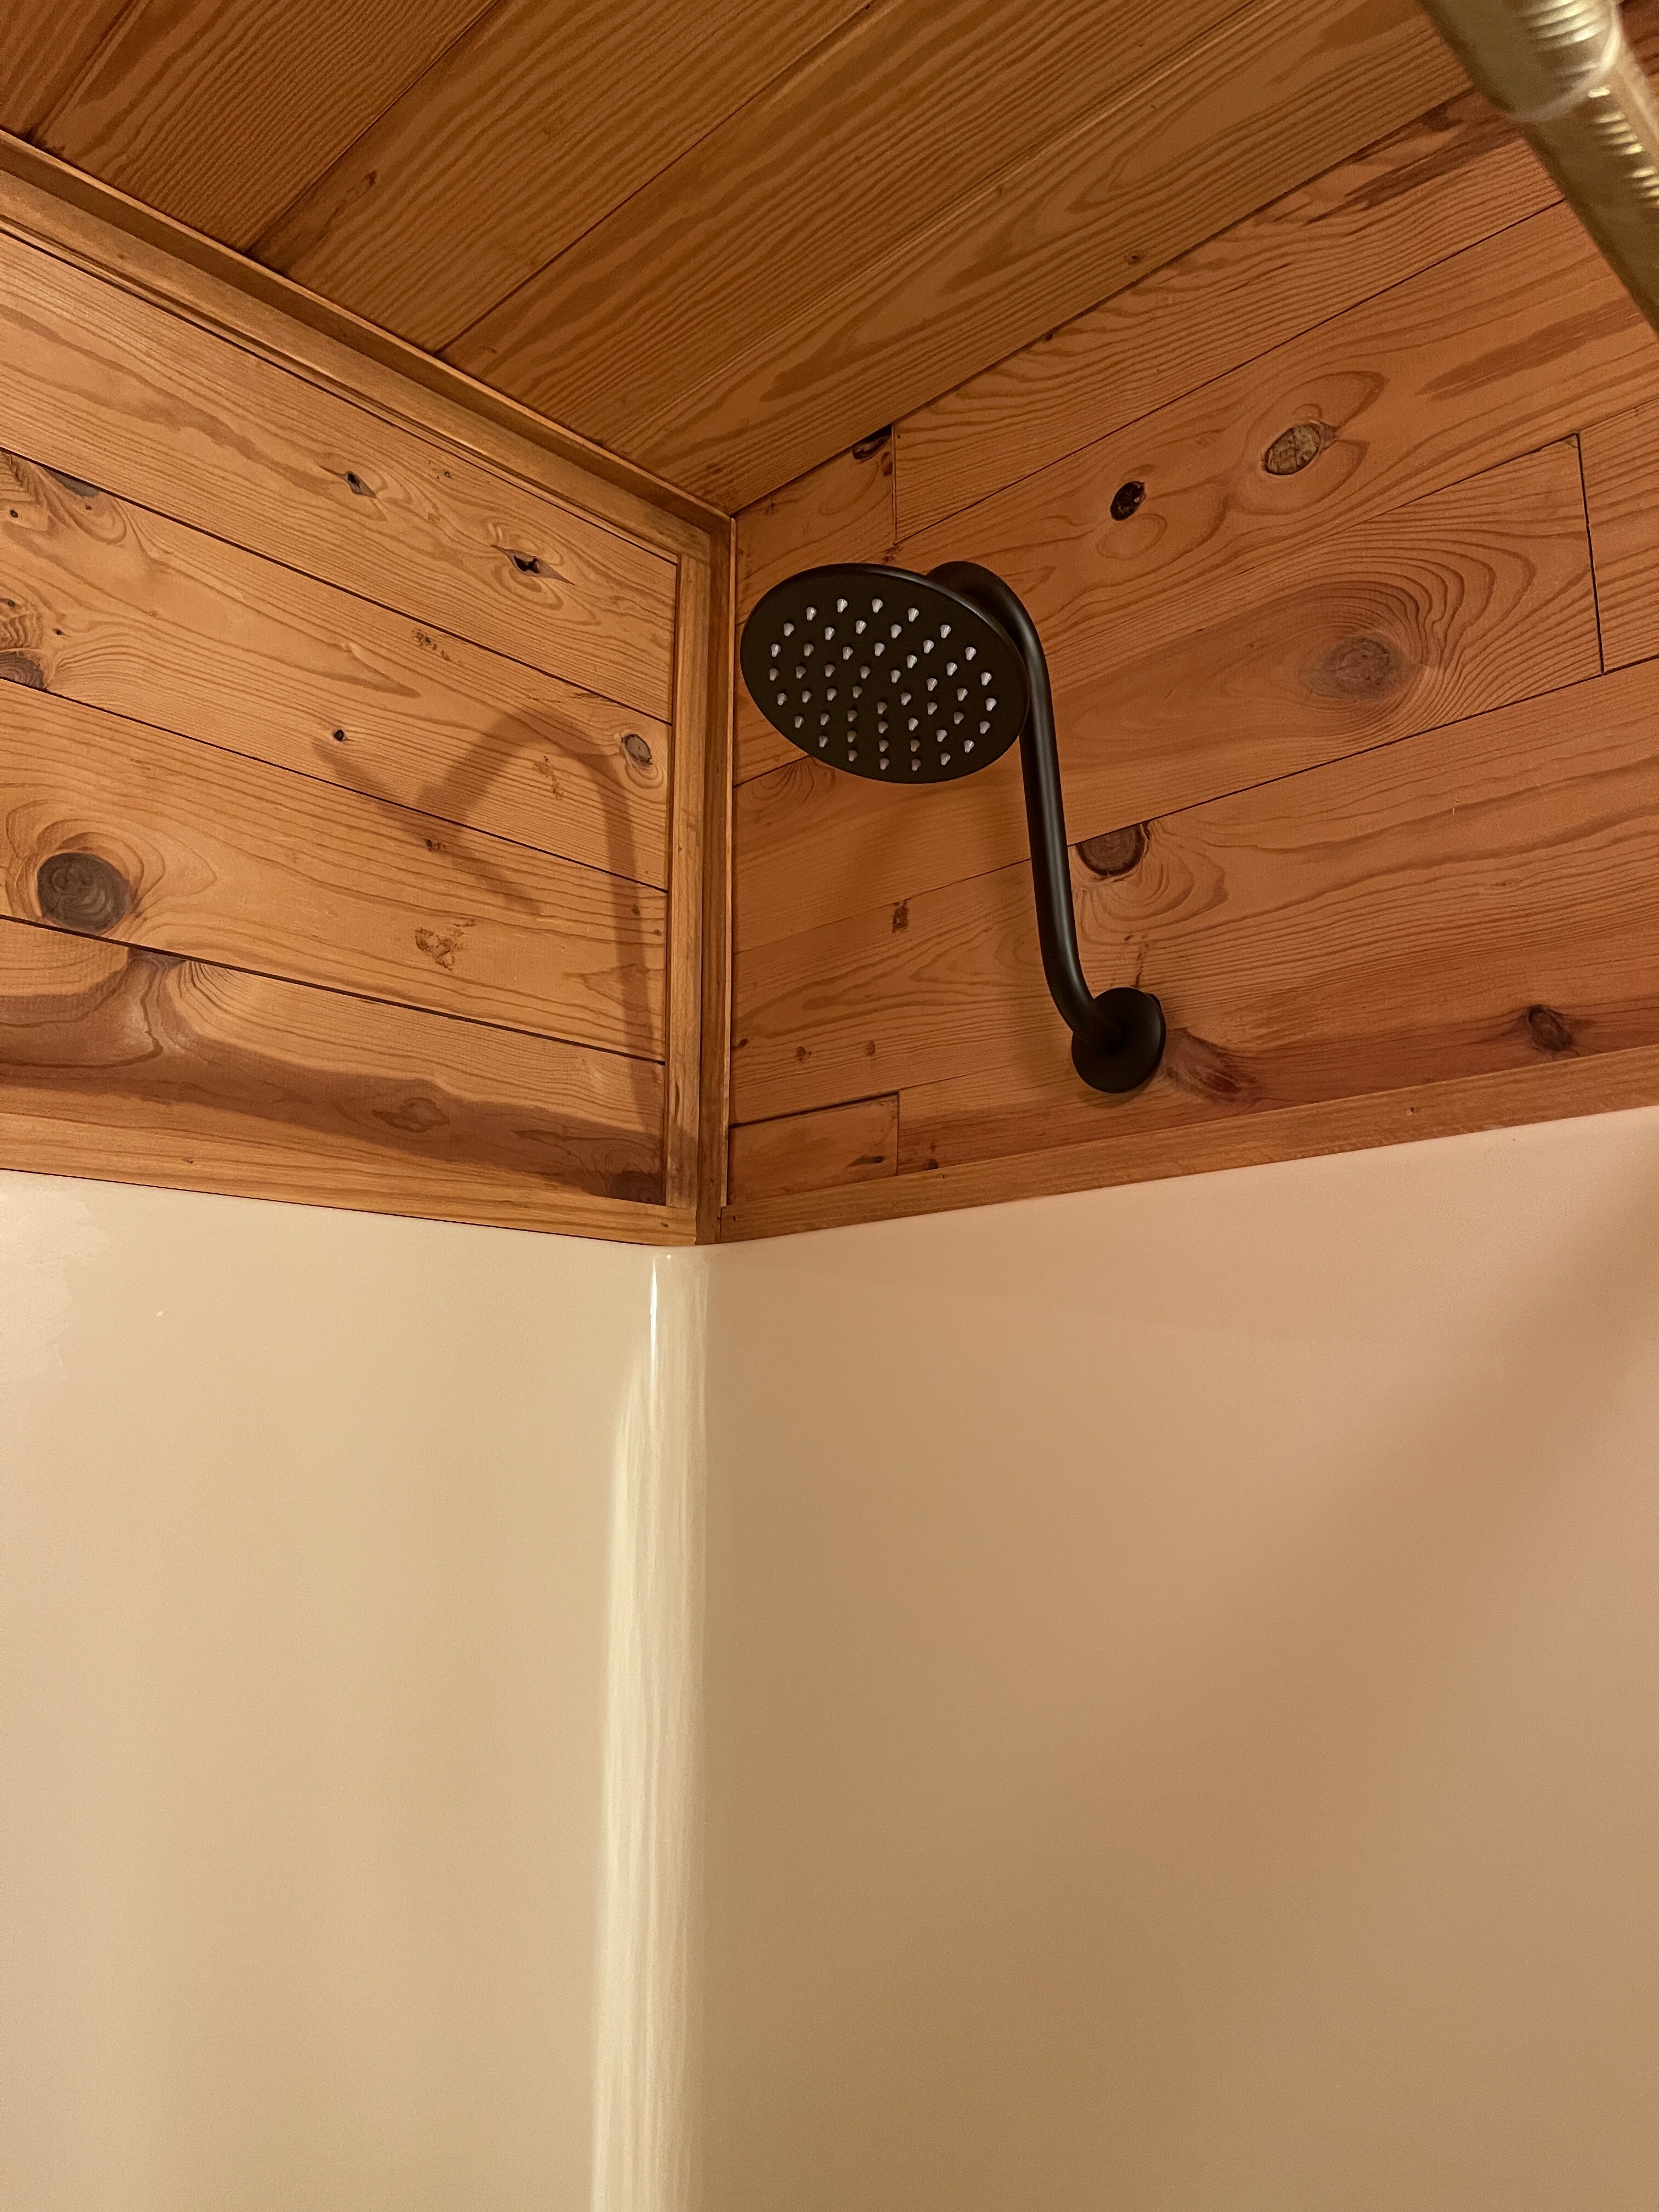
However, knowing how extensive that work could be, I offered a much less expensive option with installing a gooseneck for the shower head. They also wanted to change out all of the chrome fixtures on the bathtub and install matt black finish fixtures.
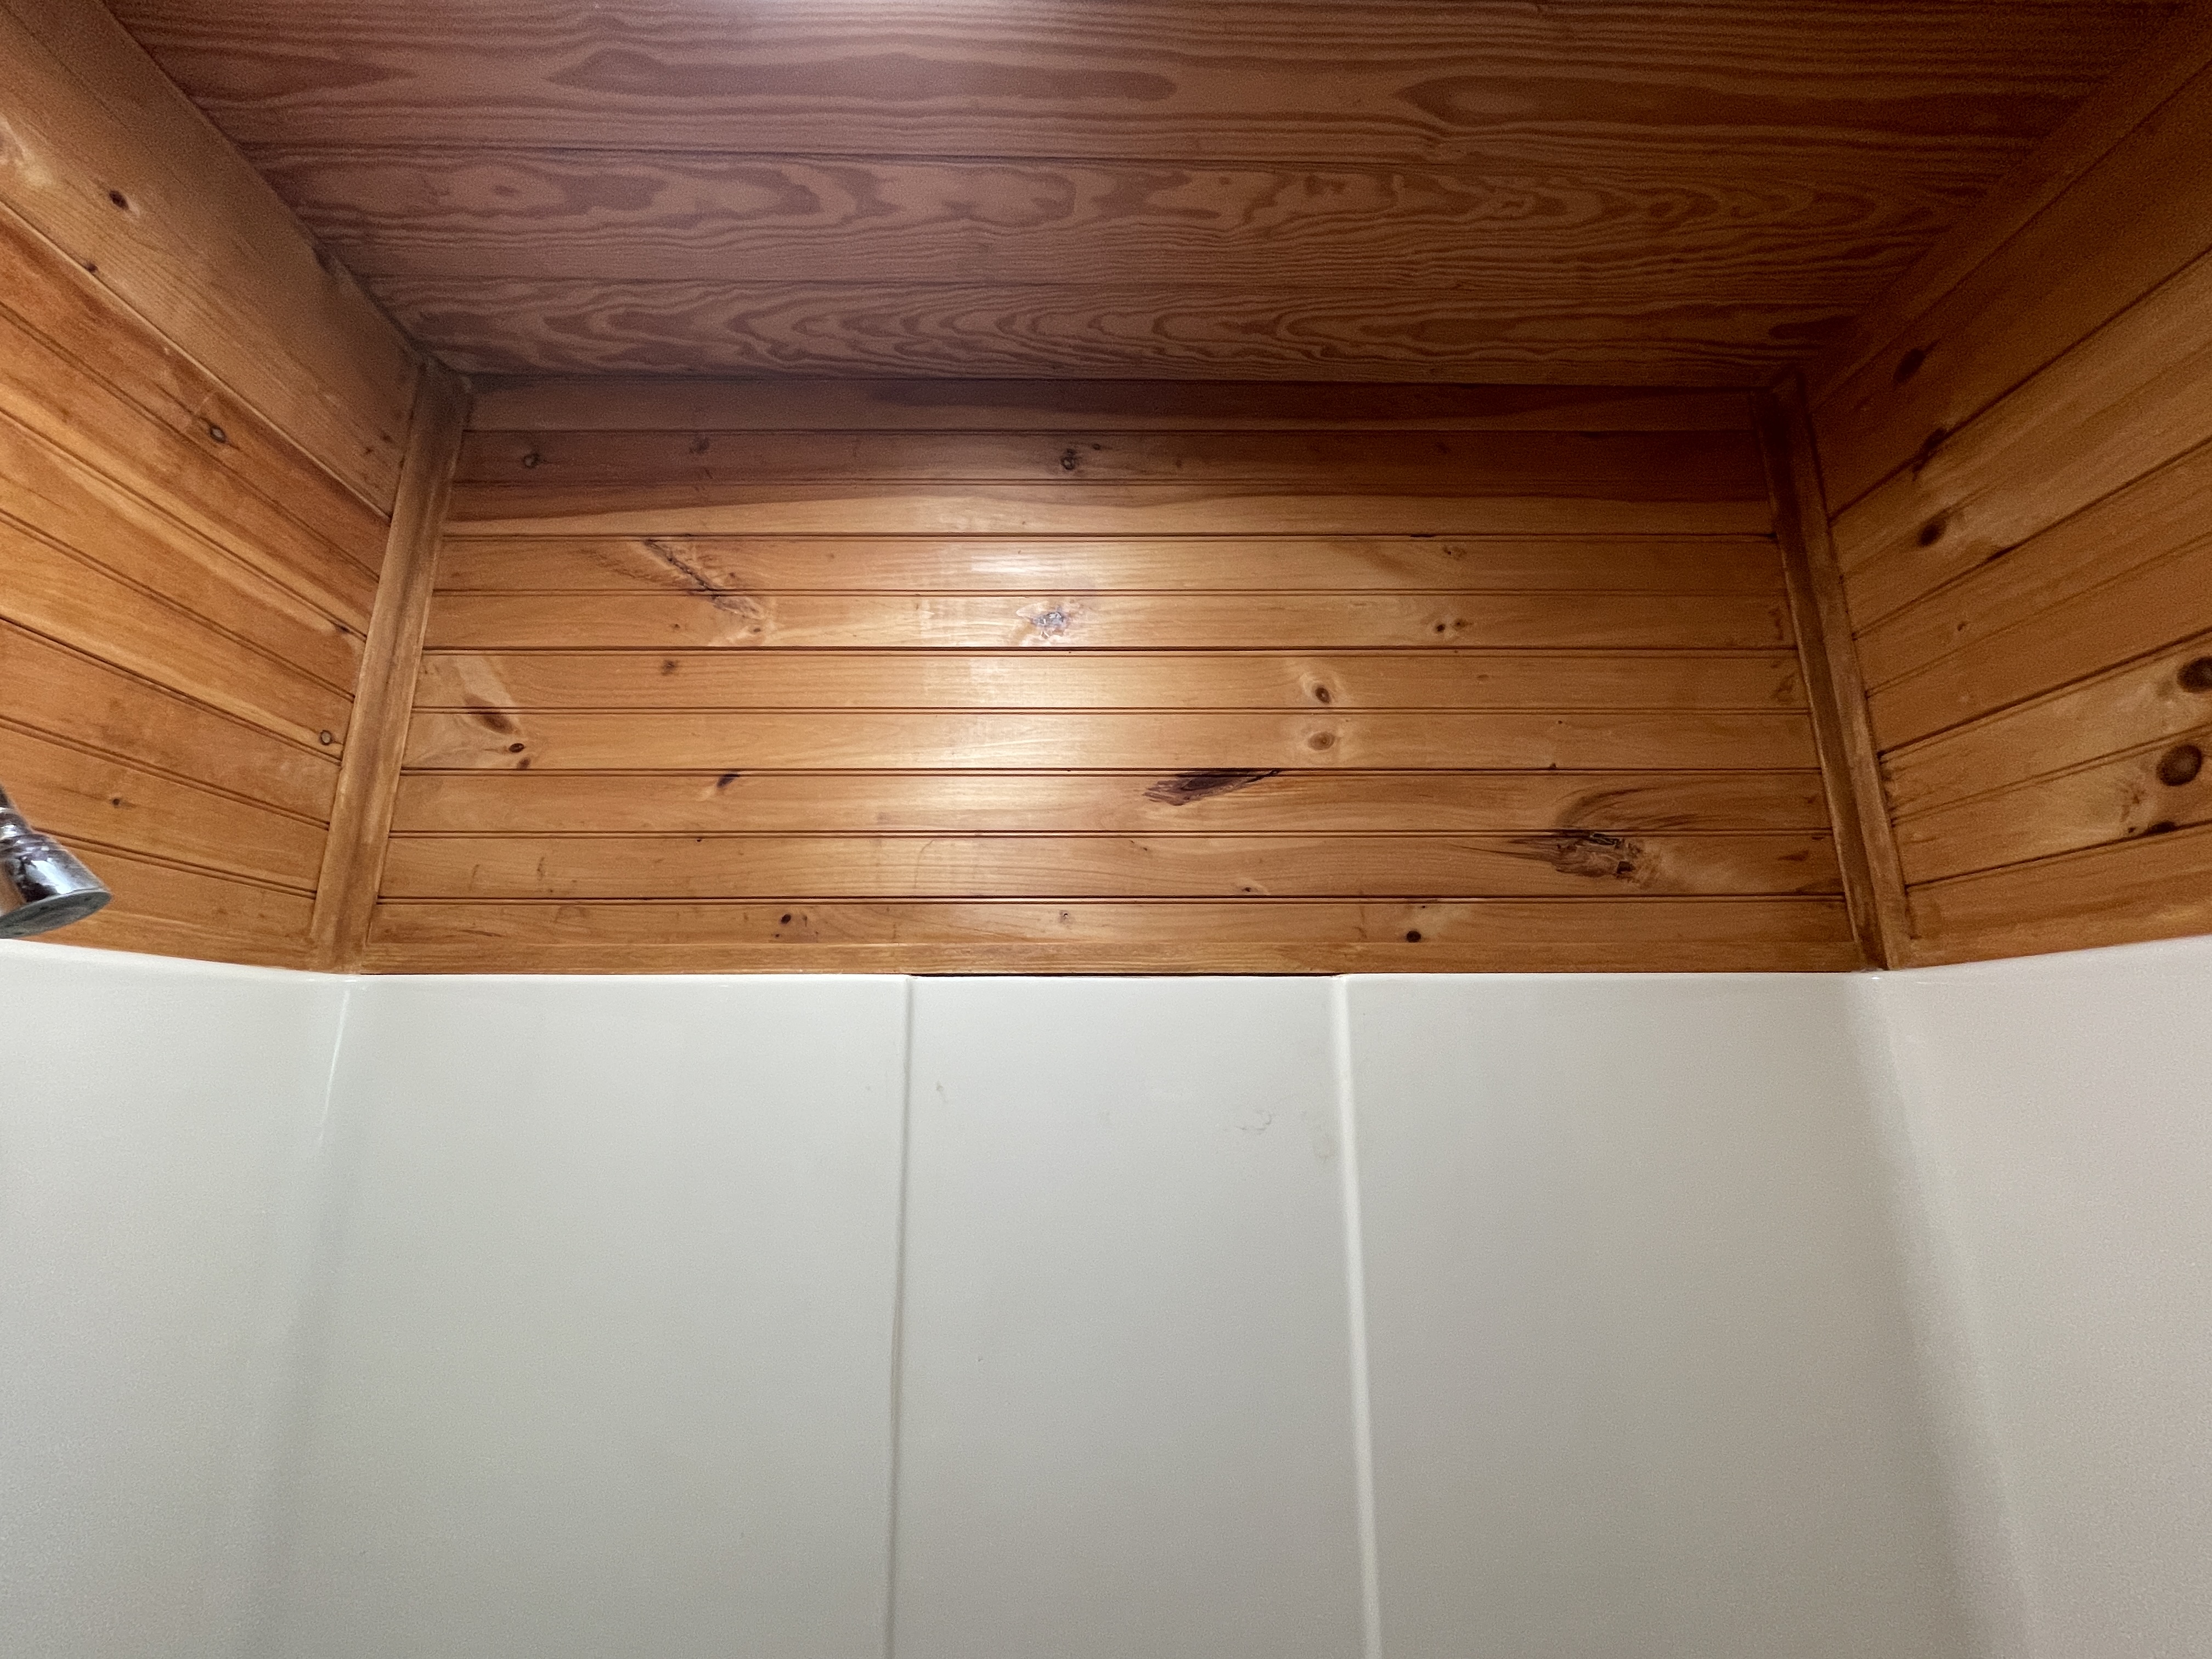
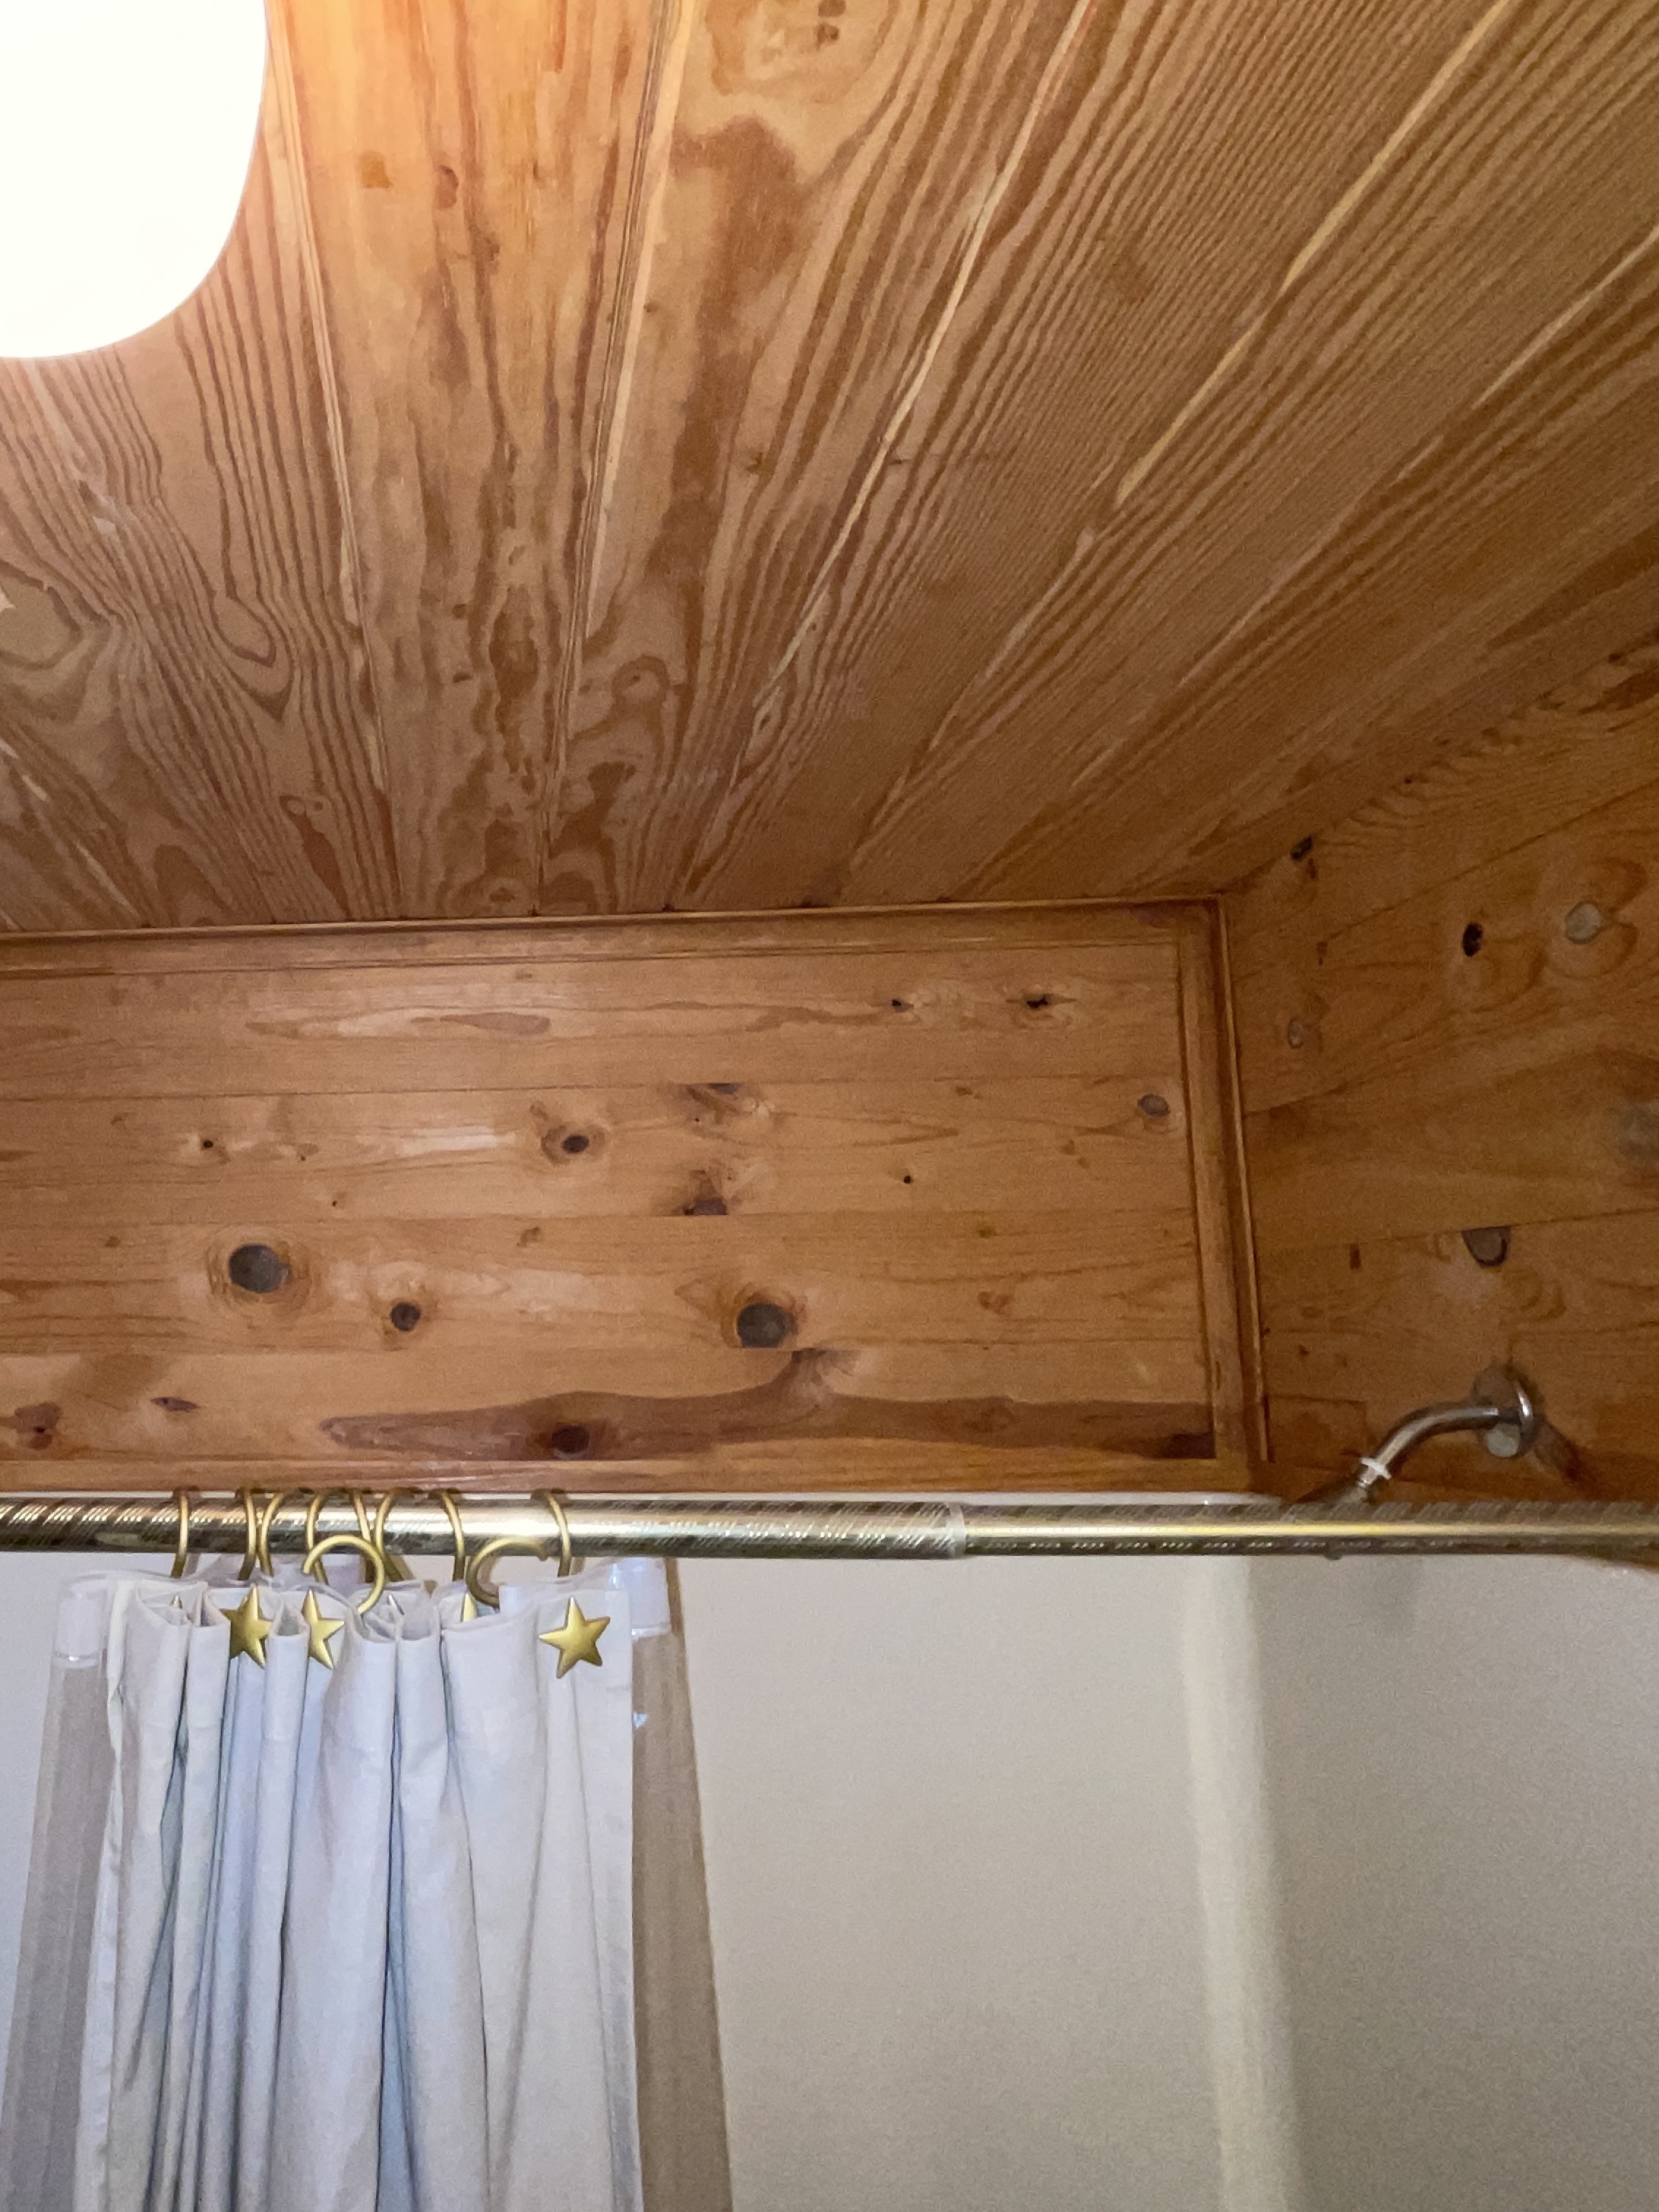
There were also gaps between the wall planks and the tub, and also in the corners. So, they wanted some trim pieces installed and stained to match the existing wood.
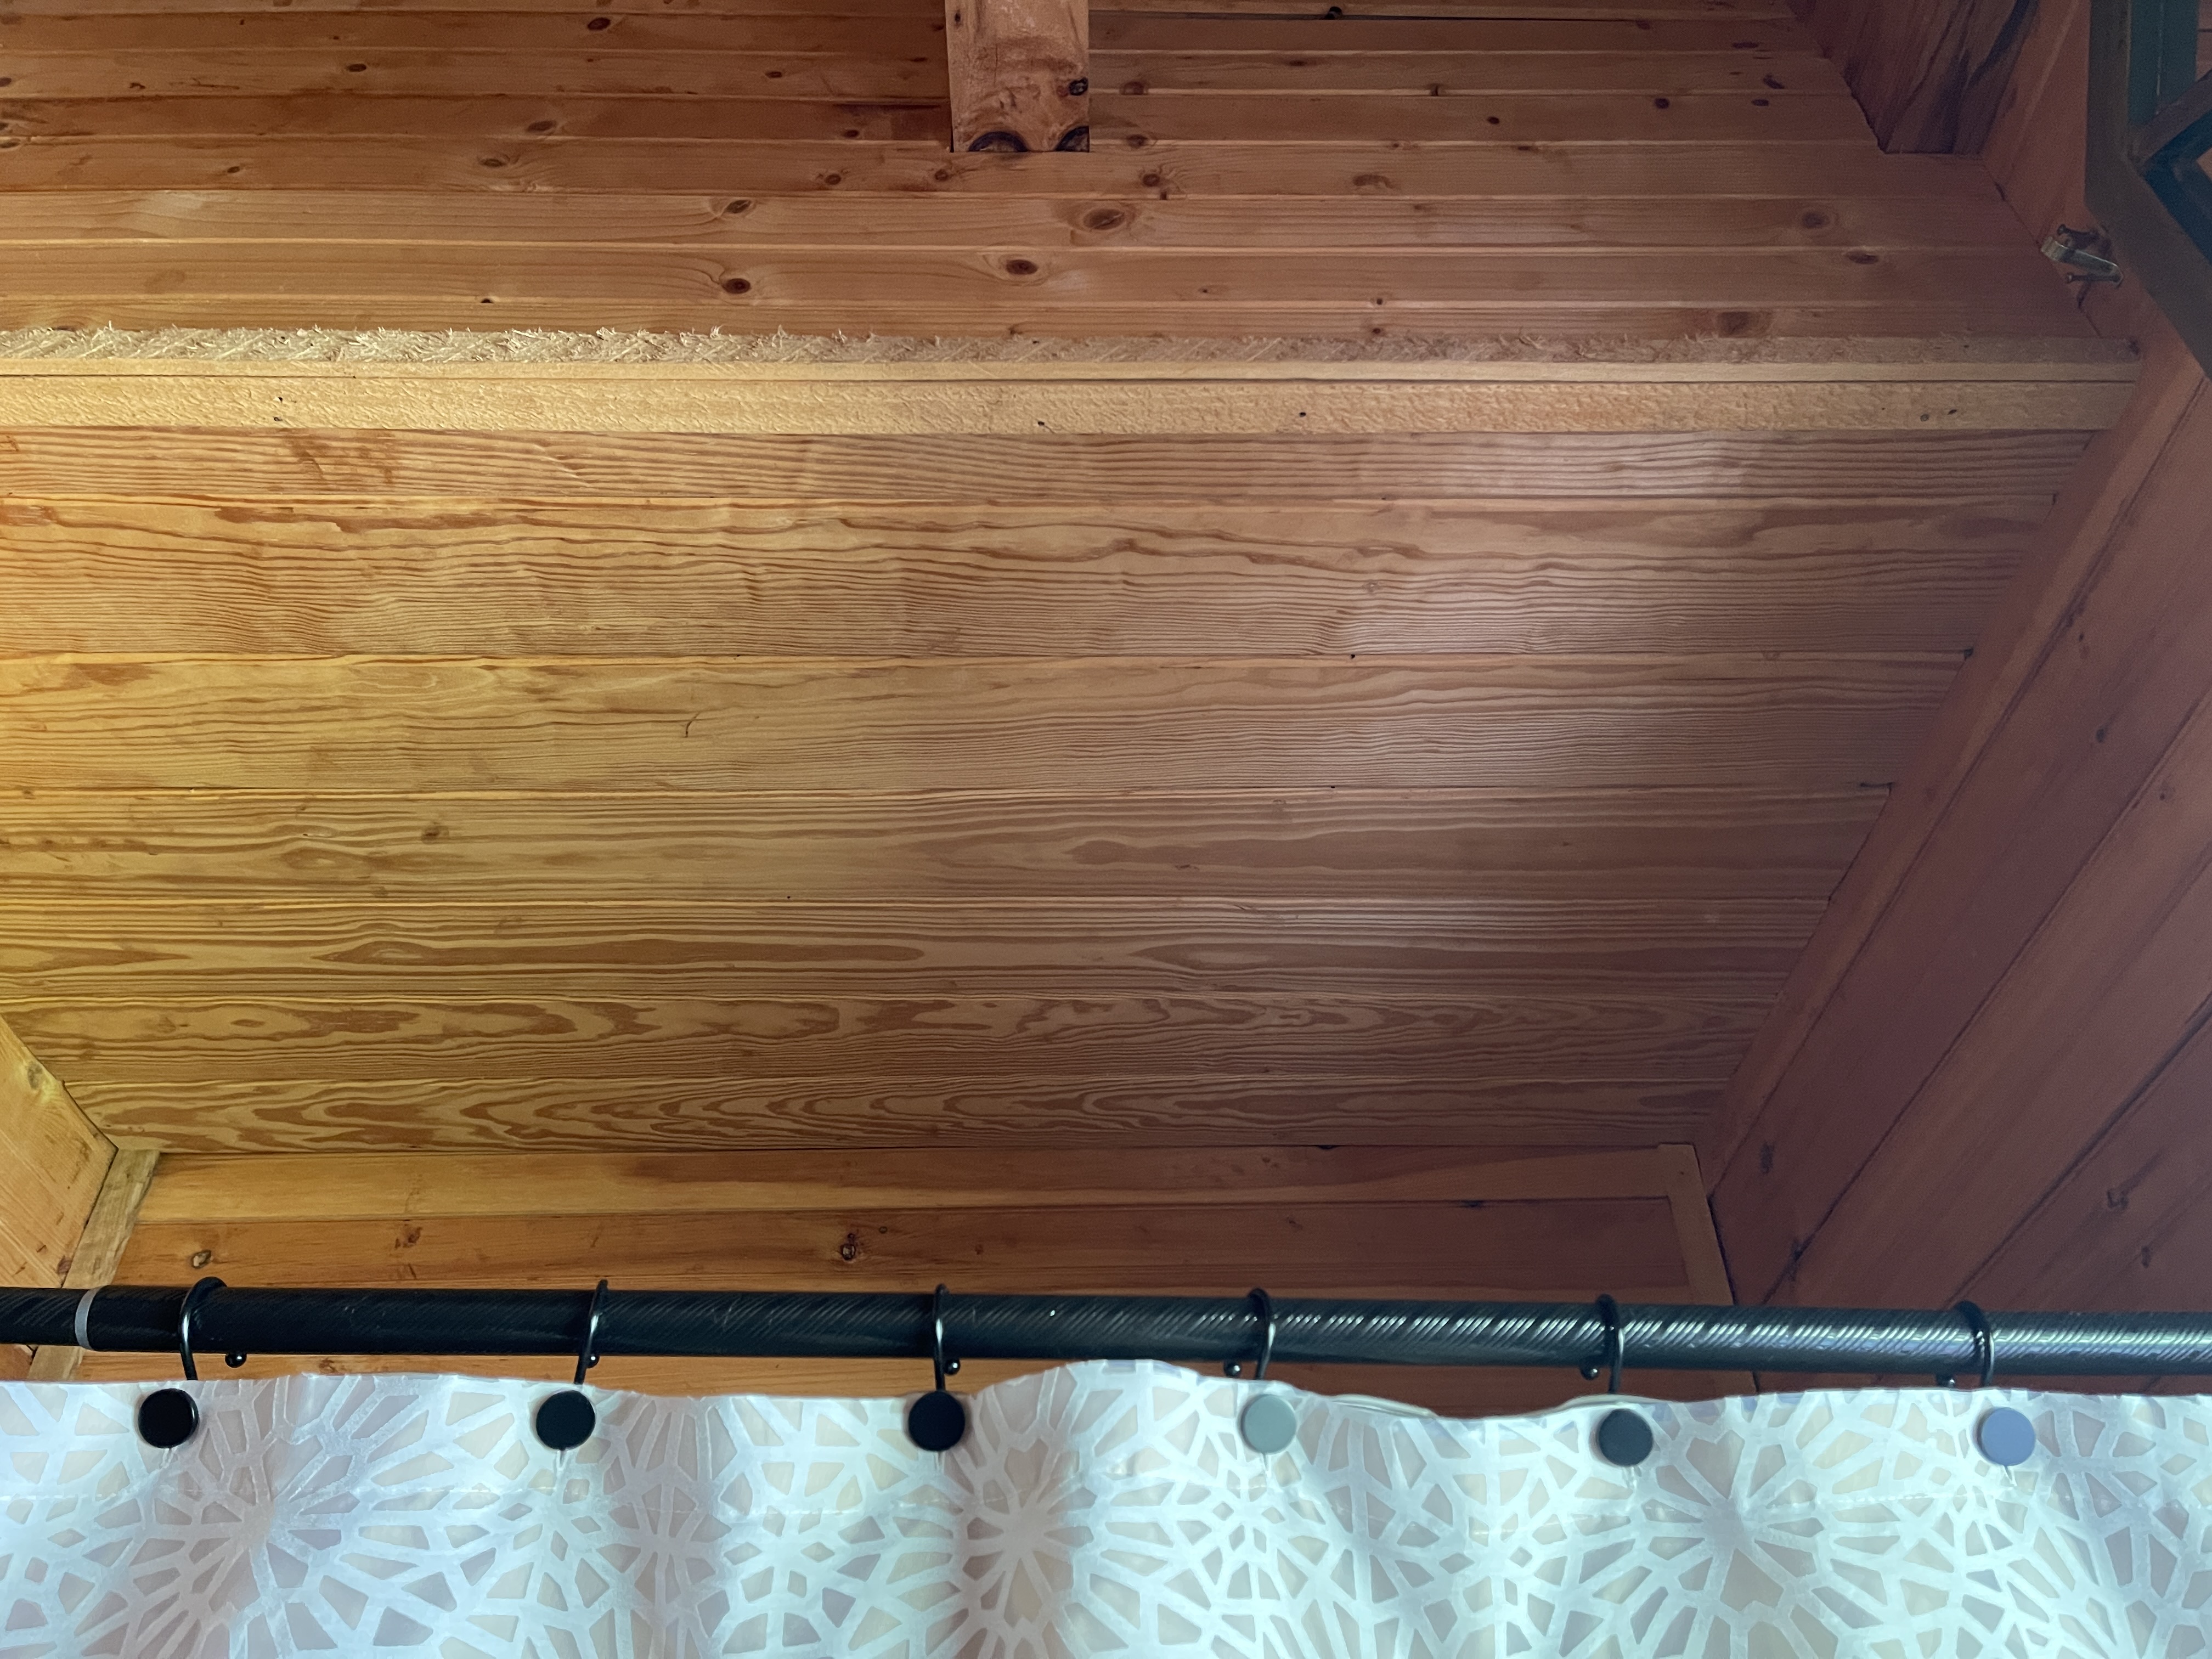
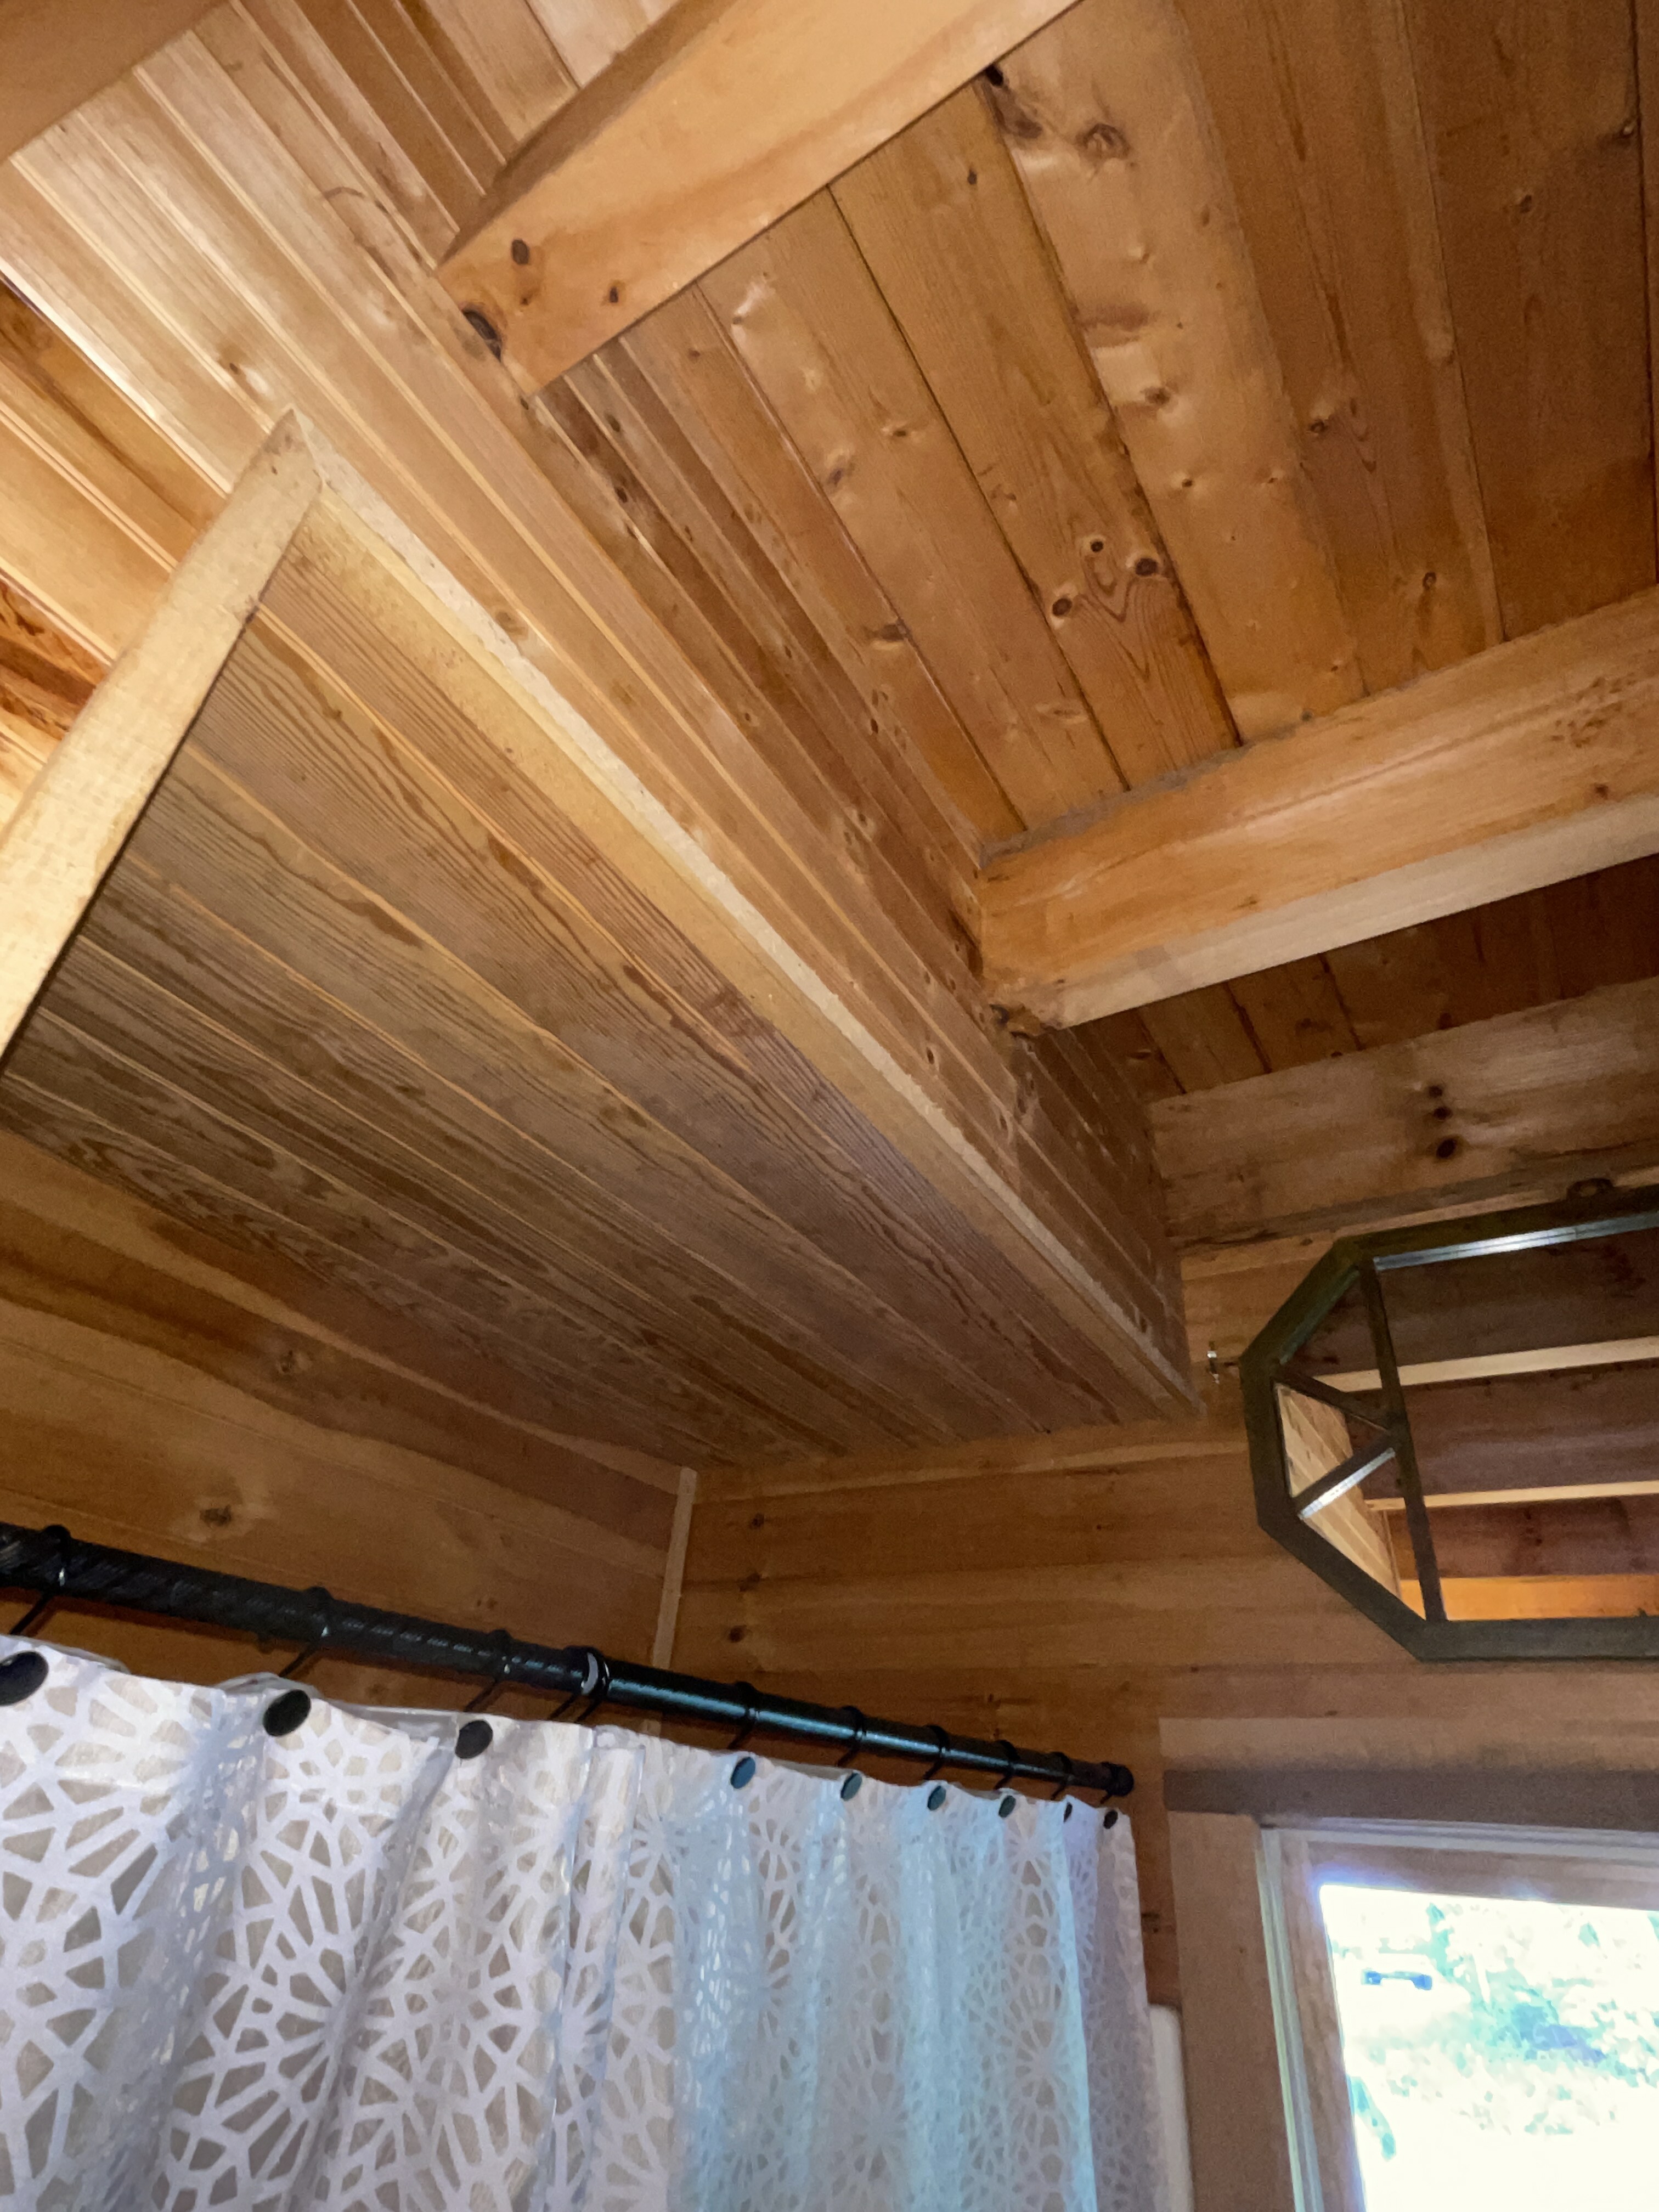
Another upgrade was to install an exhaust fan in the shower. They had complained that the bathtub area was a little dark so I suggested adding an exhaust fan that also had a light.
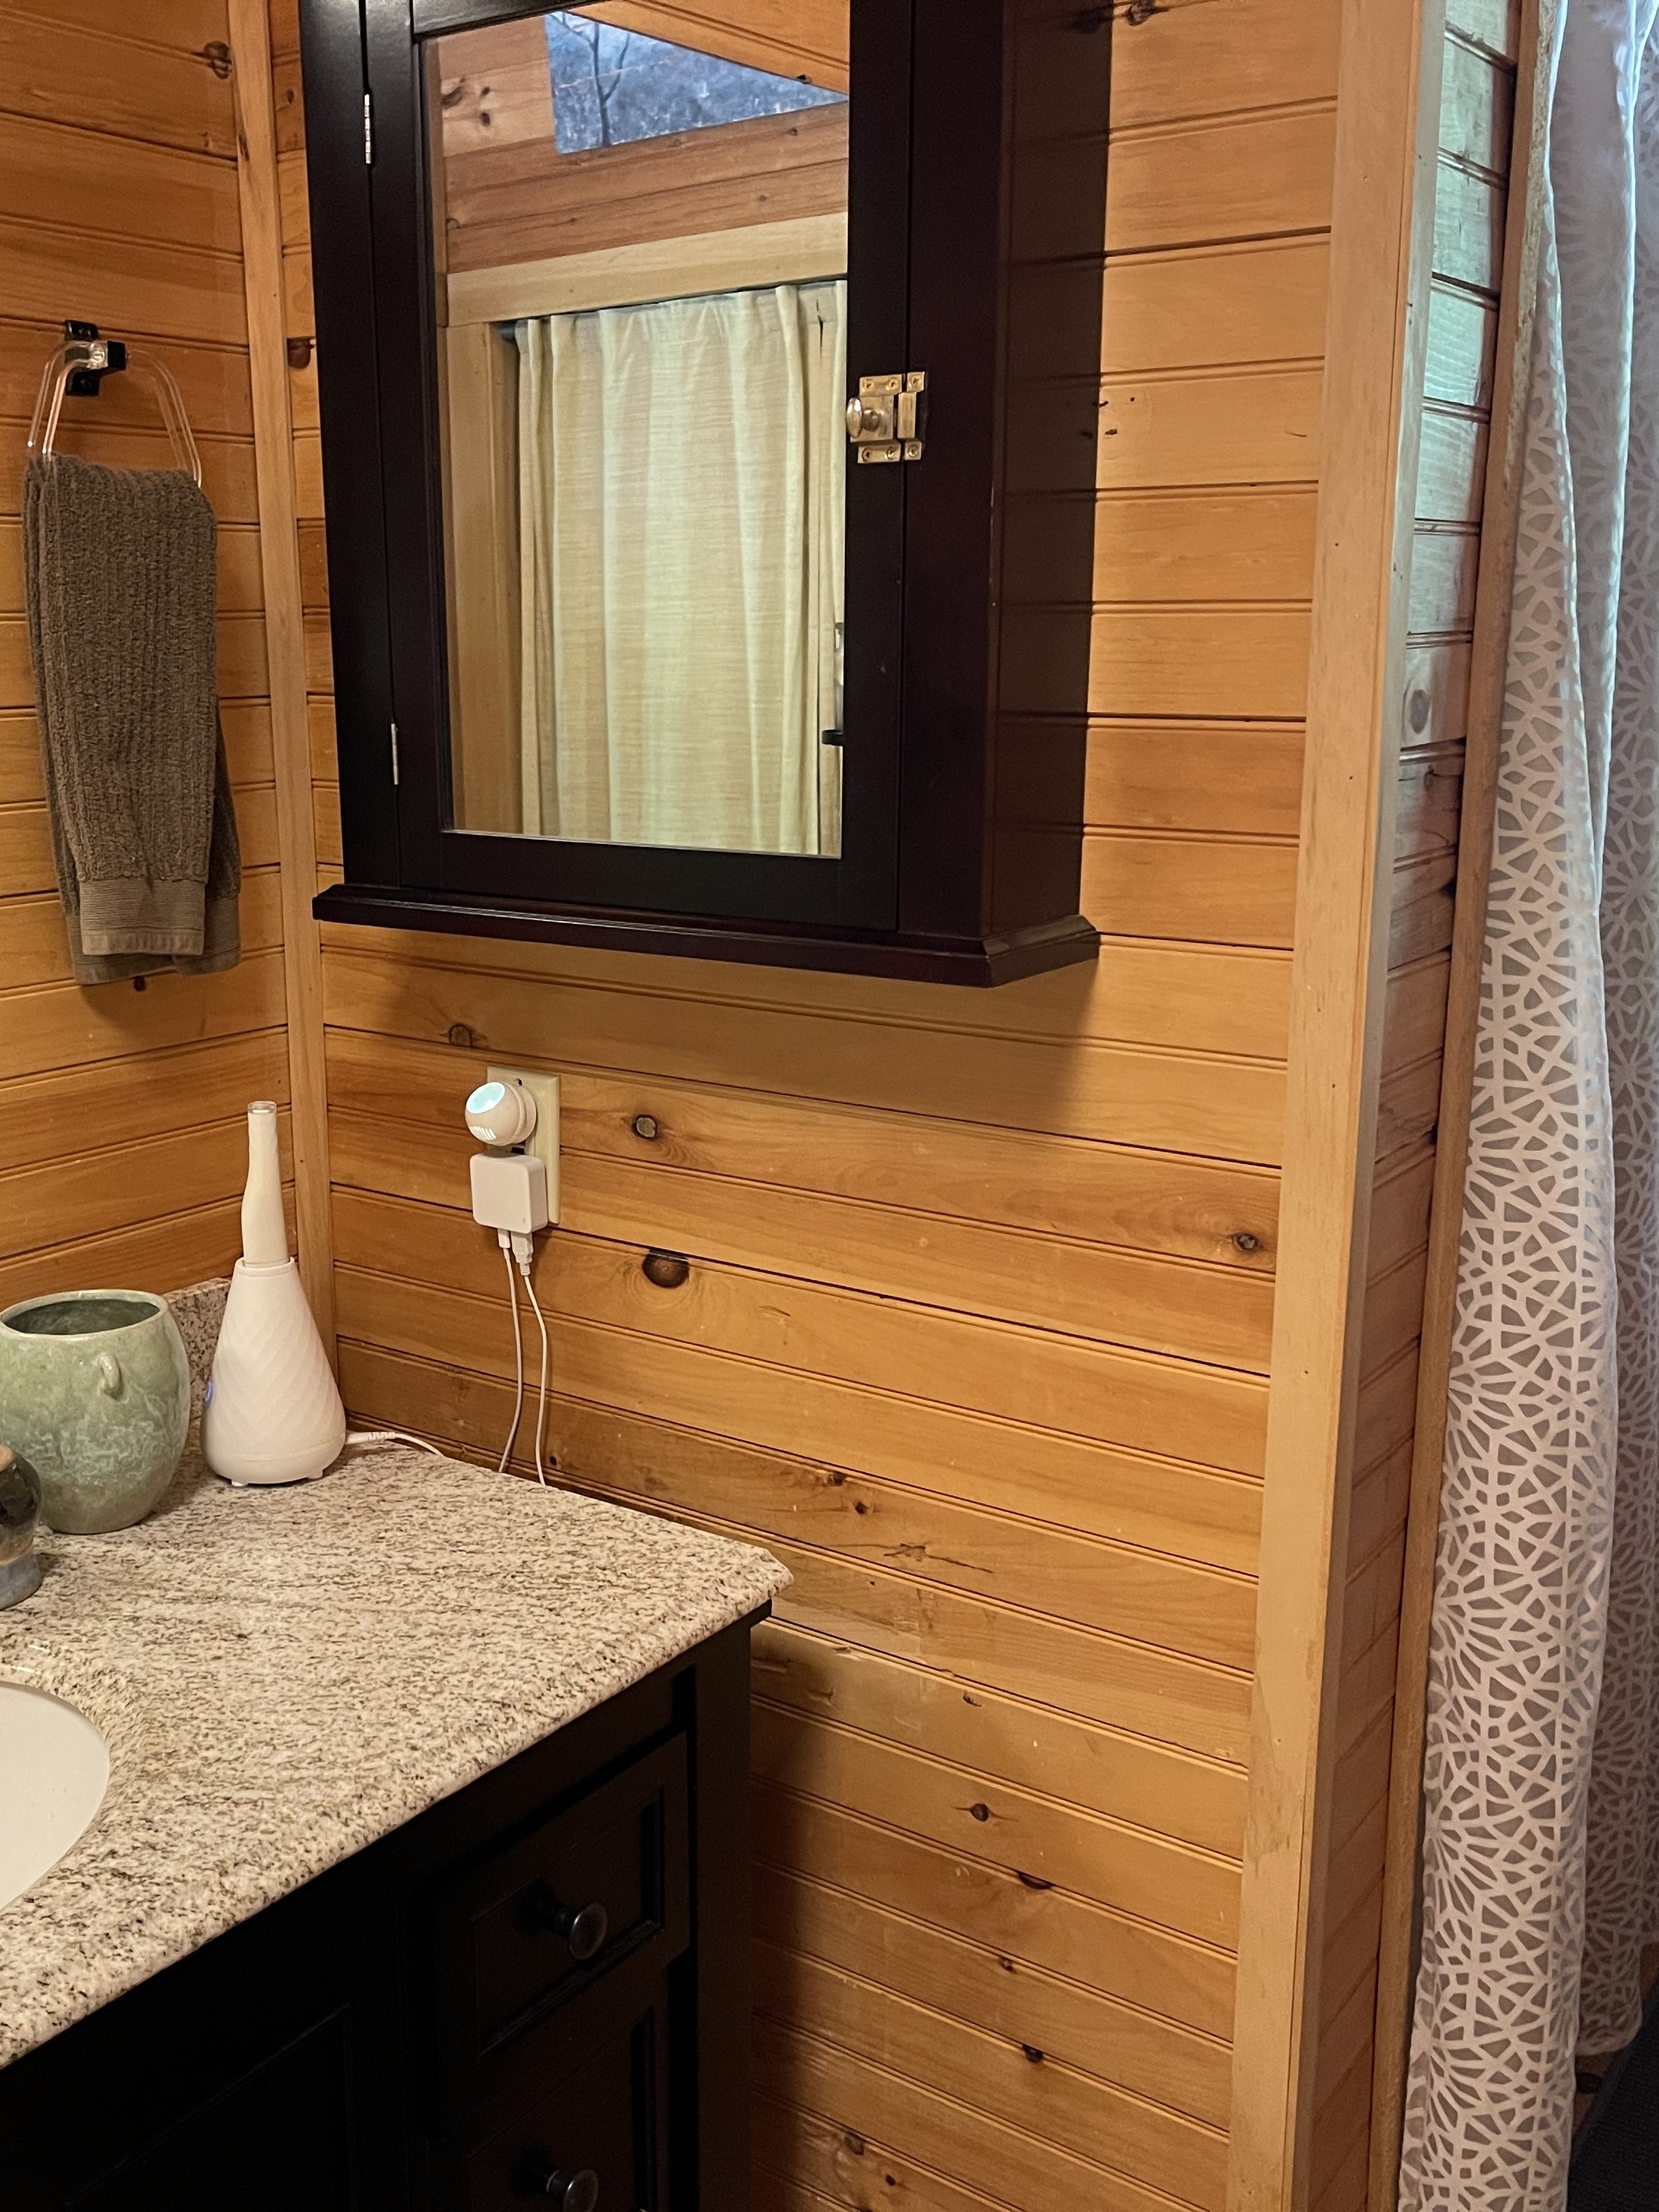
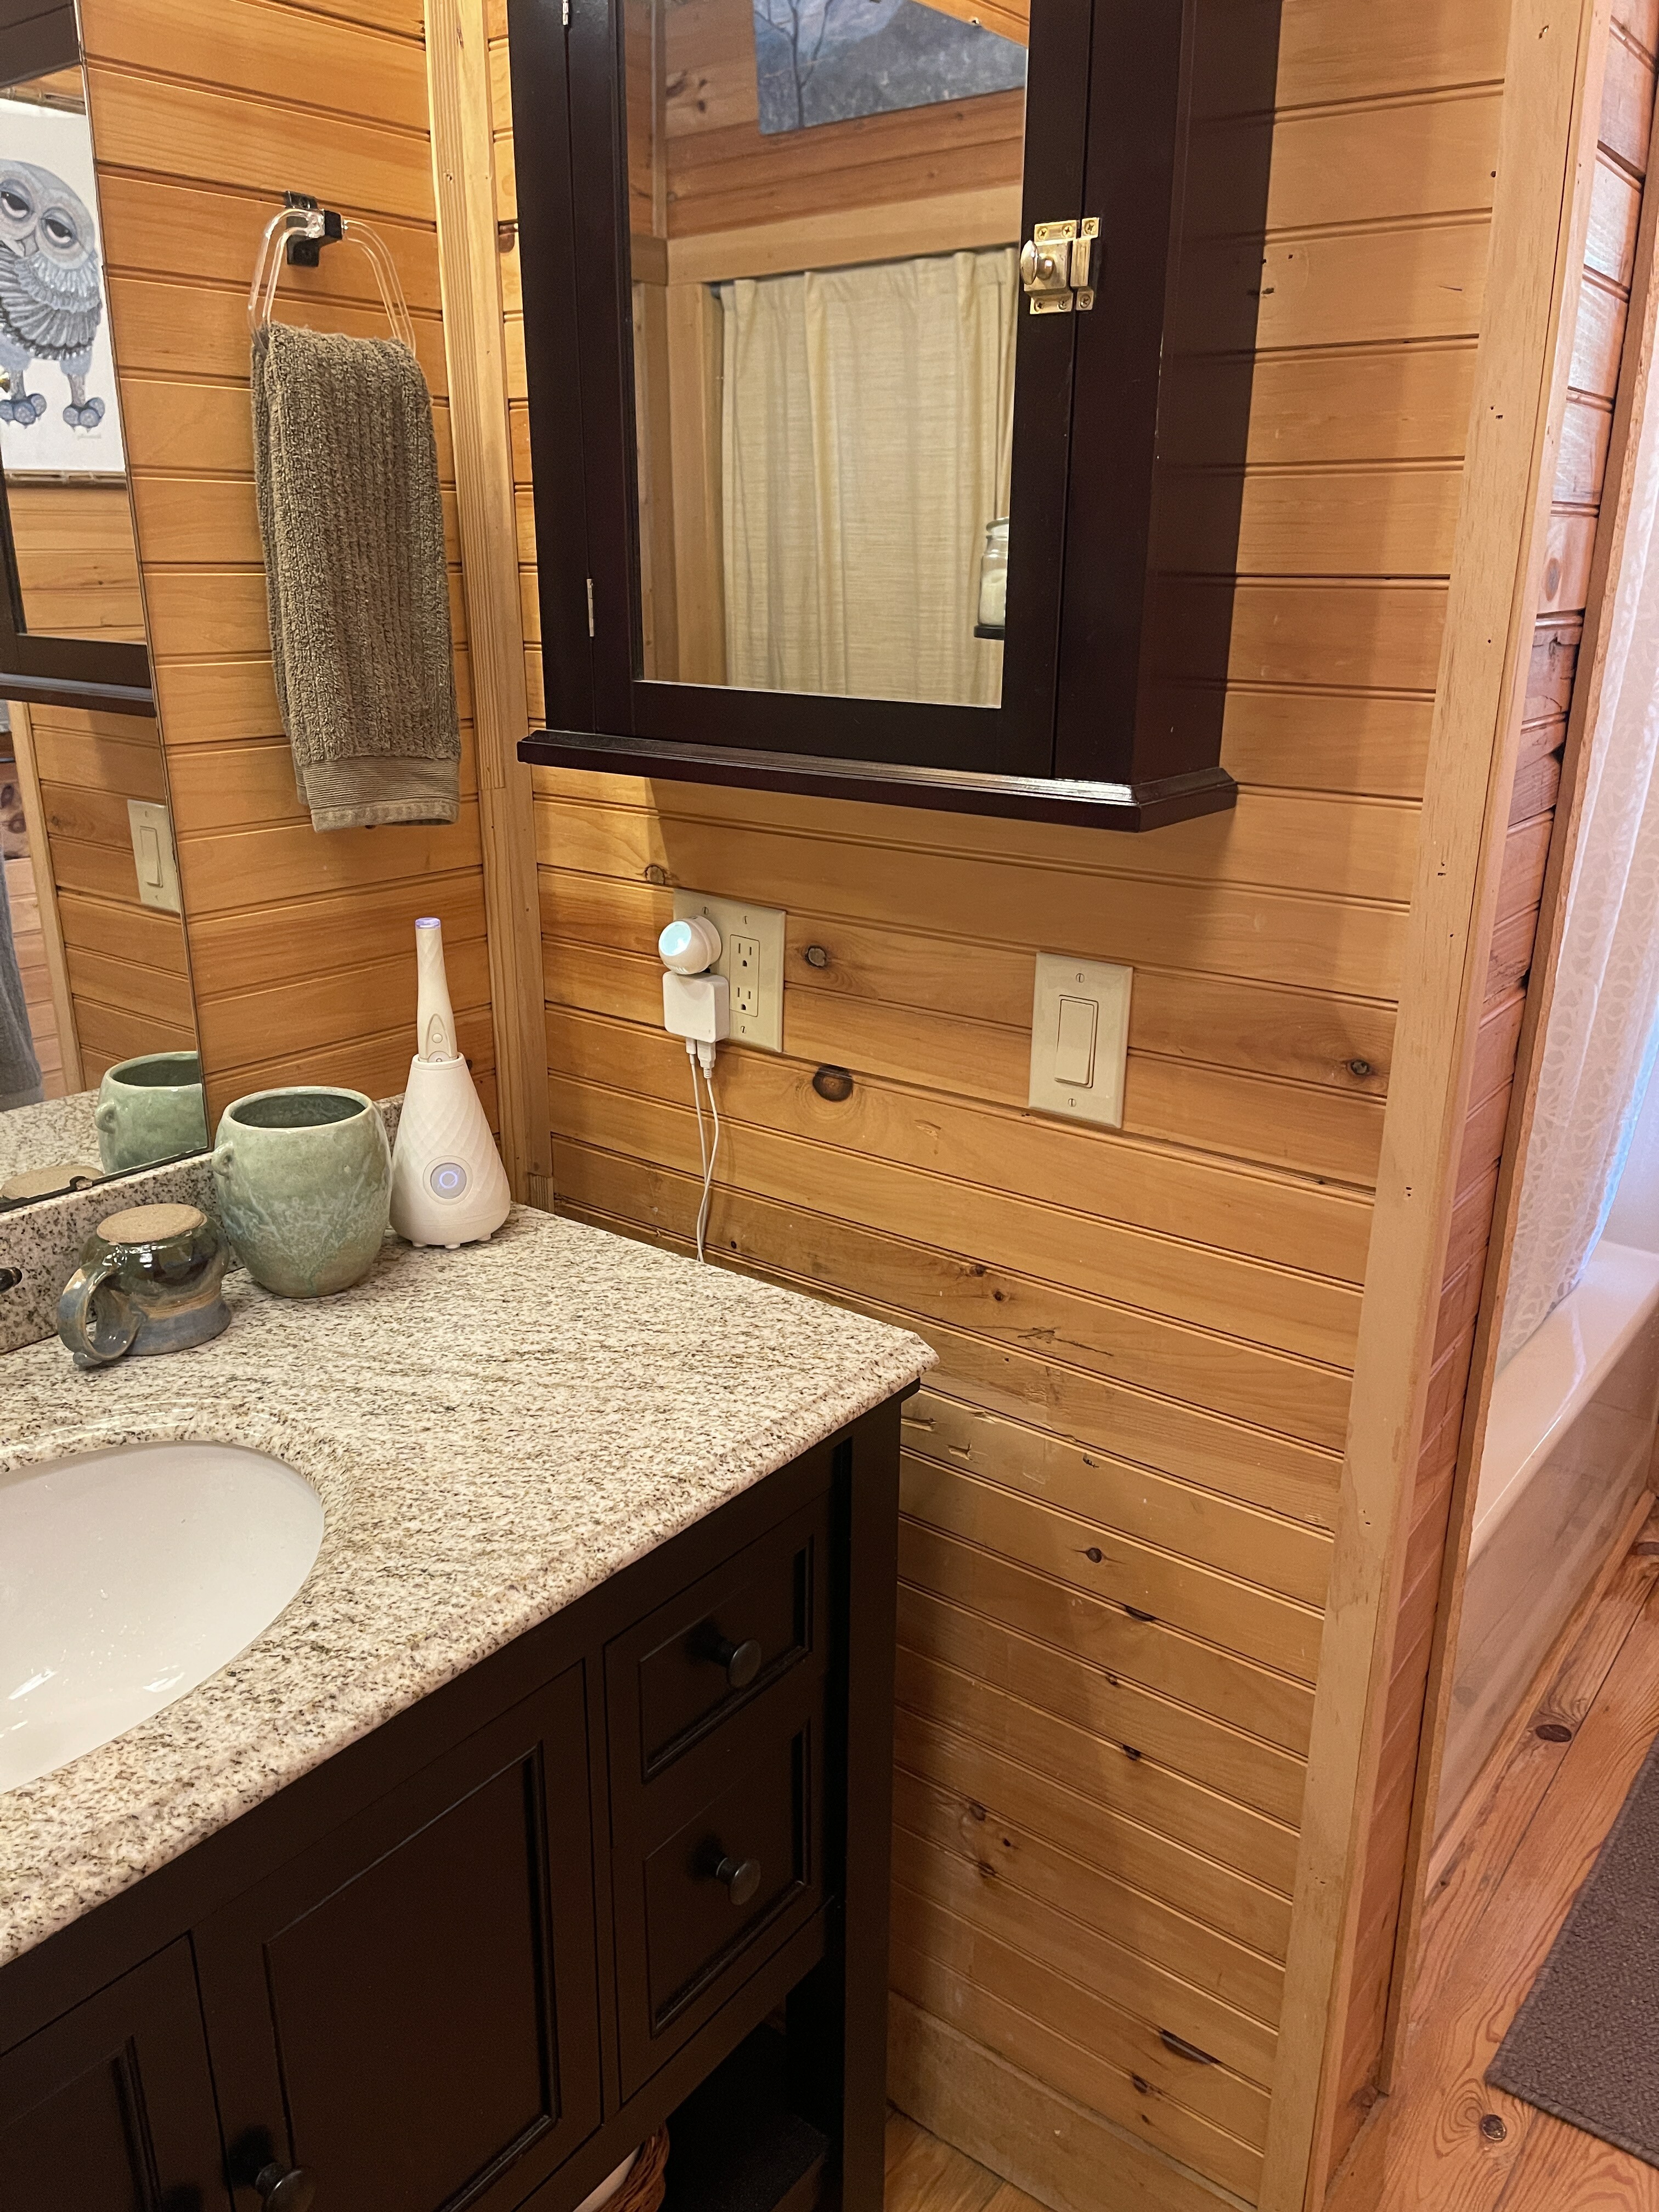
We needed to get power to this new exhaust fan and light, so I suggested installing a separate switch for the fan/light. I noticed that they had something in both receptacles in the outlet near the sink and bathtub, and
since I would be getting power from that outlet, I suggested replacing the outlet box with a double-gang box so they could have two outlet devices.
And lastly, the husband complained about the shower curtain so I suggested installing a sliding glass door.
There was a similar issue with the Loft area bathroom.
They wanted the showerhead raised, trim applied around the shower unit to cover the gap between the fiberglass tub unit and the shiplap wall planks,
and changed out the chrome fixtures for matt black updated fixtures.
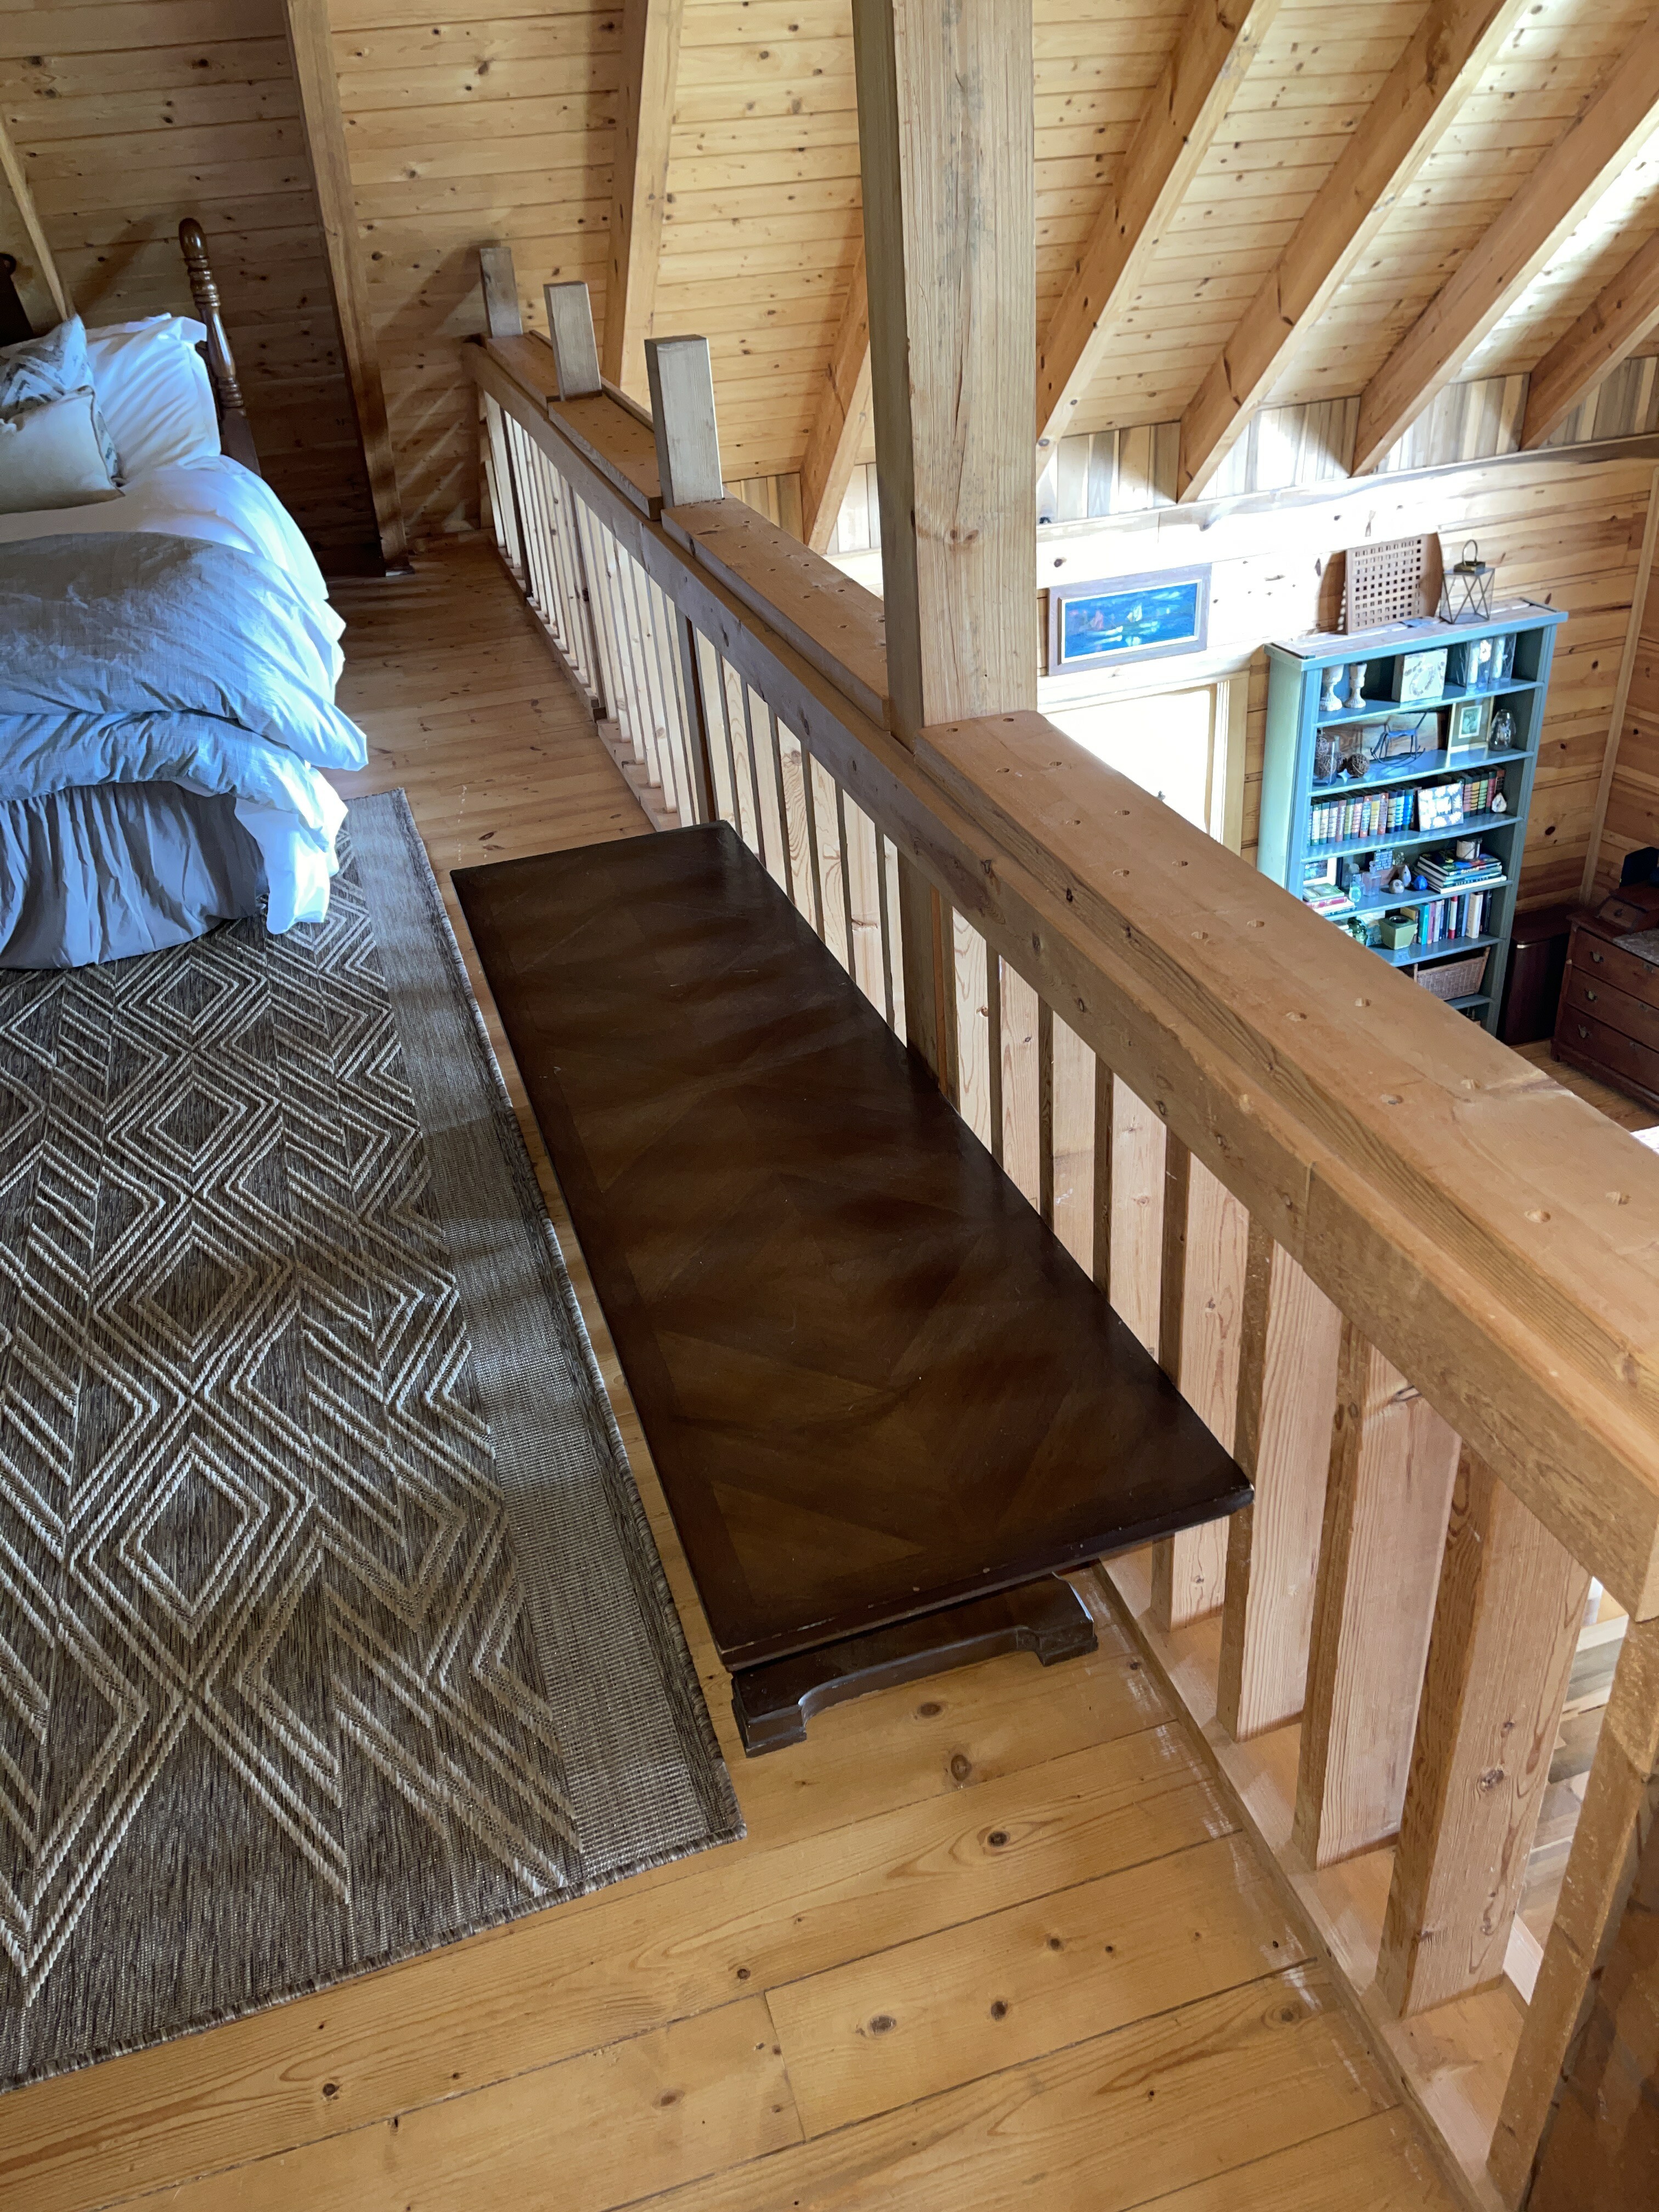
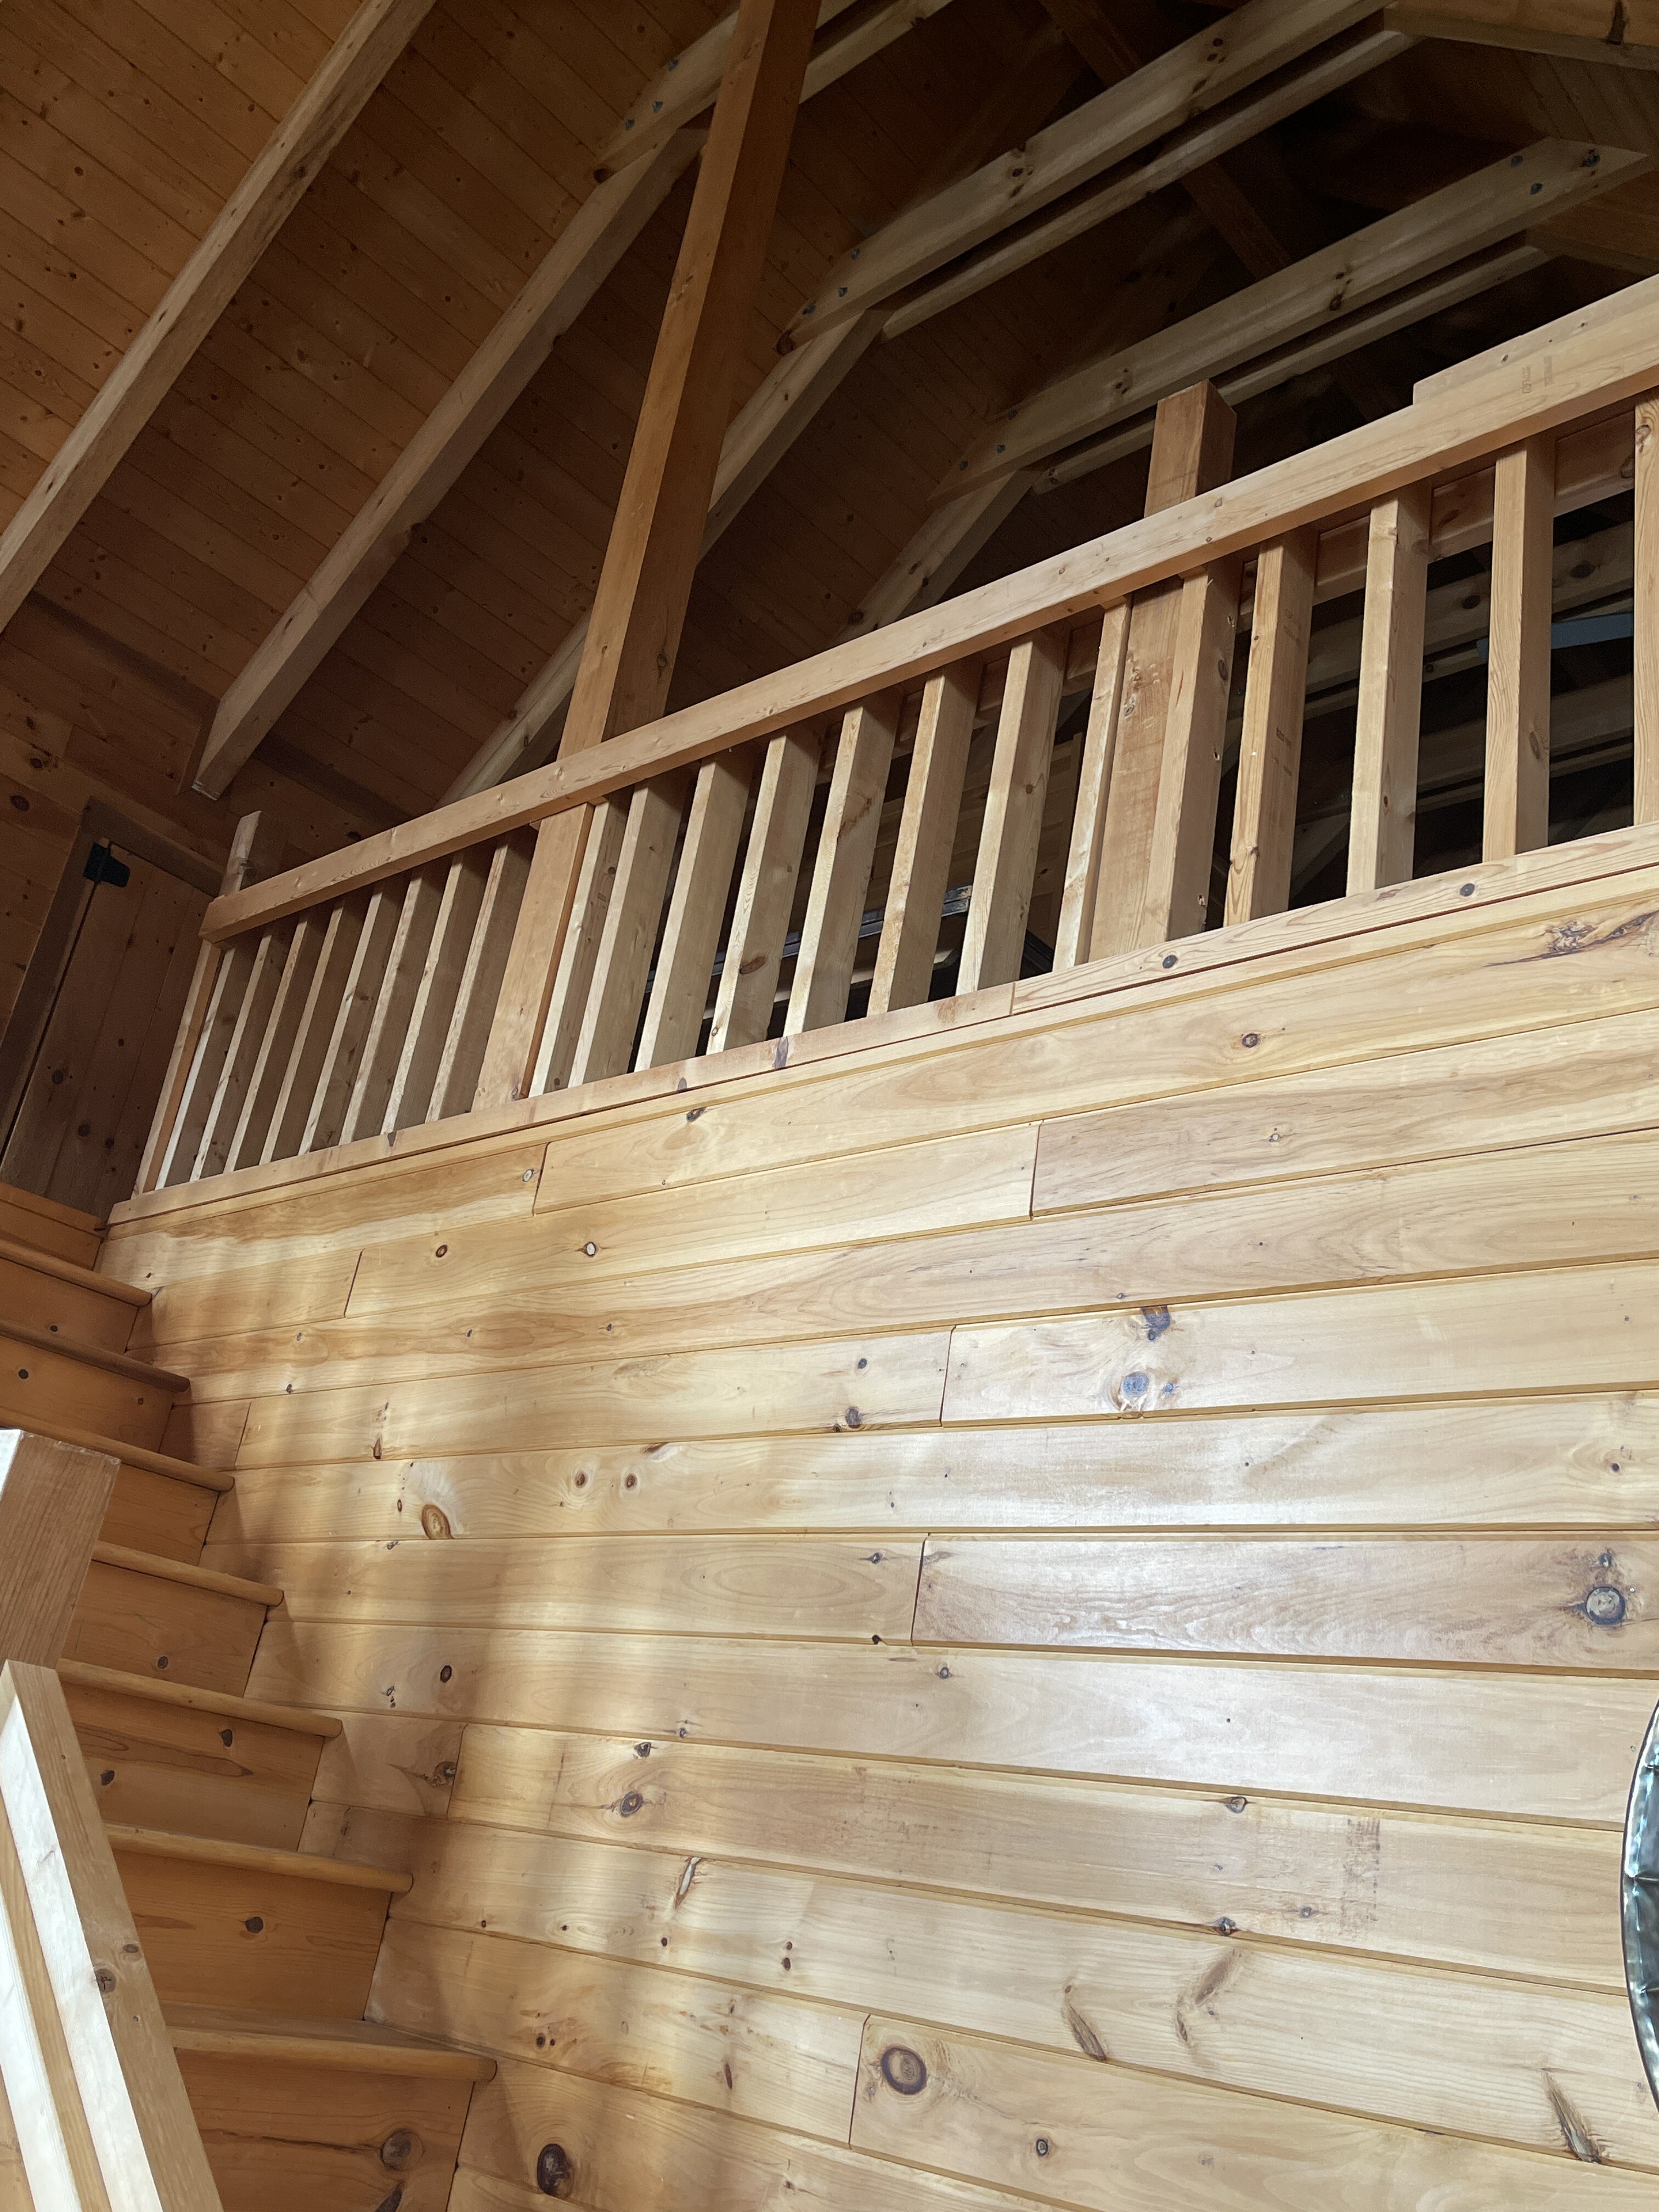
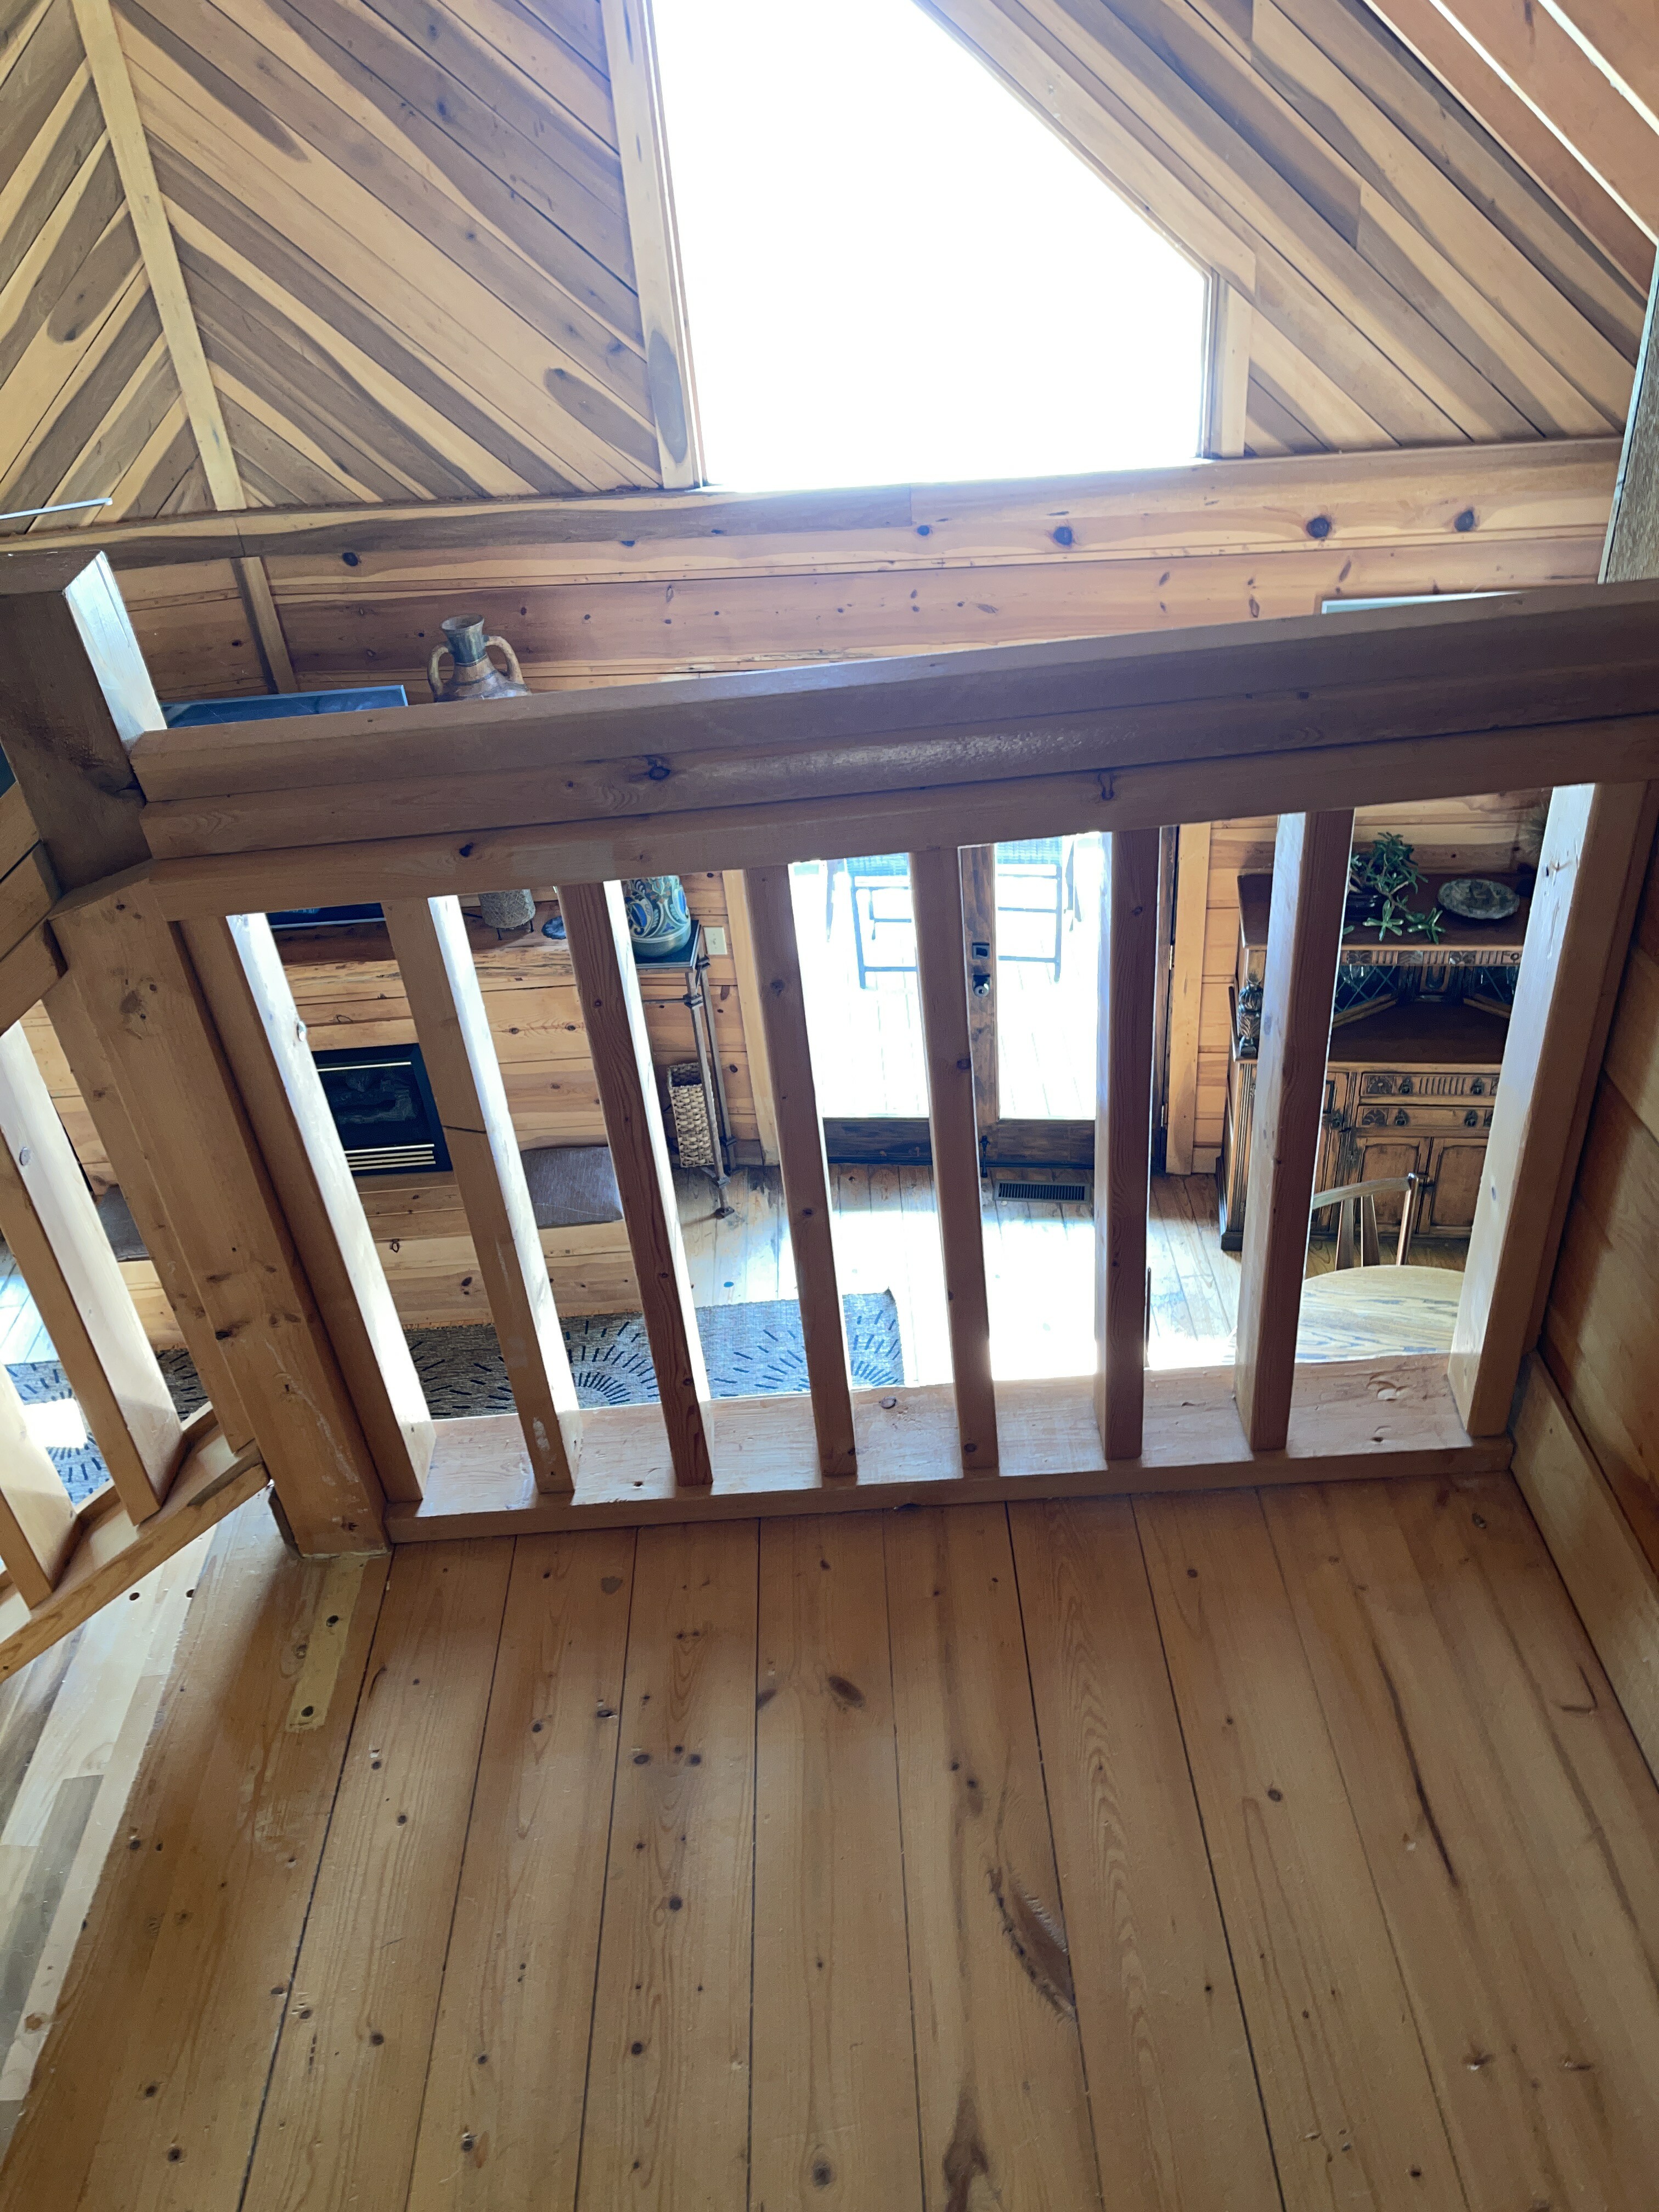
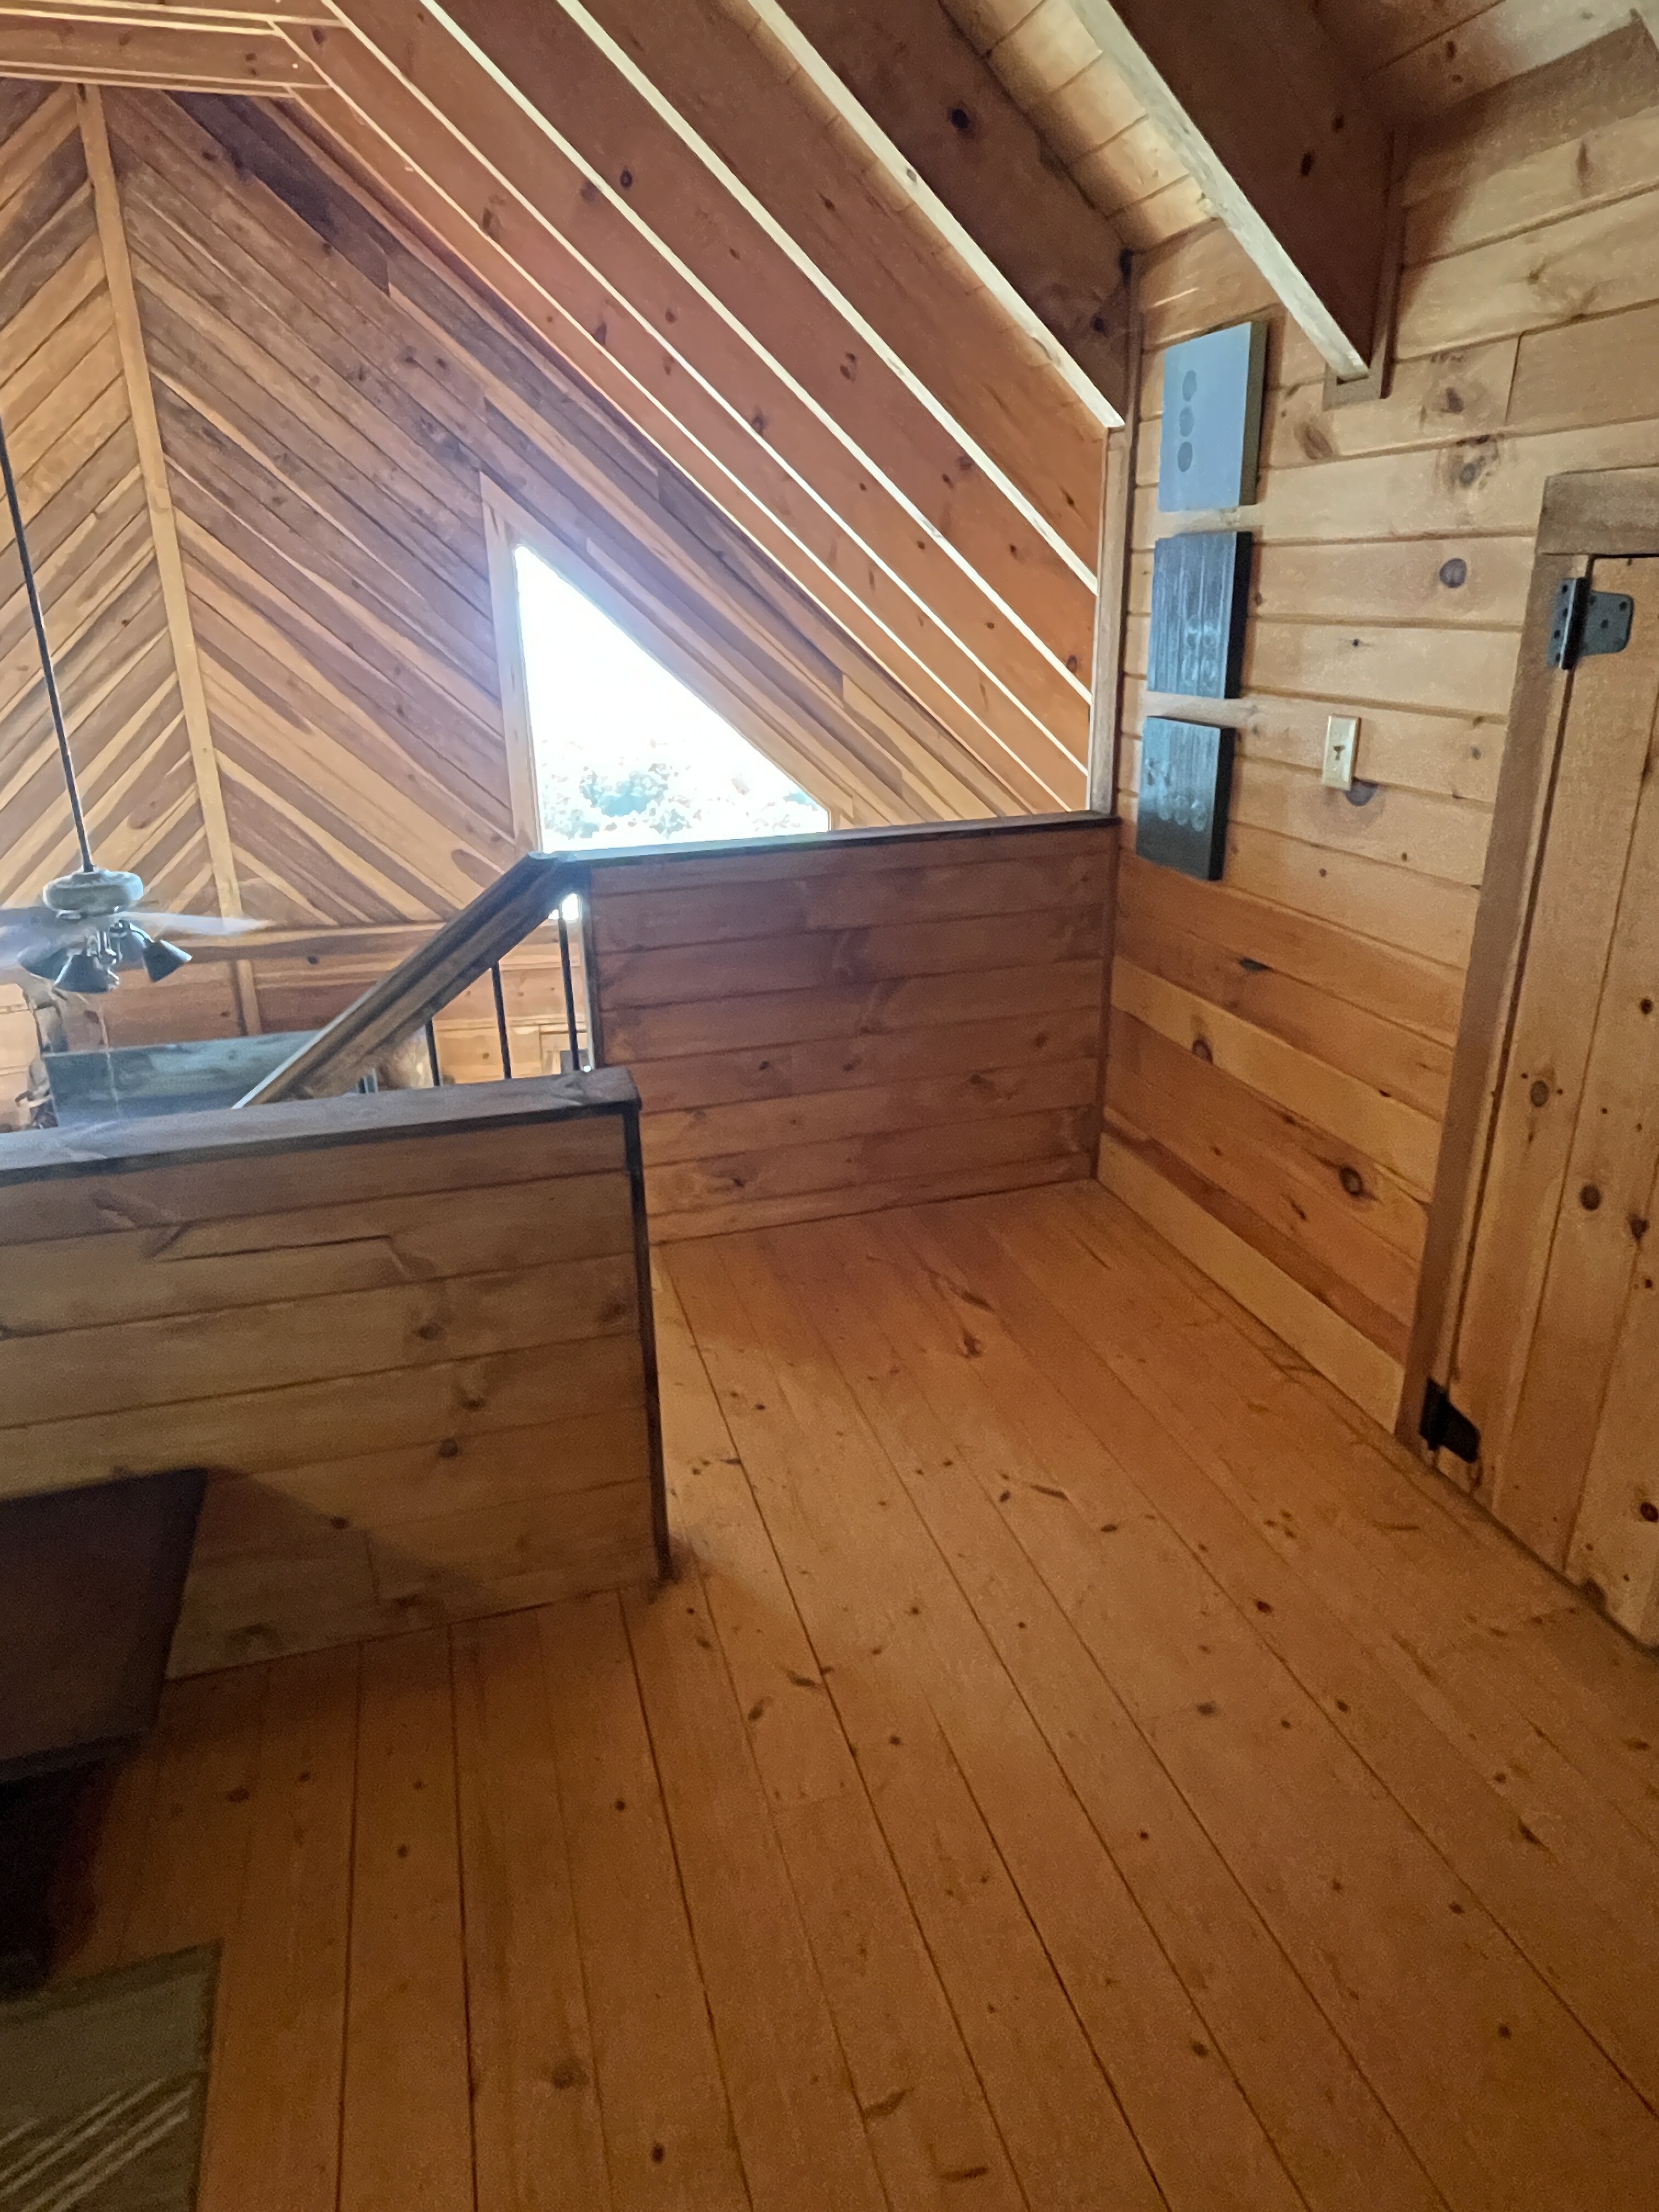
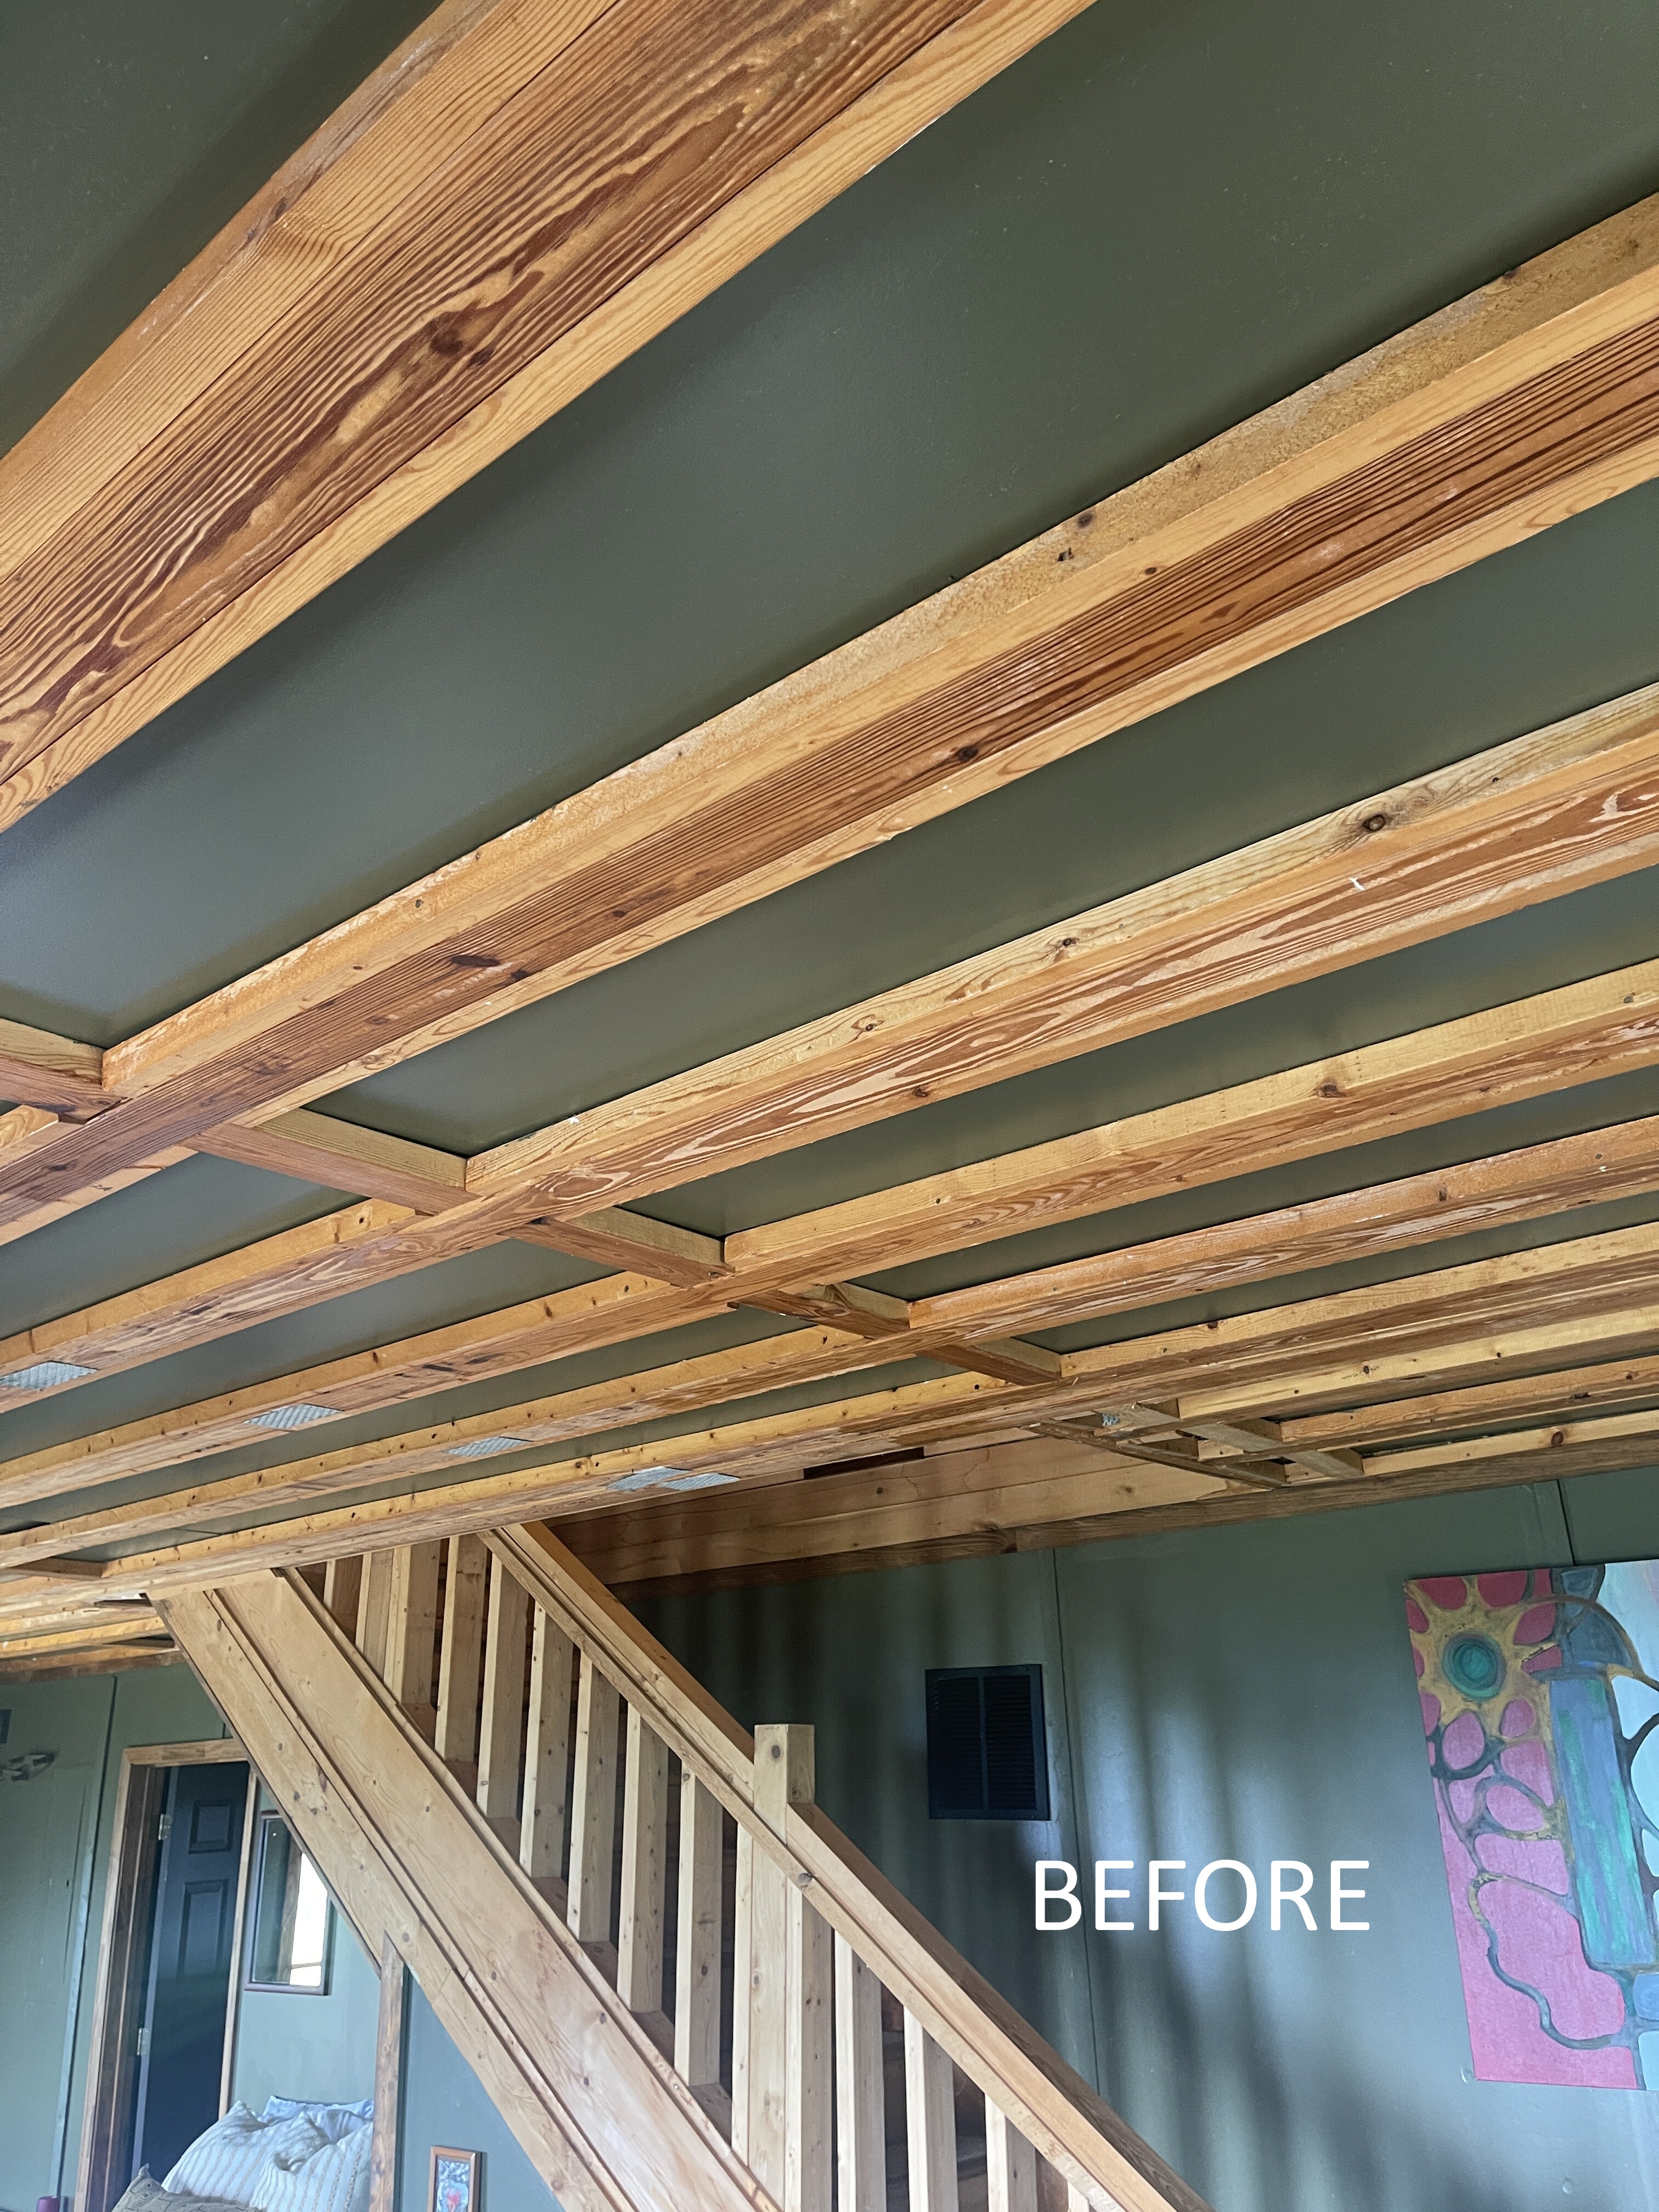
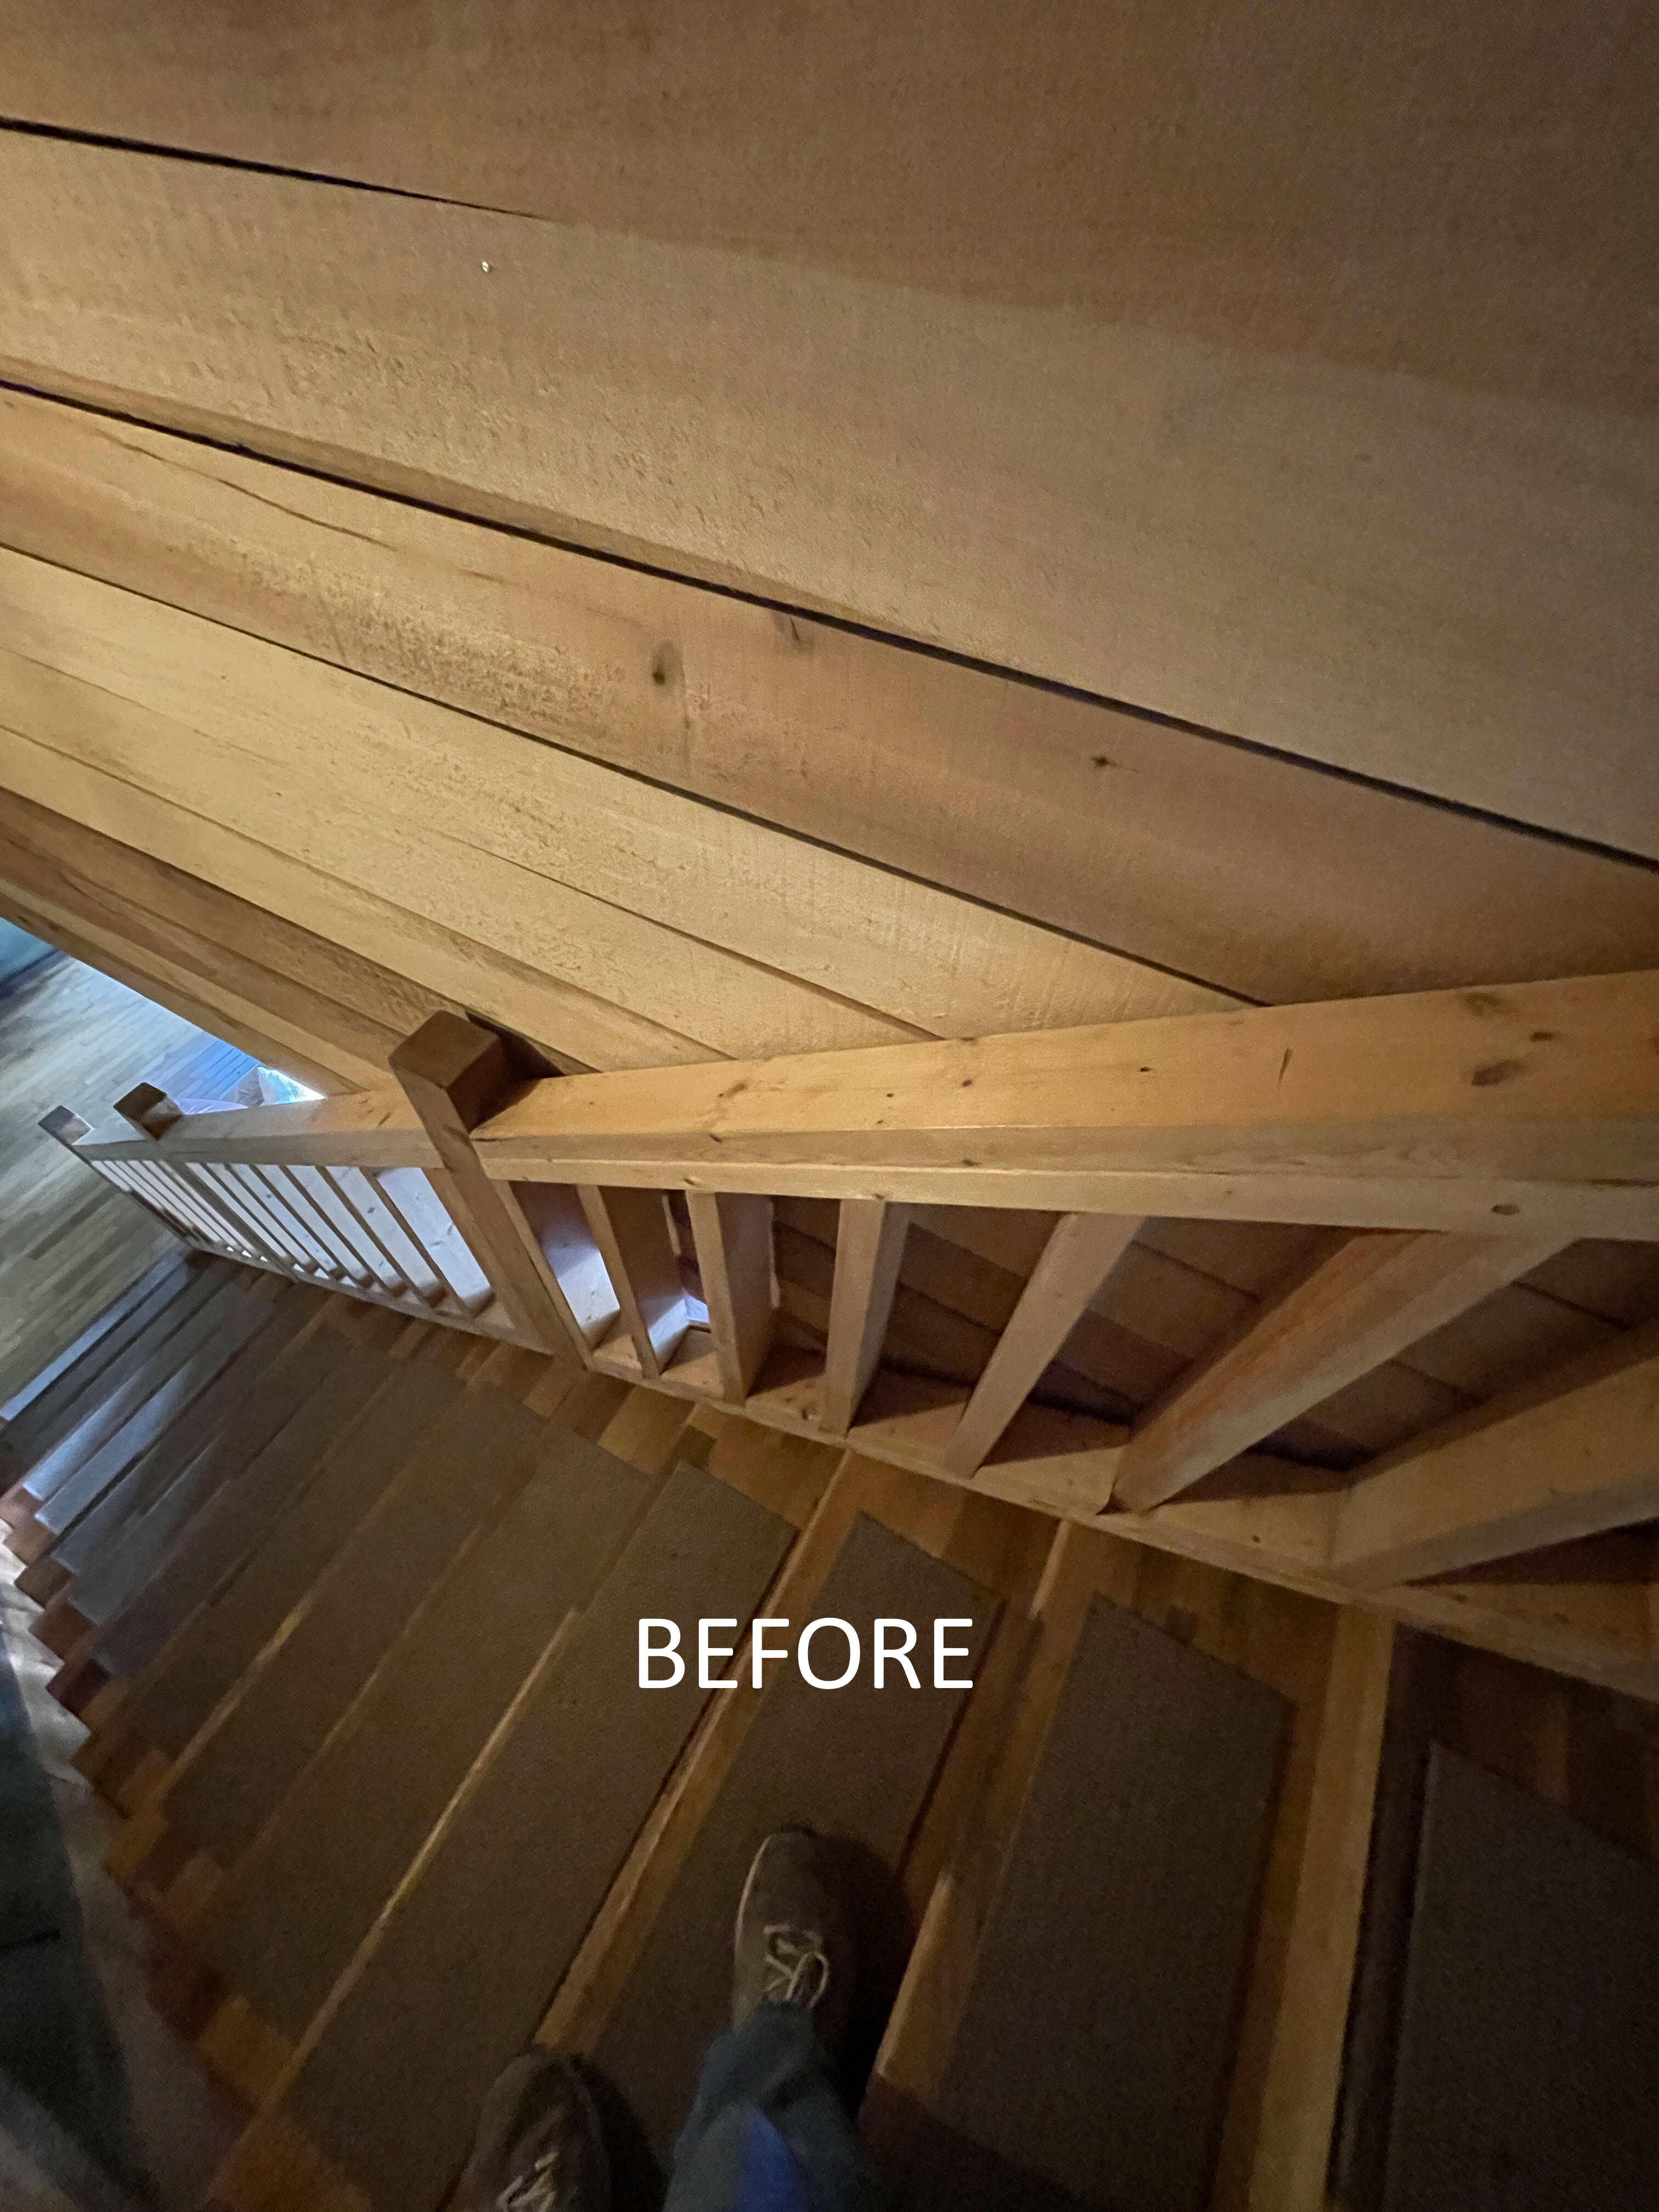
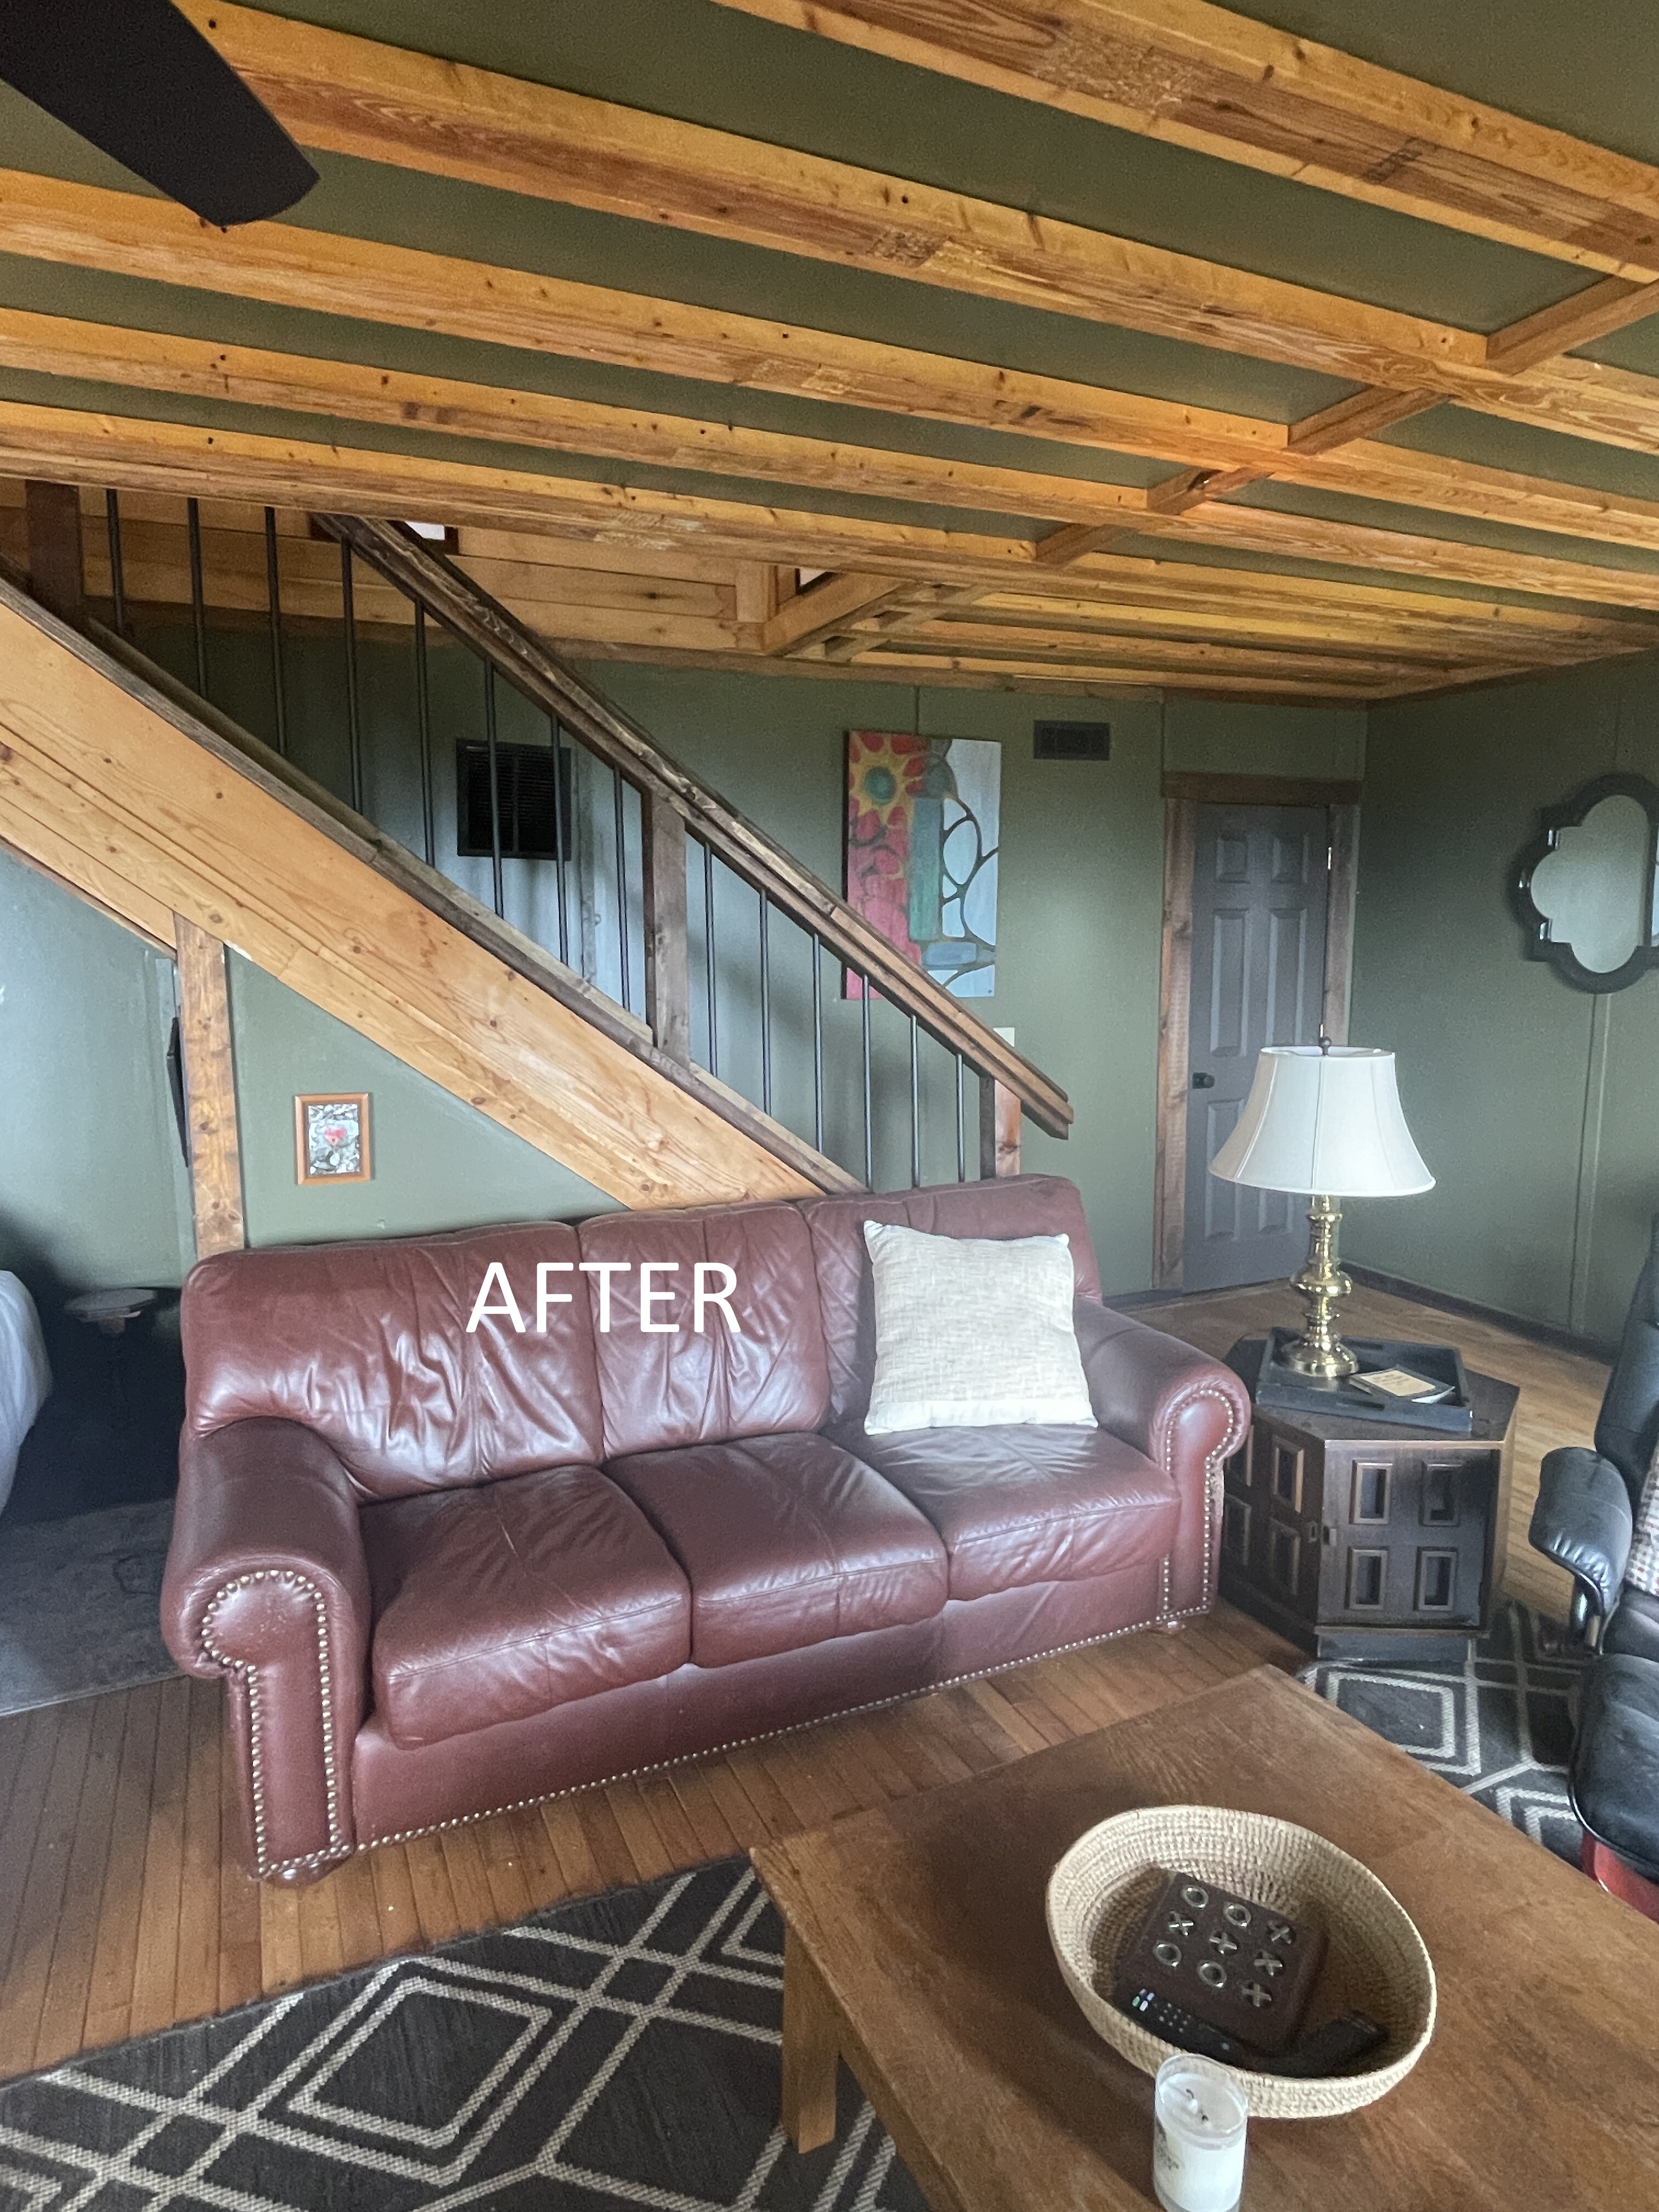
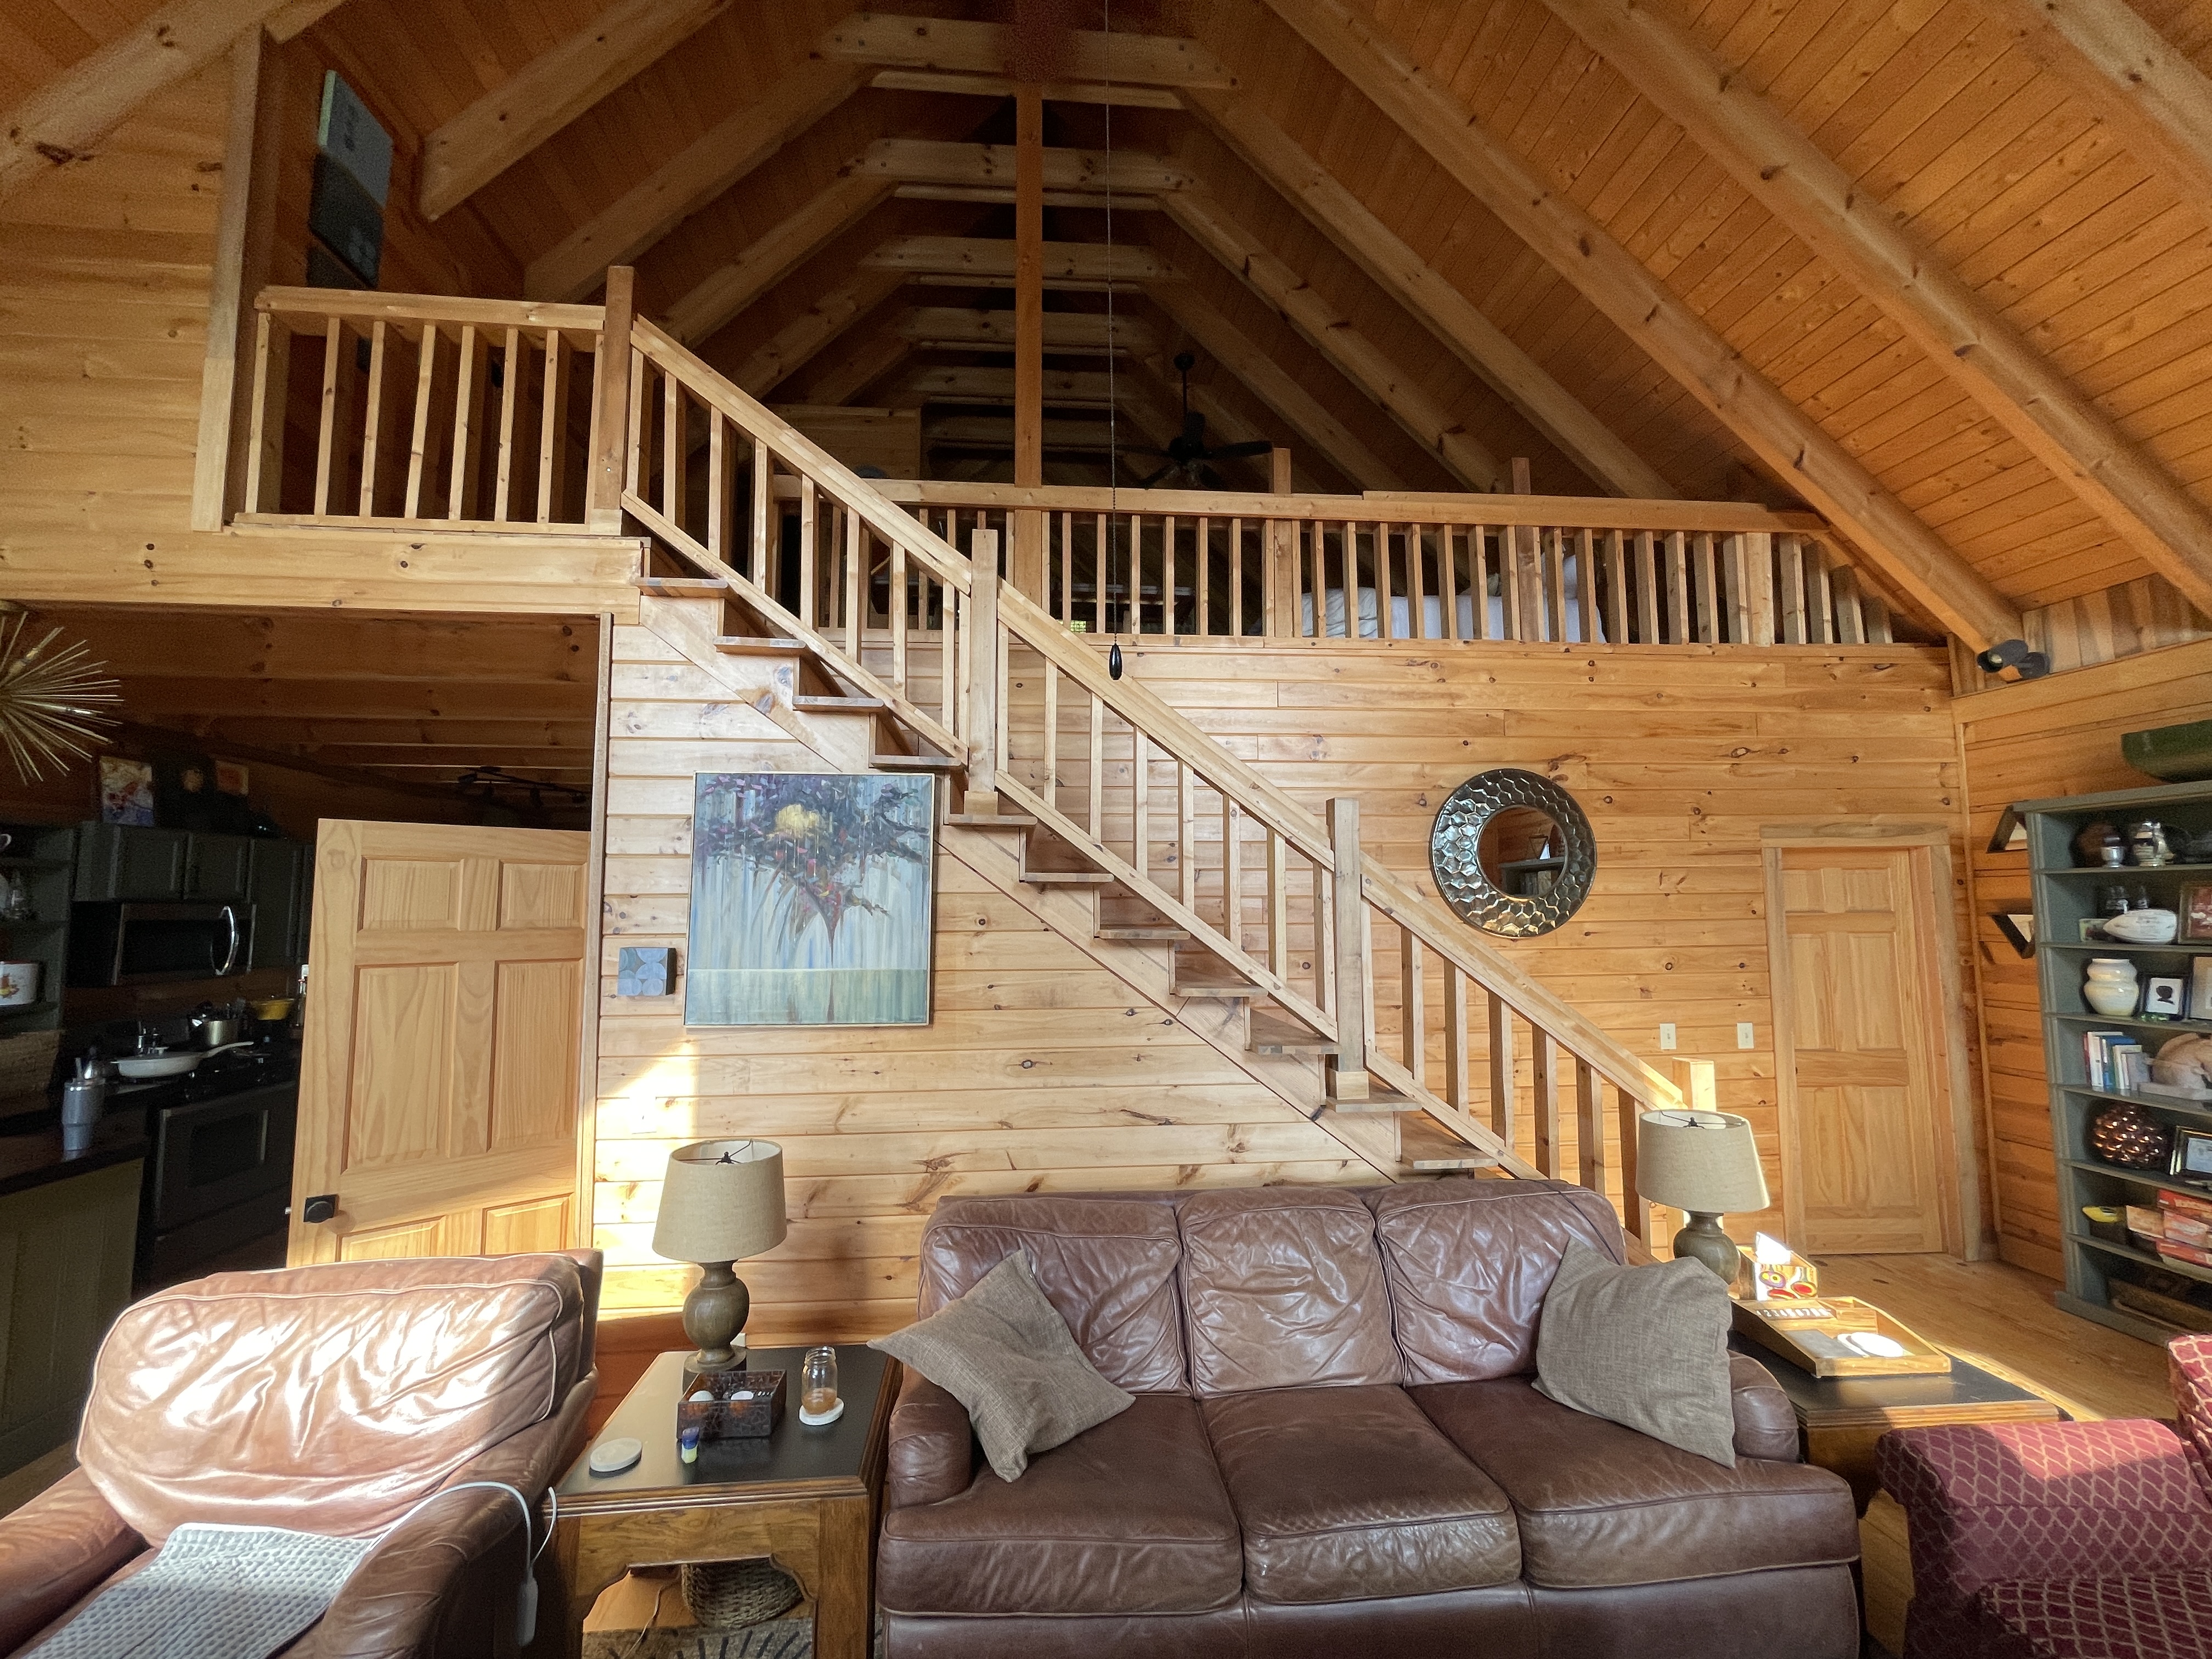
Another major issue was updating the staircase railings and the matching railing for the Loft privacy wall.
The railings consisted of bulky 2x4 spindles, and the privacy wall upstairs provided no privacy to the upstairs guests.
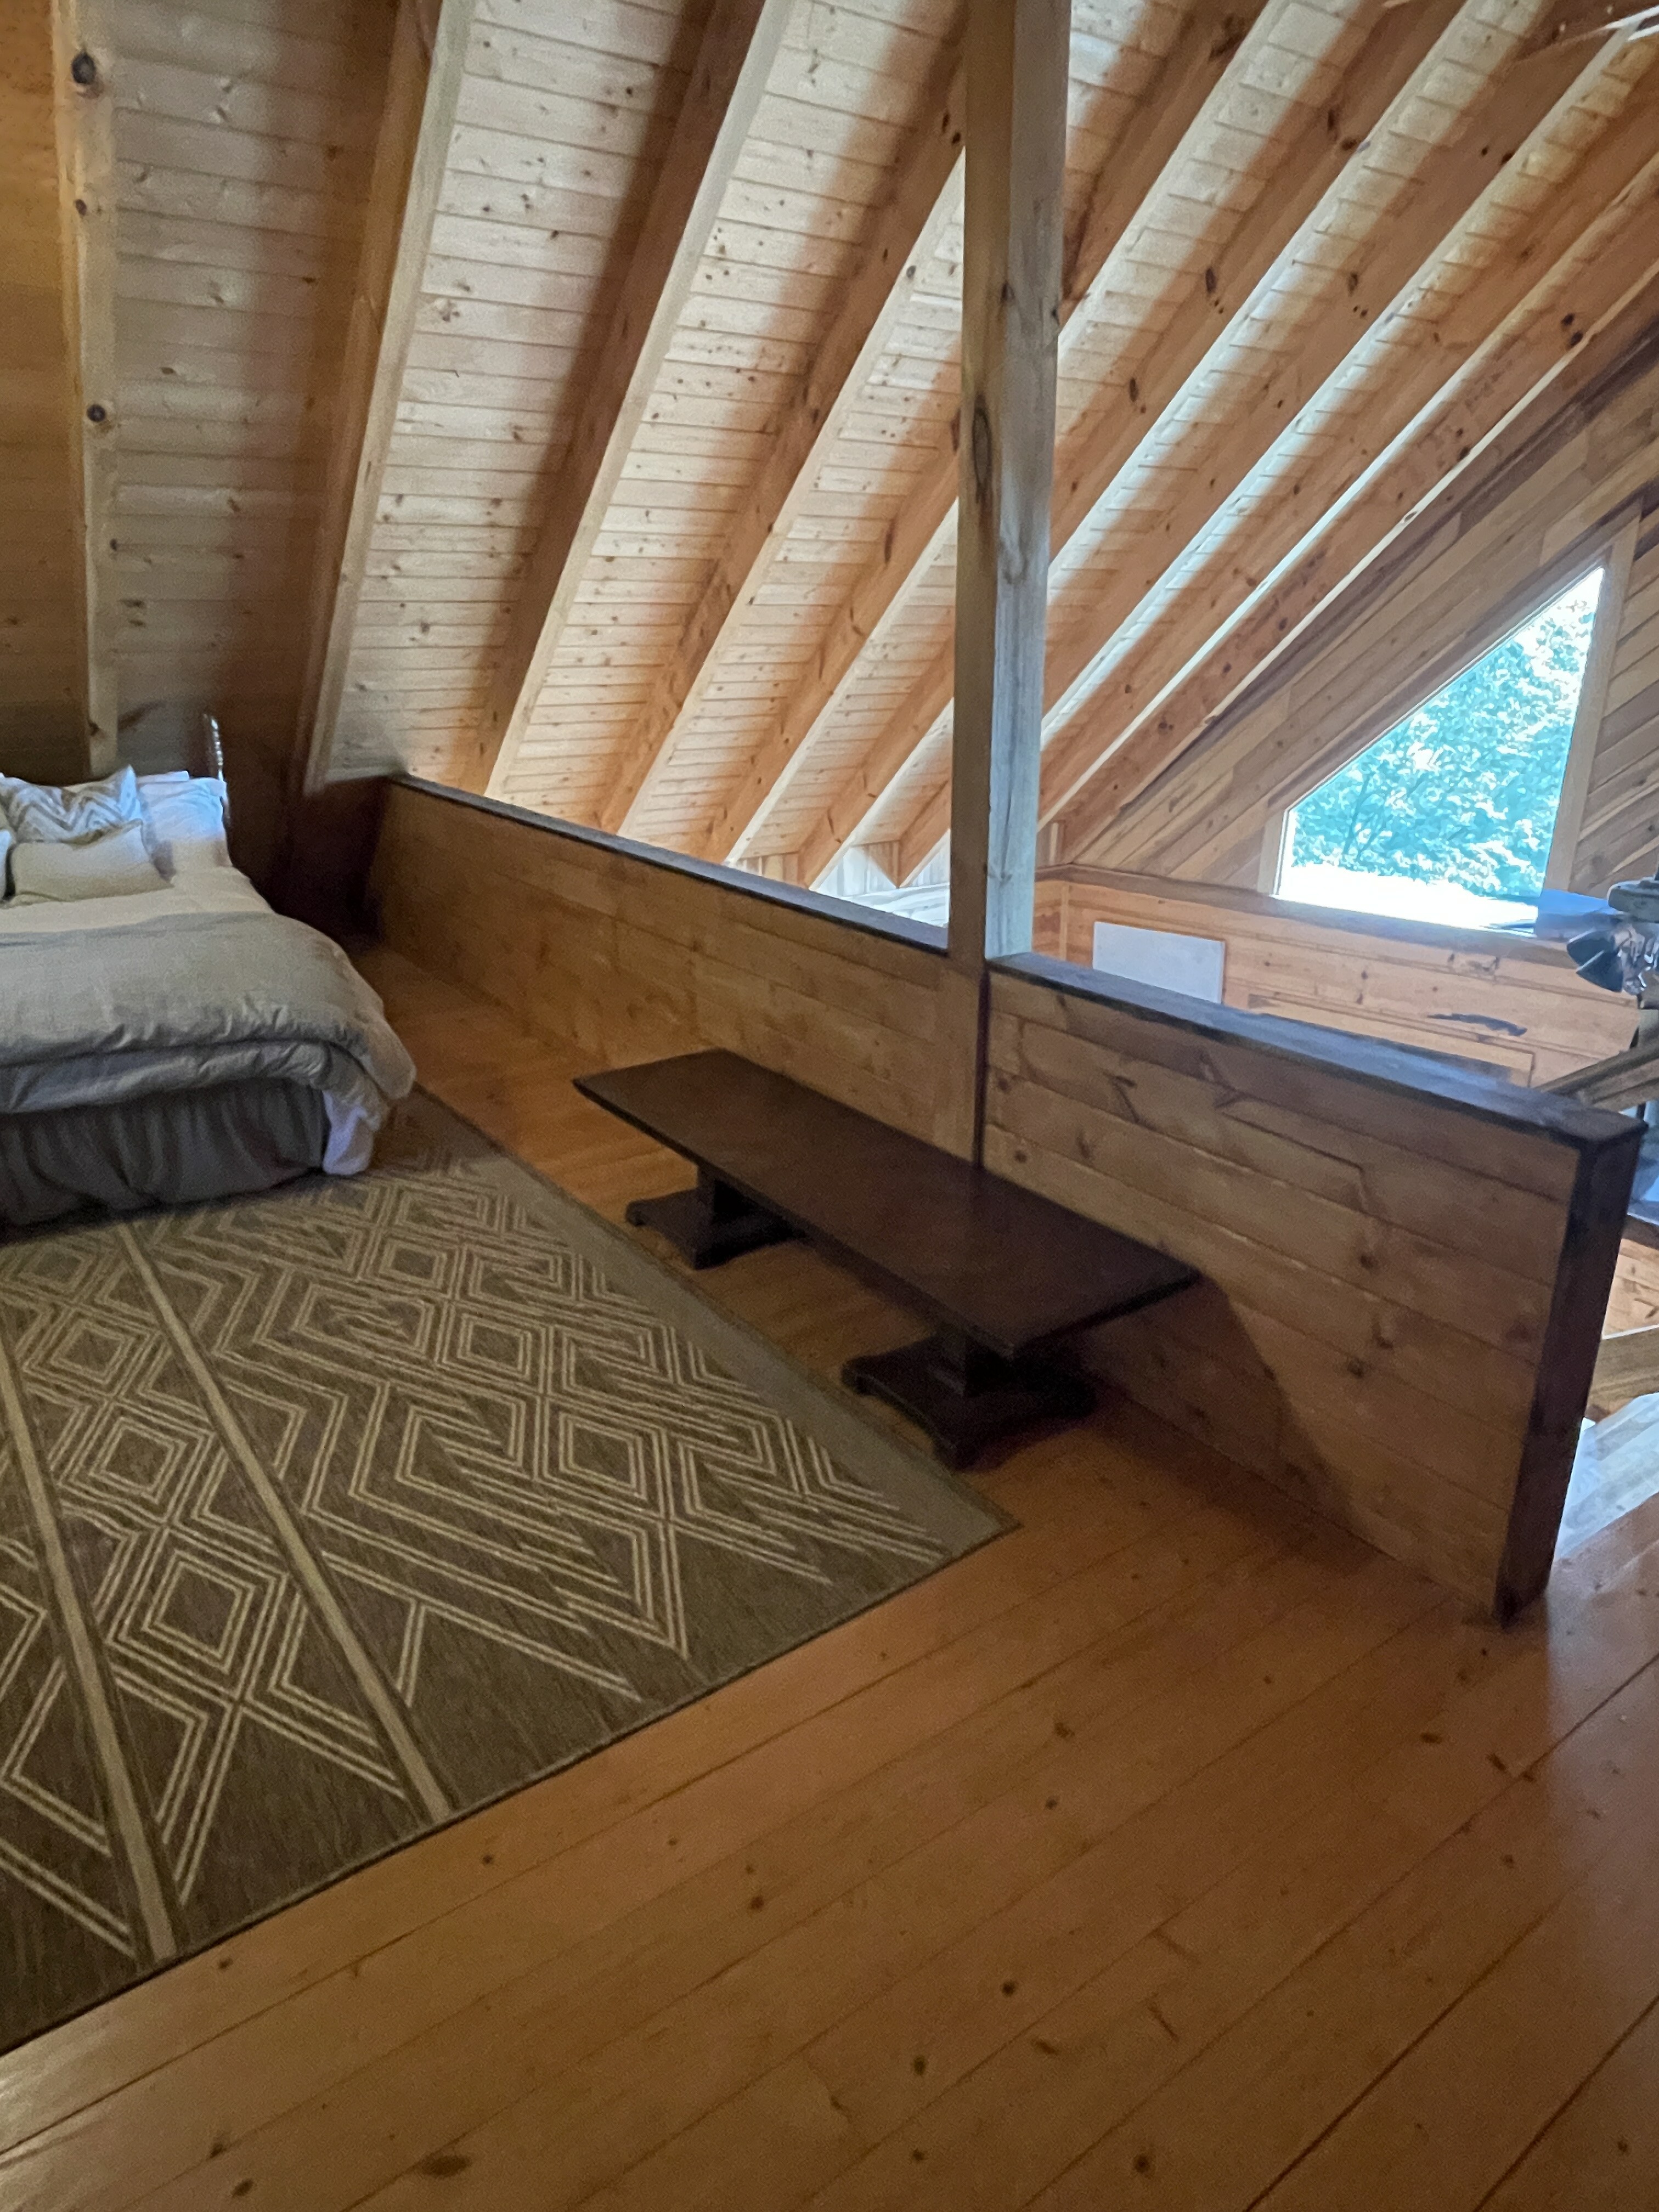
Since the loft privacy wall was crooked, I took it down and reused some of the material to construct a new half wall.
I also moved it closer to the stairs so that once I installed the shiplap wall planks it would be a continuation of the planks from the wall below.
I also rebuilt the short wall at the landing and applied shiplap planks to that one as well so that it was also a continuation of the wall below it.
All the new shiplap planks were stained with a custom colored stain that was matched to the existing planks. I stained the tops of these walls with a darker stain to add some contrast.
 |
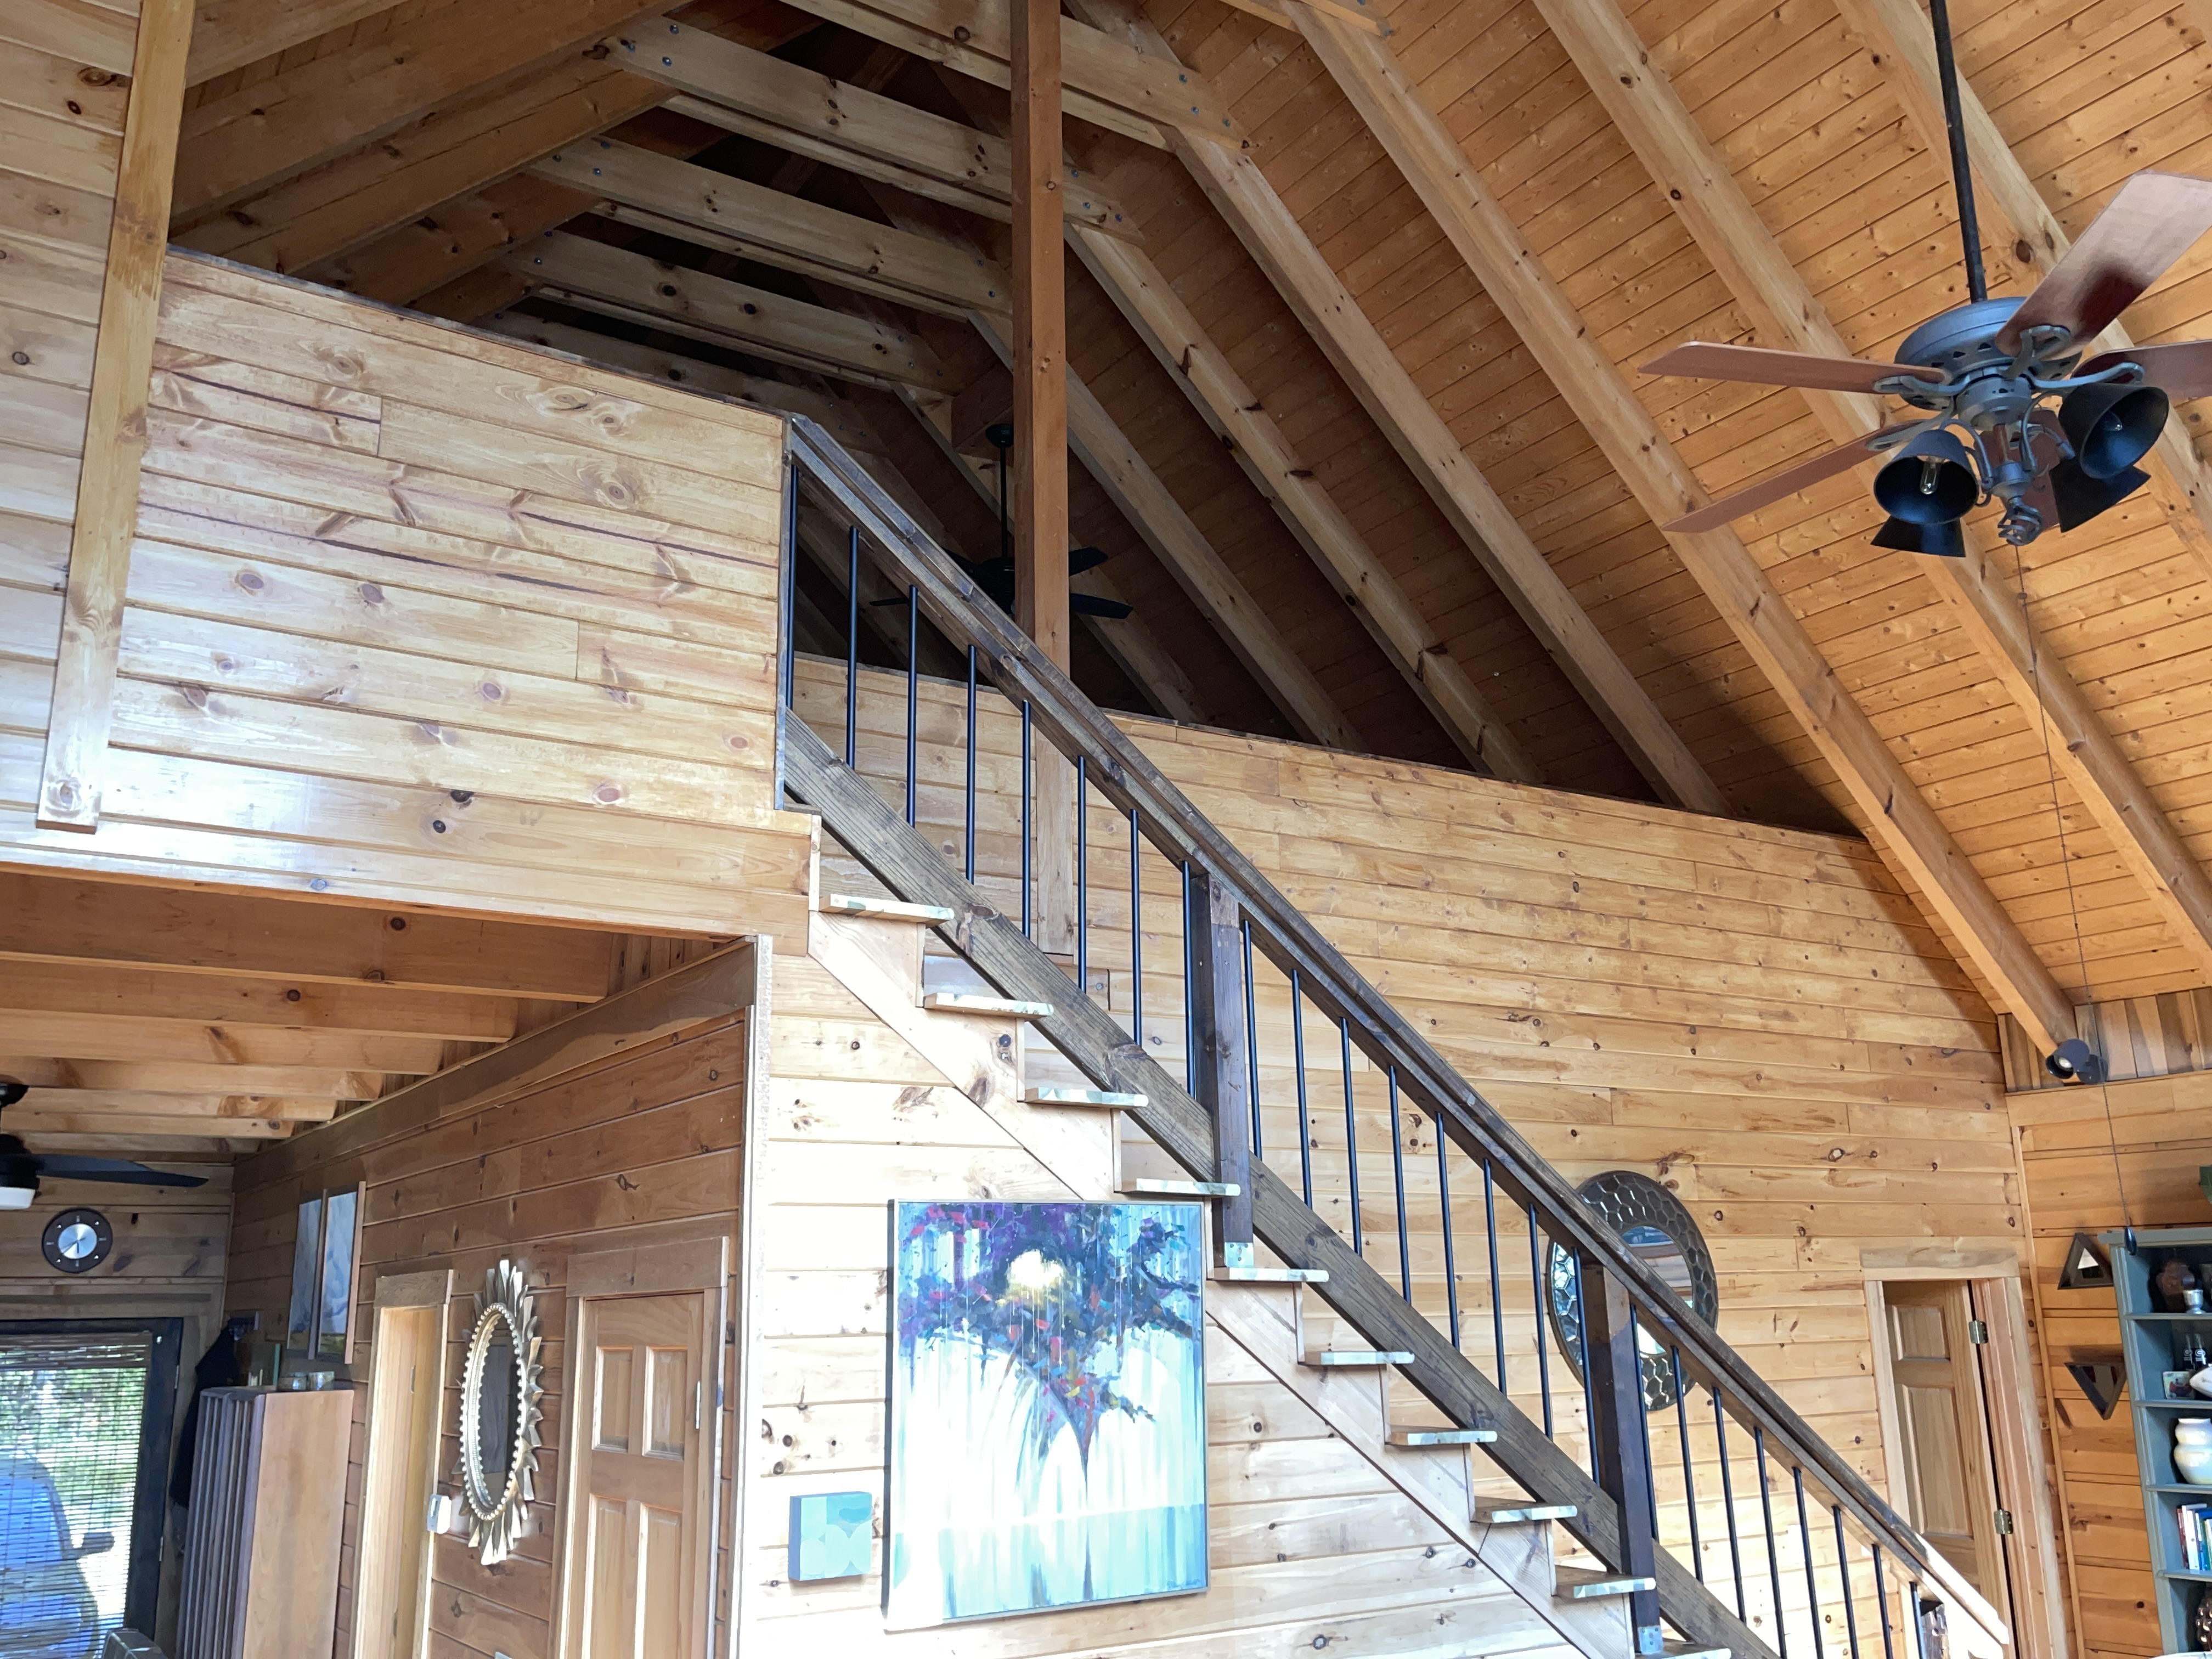 |
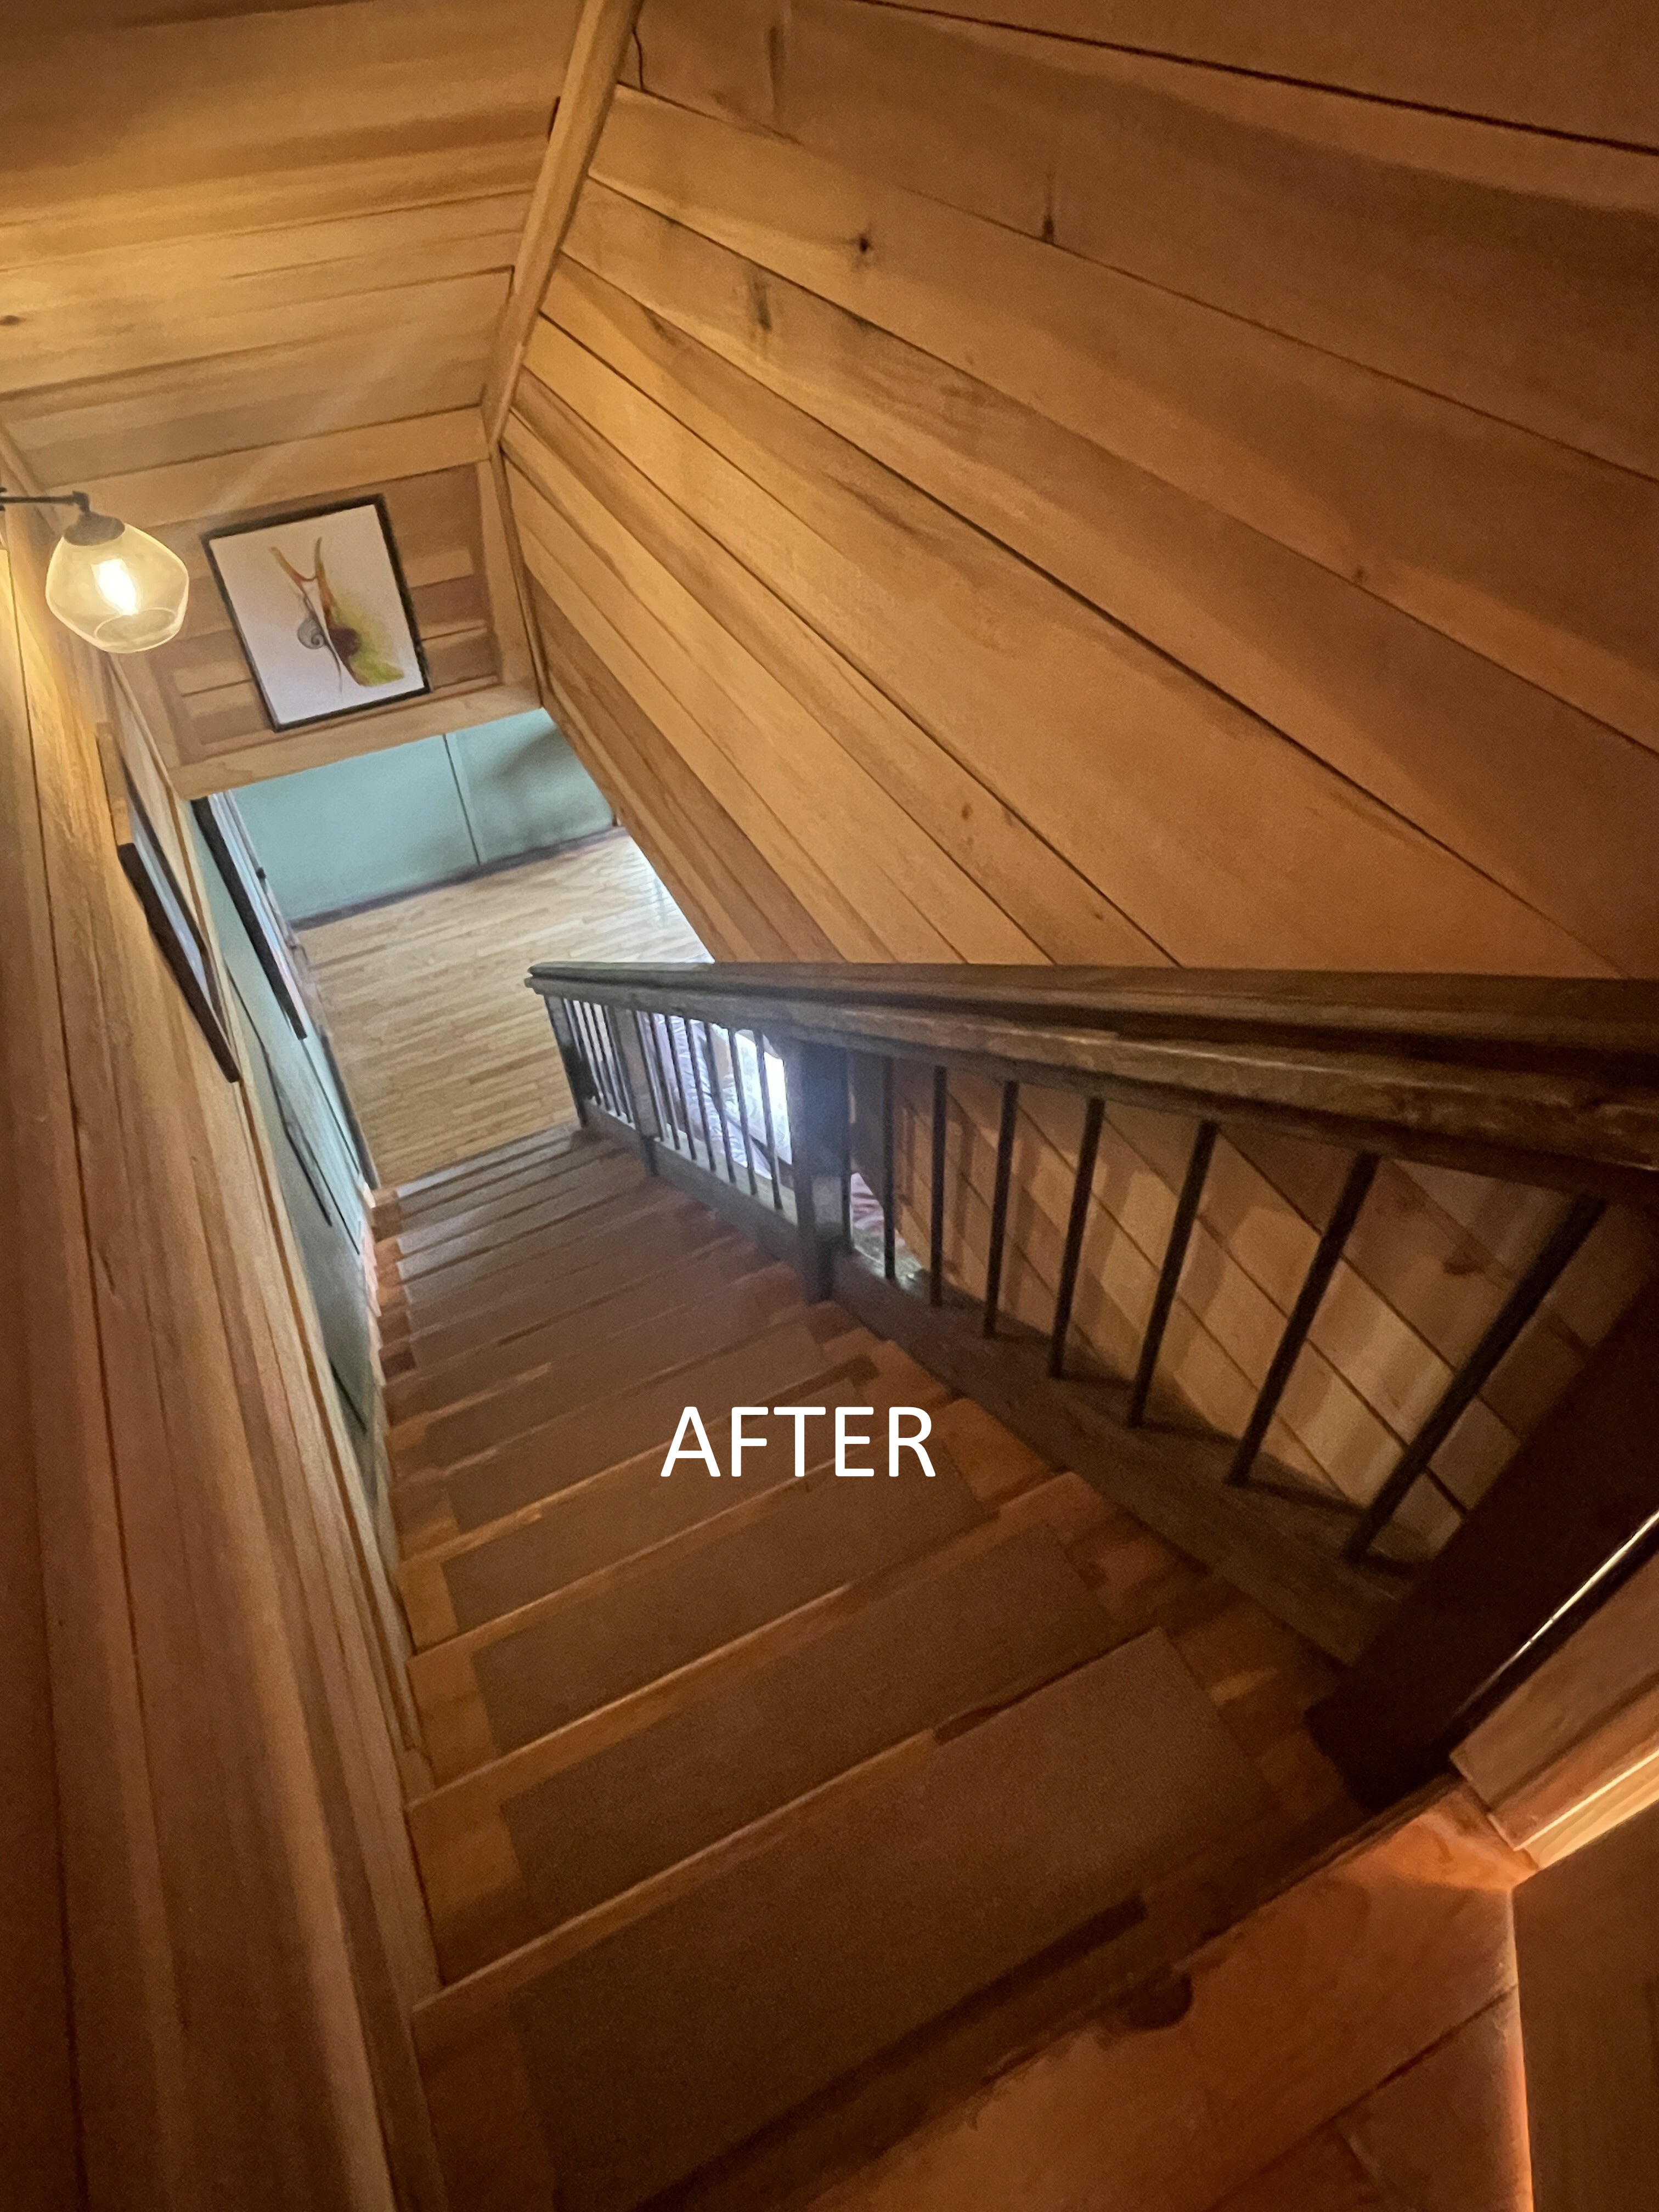
There was a similar issue with the staircase railing leading downstairs. So, this railing was also removed and replaced. Each of these railings were re-done with 3/4" metal balusters.
TrueTribeCamping.com
This is a Web Site that we are currently developing for a Florida Panhandle property that is building an RV Resort.
AdvRegenerativeMed.com
This is a Web Site that we are currently developing for Advanced Regenerative Medicine, based in Gainesville, GA.
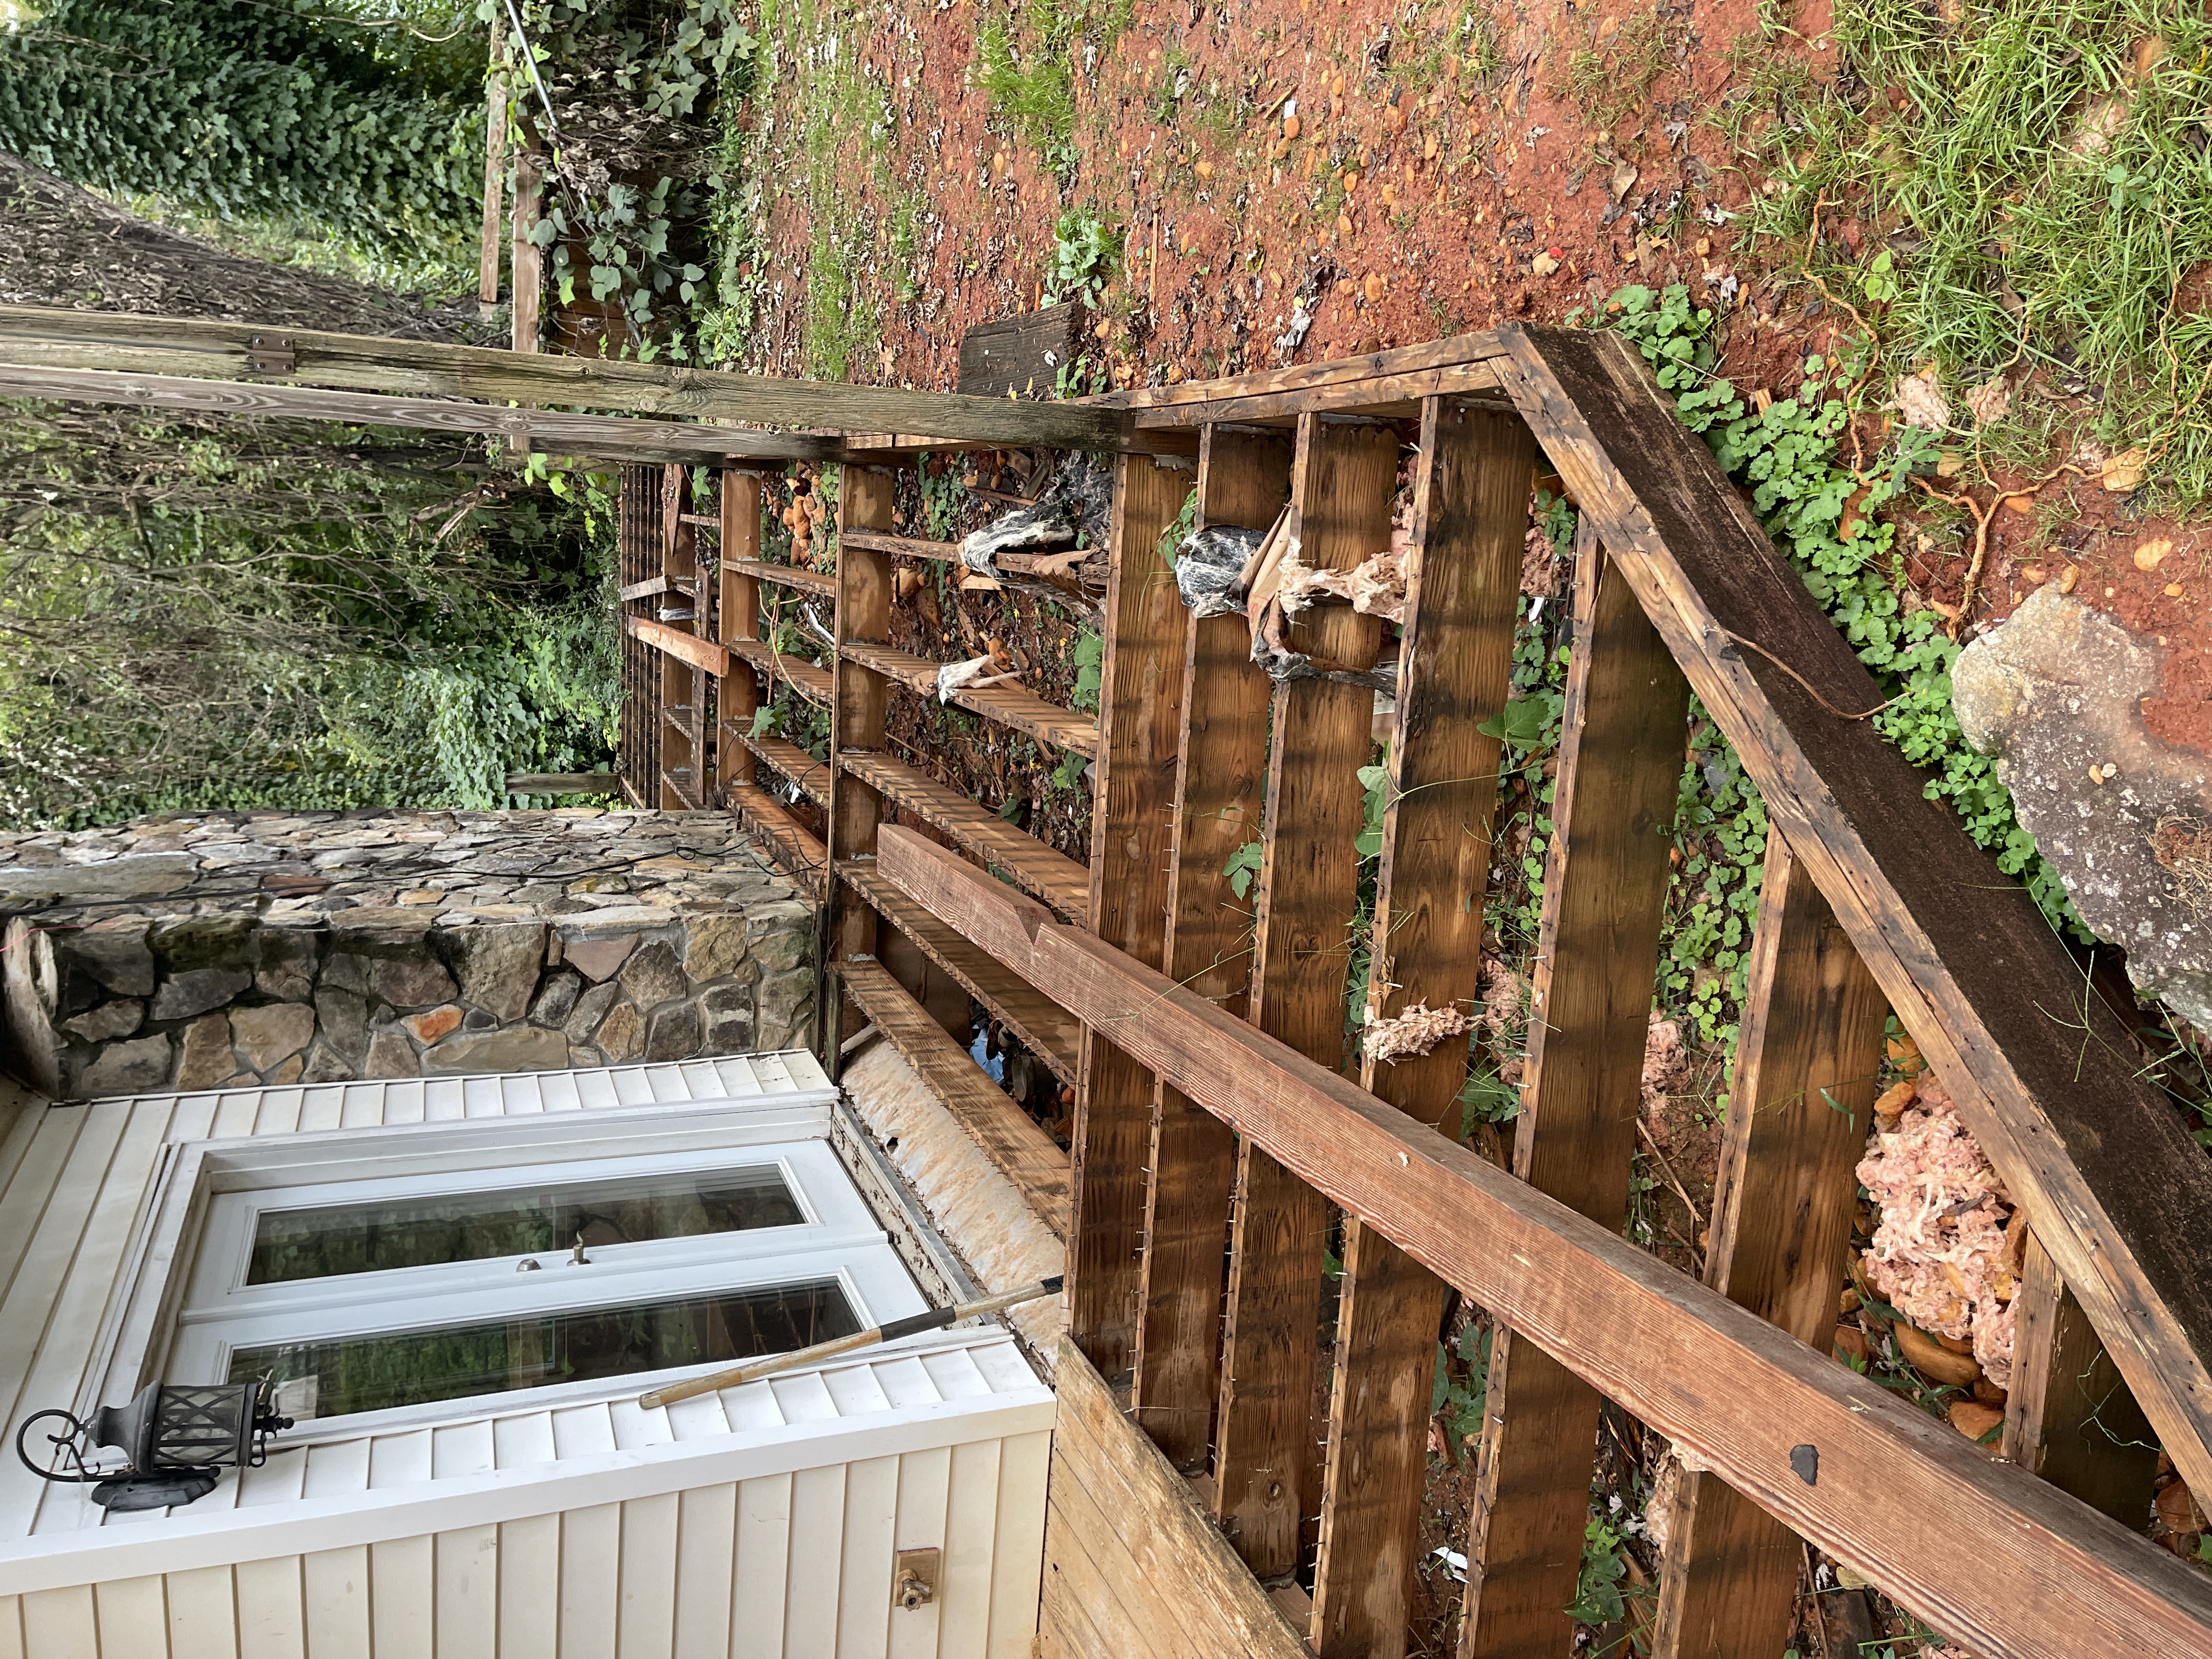
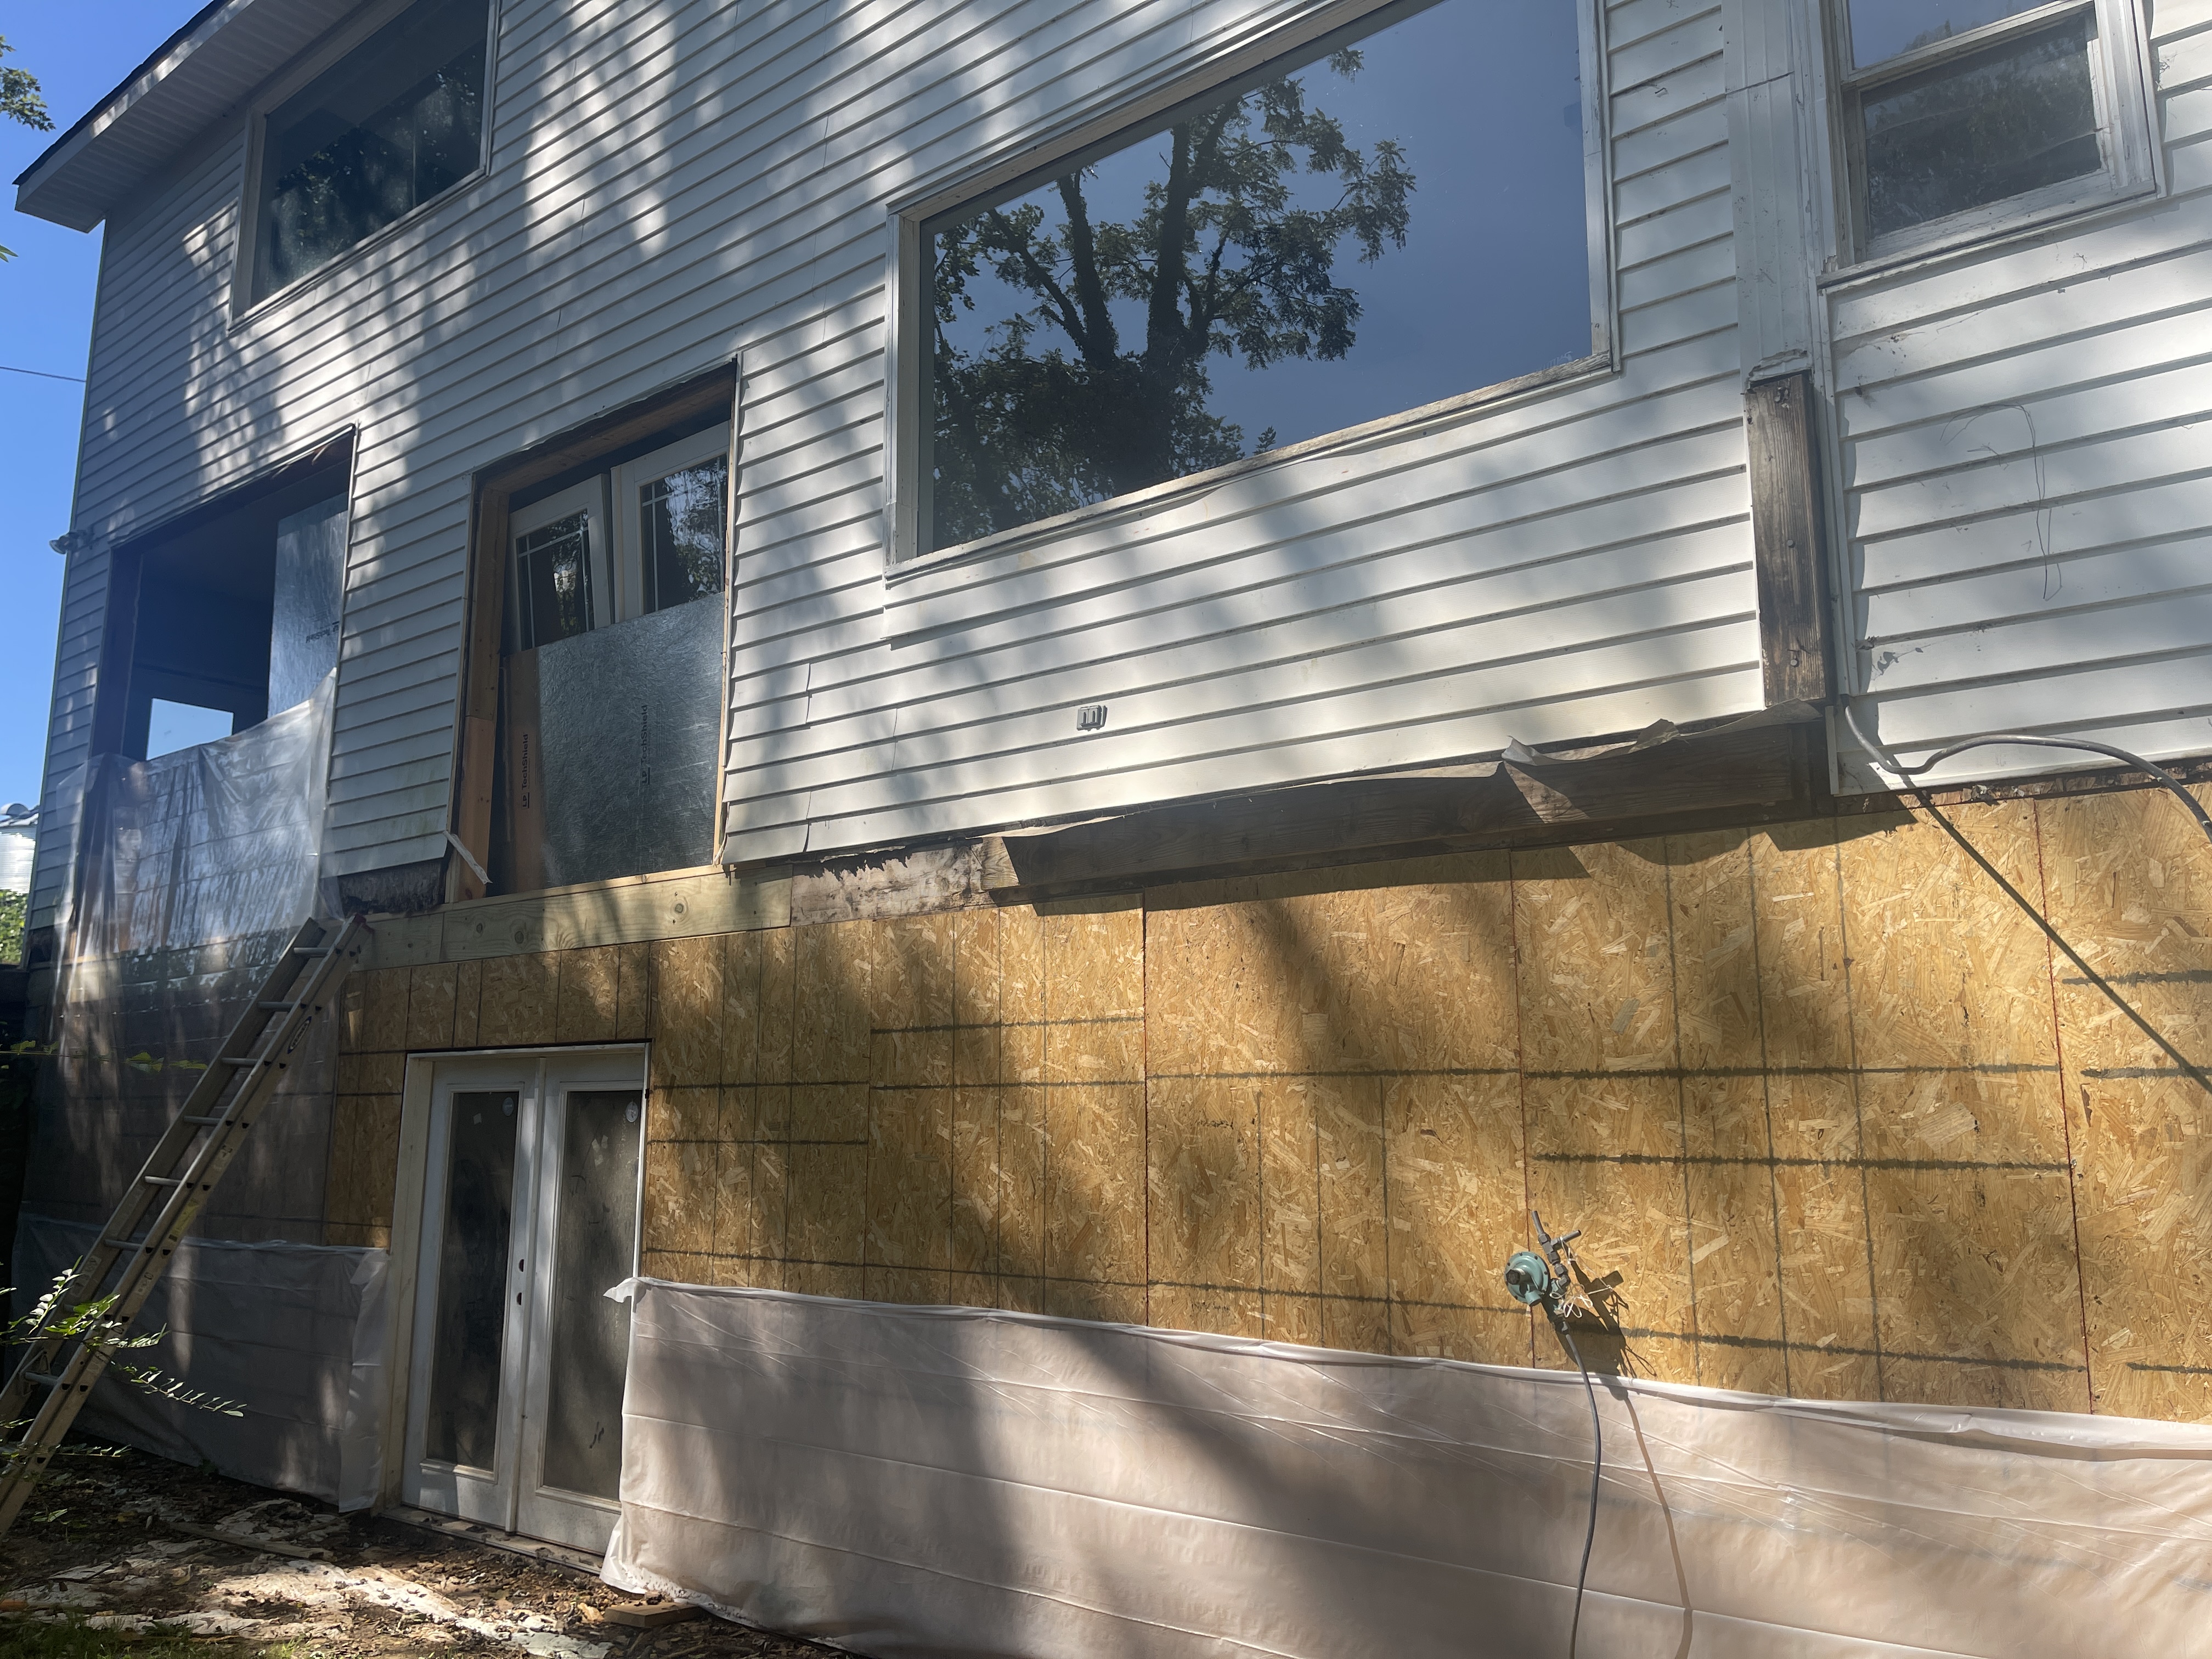
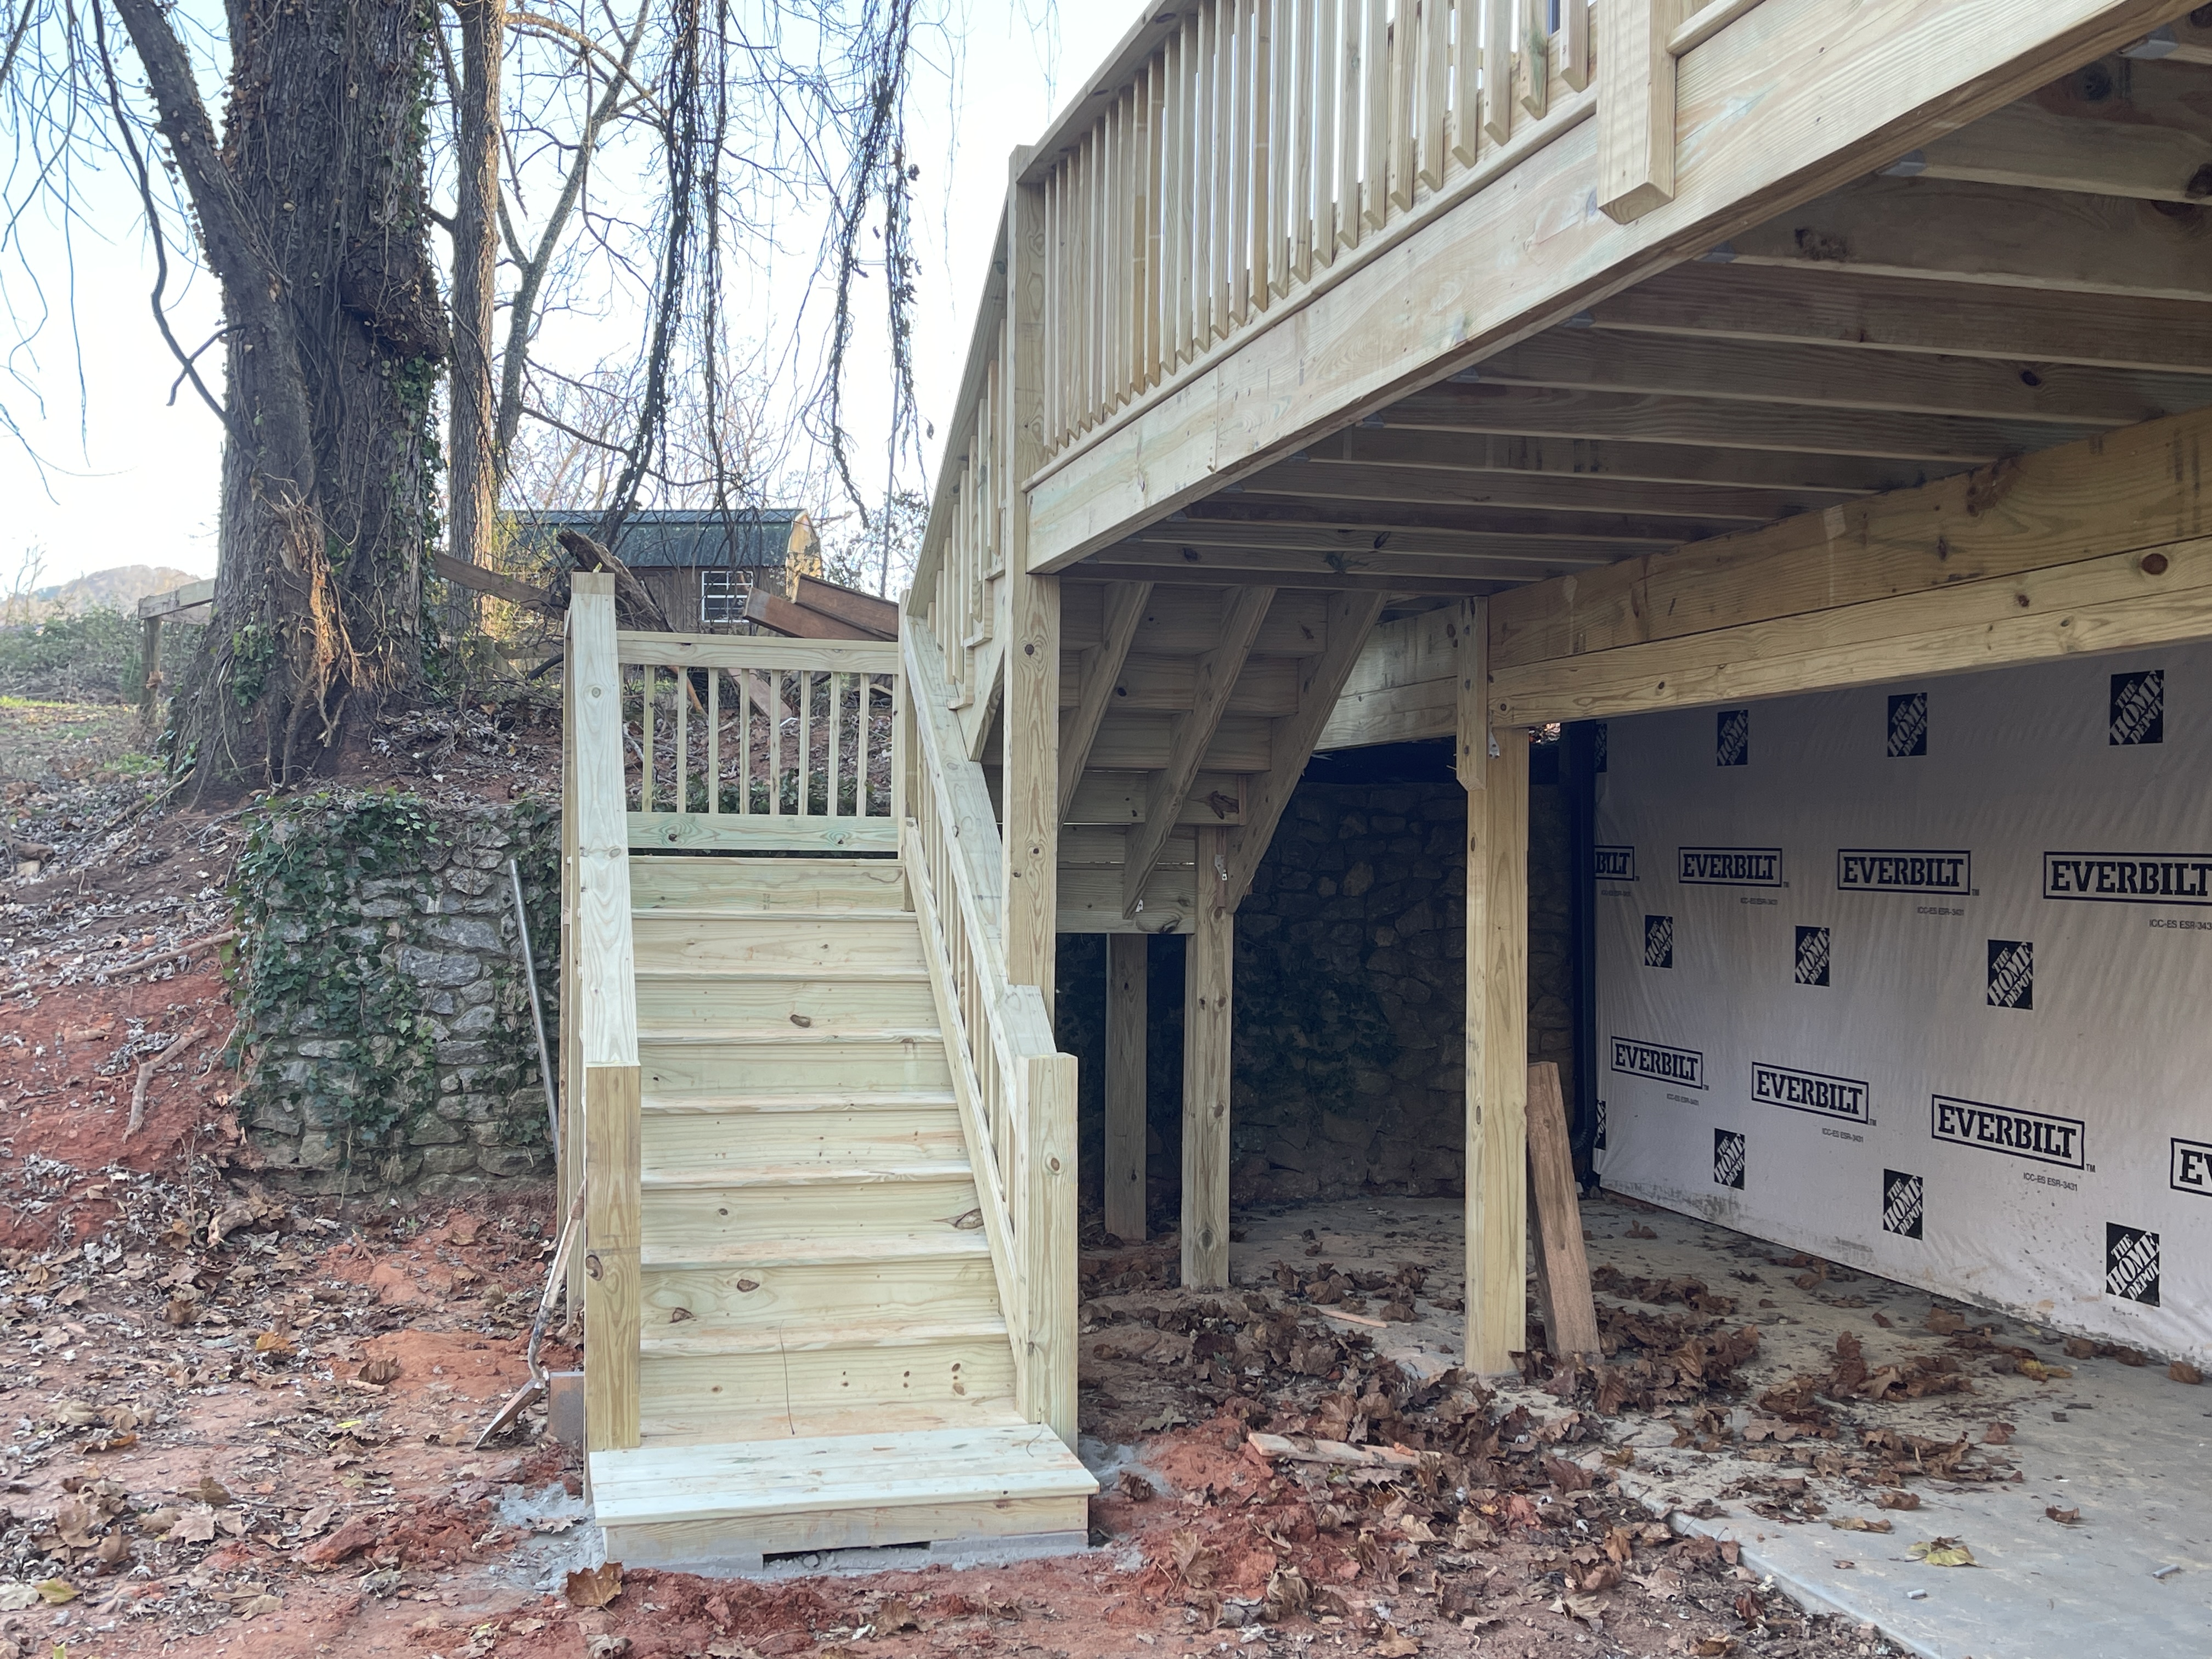
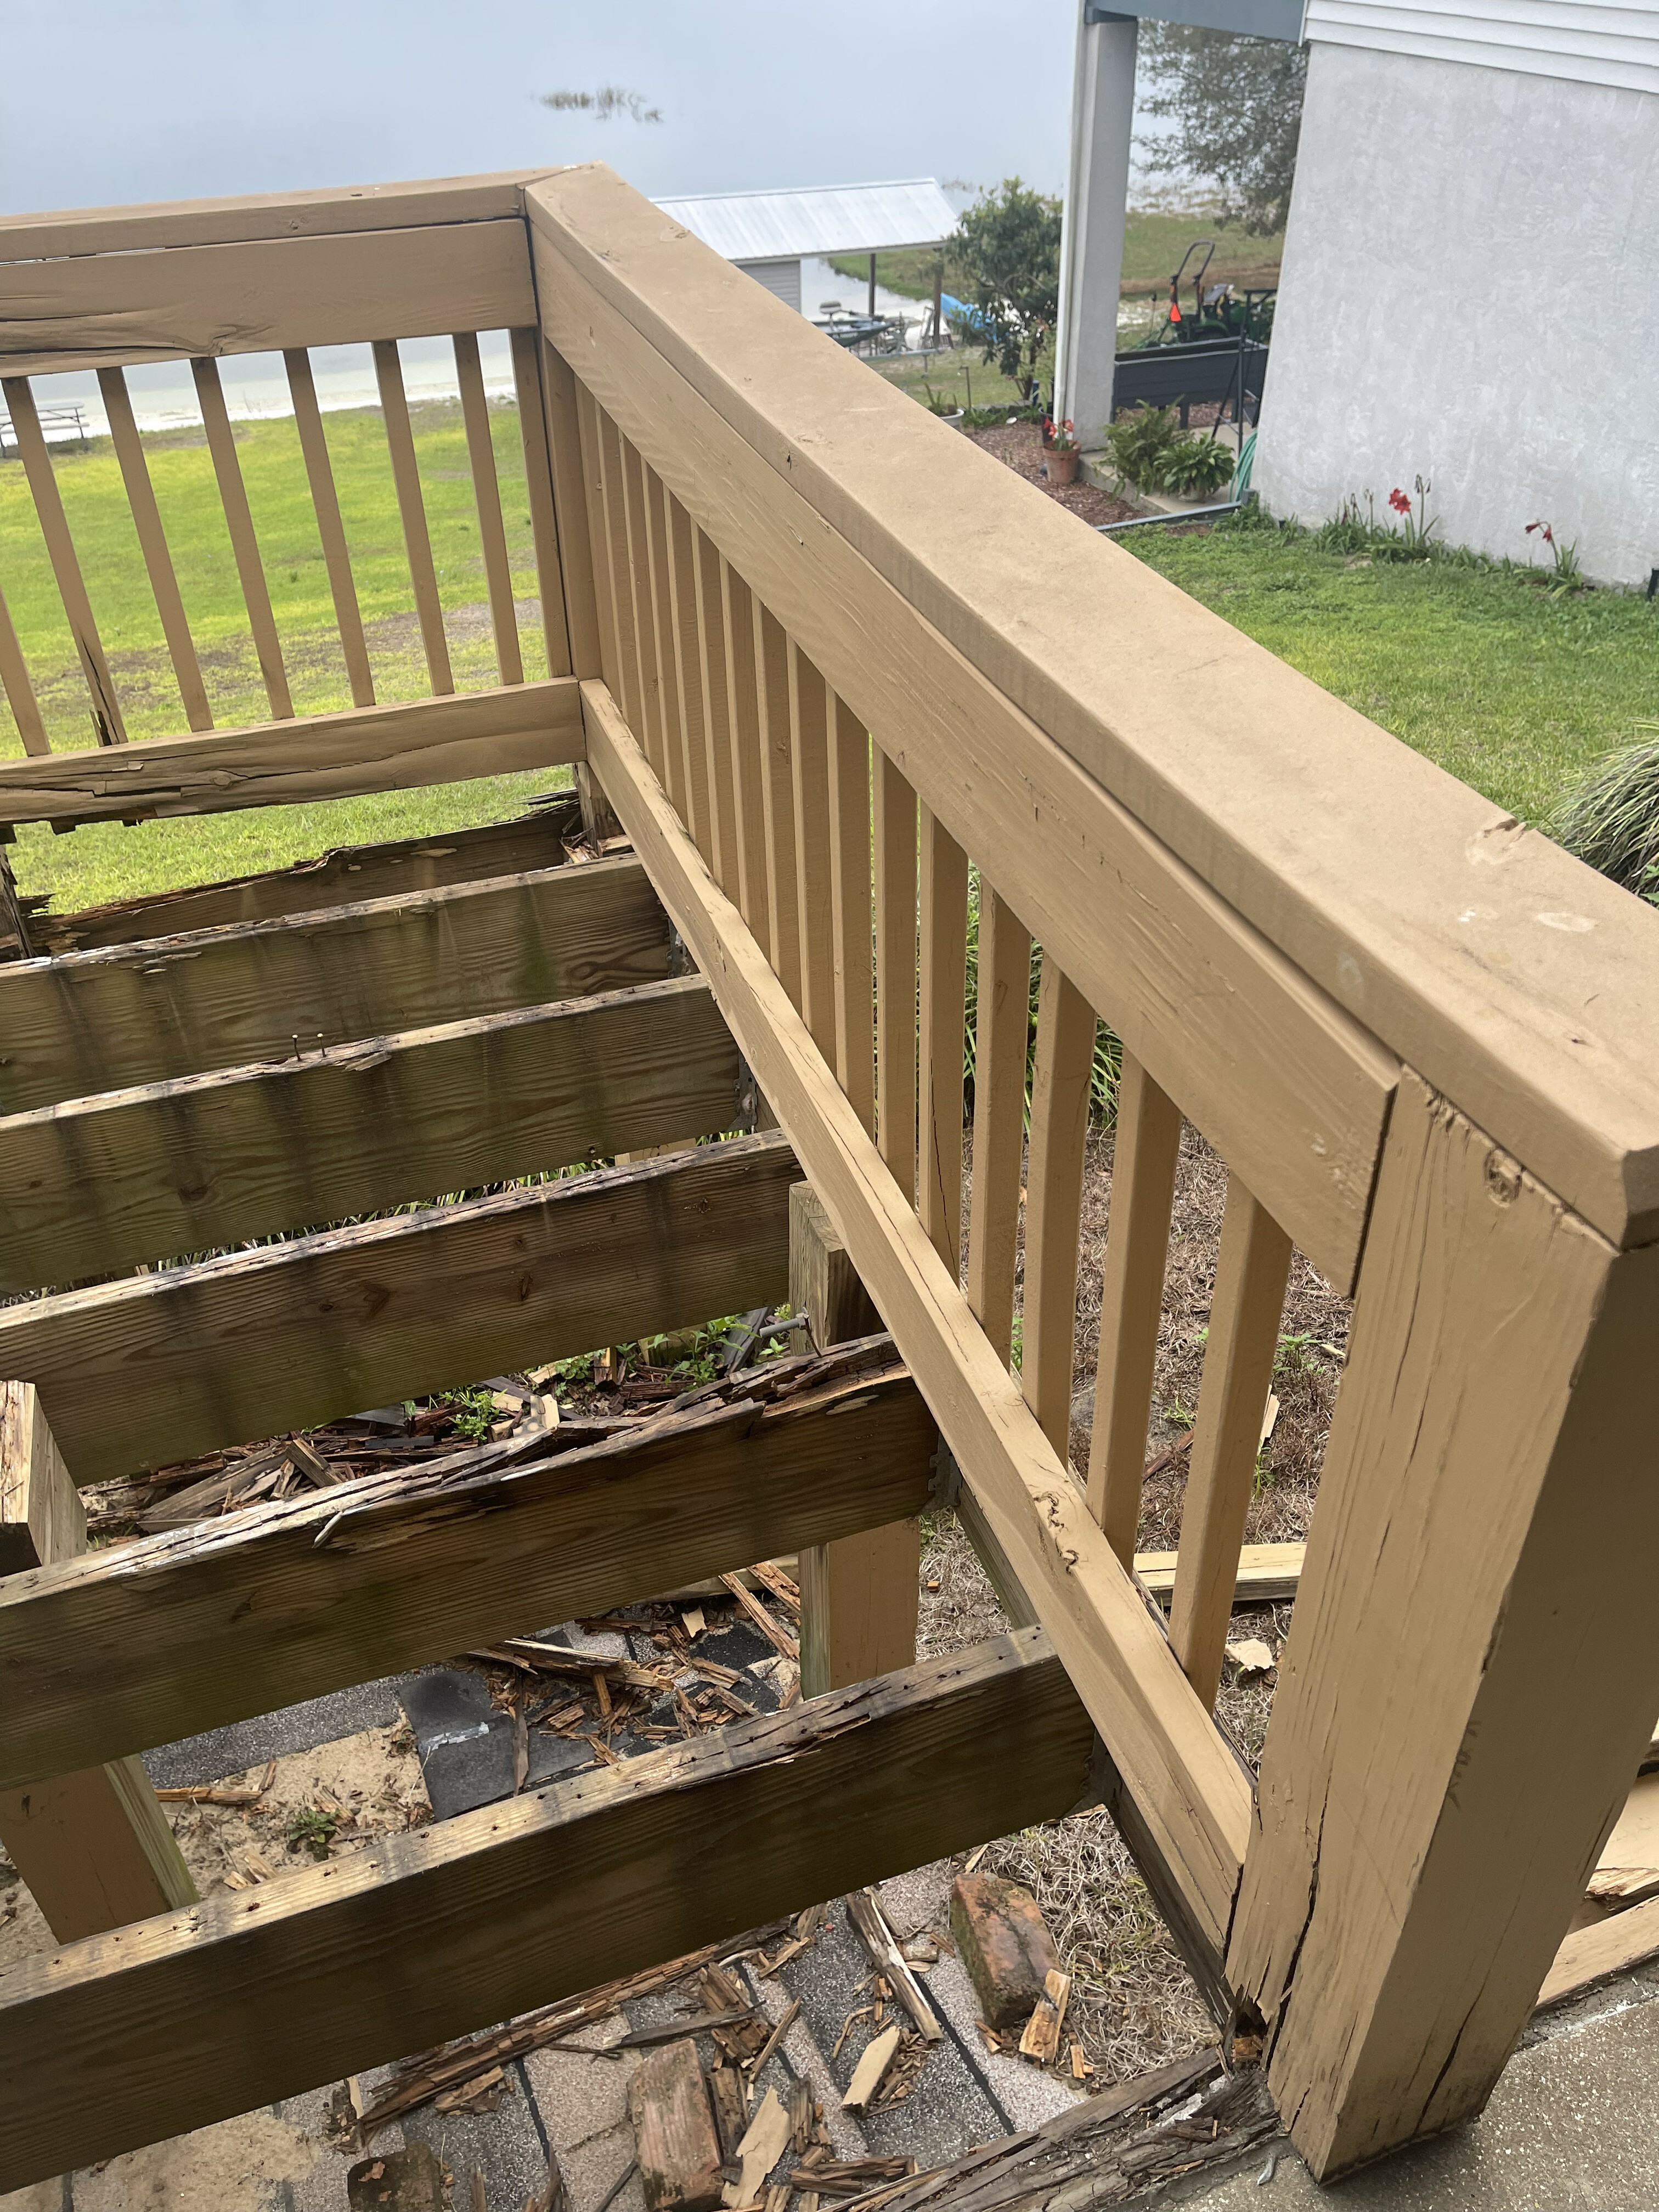
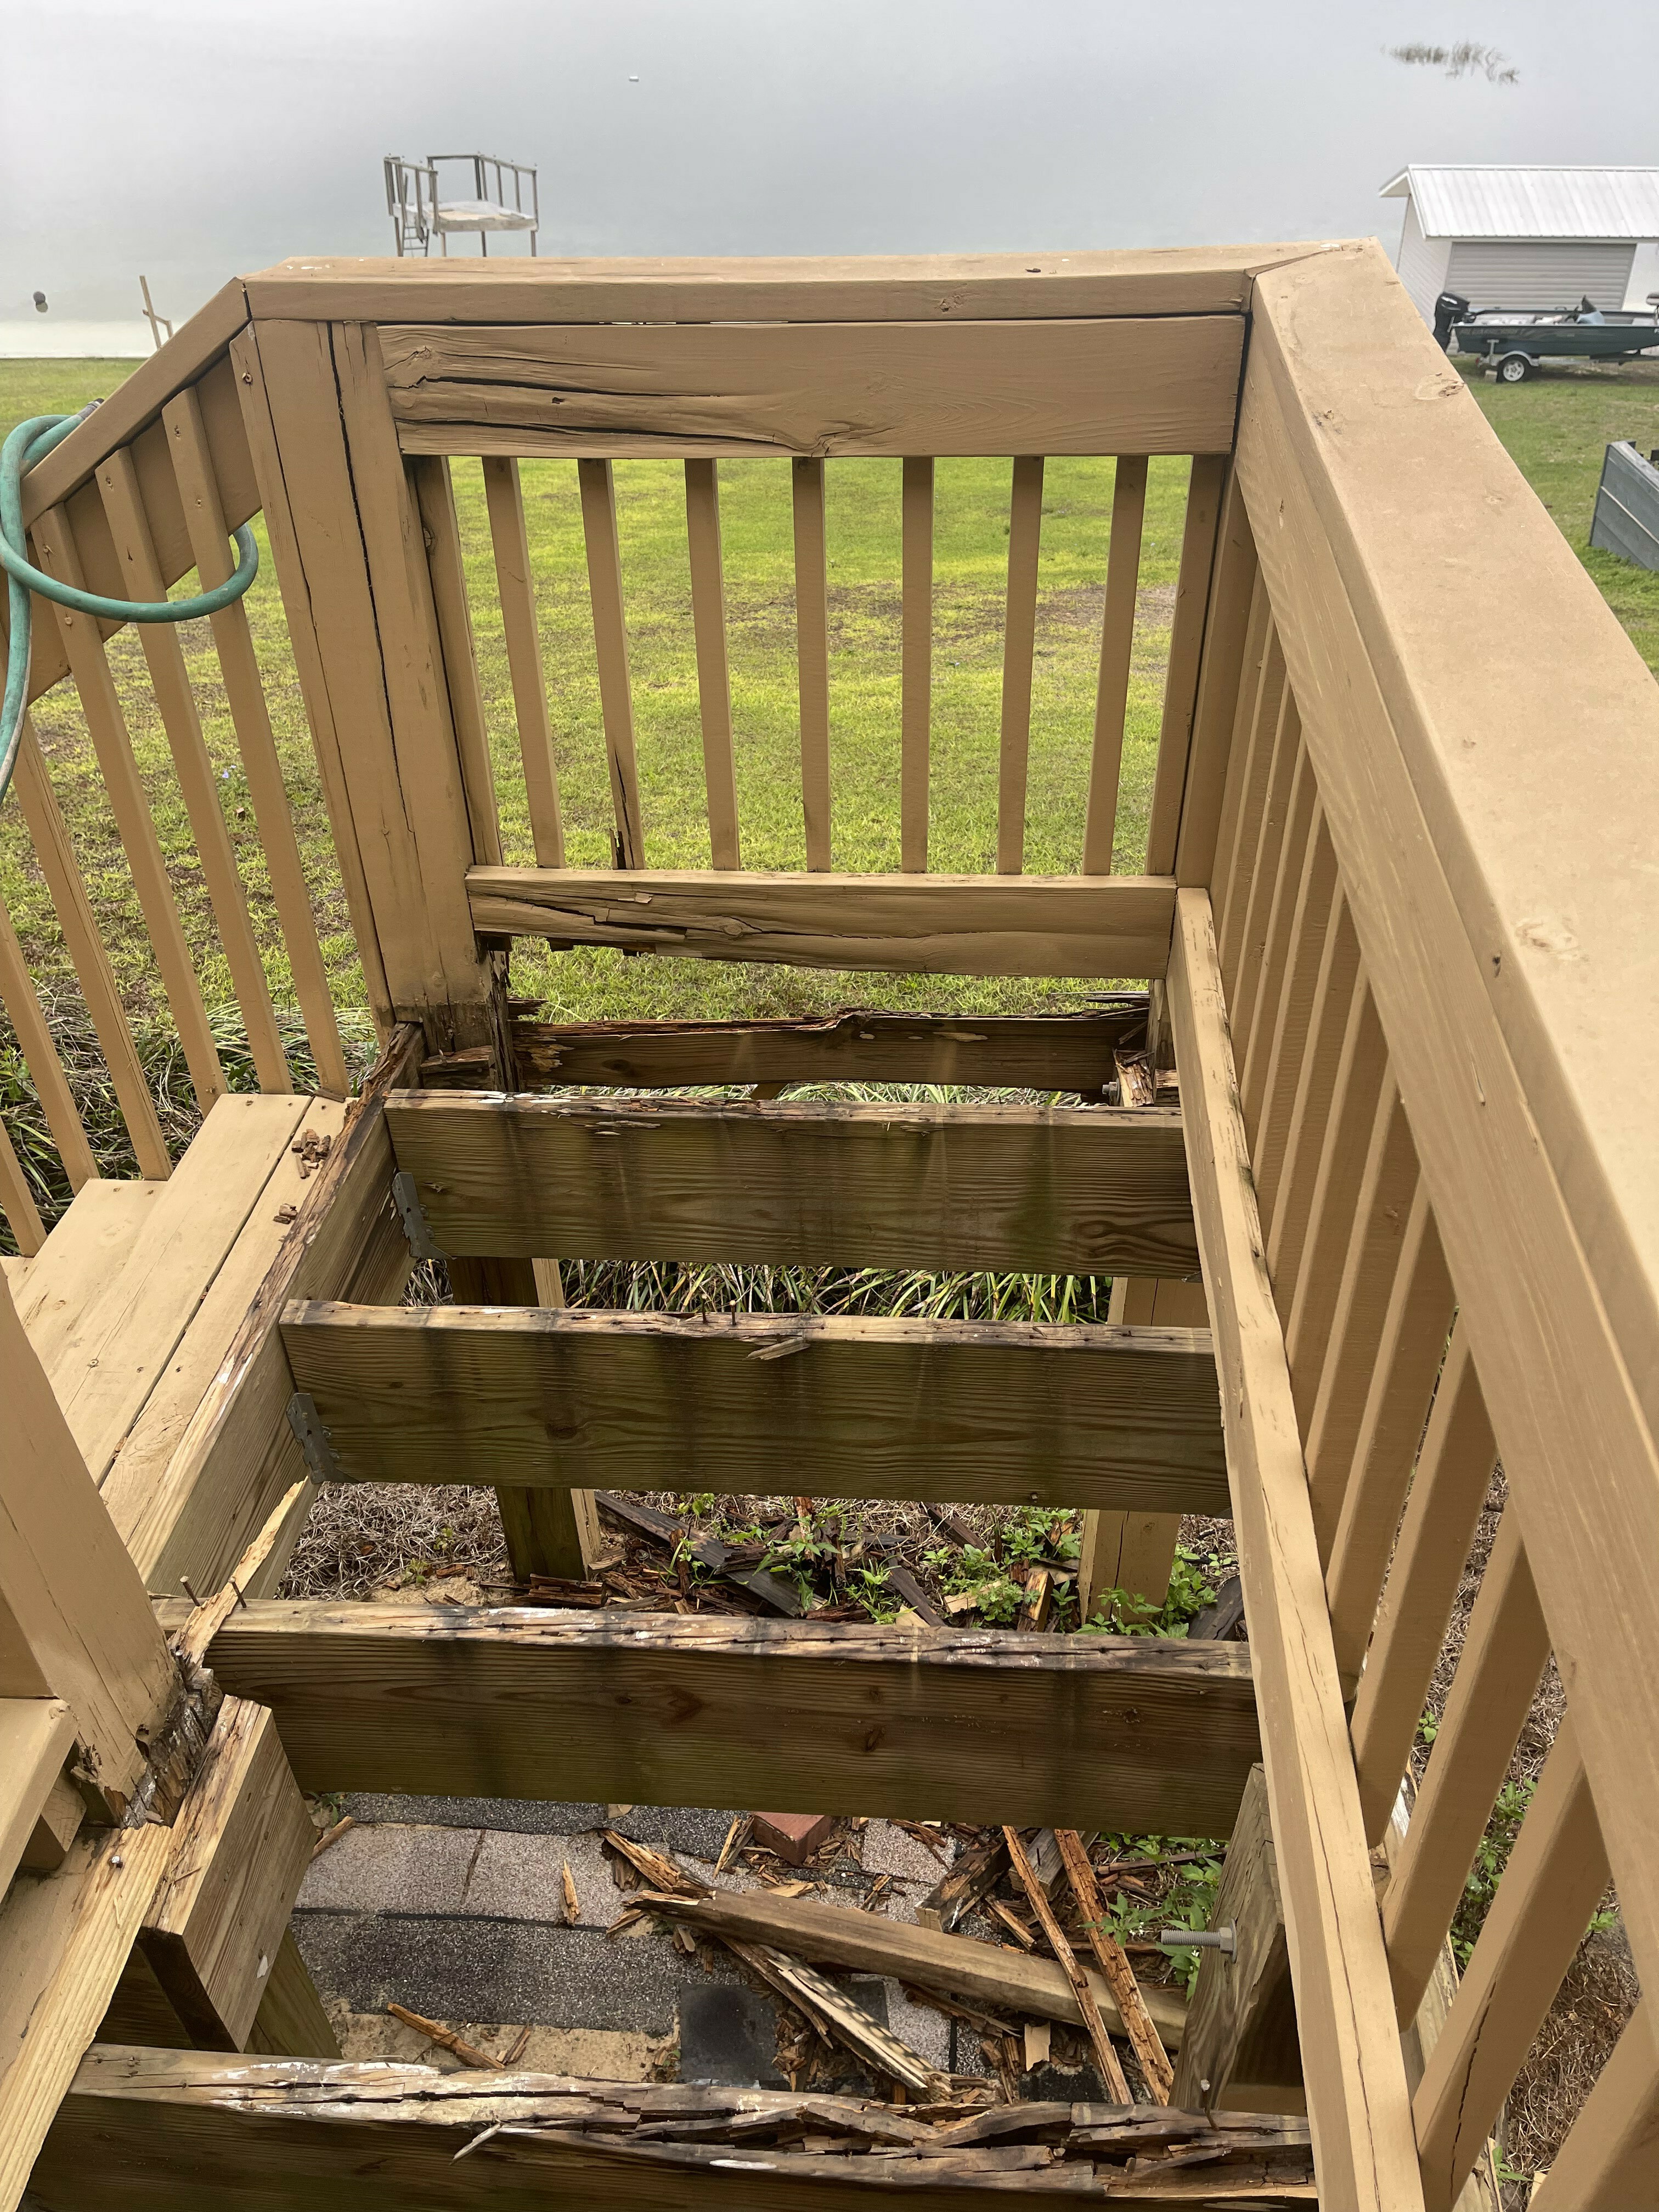
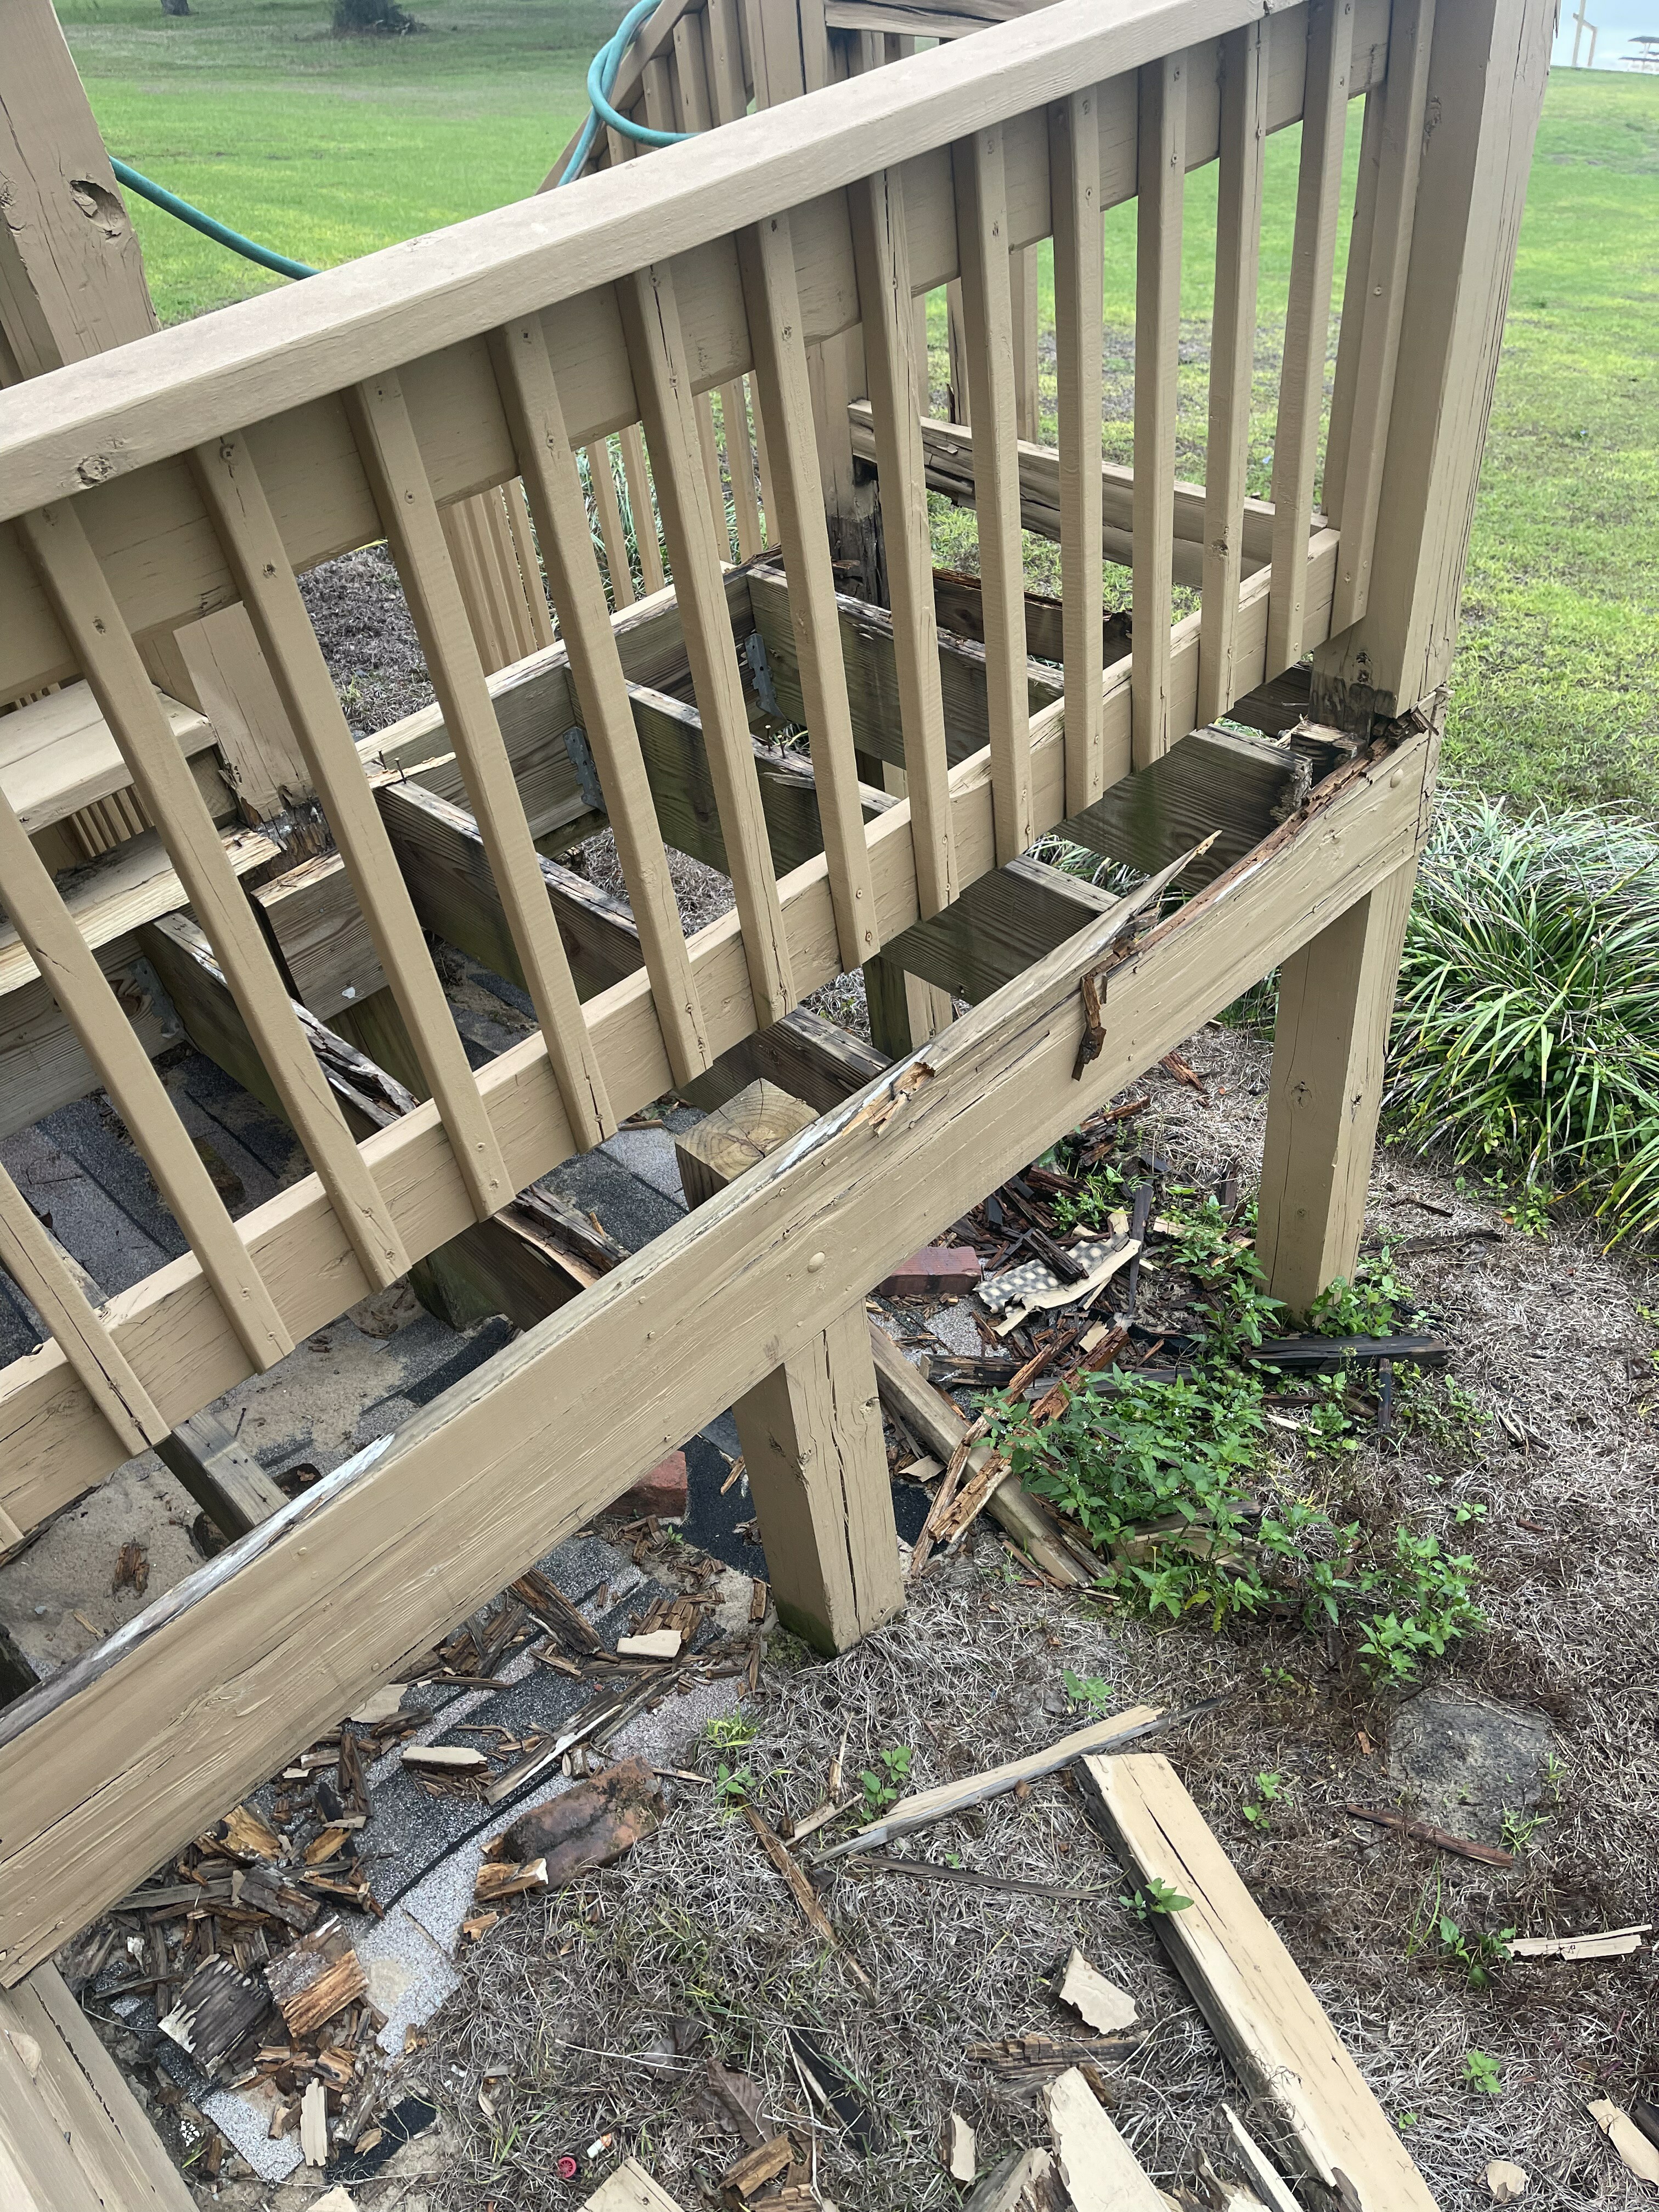
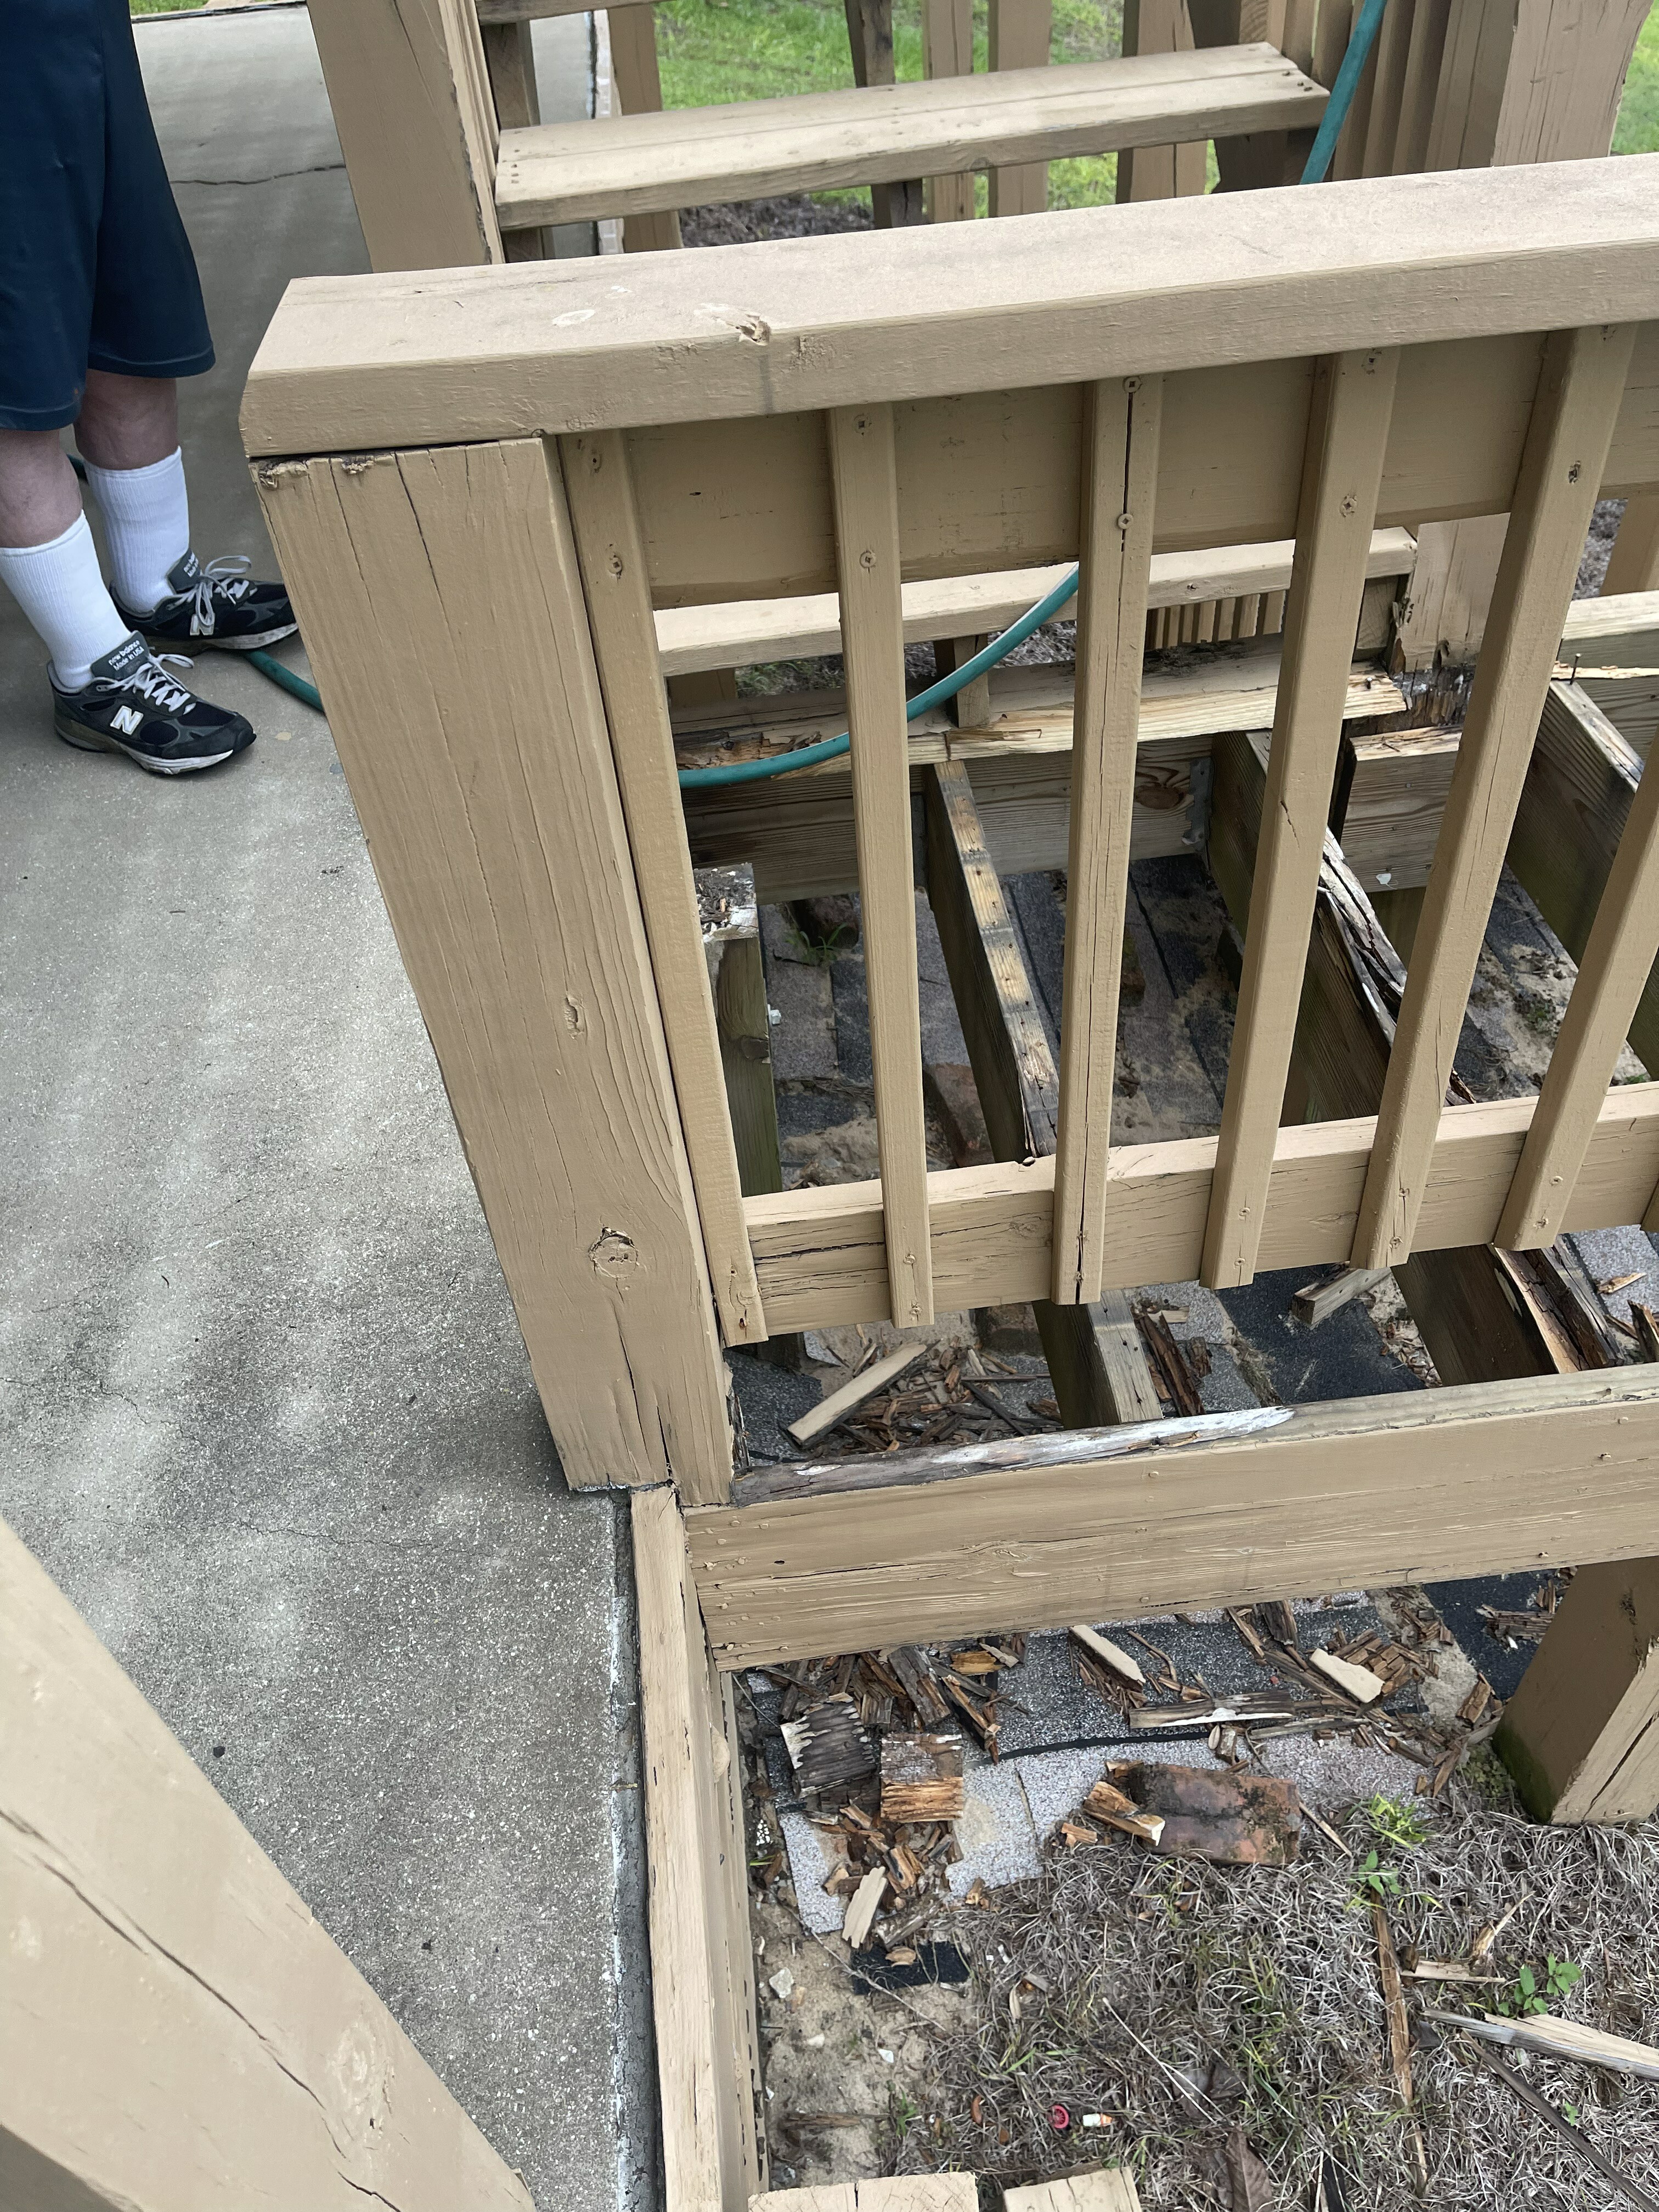
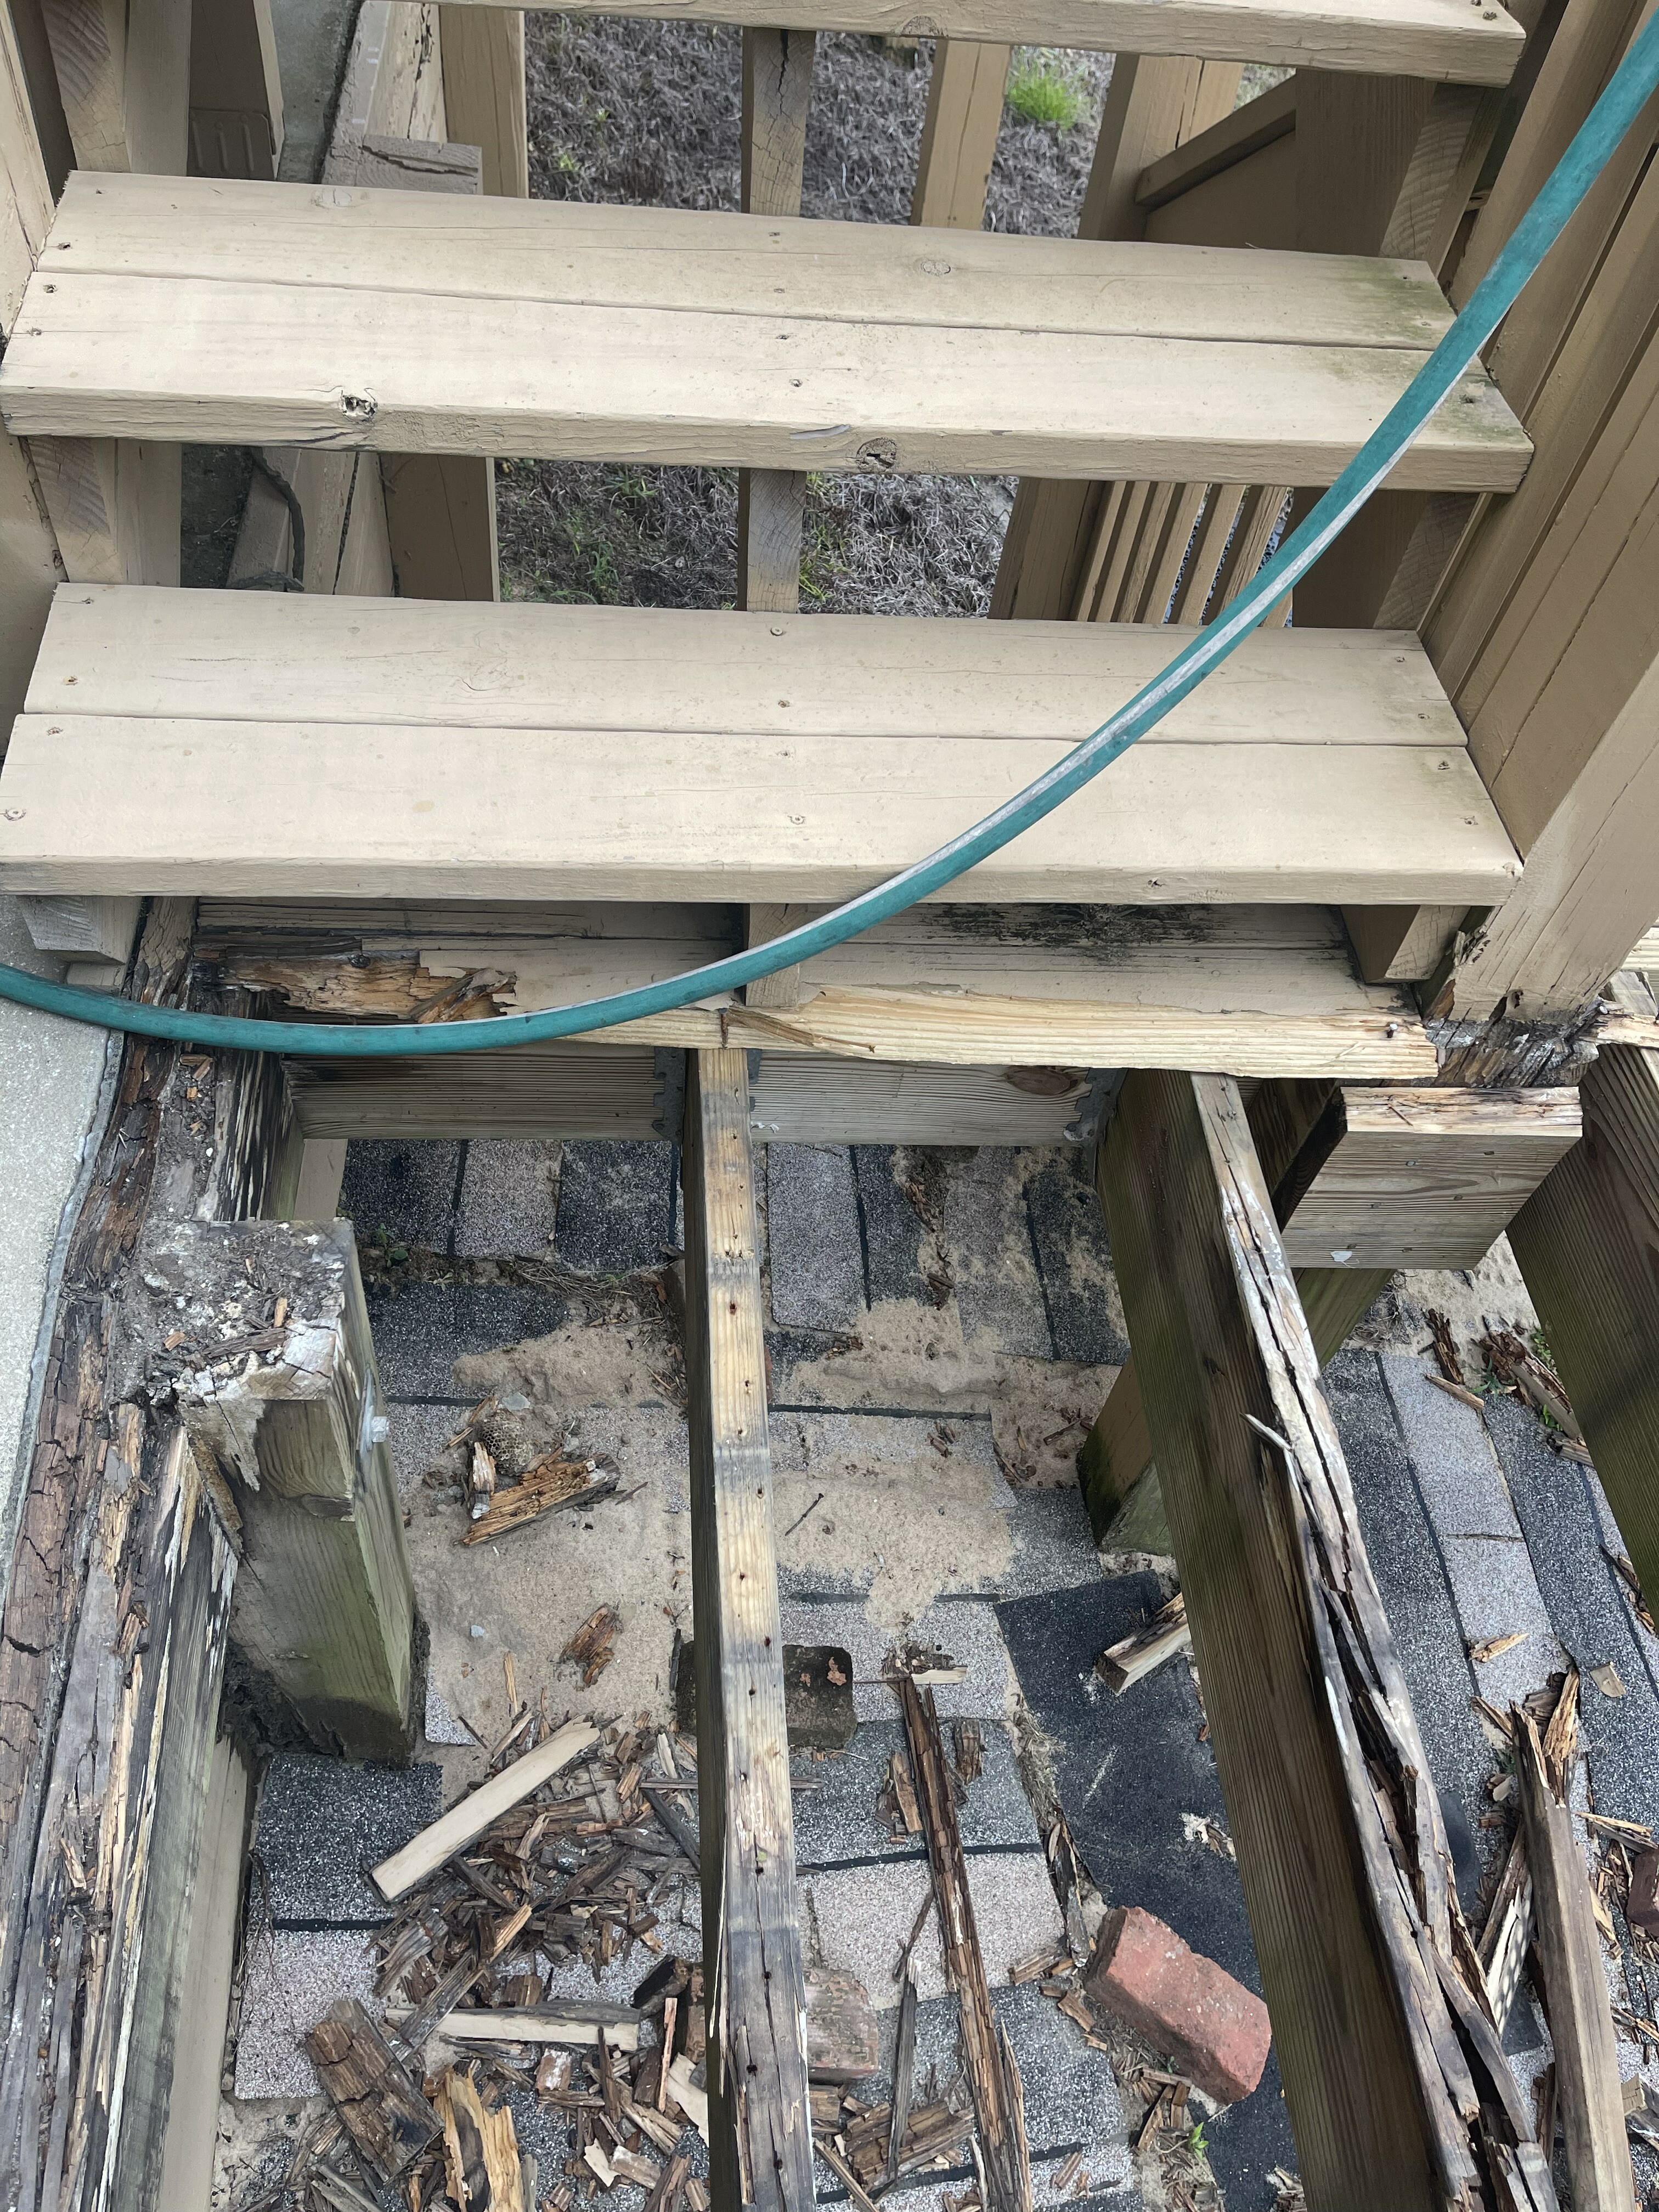
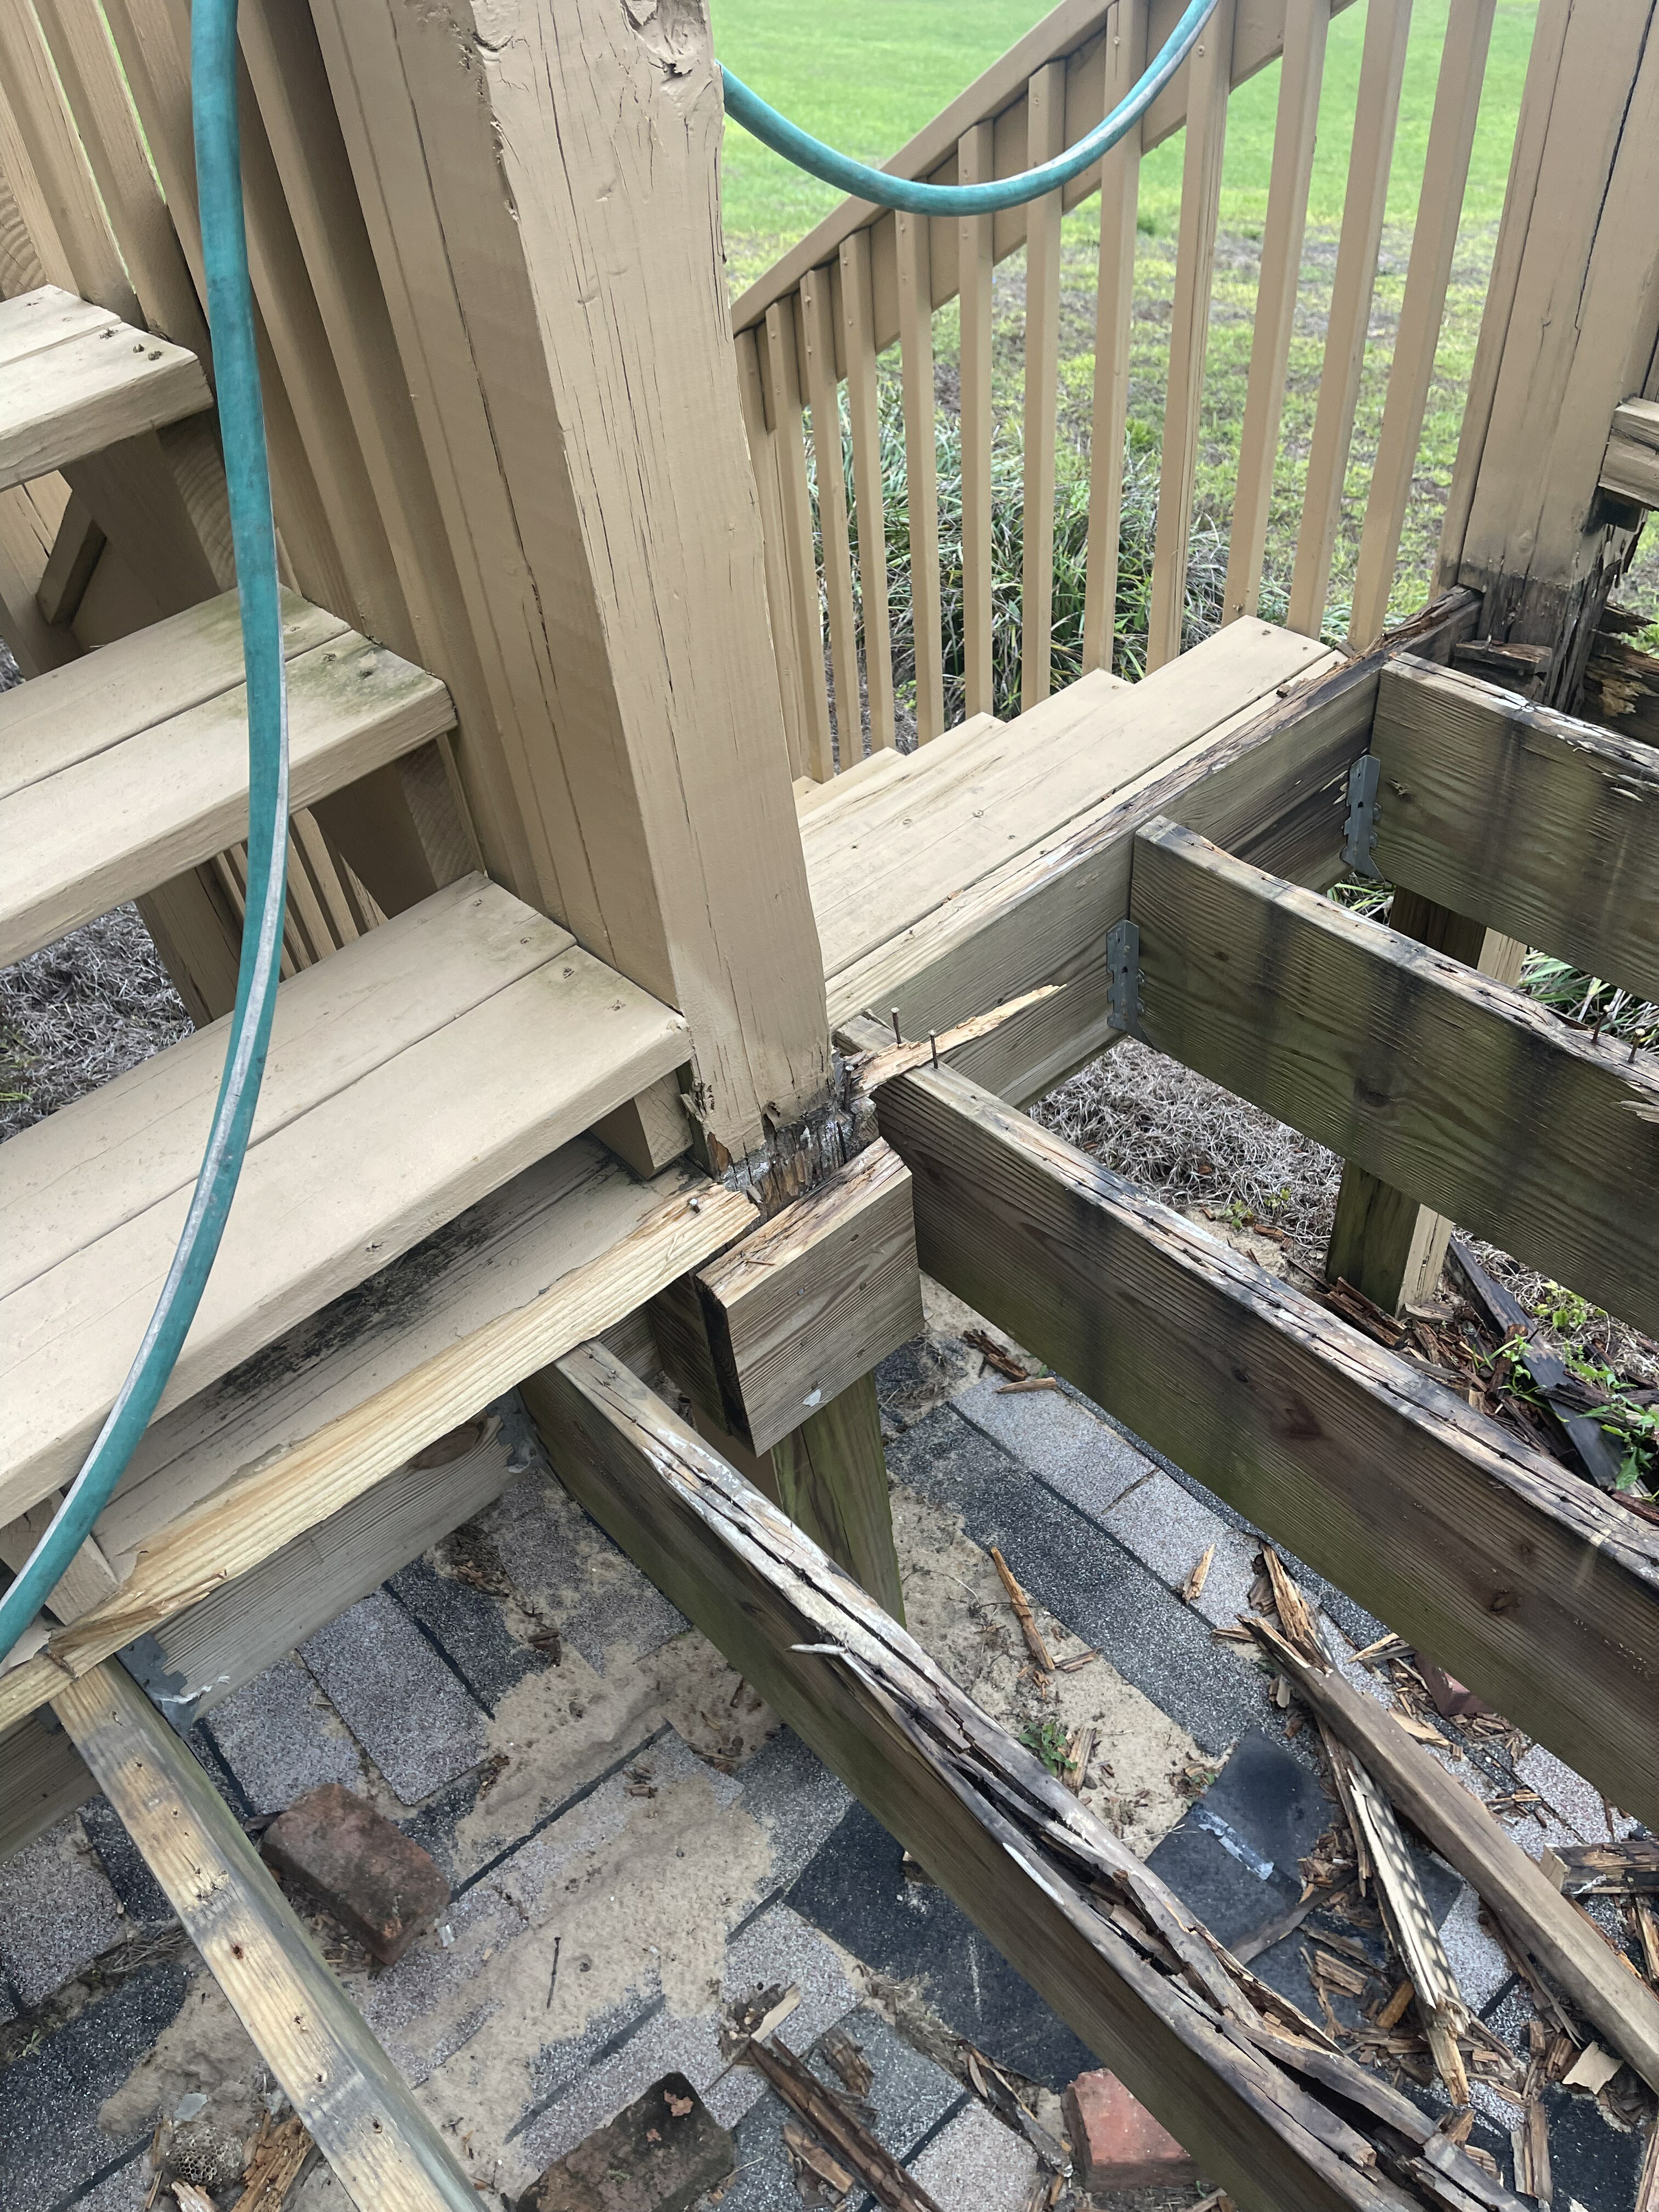
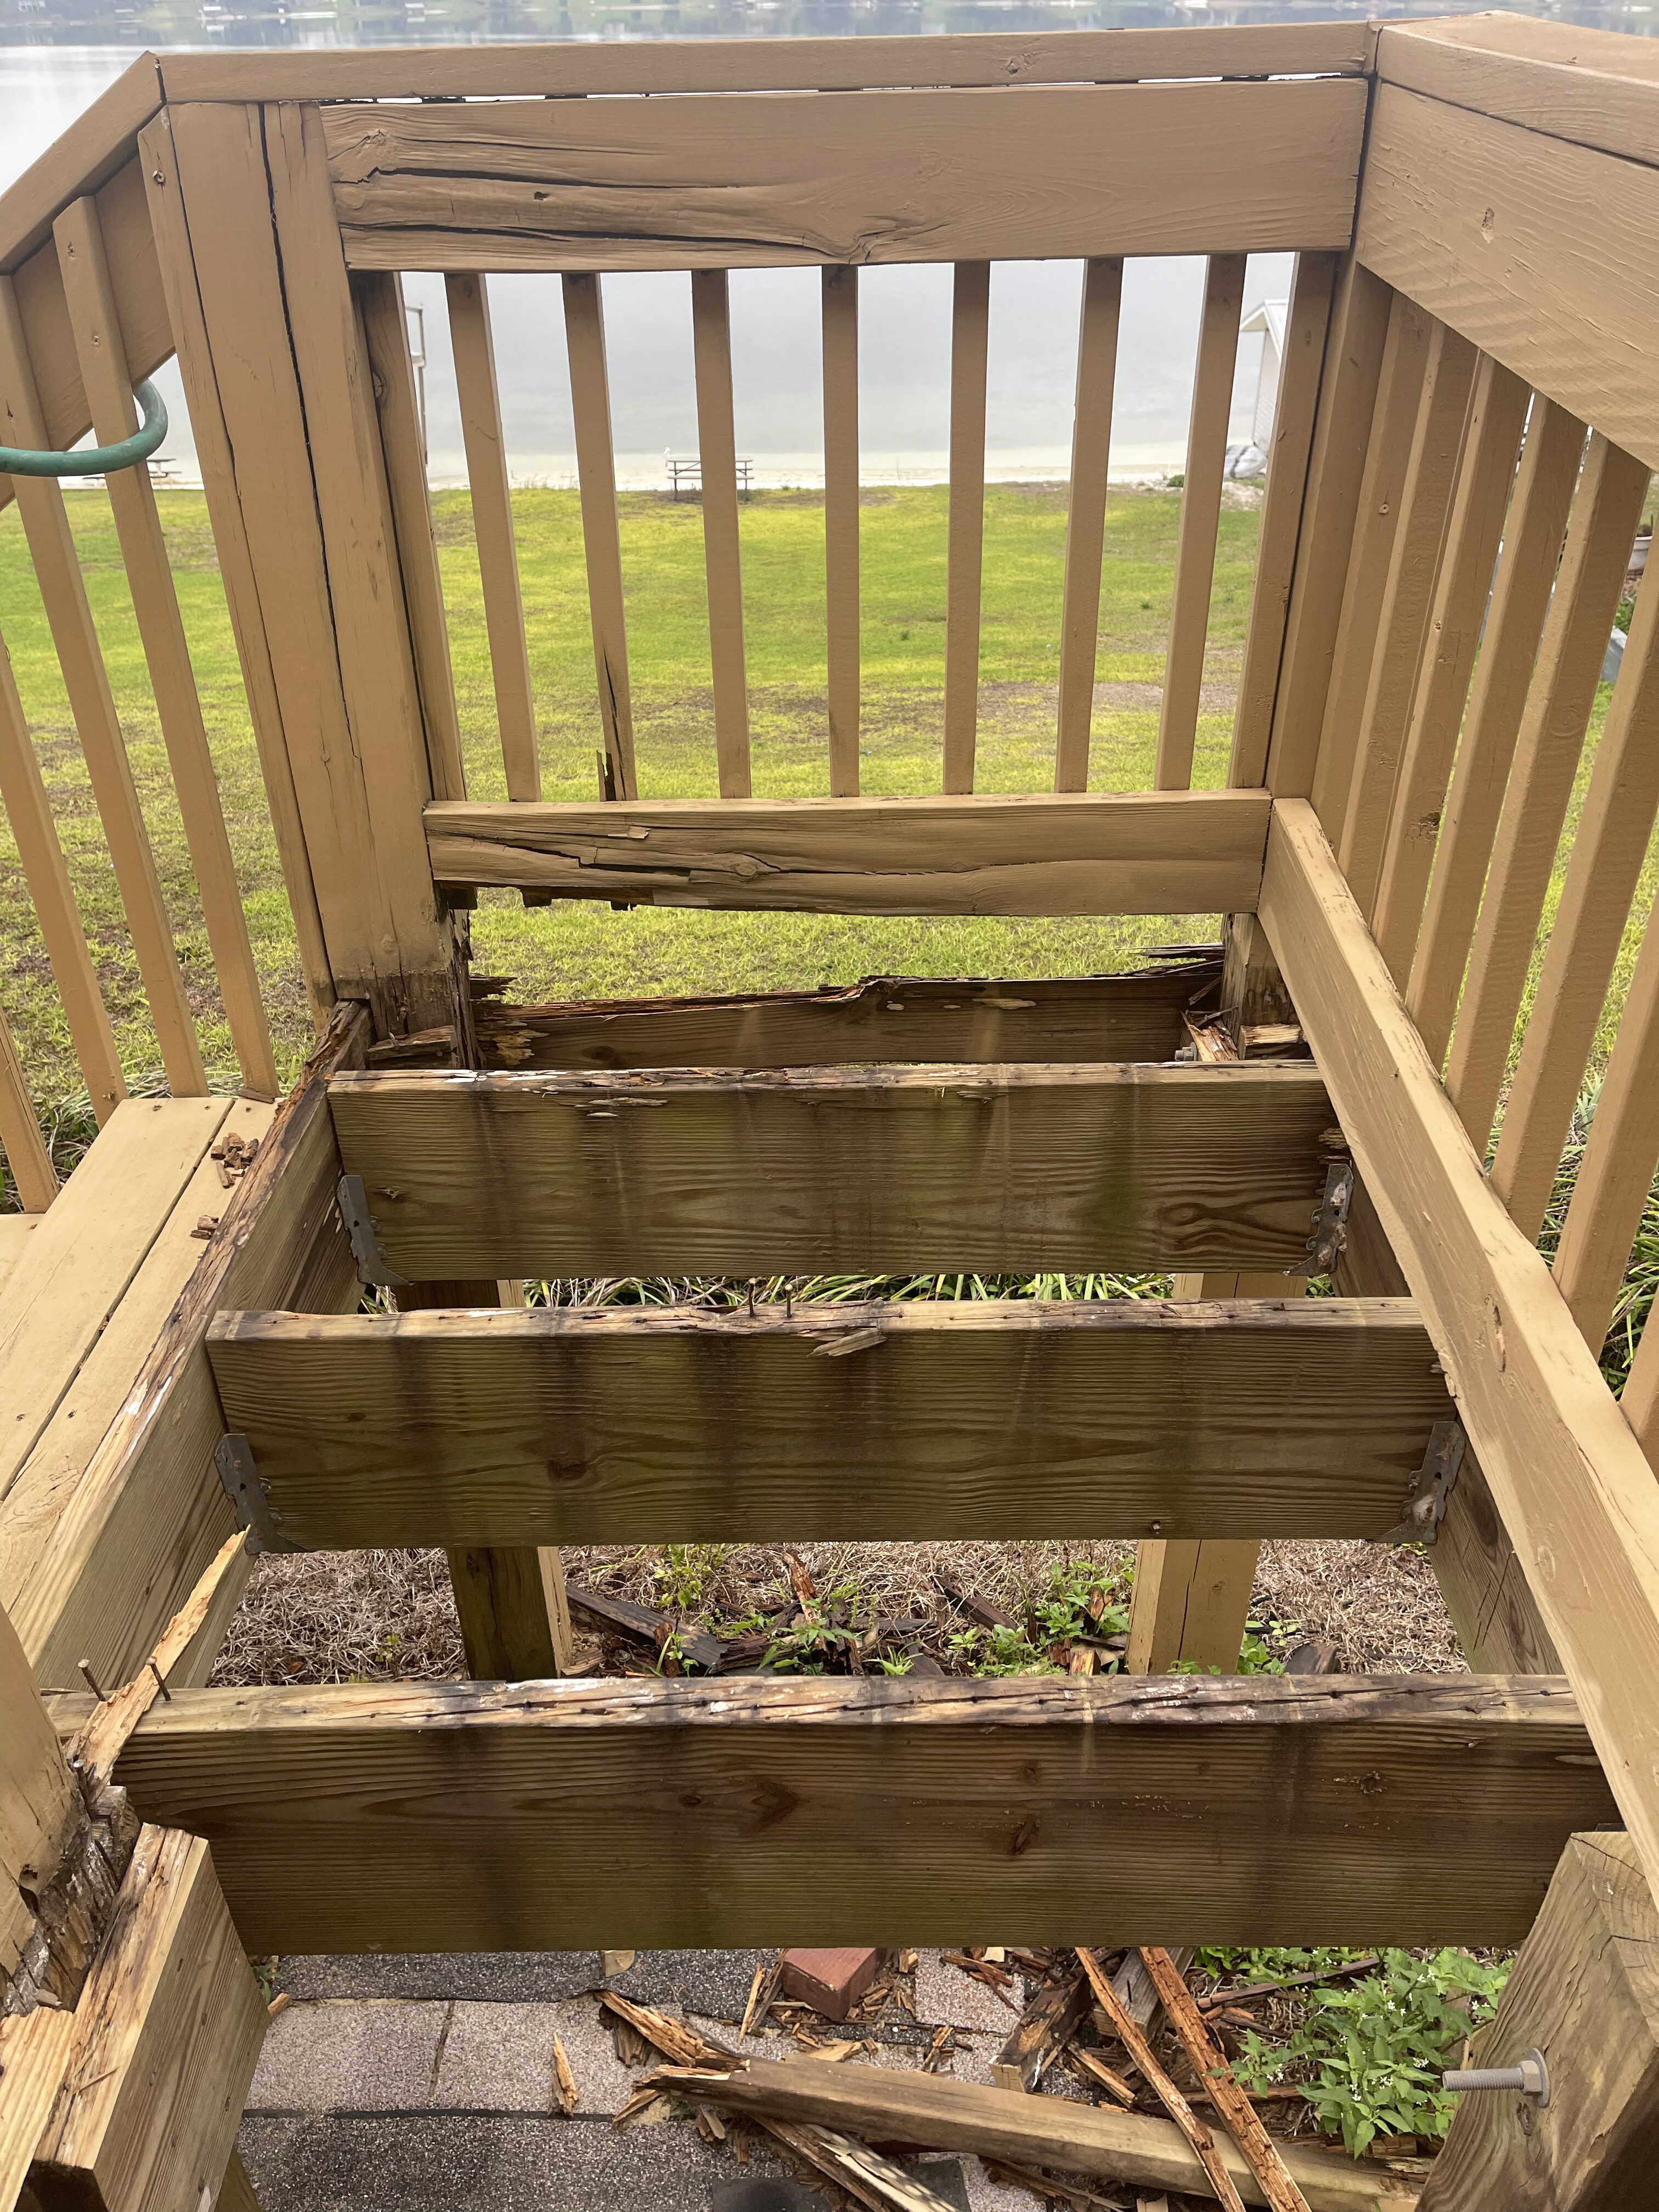
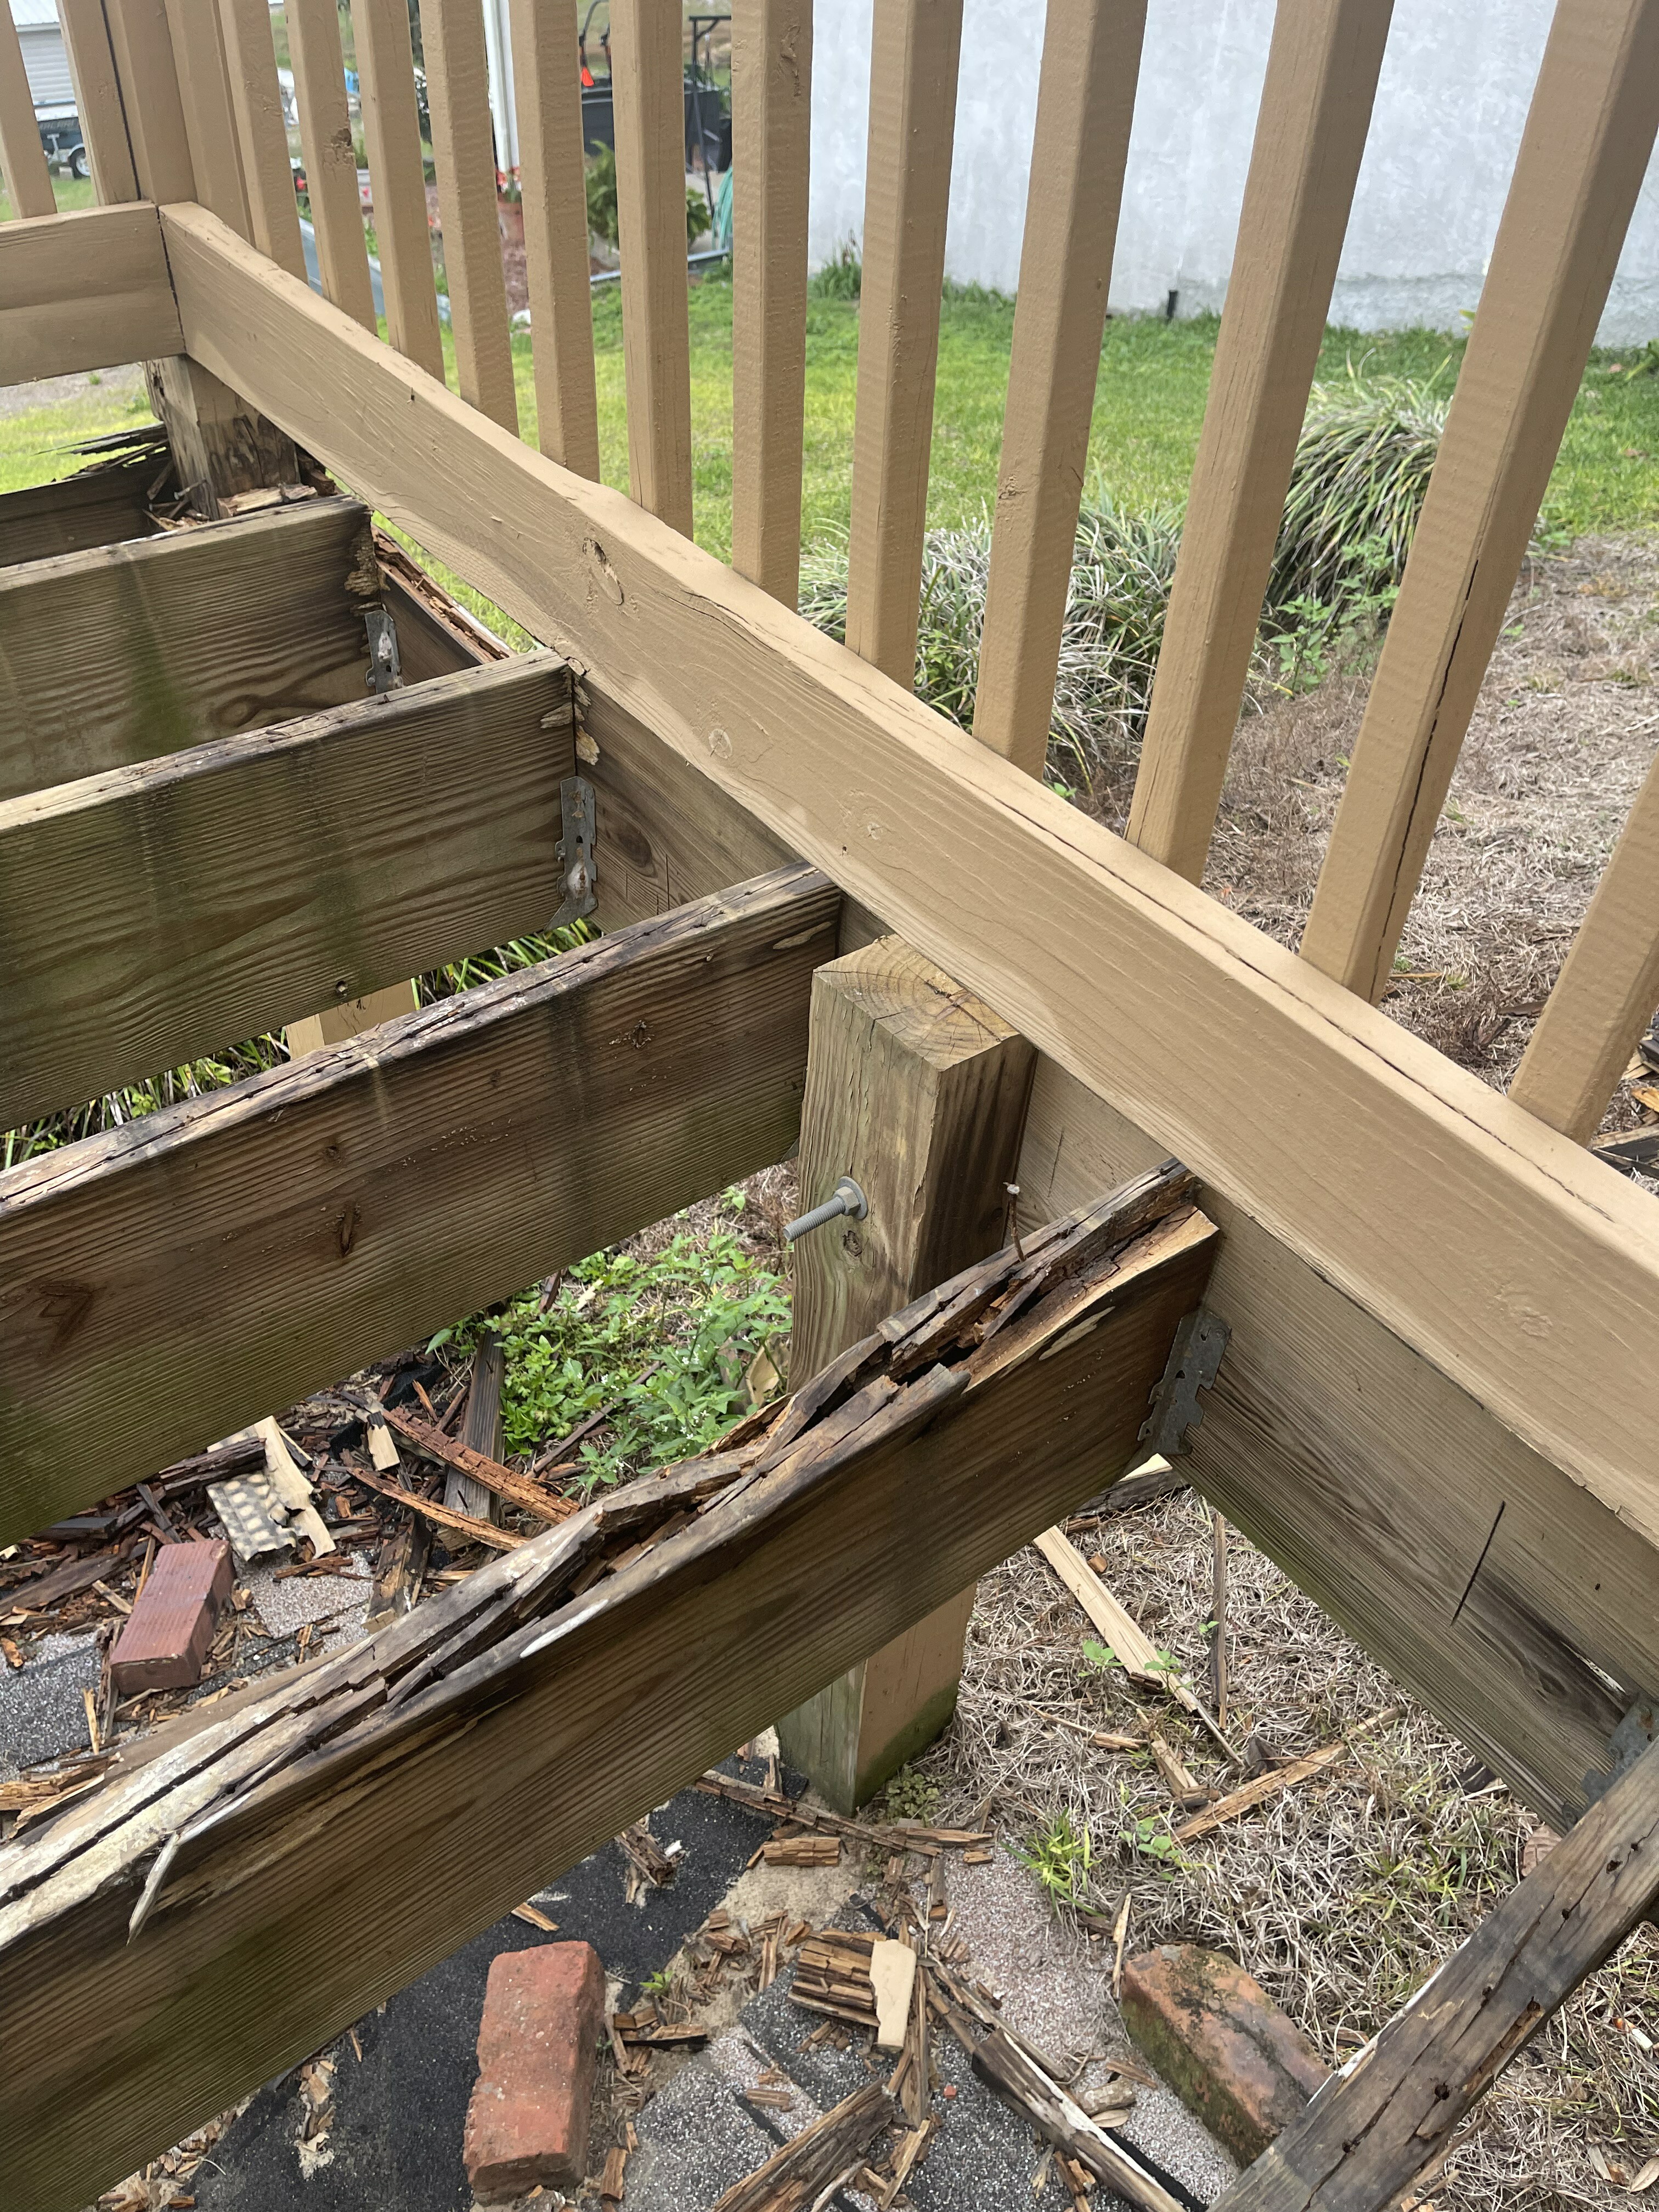
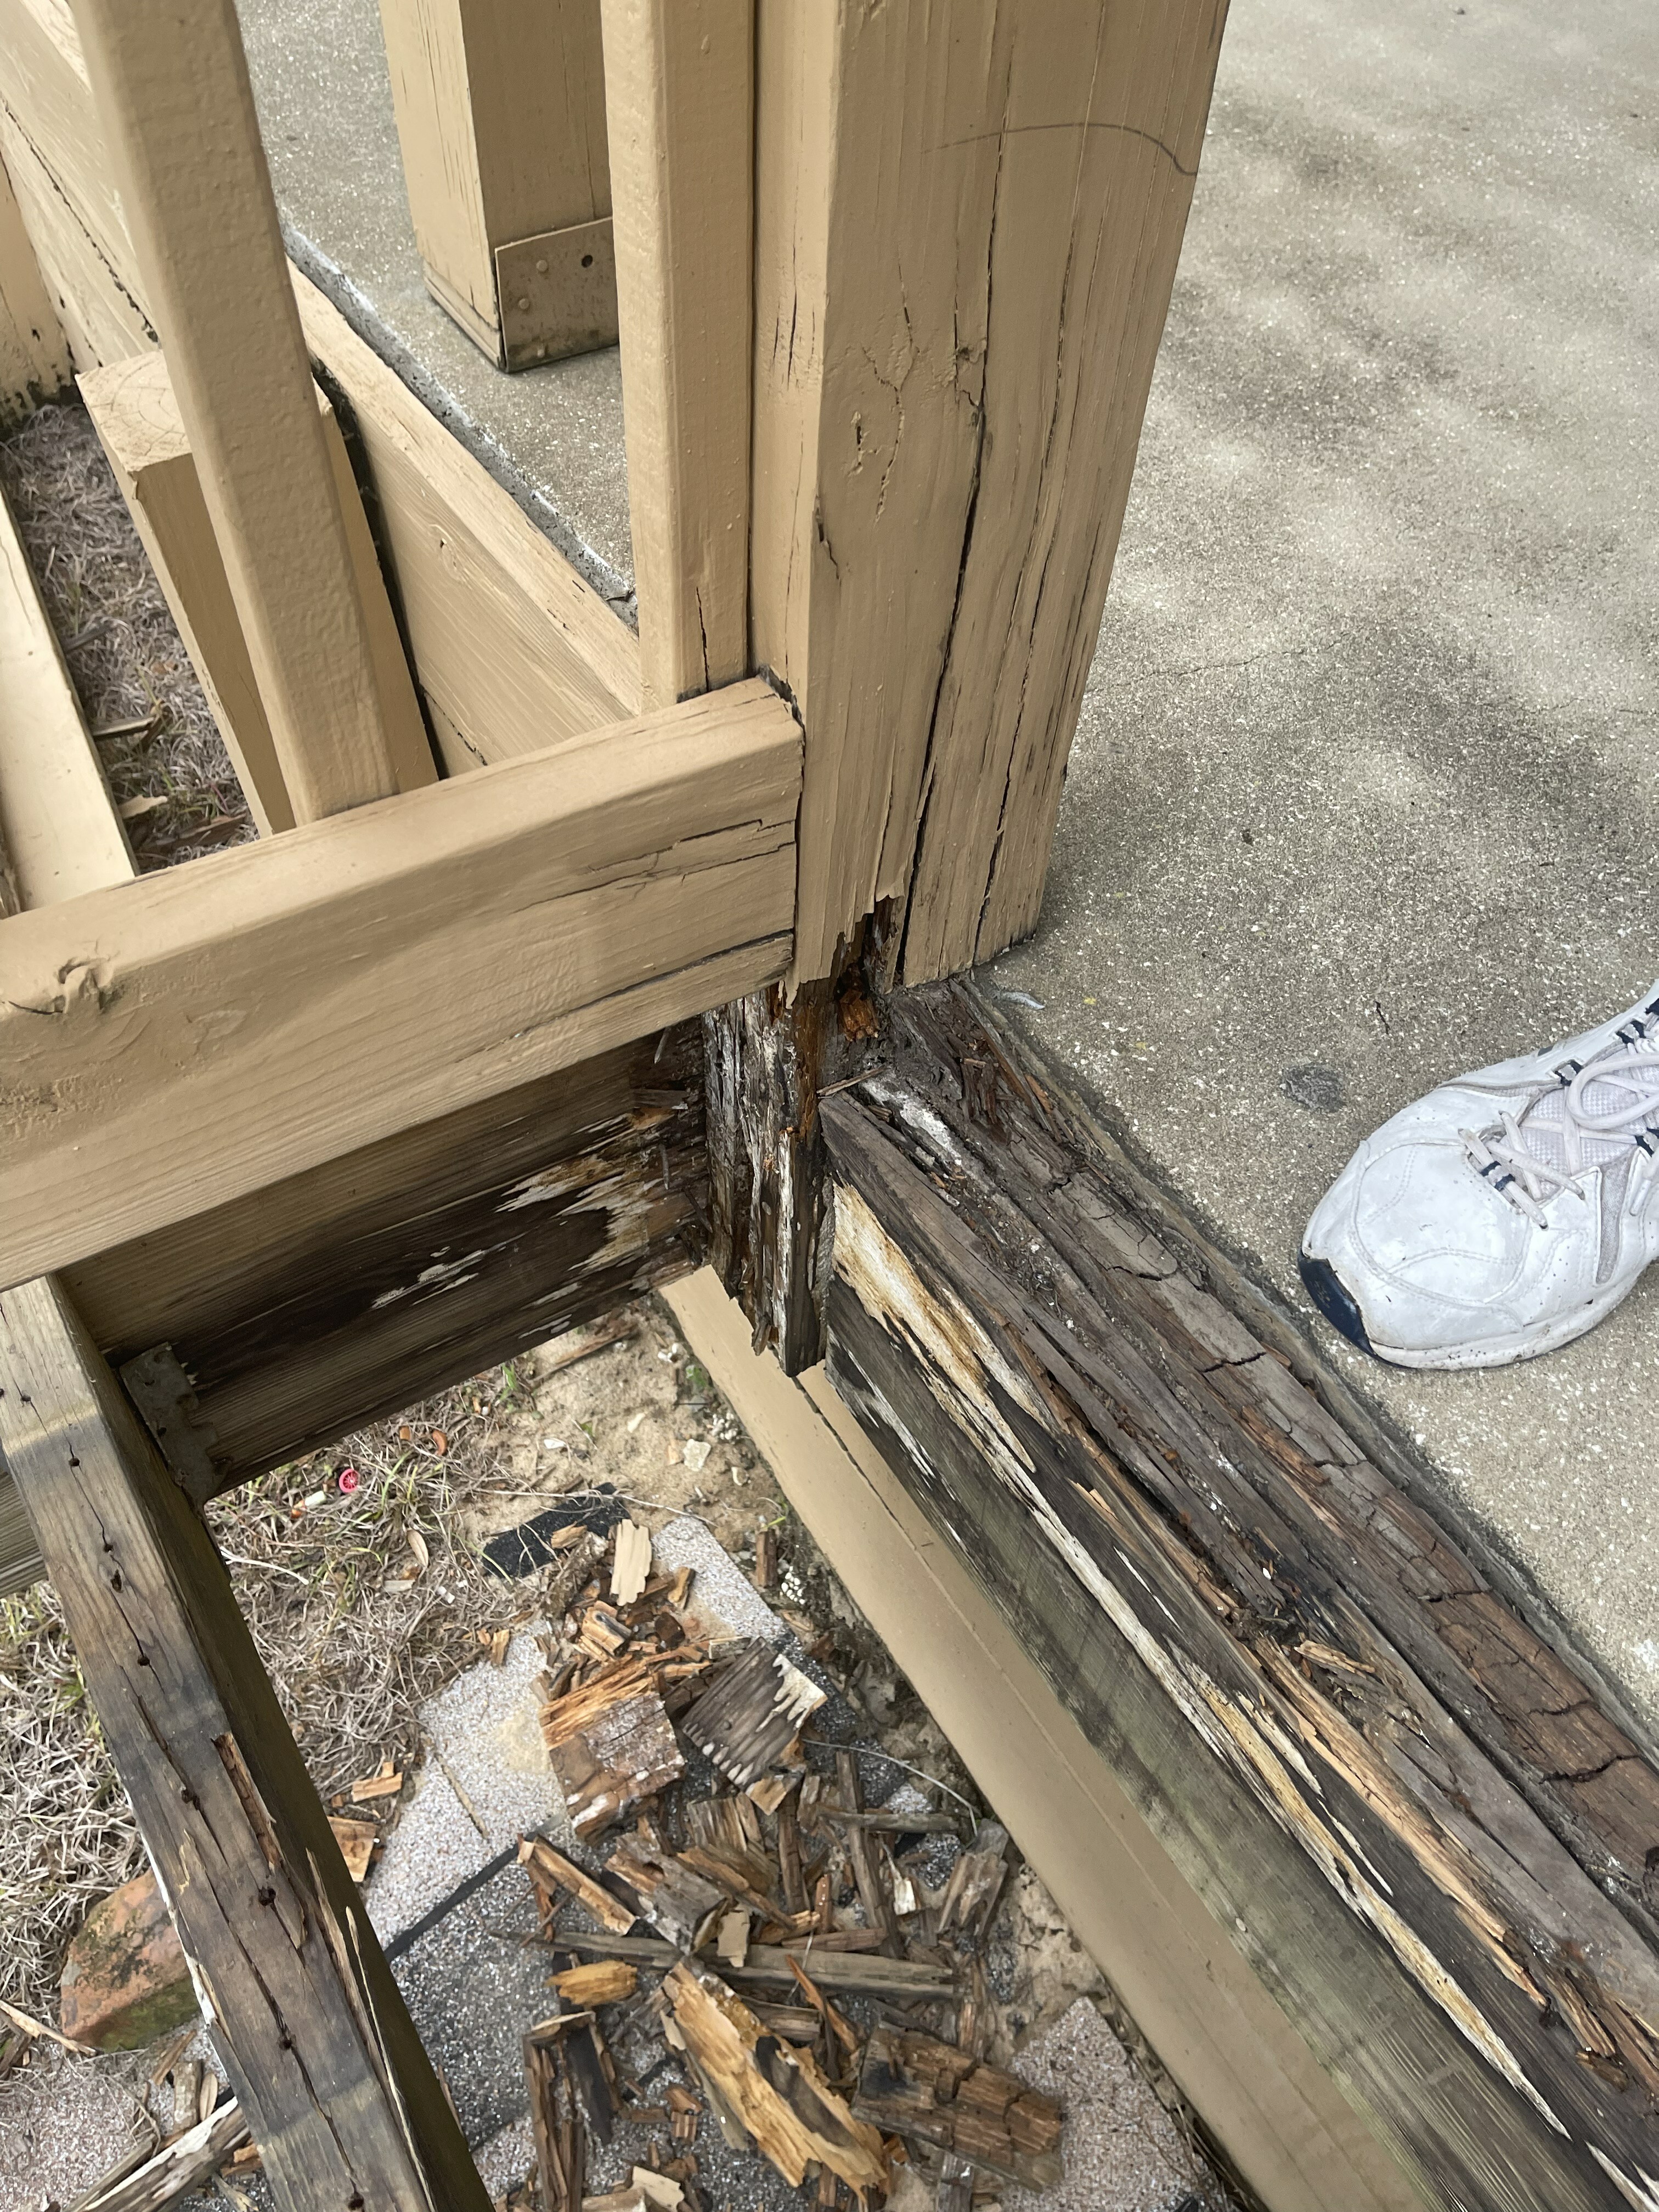
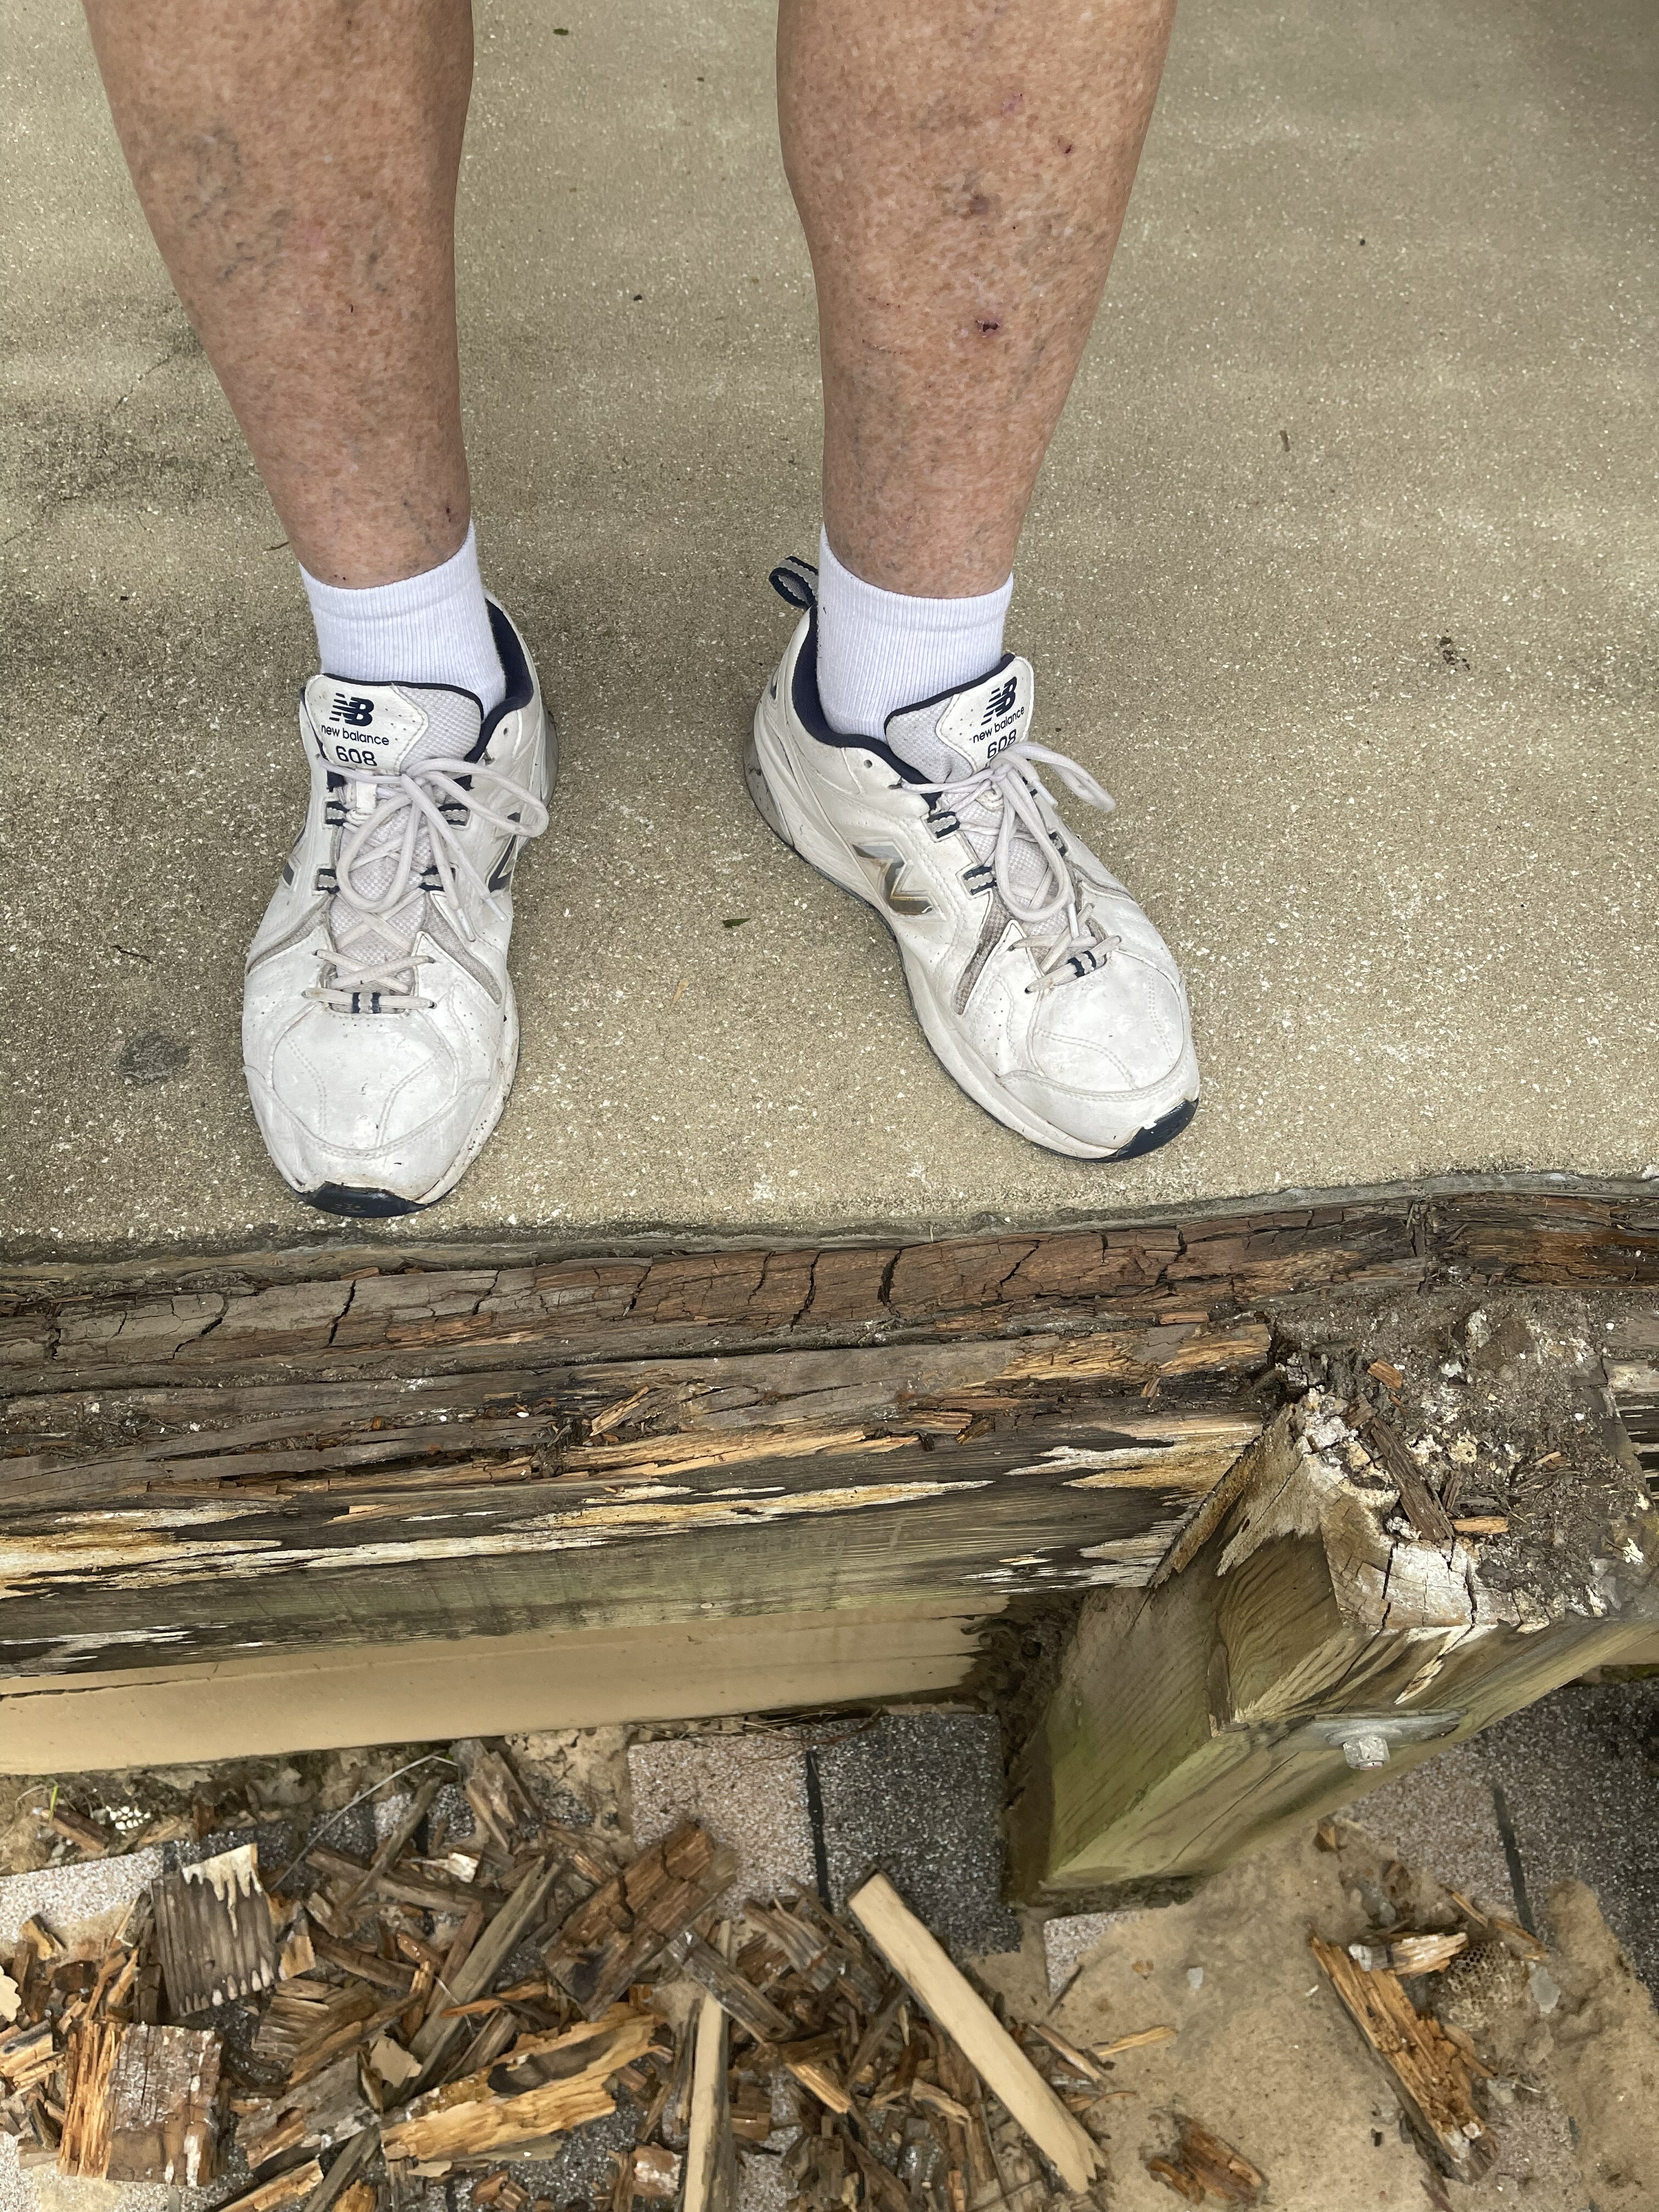
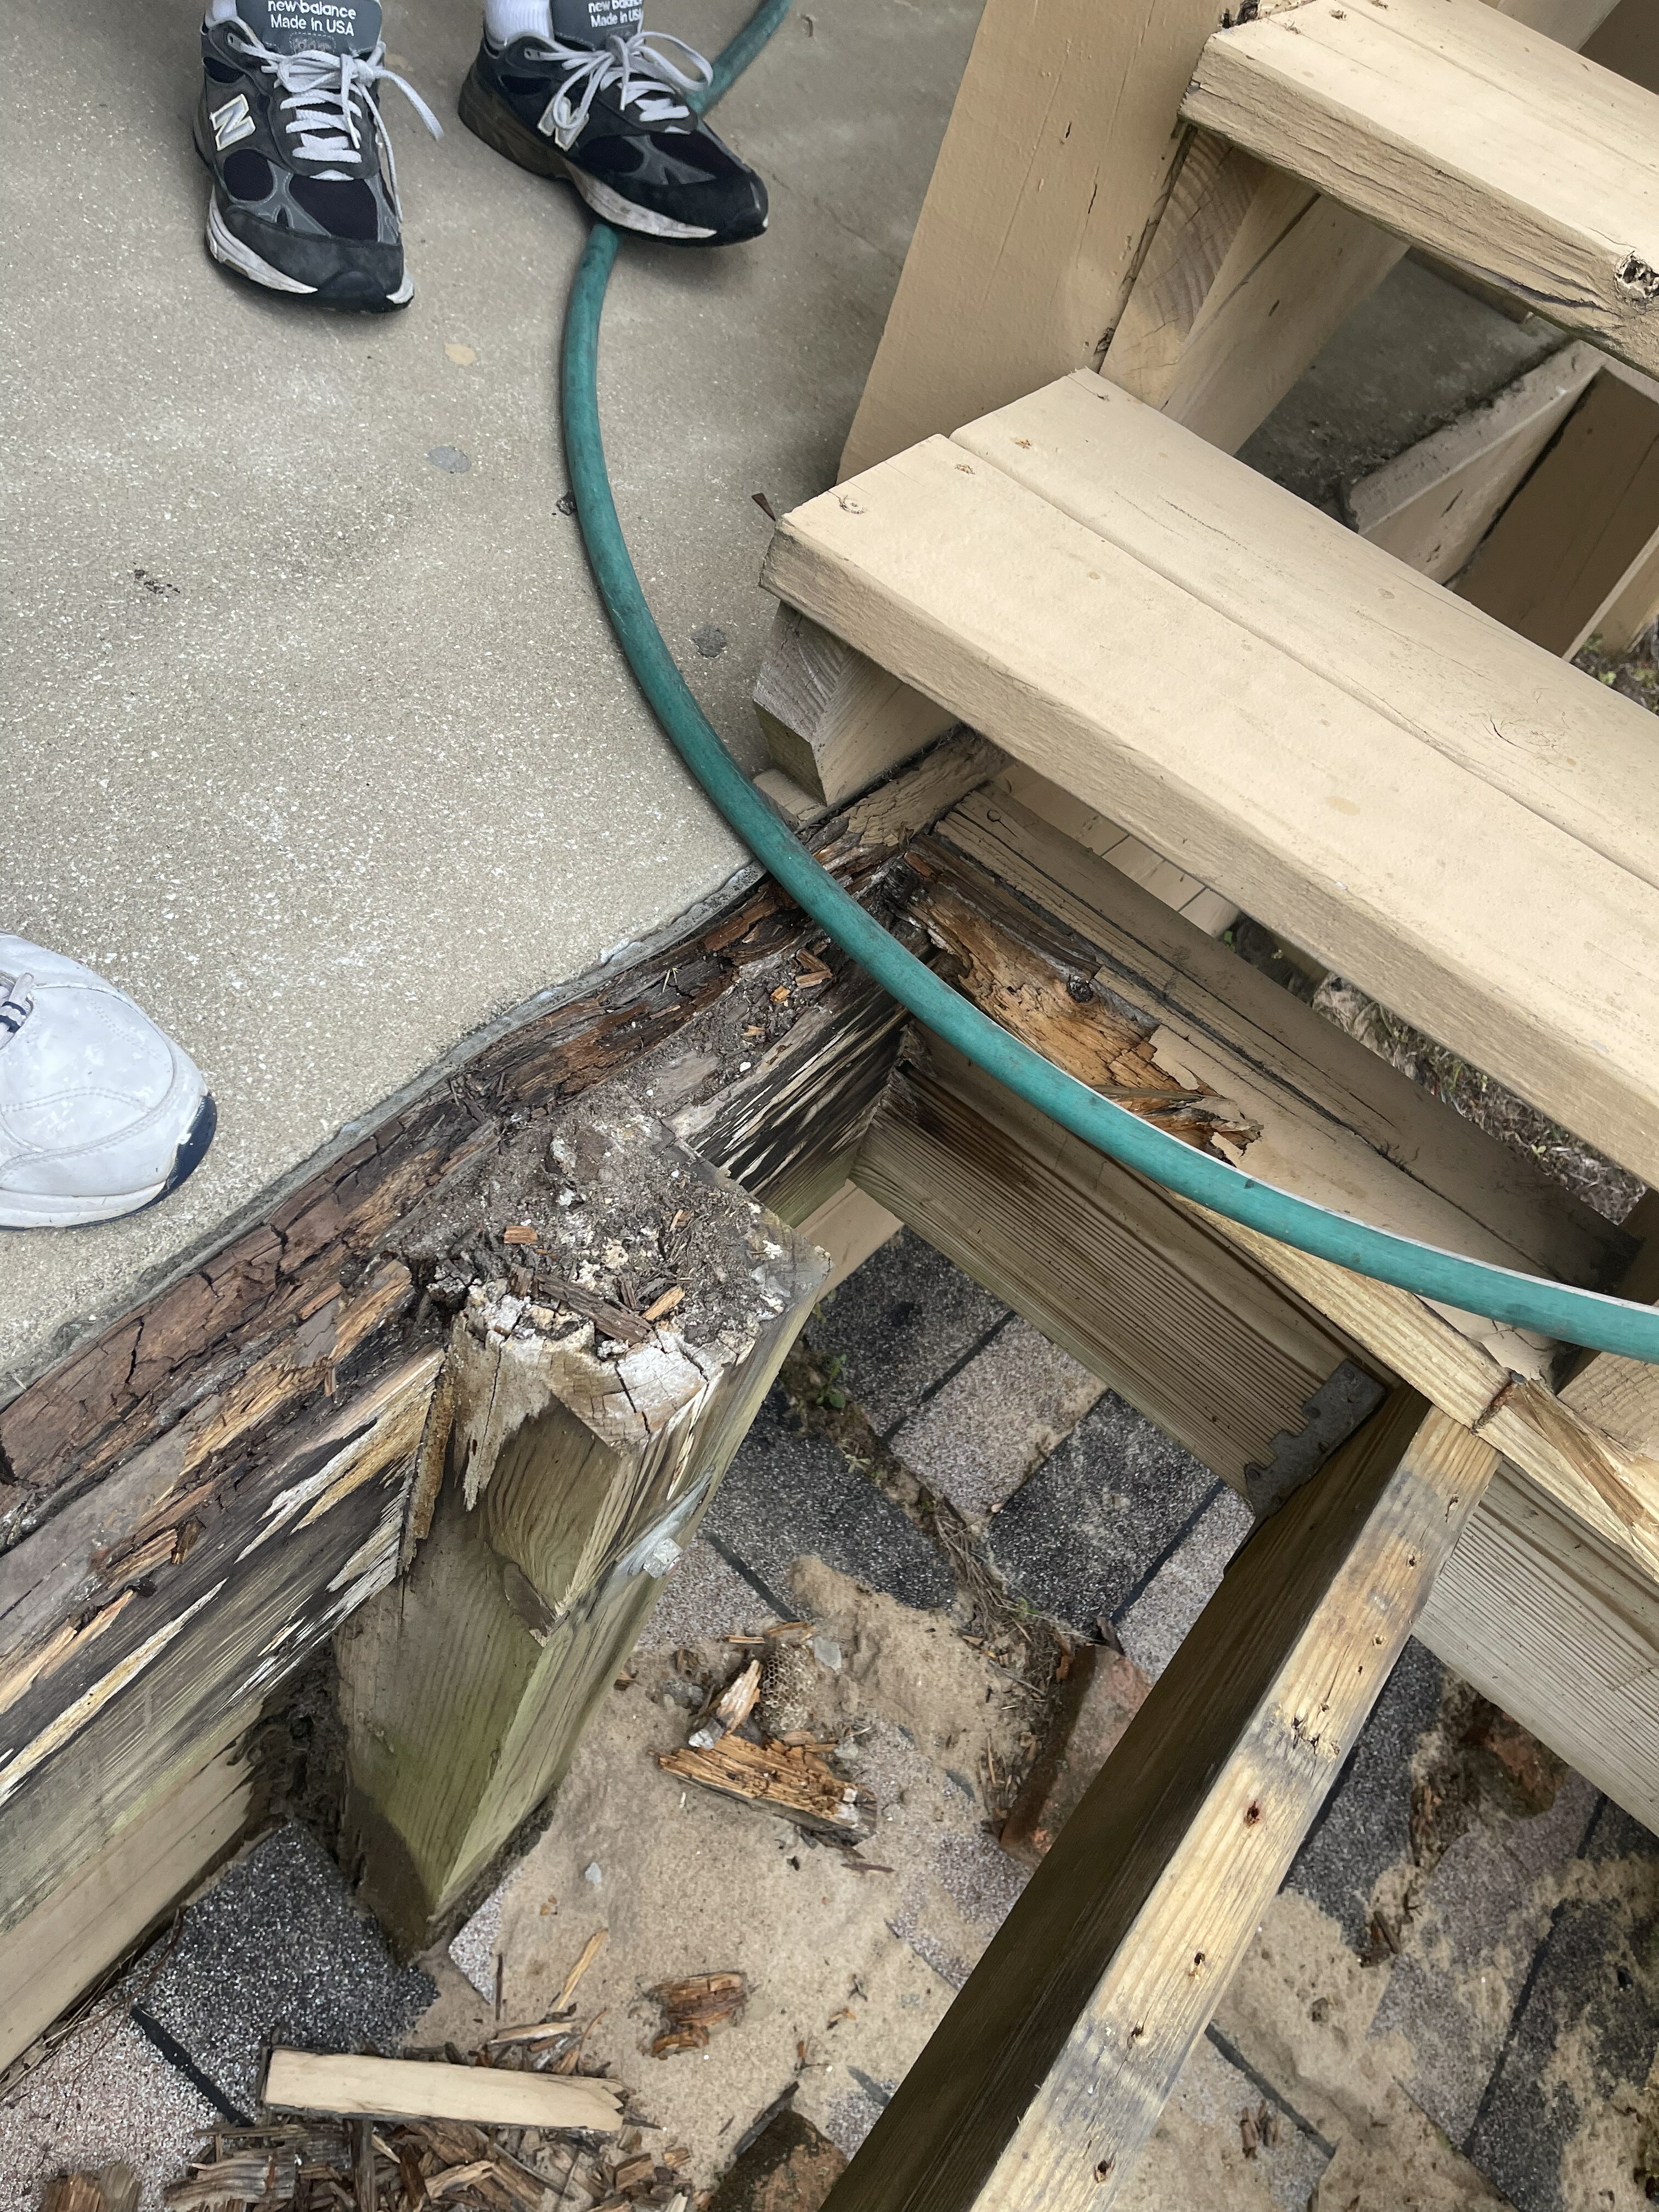
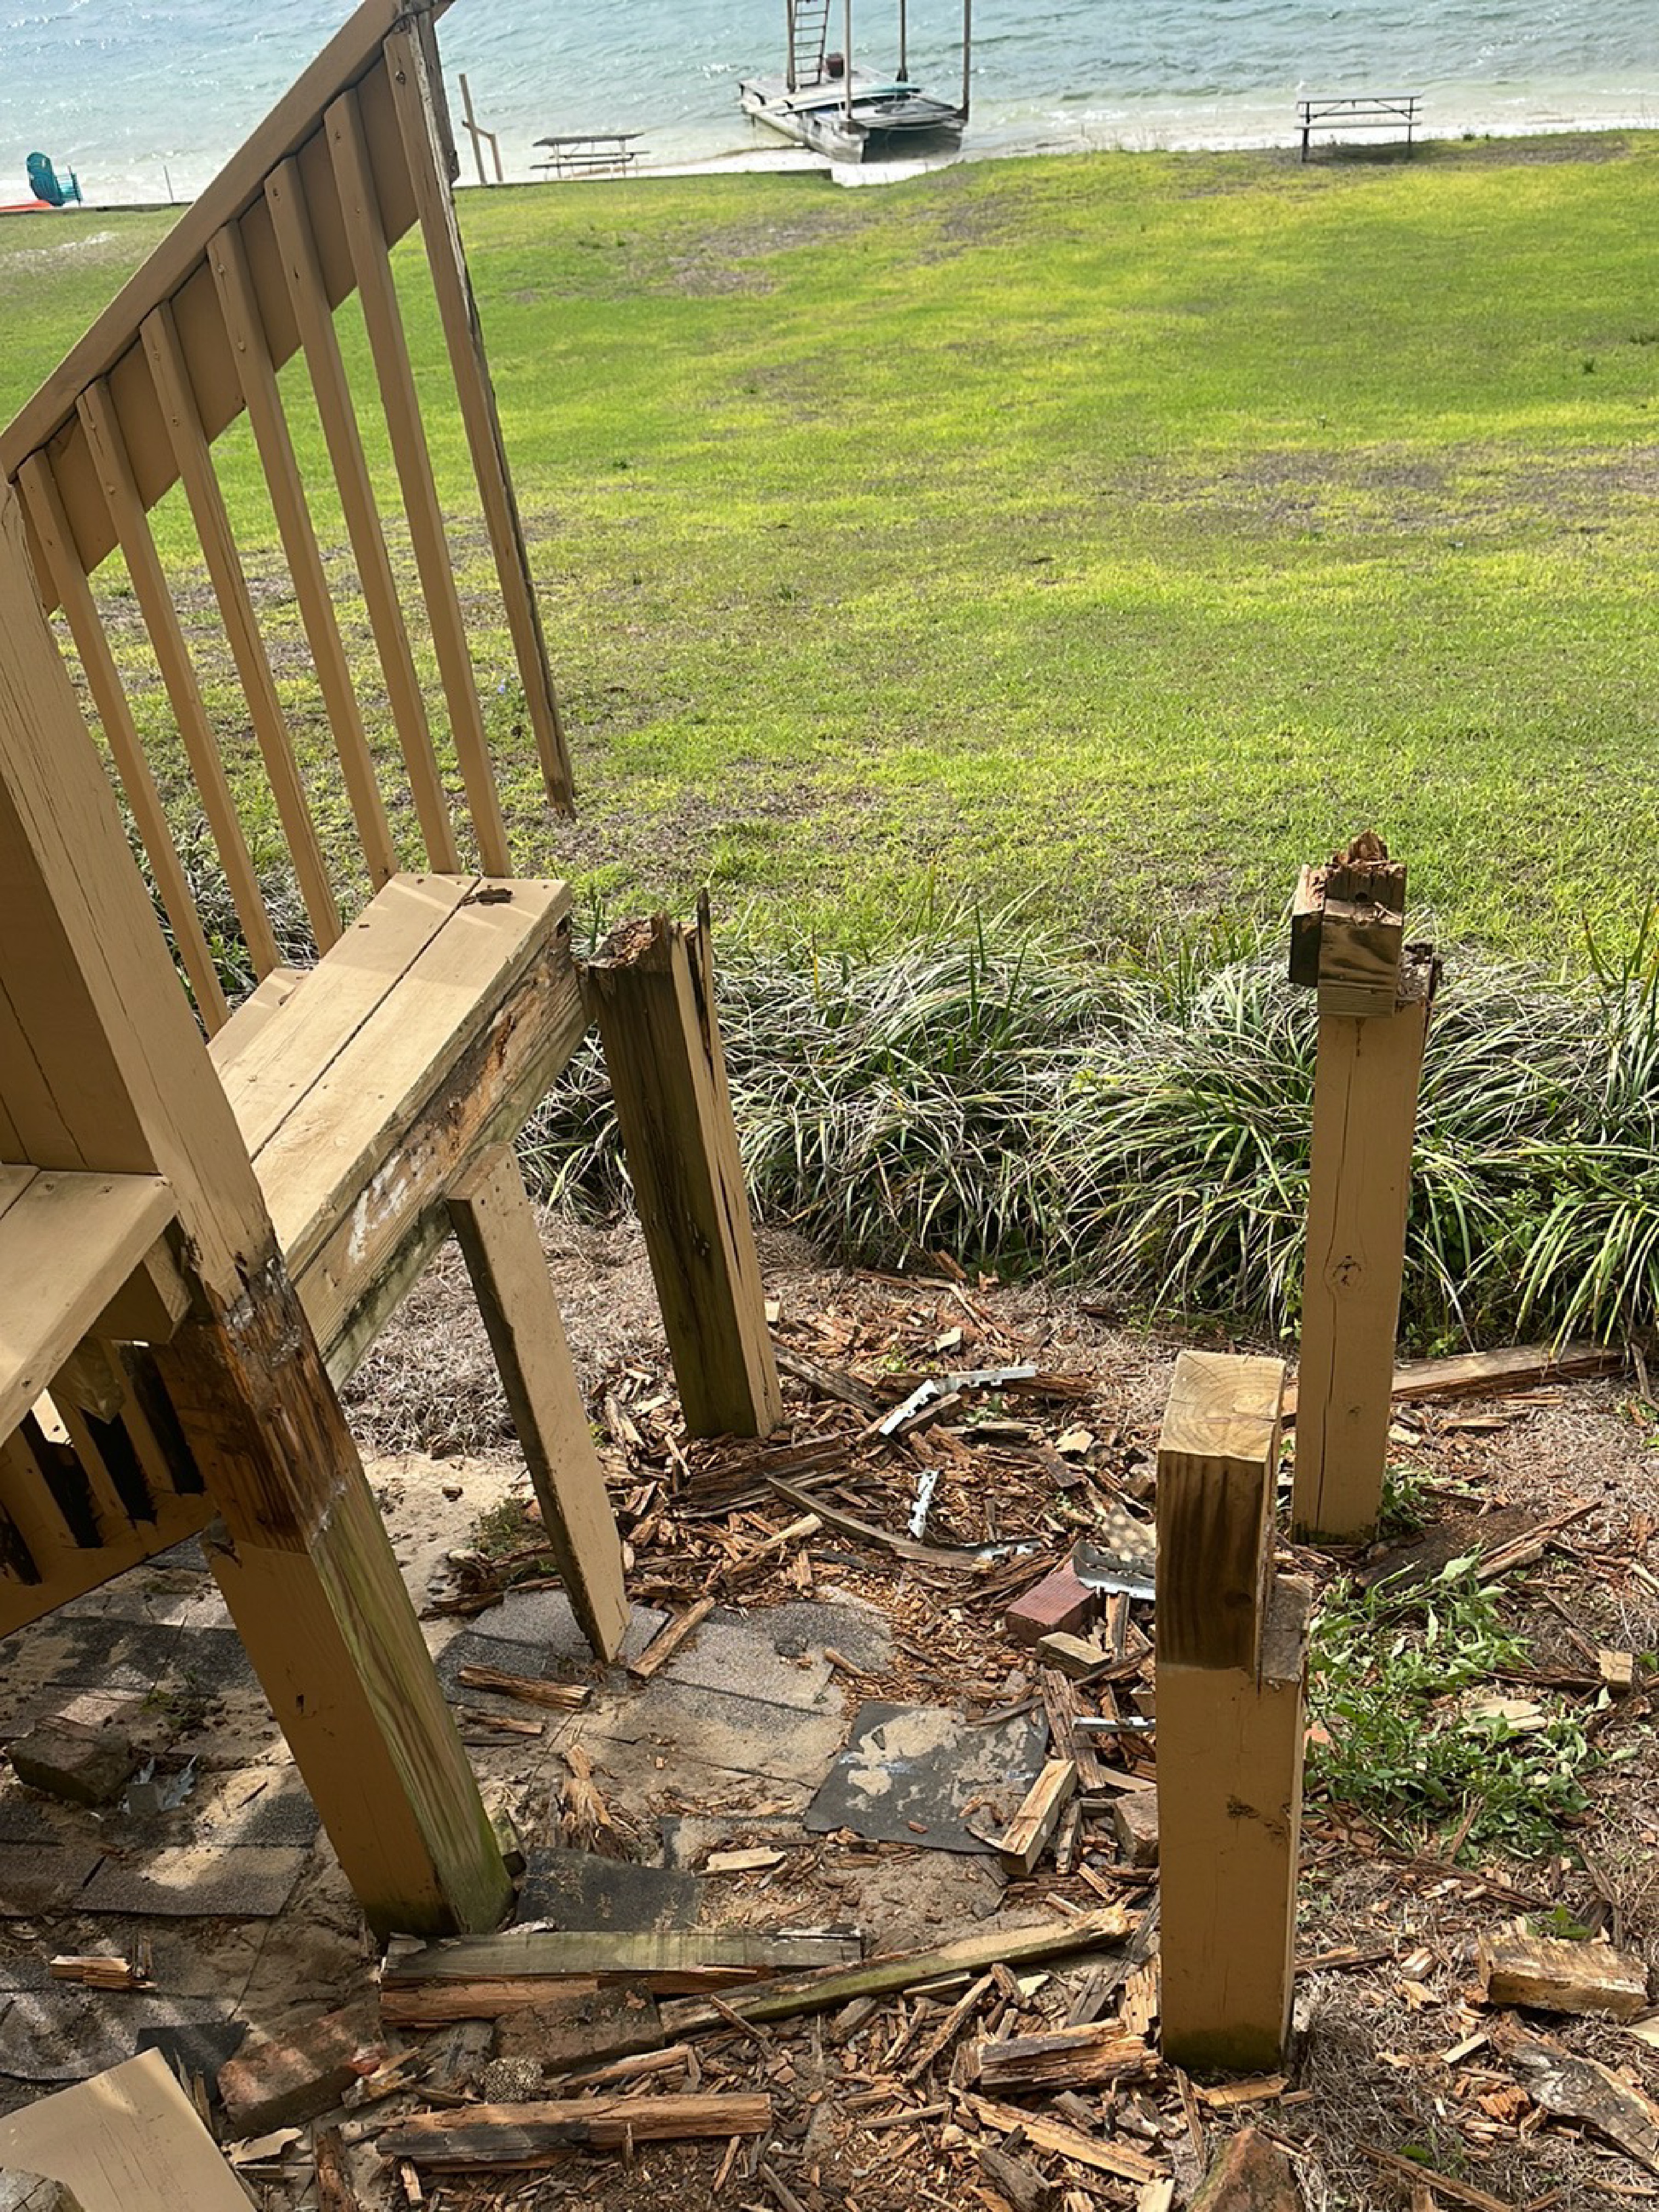
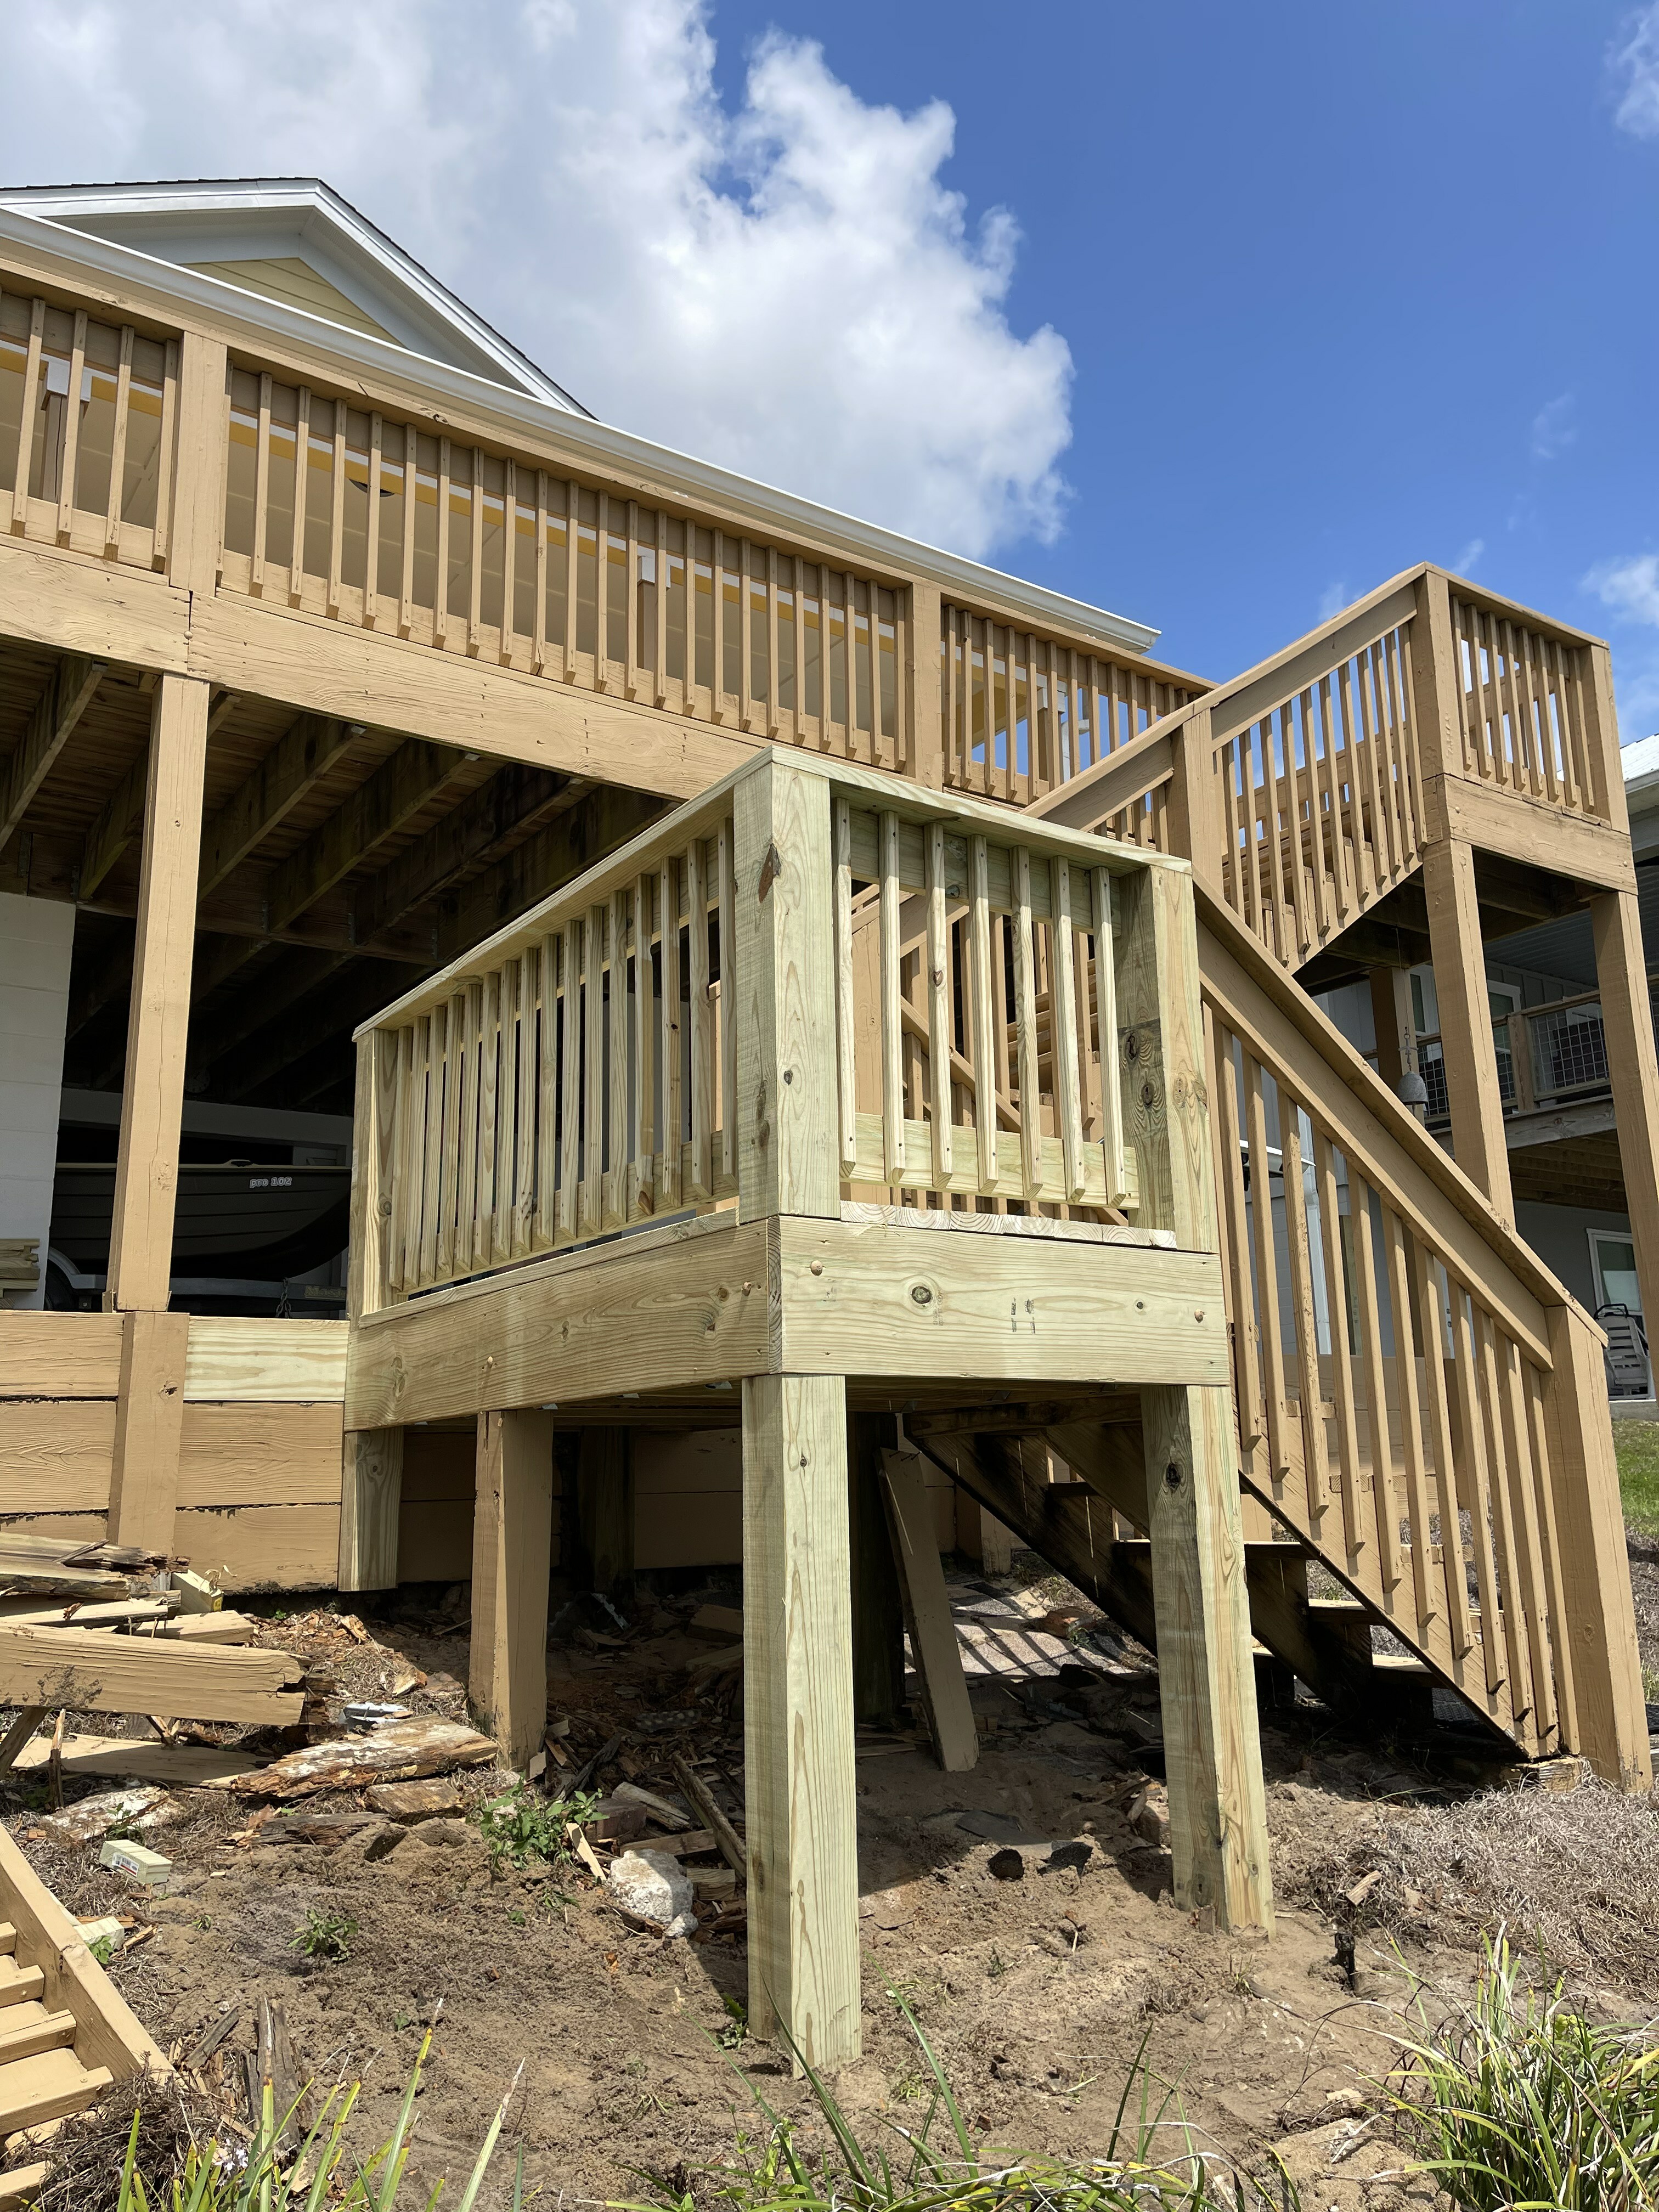
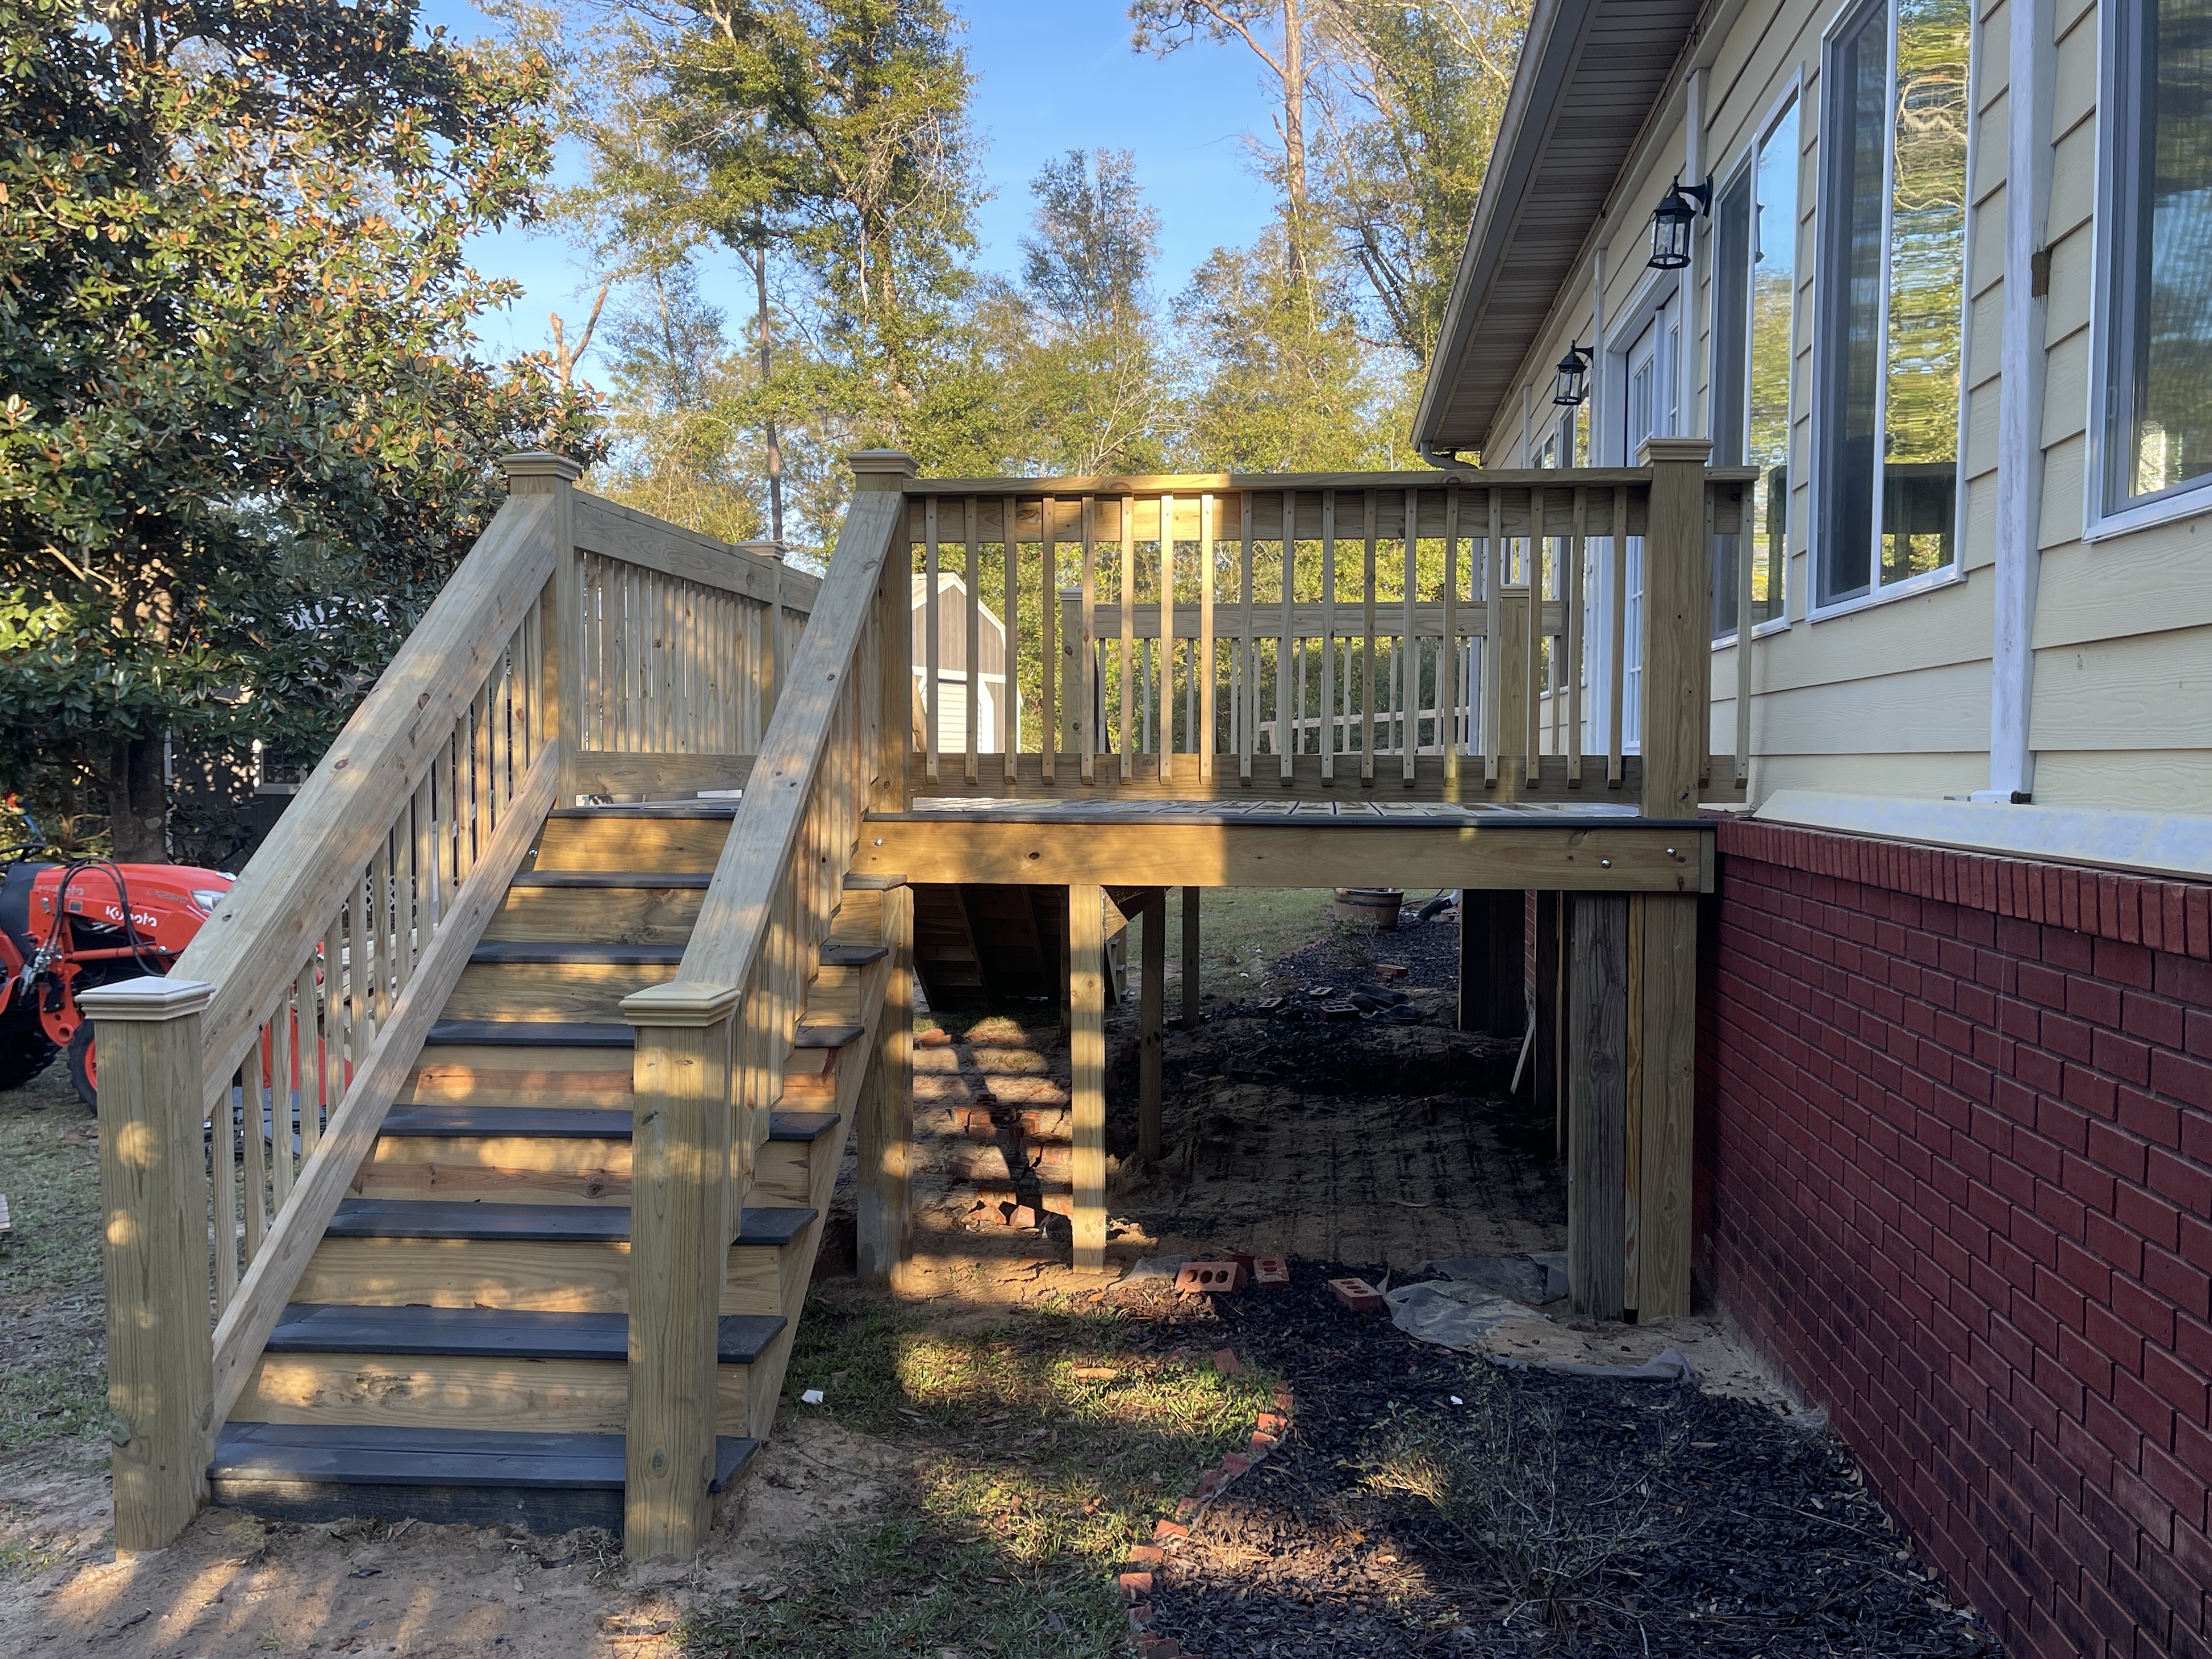
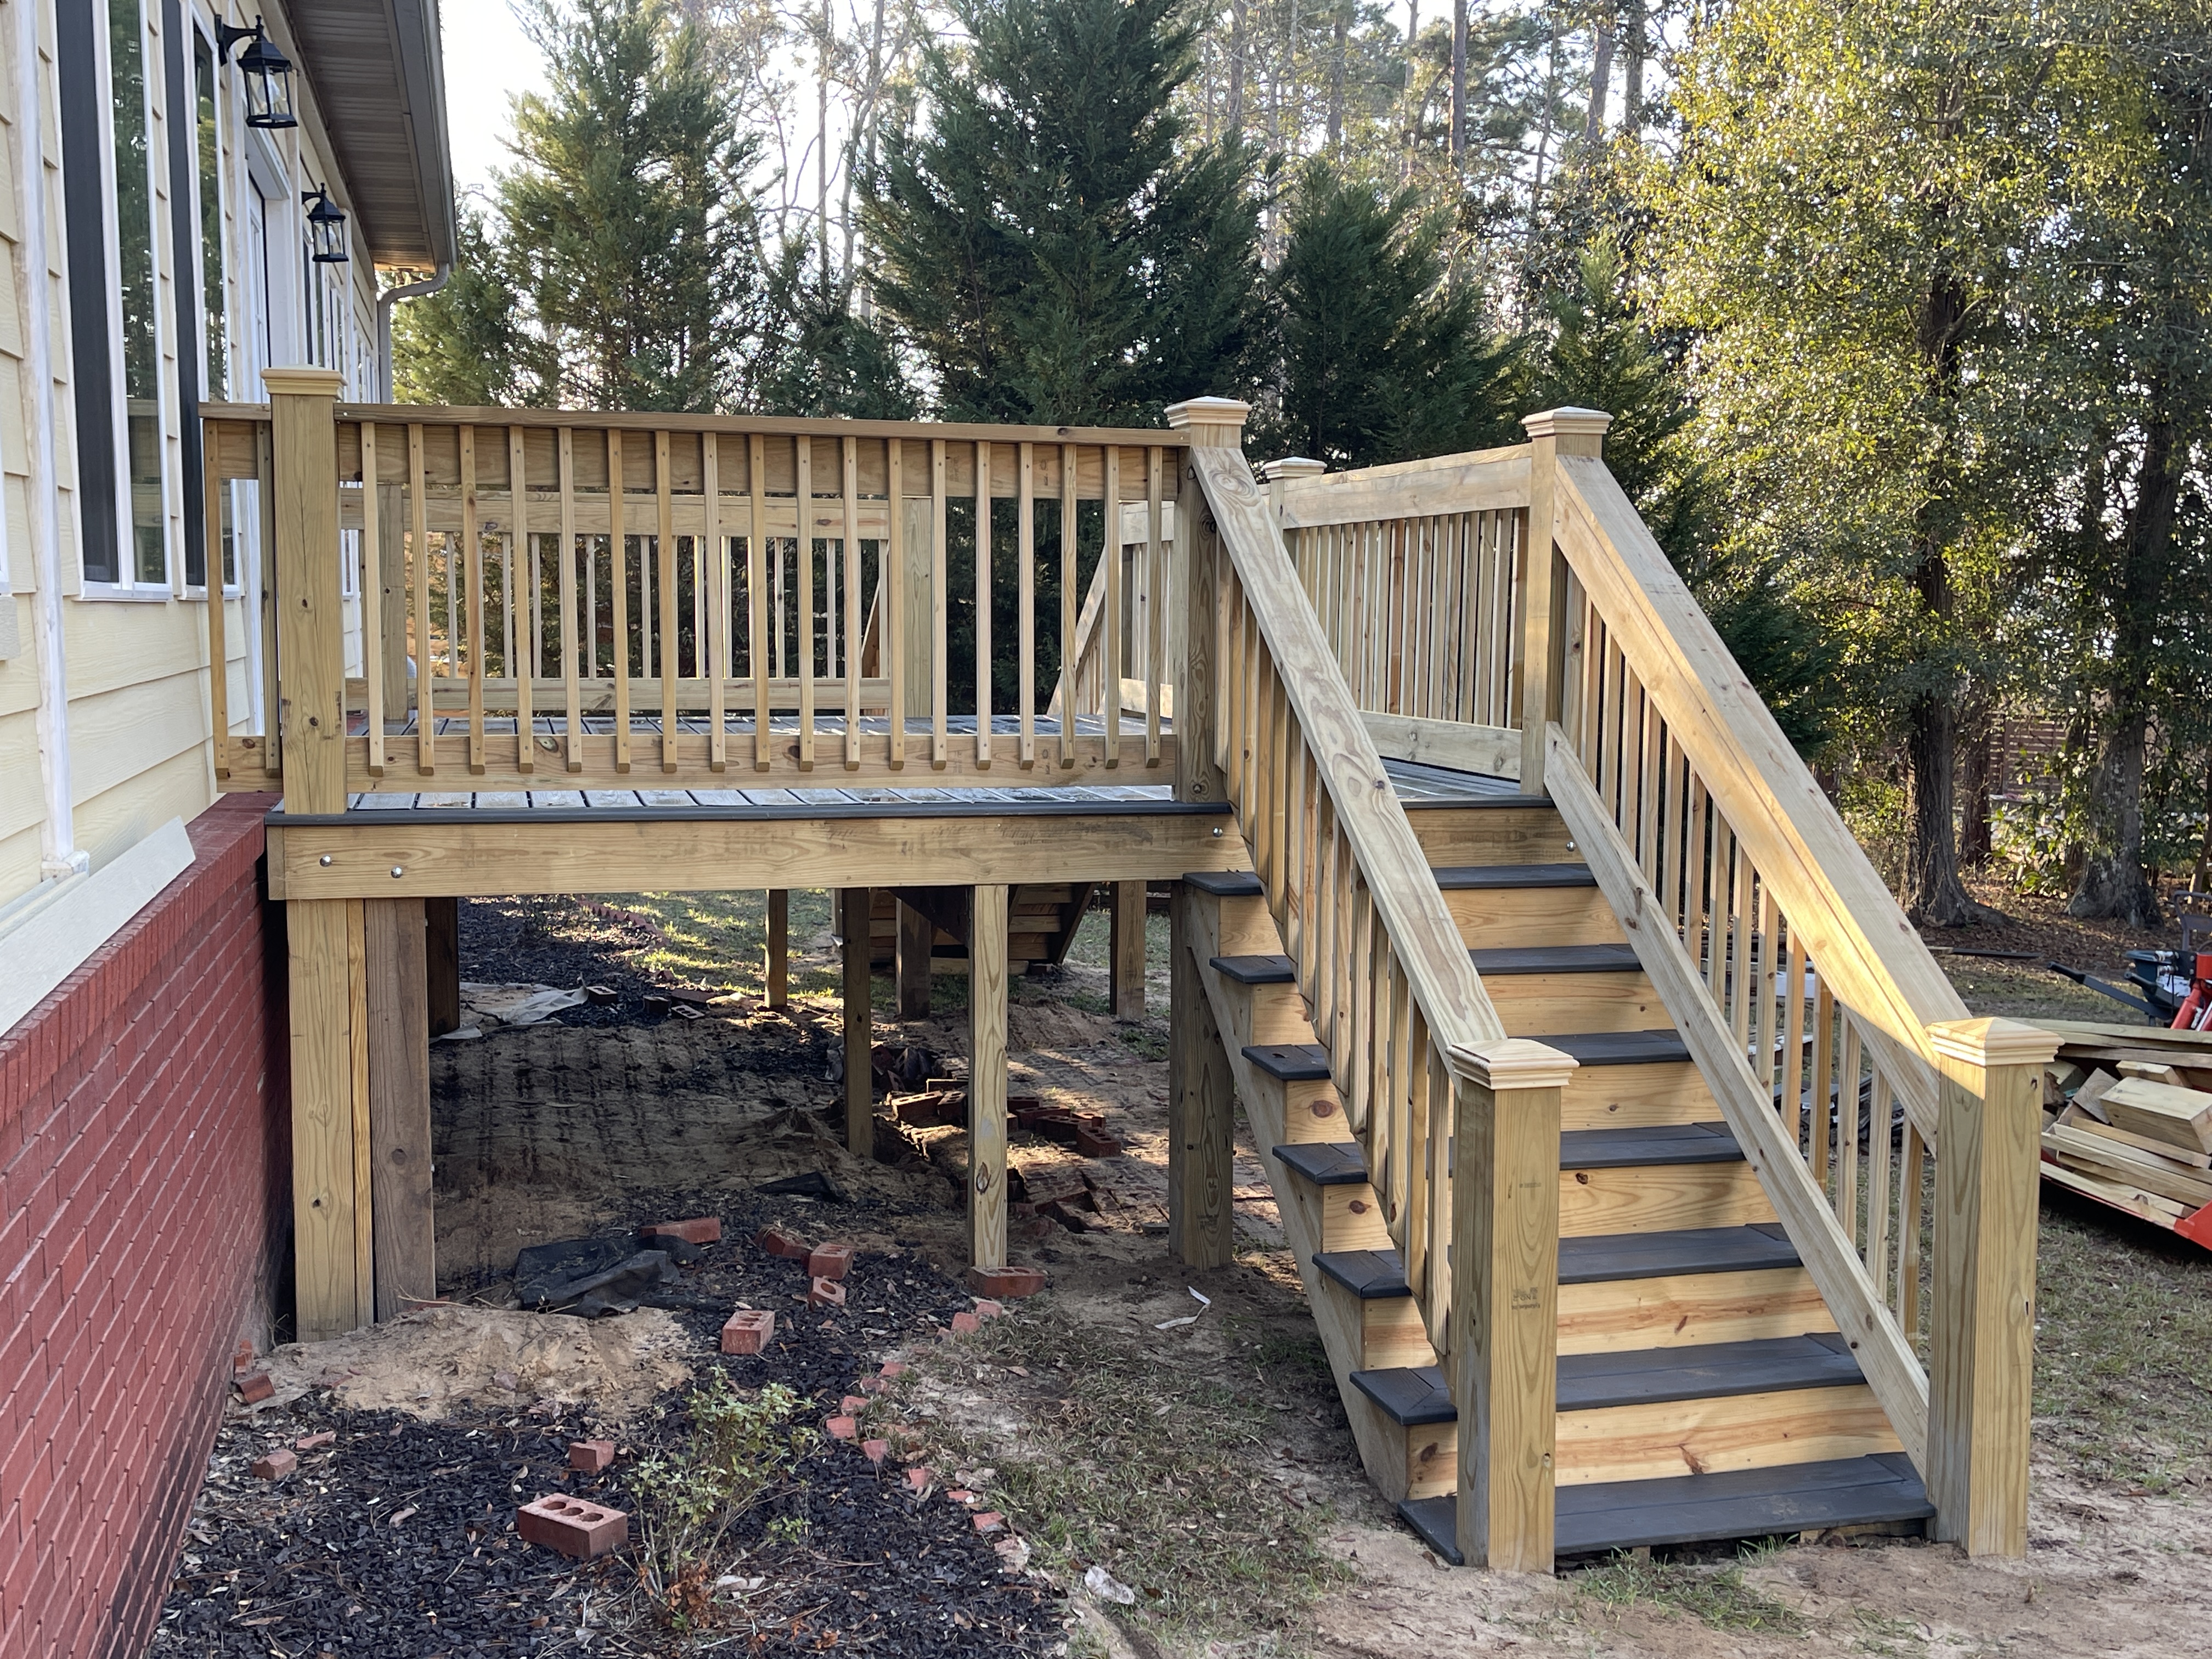
This project came about as a request from the Owner who said that some of the deck boards seemed "soft" to him. This is what we found:
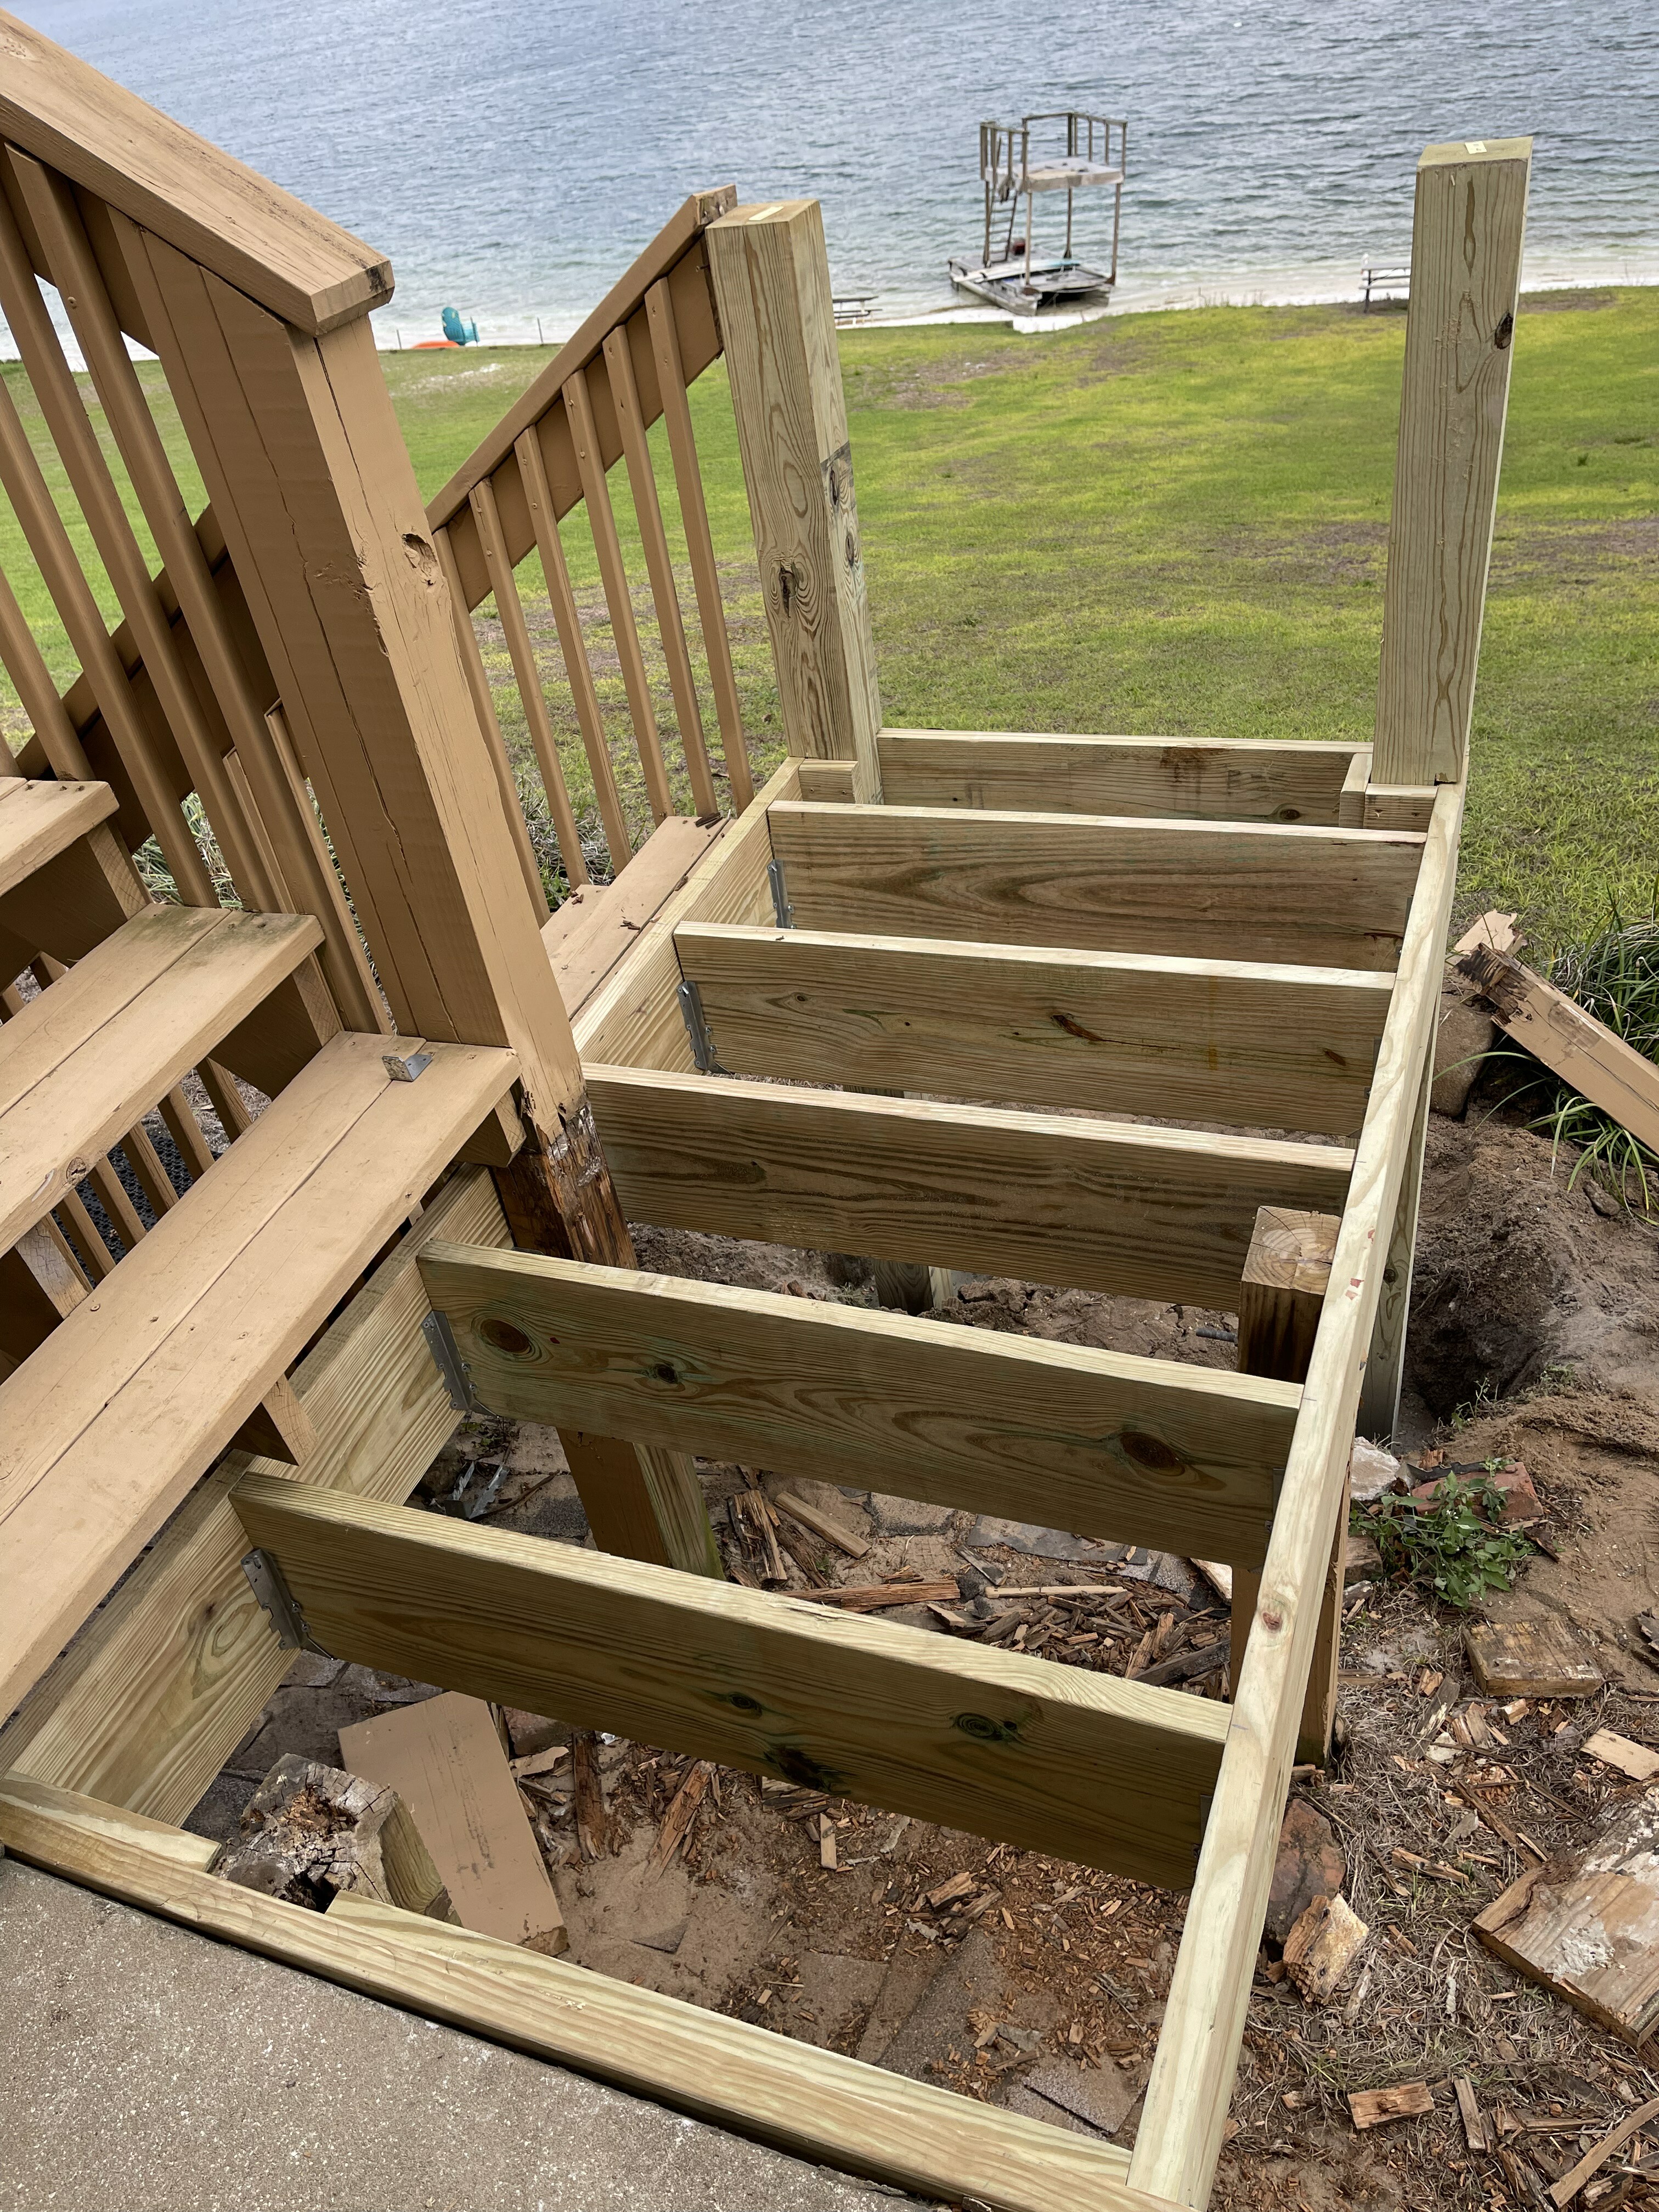
After removing all of the deck boards from the landing, we found that the deck joists were also rotten, as well as the rim joists.
We also found that the rim joist that was attached to the concrete foundation was also rotten due to water intrusion.
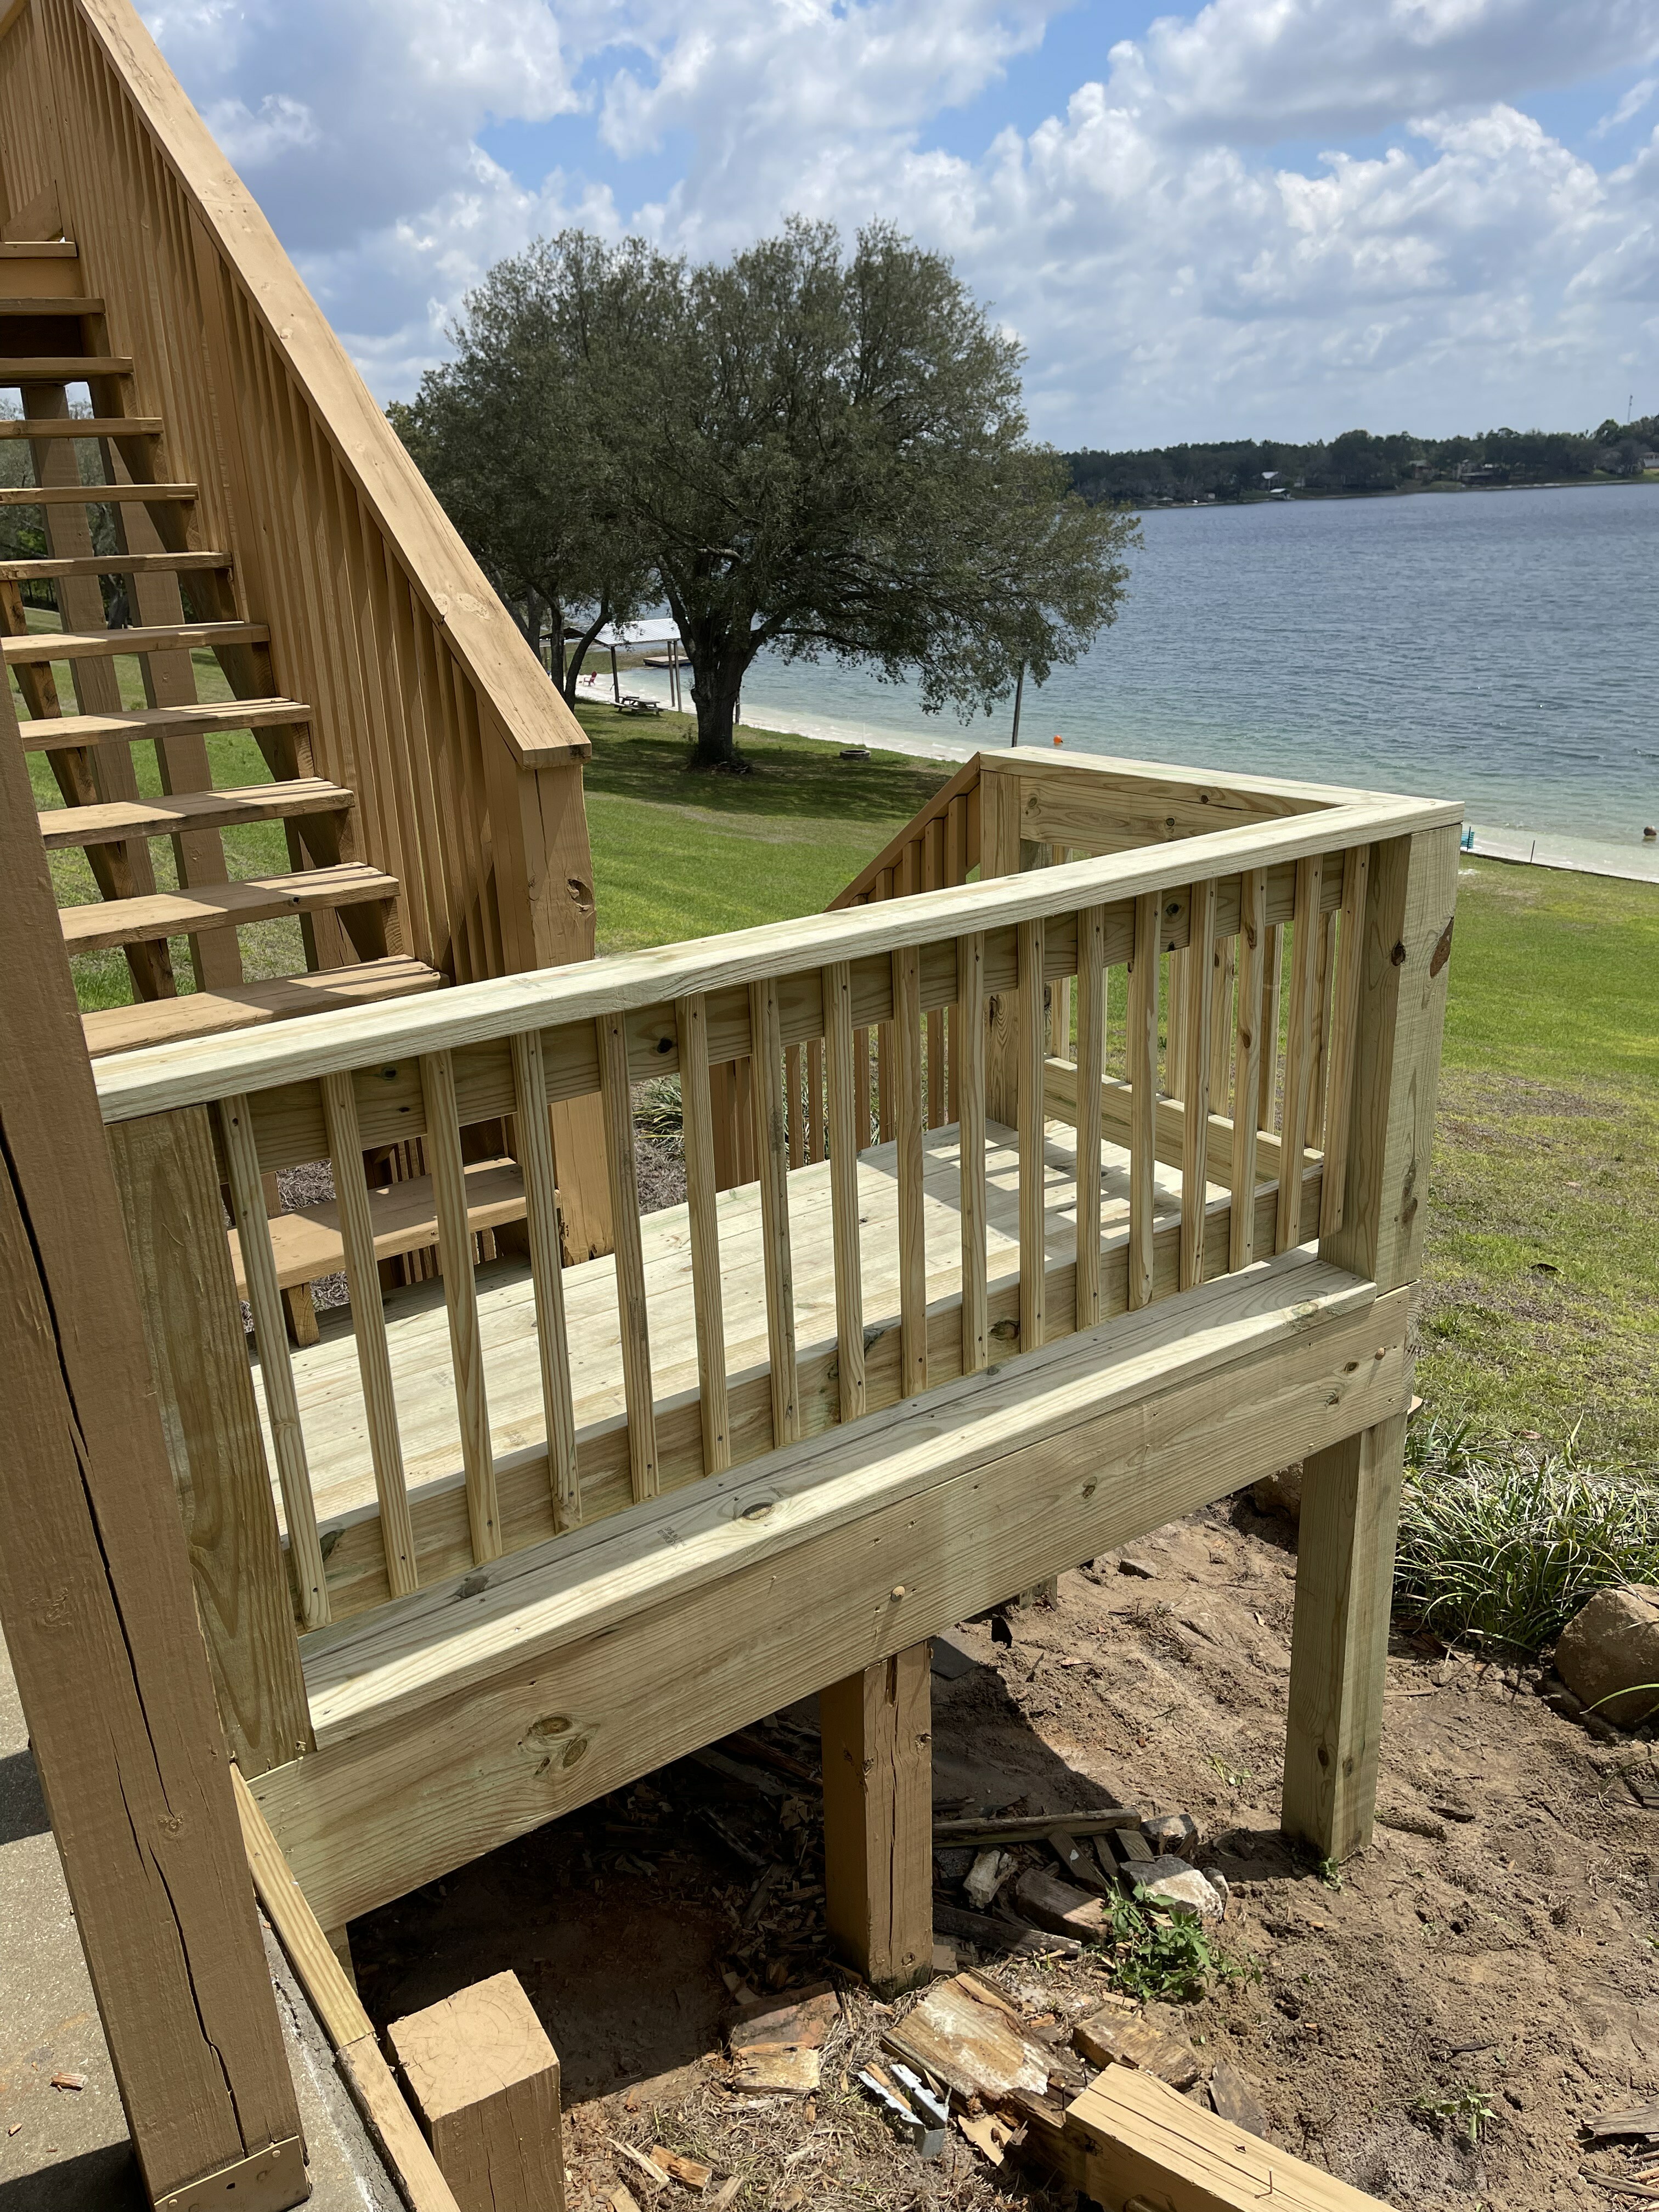
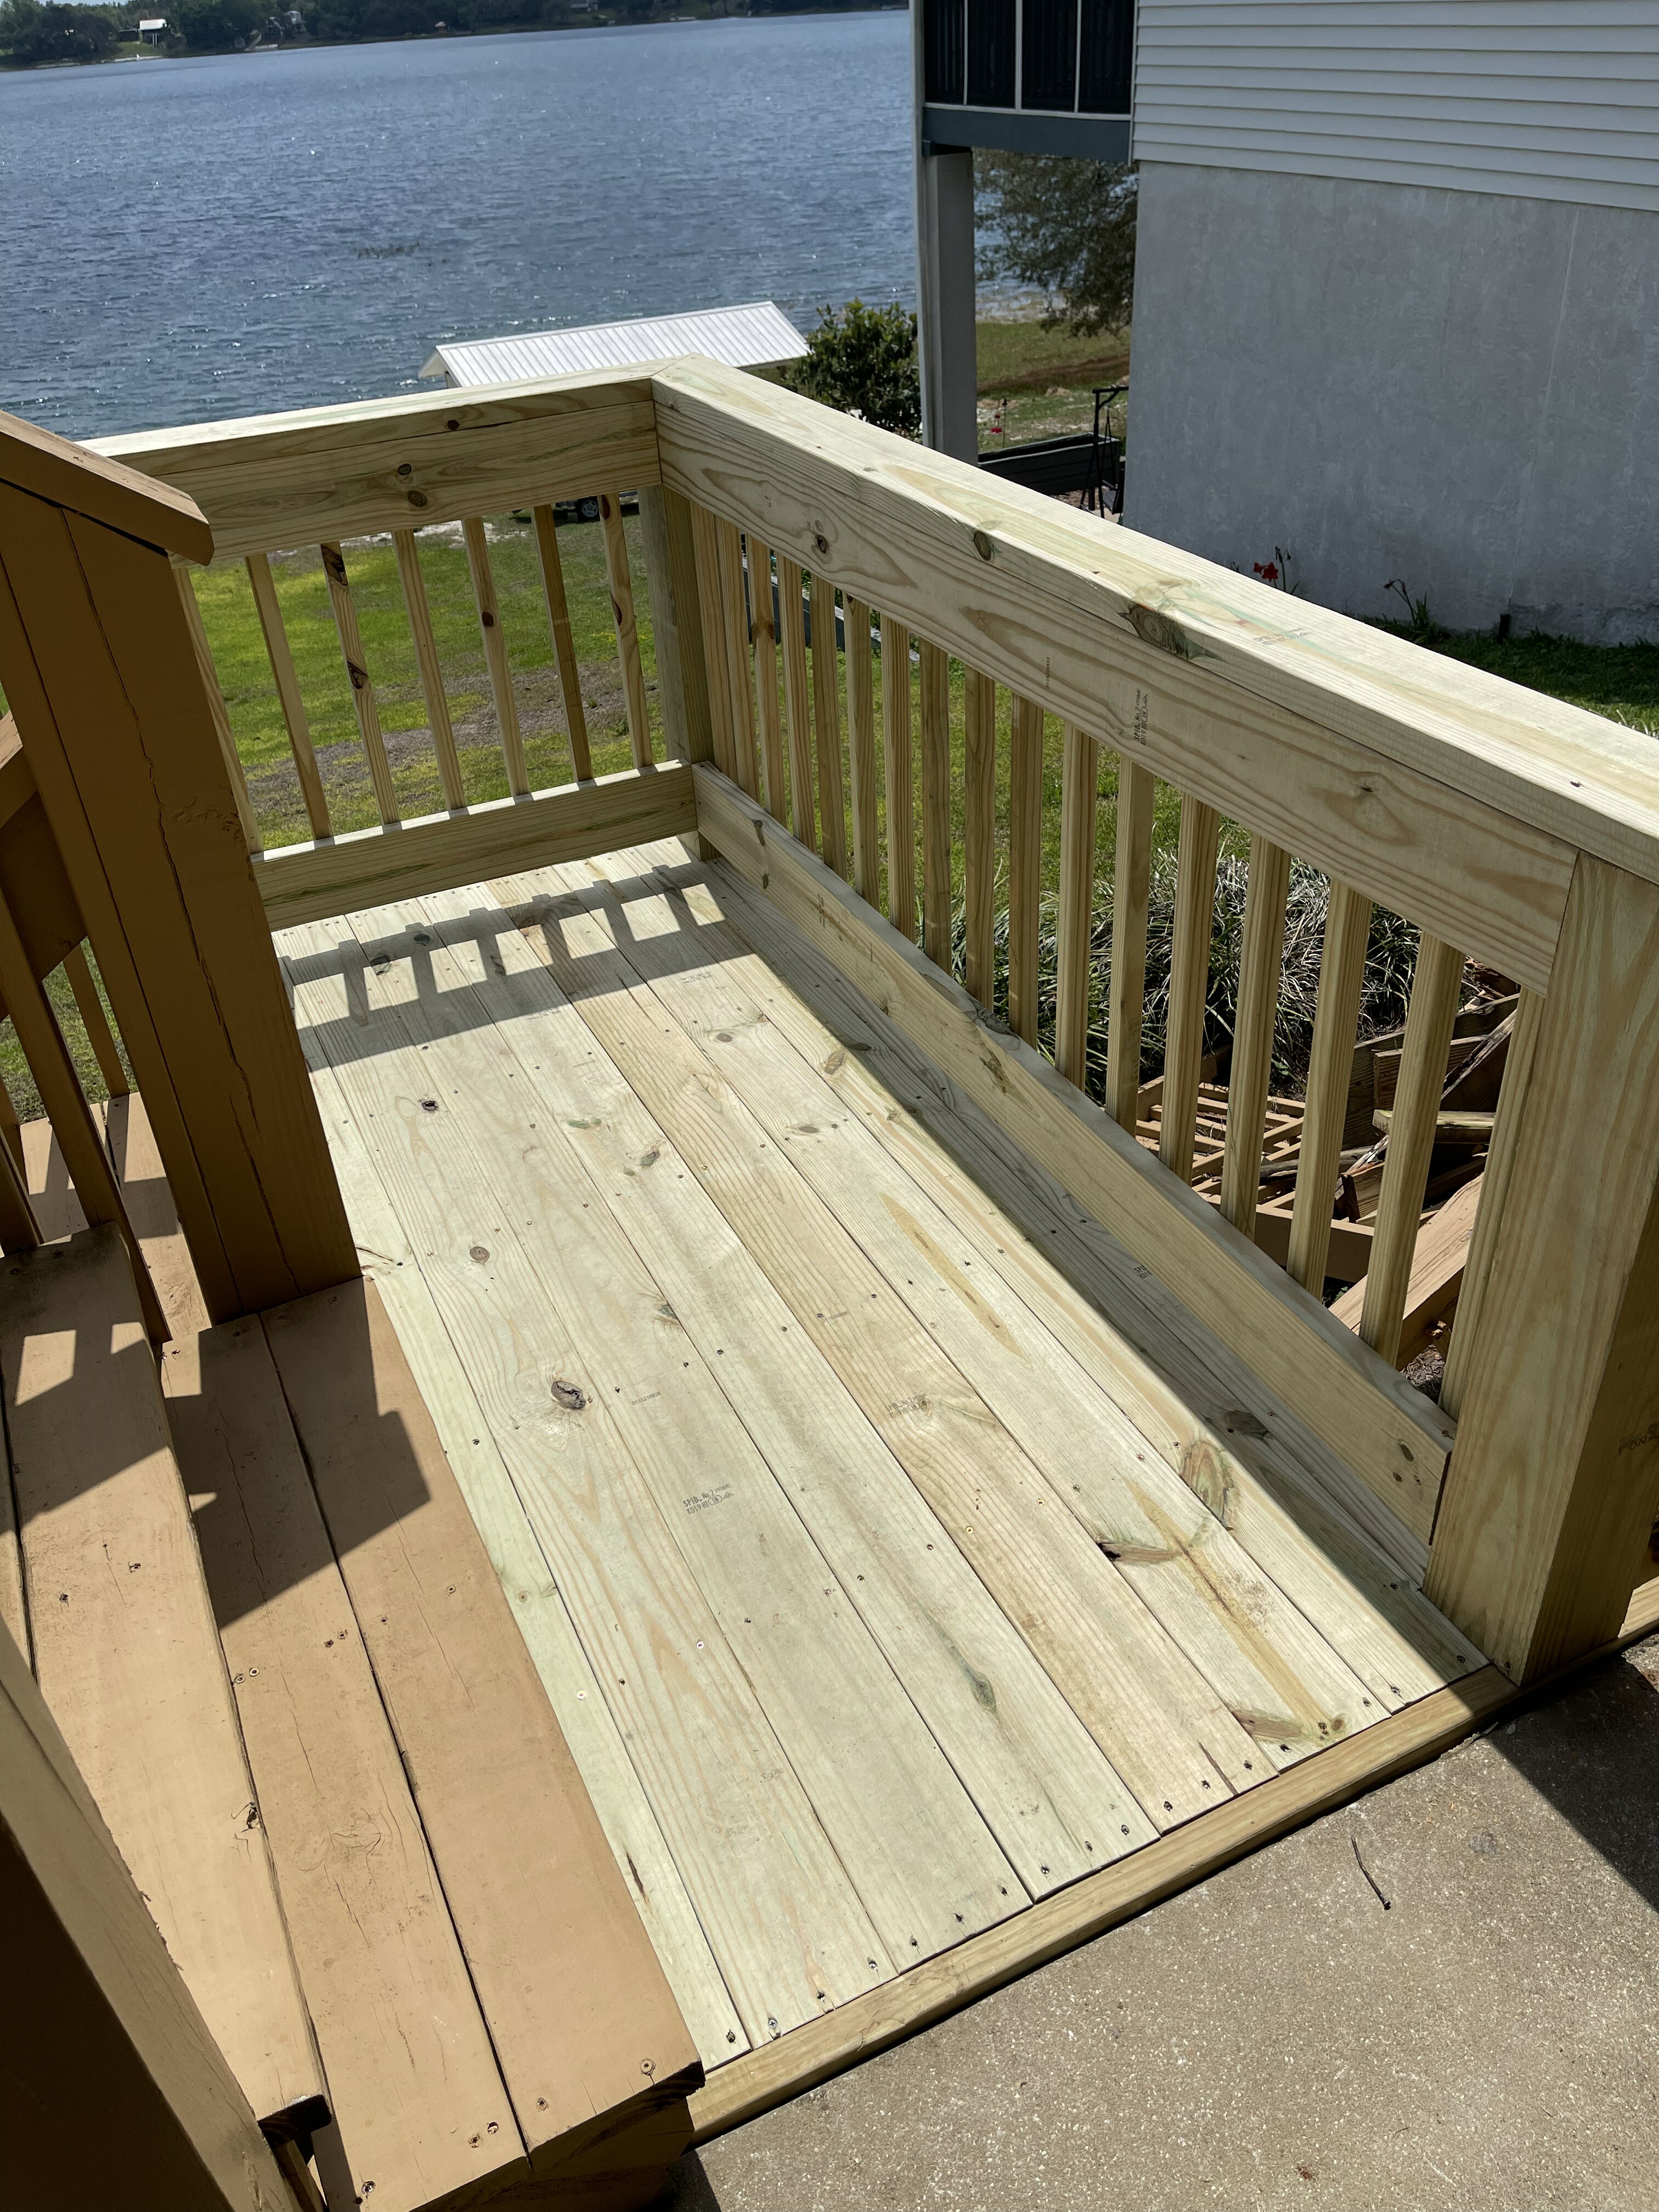
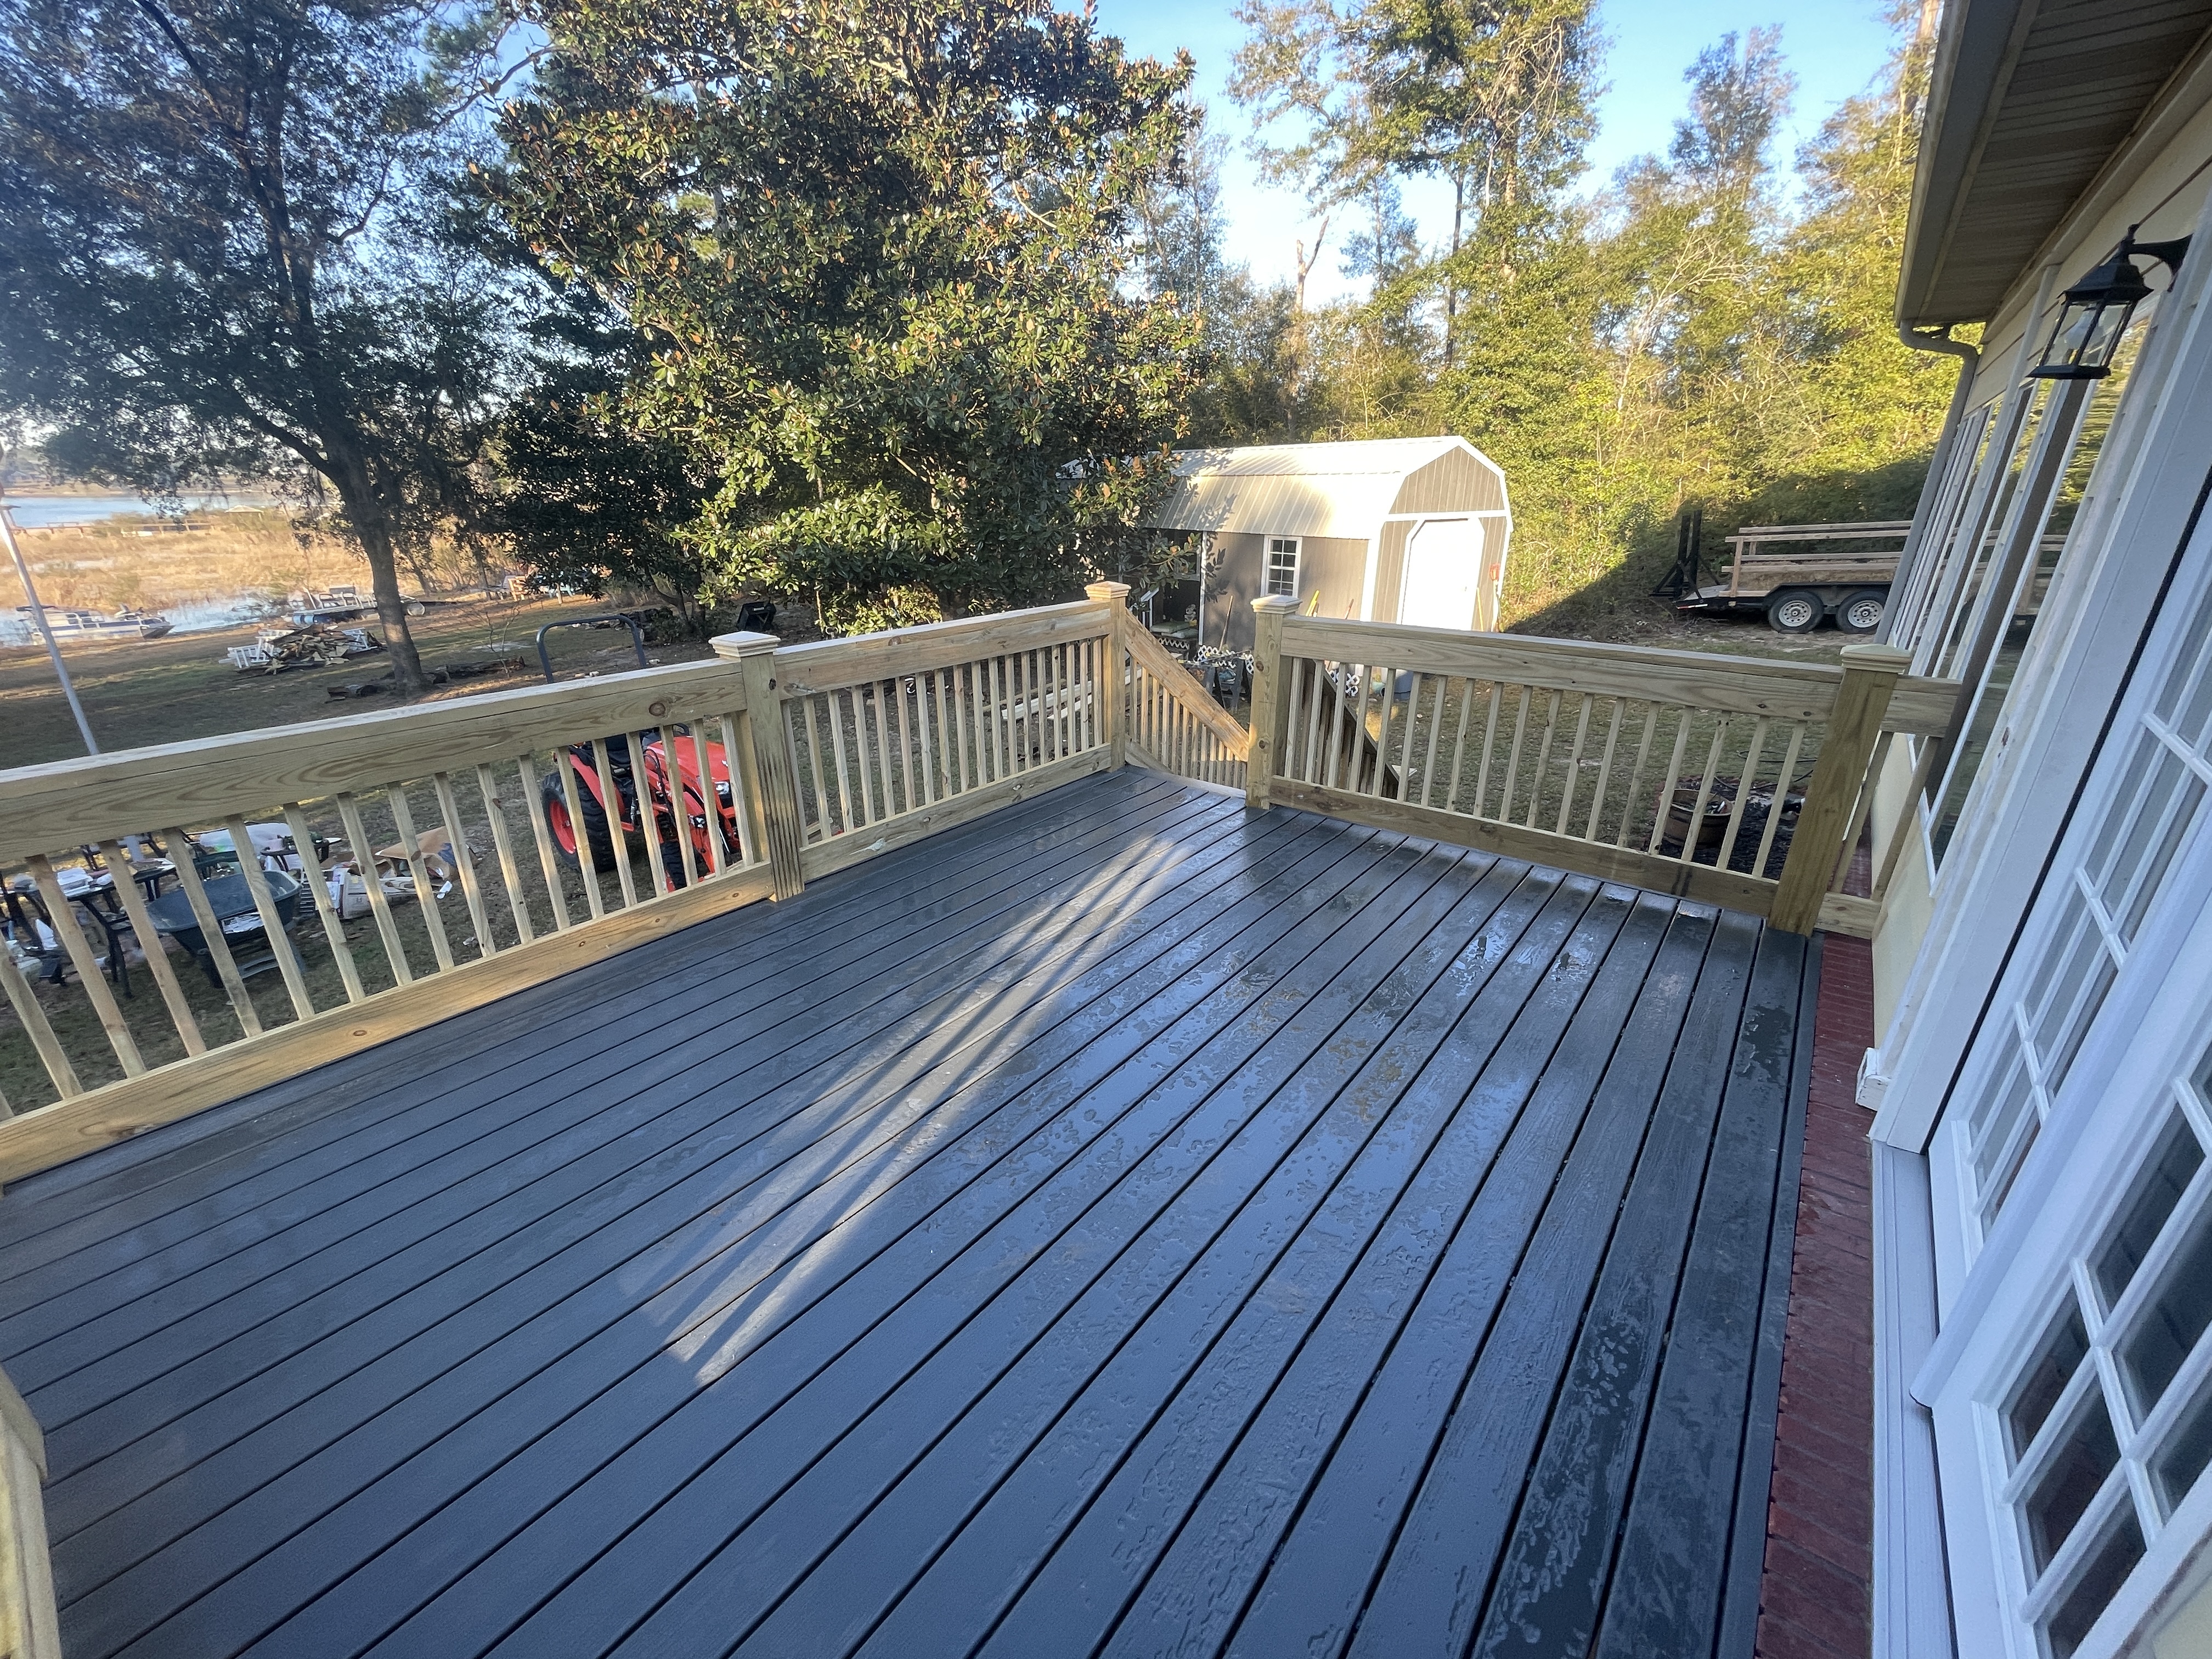
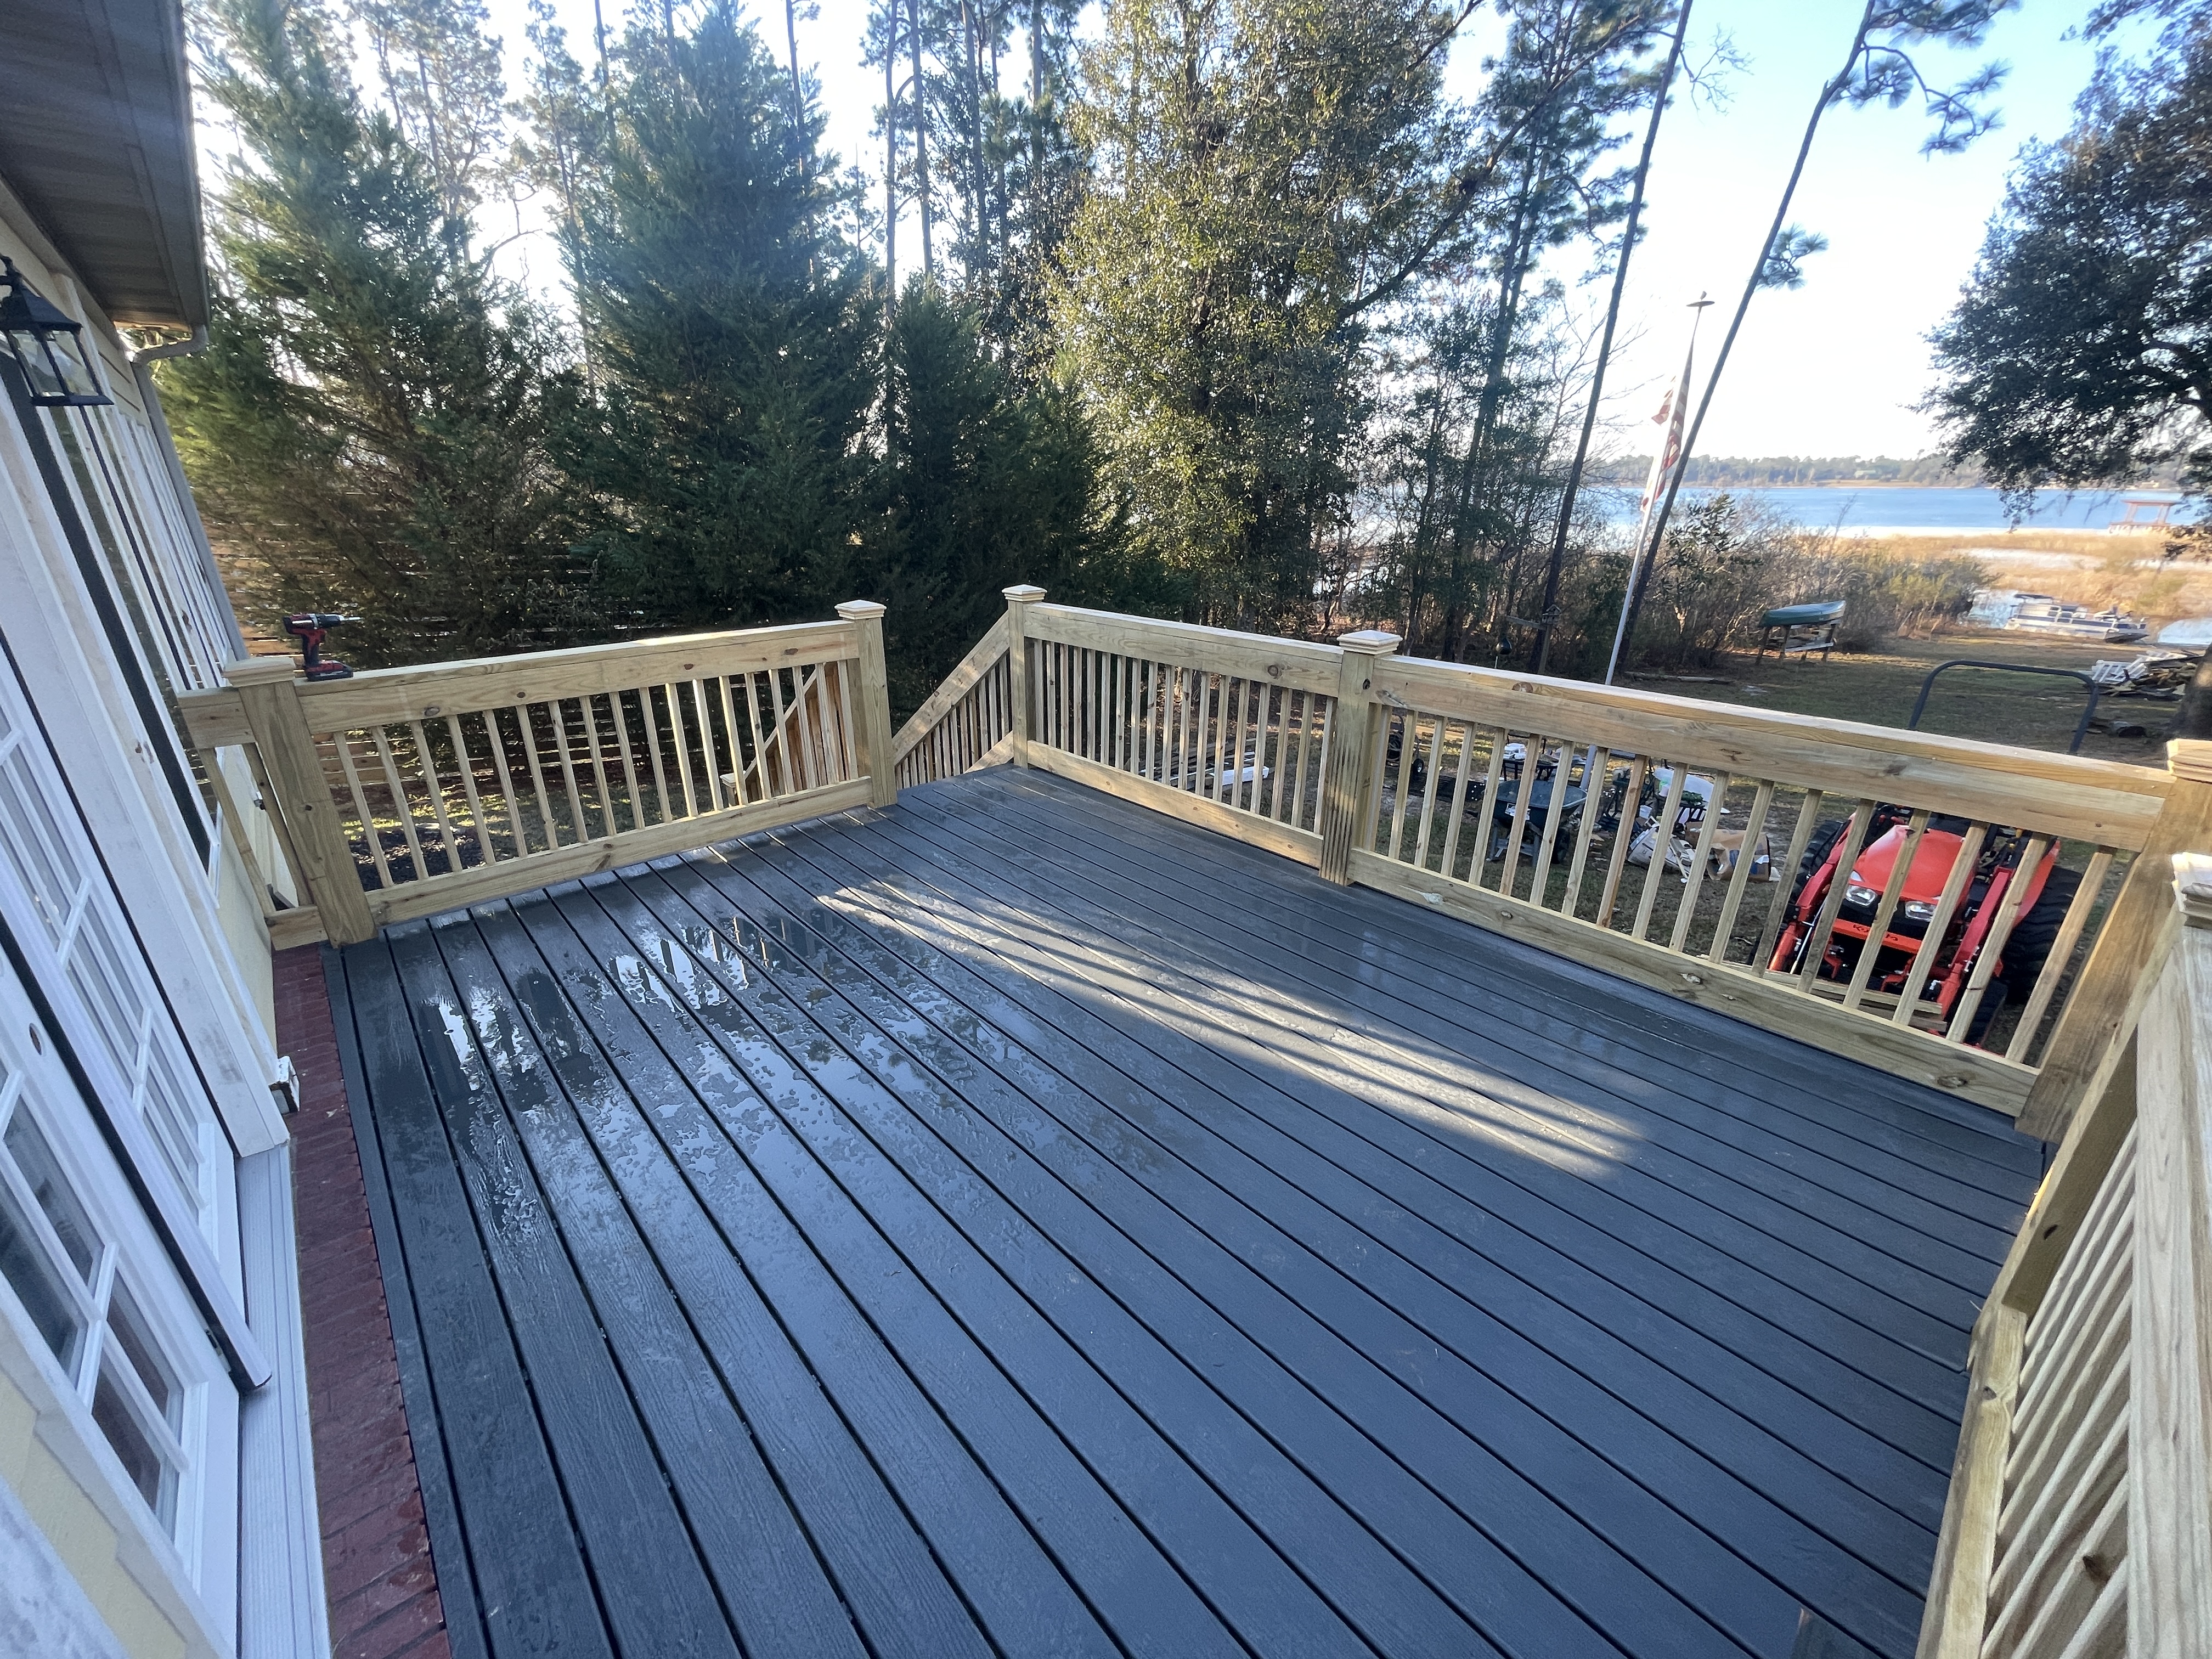
So, I removed all of the rim joists and rebuilt the frame, joists, decking and hand rails to match the other railings.
After the pressure treated lumber was thoroughly dry, the Owner had the new wood painted to match.
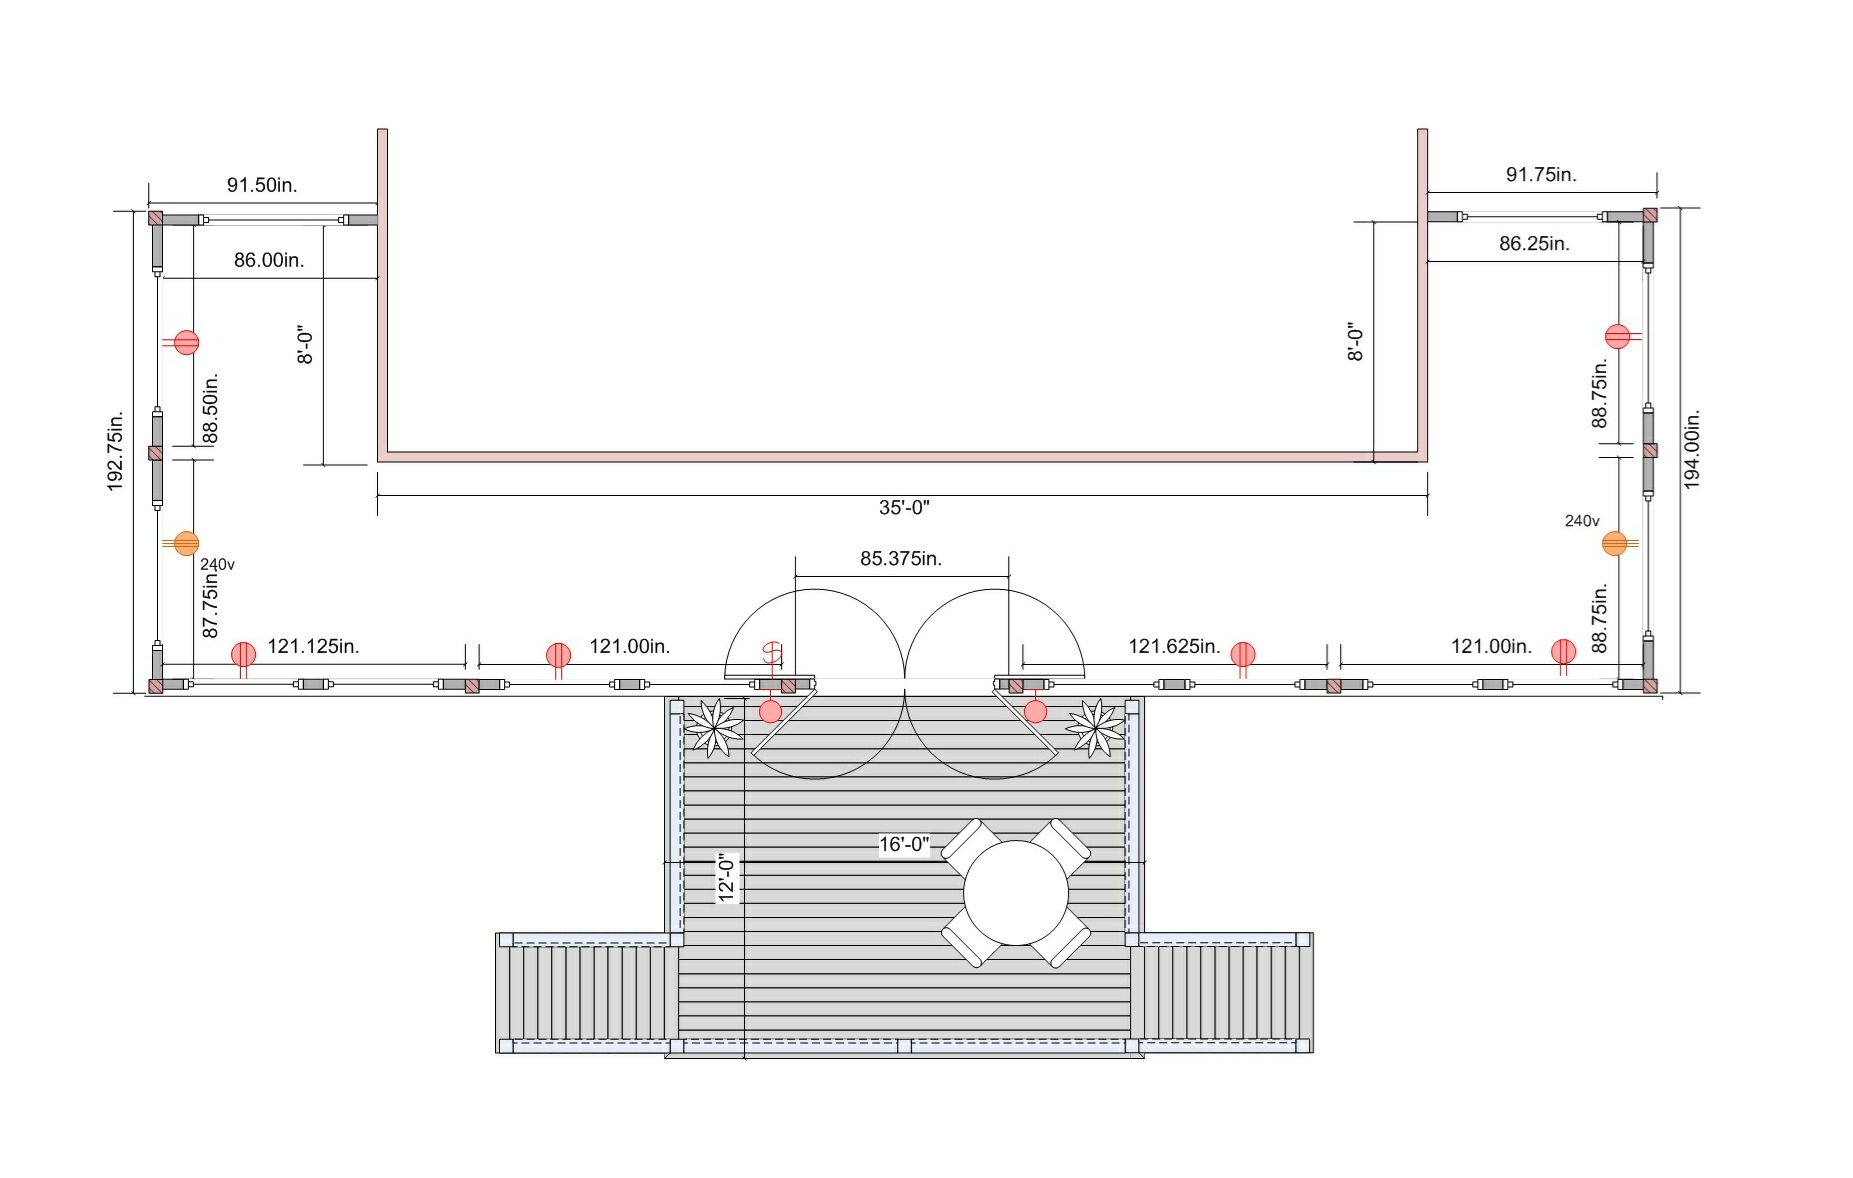
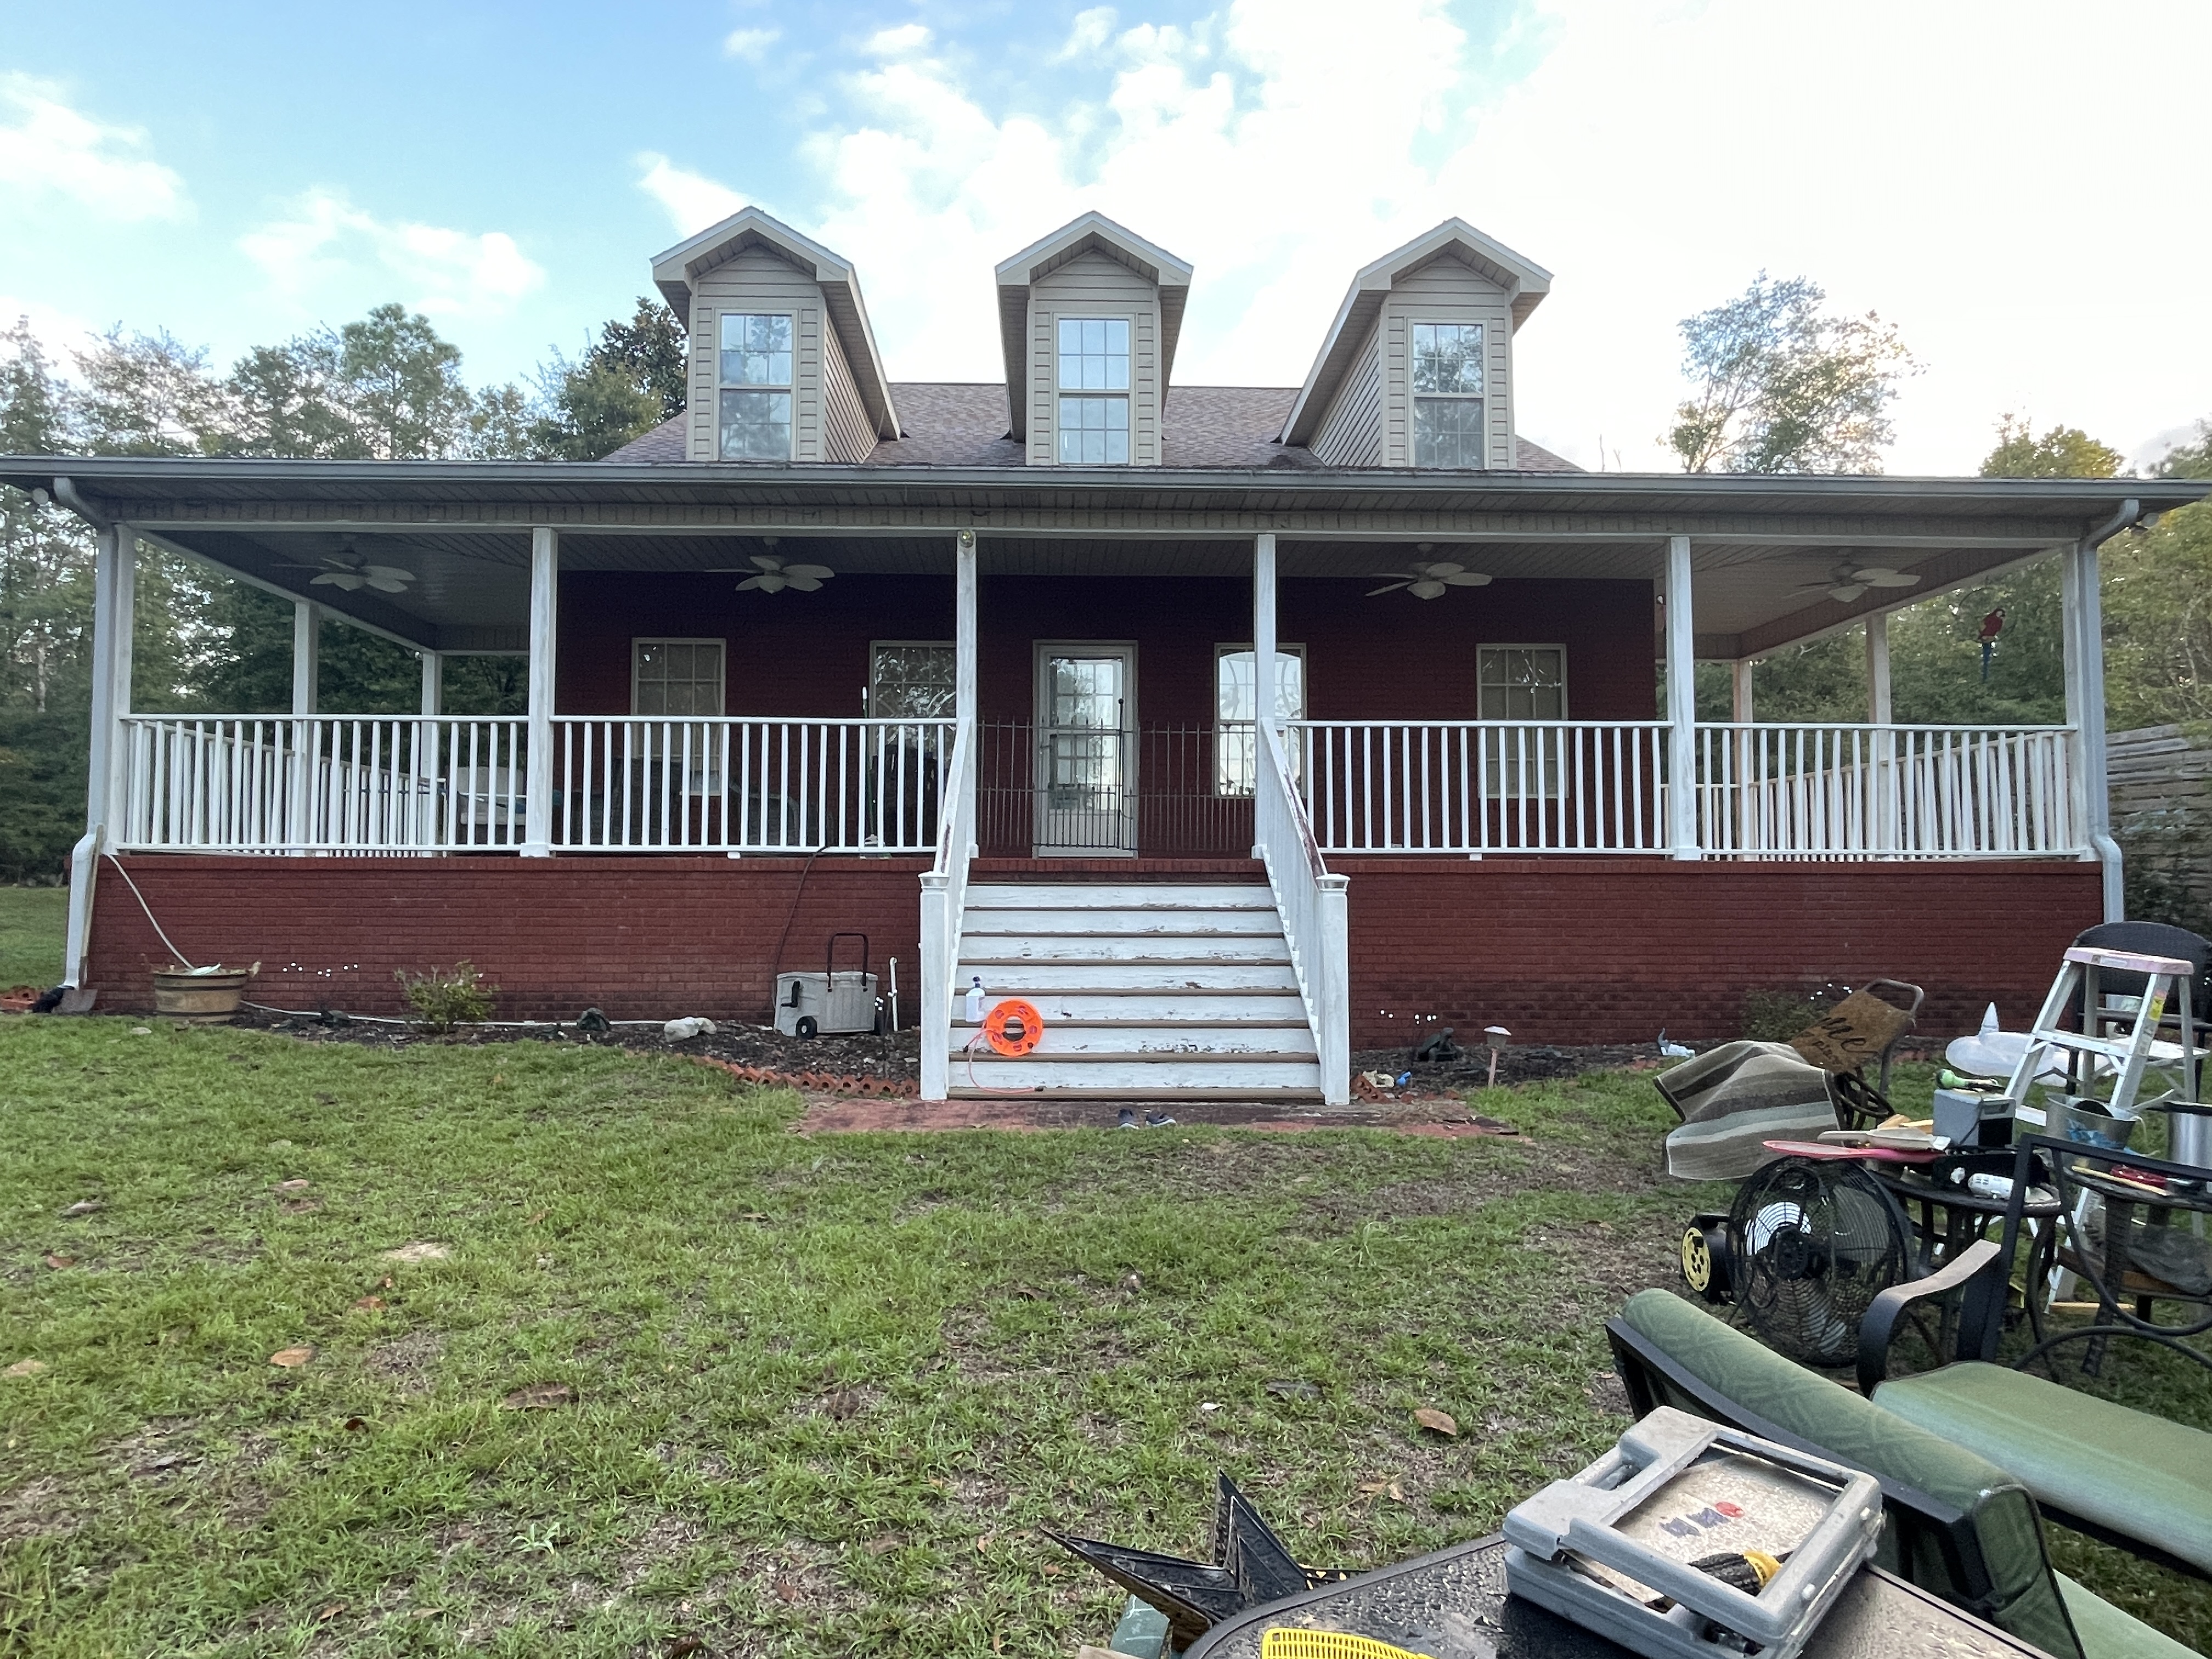
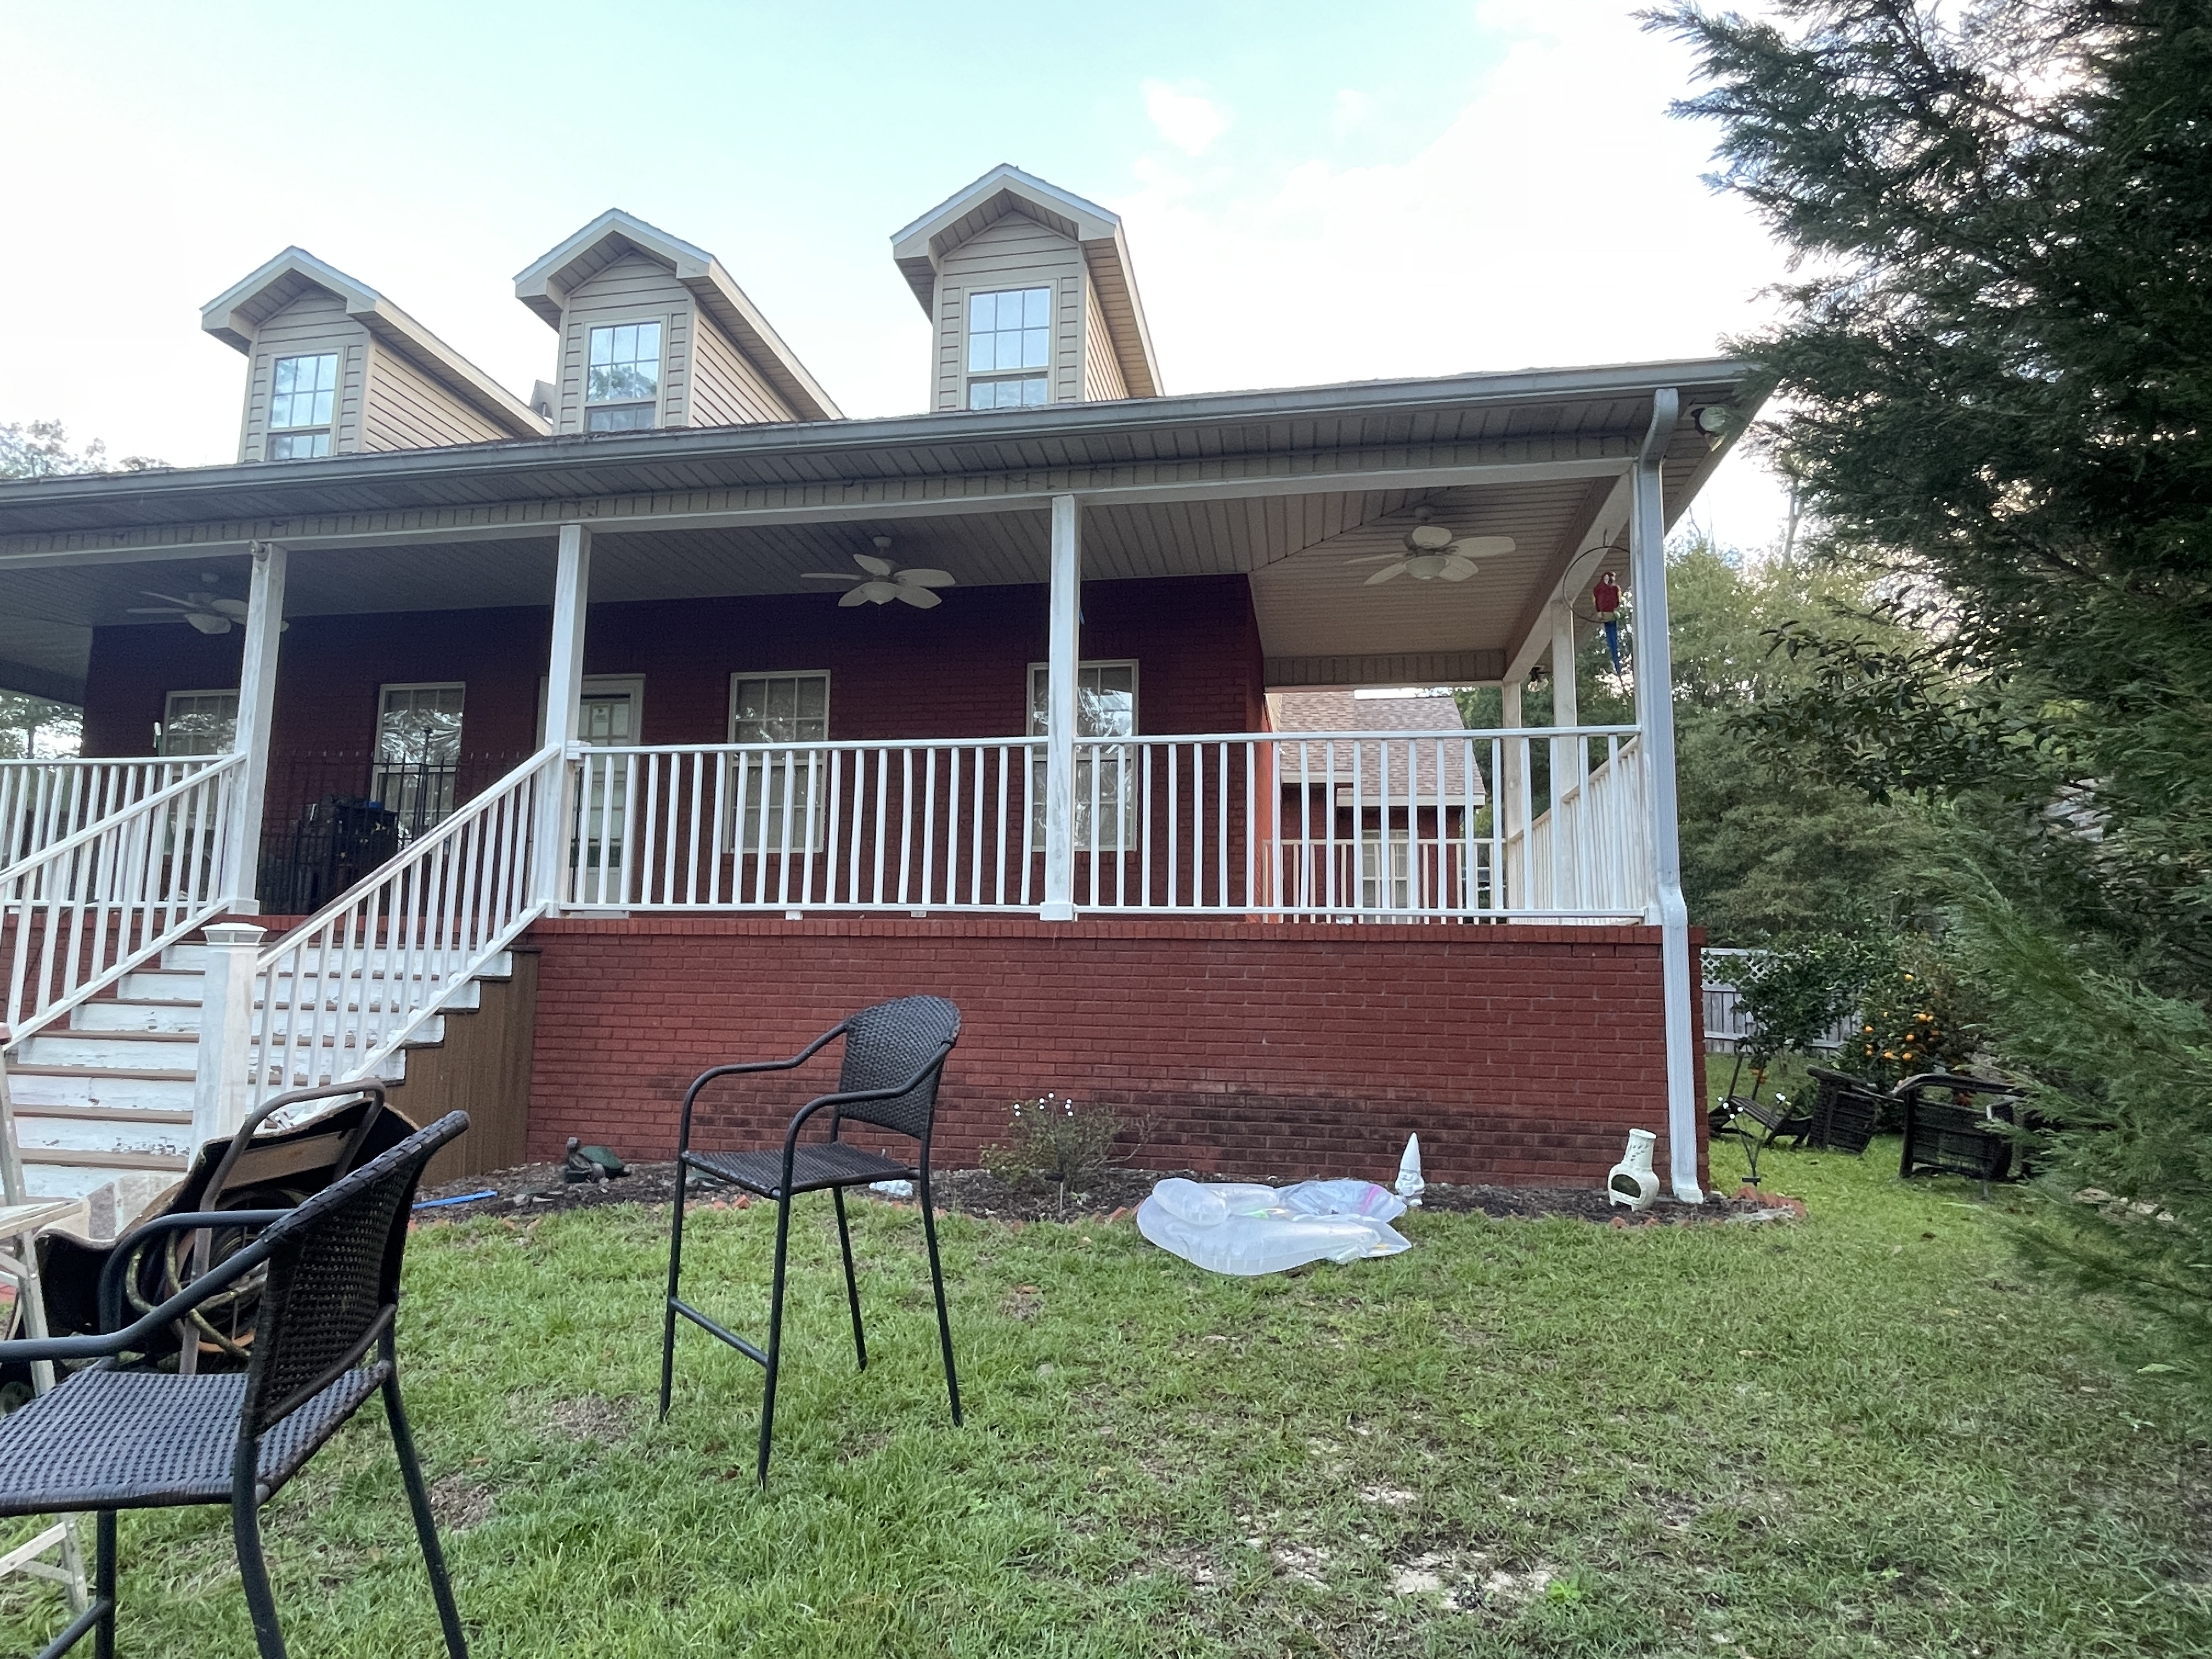
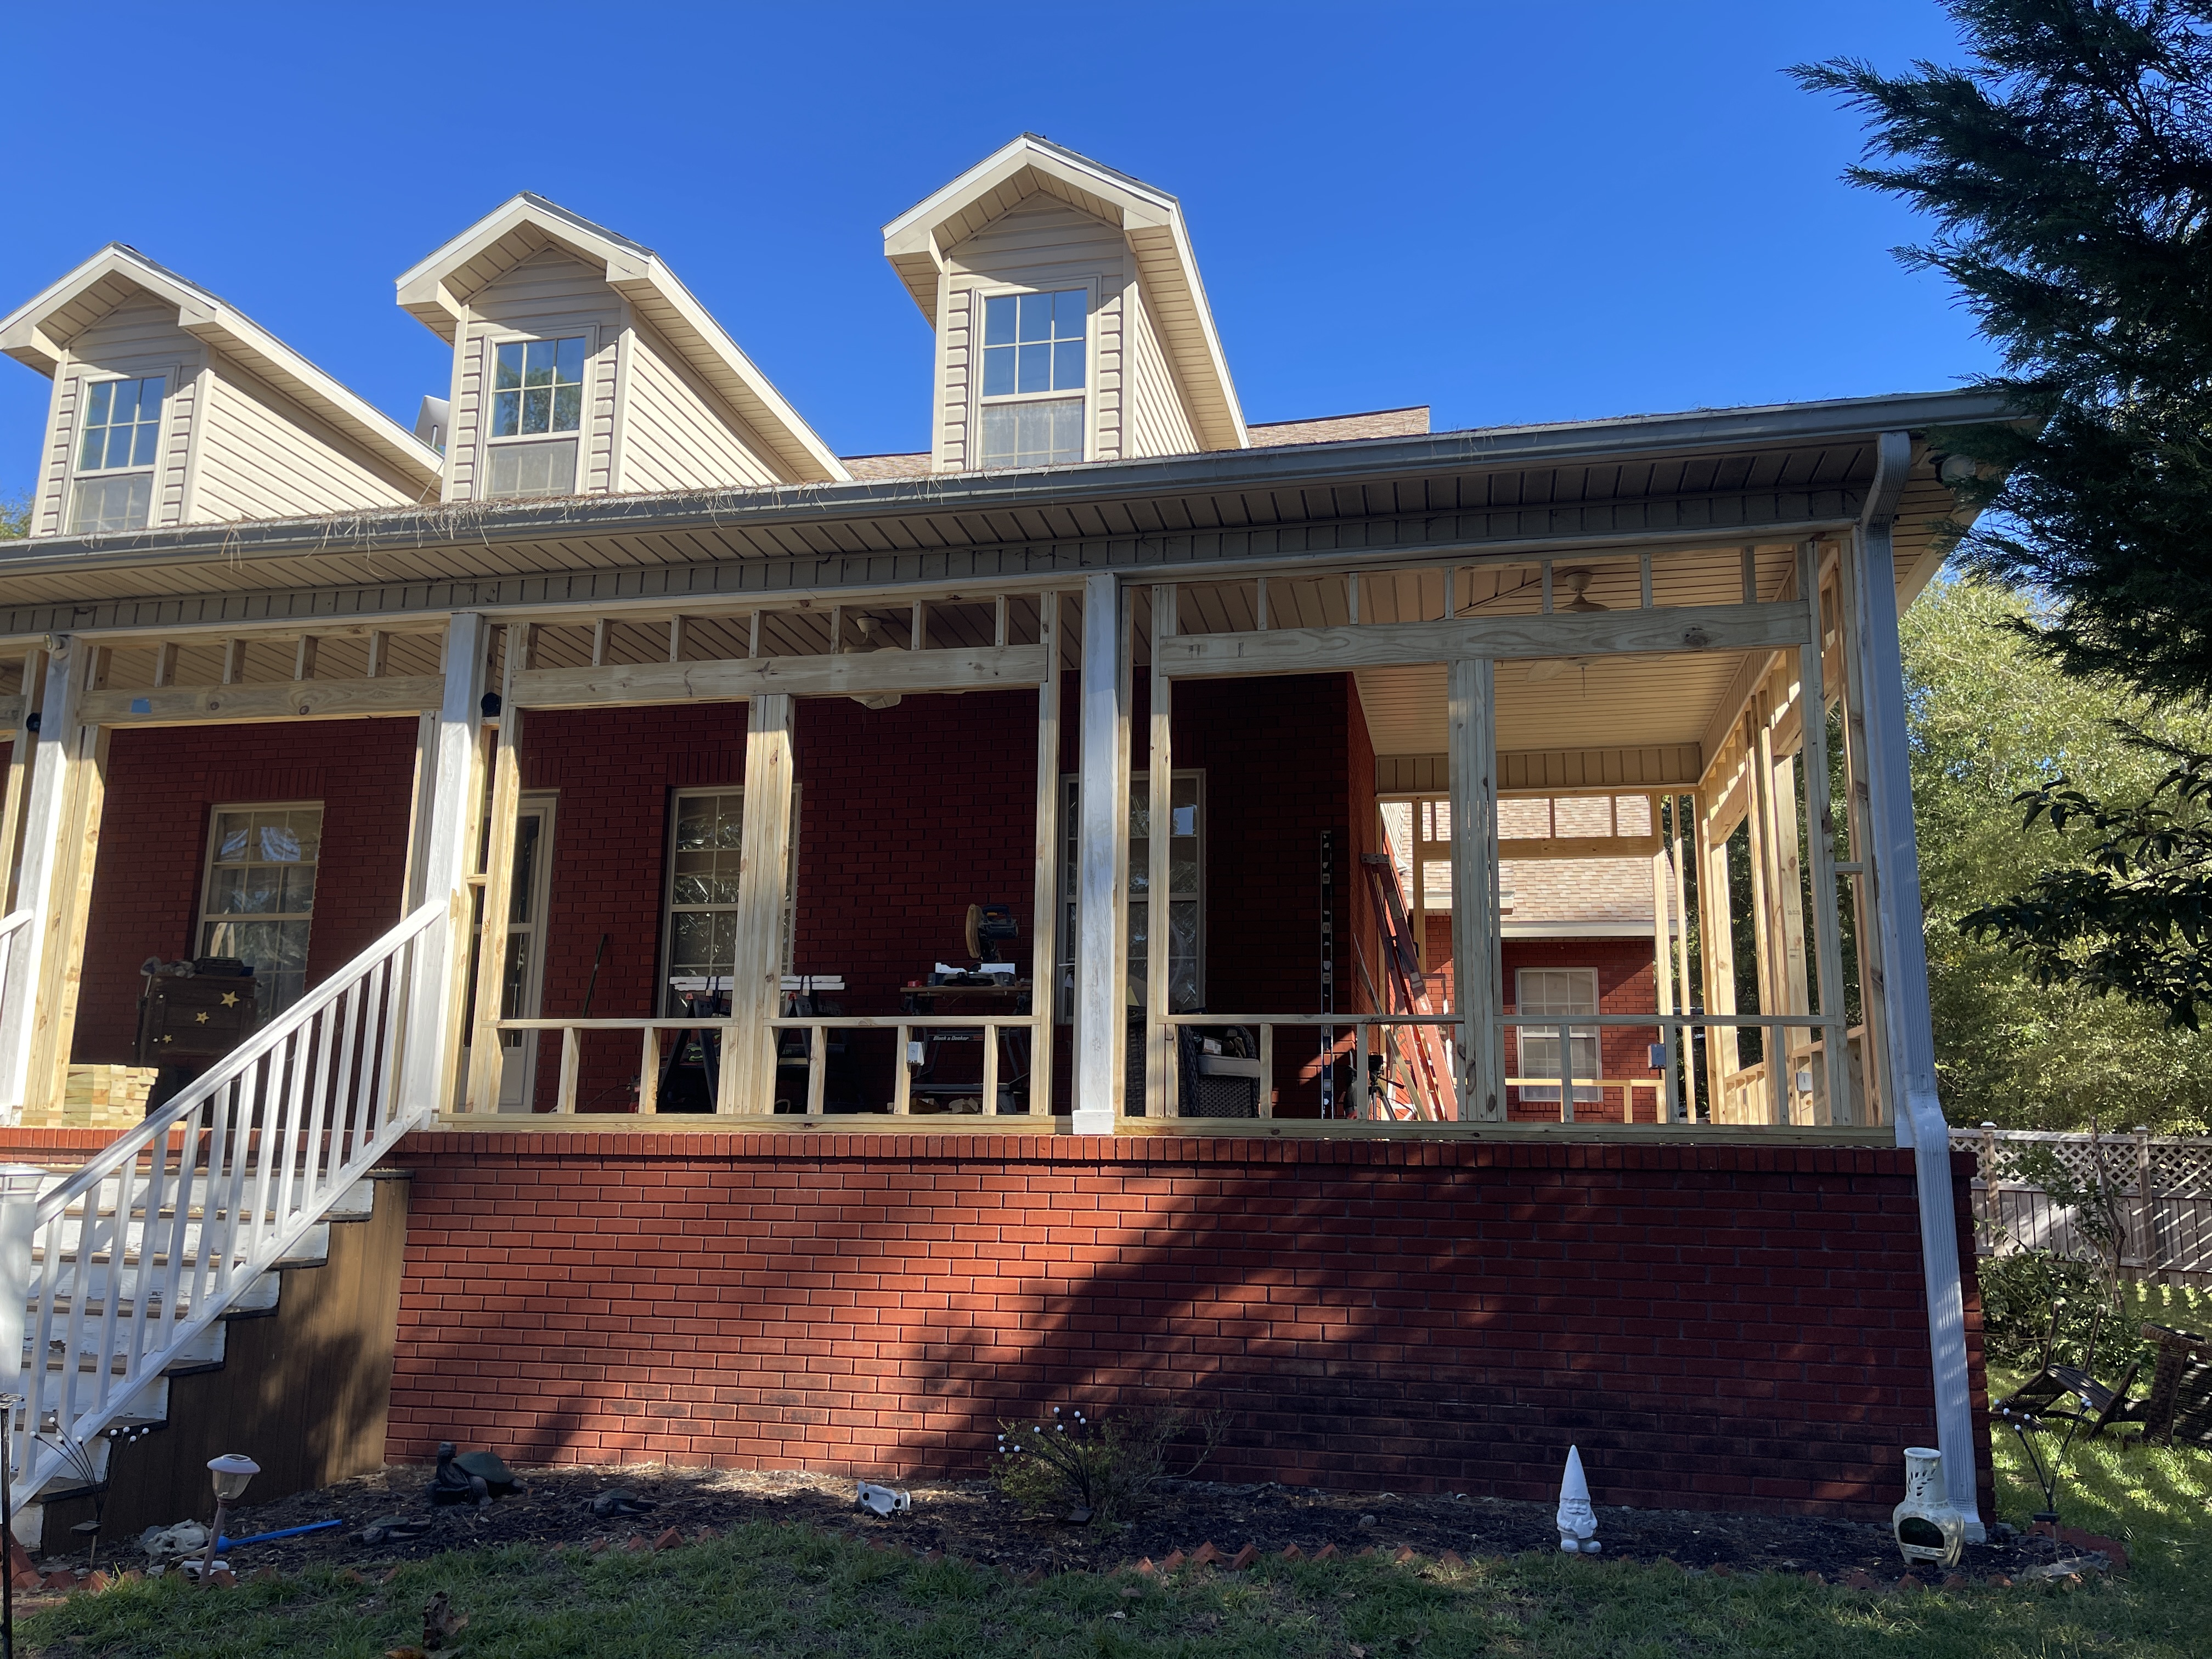
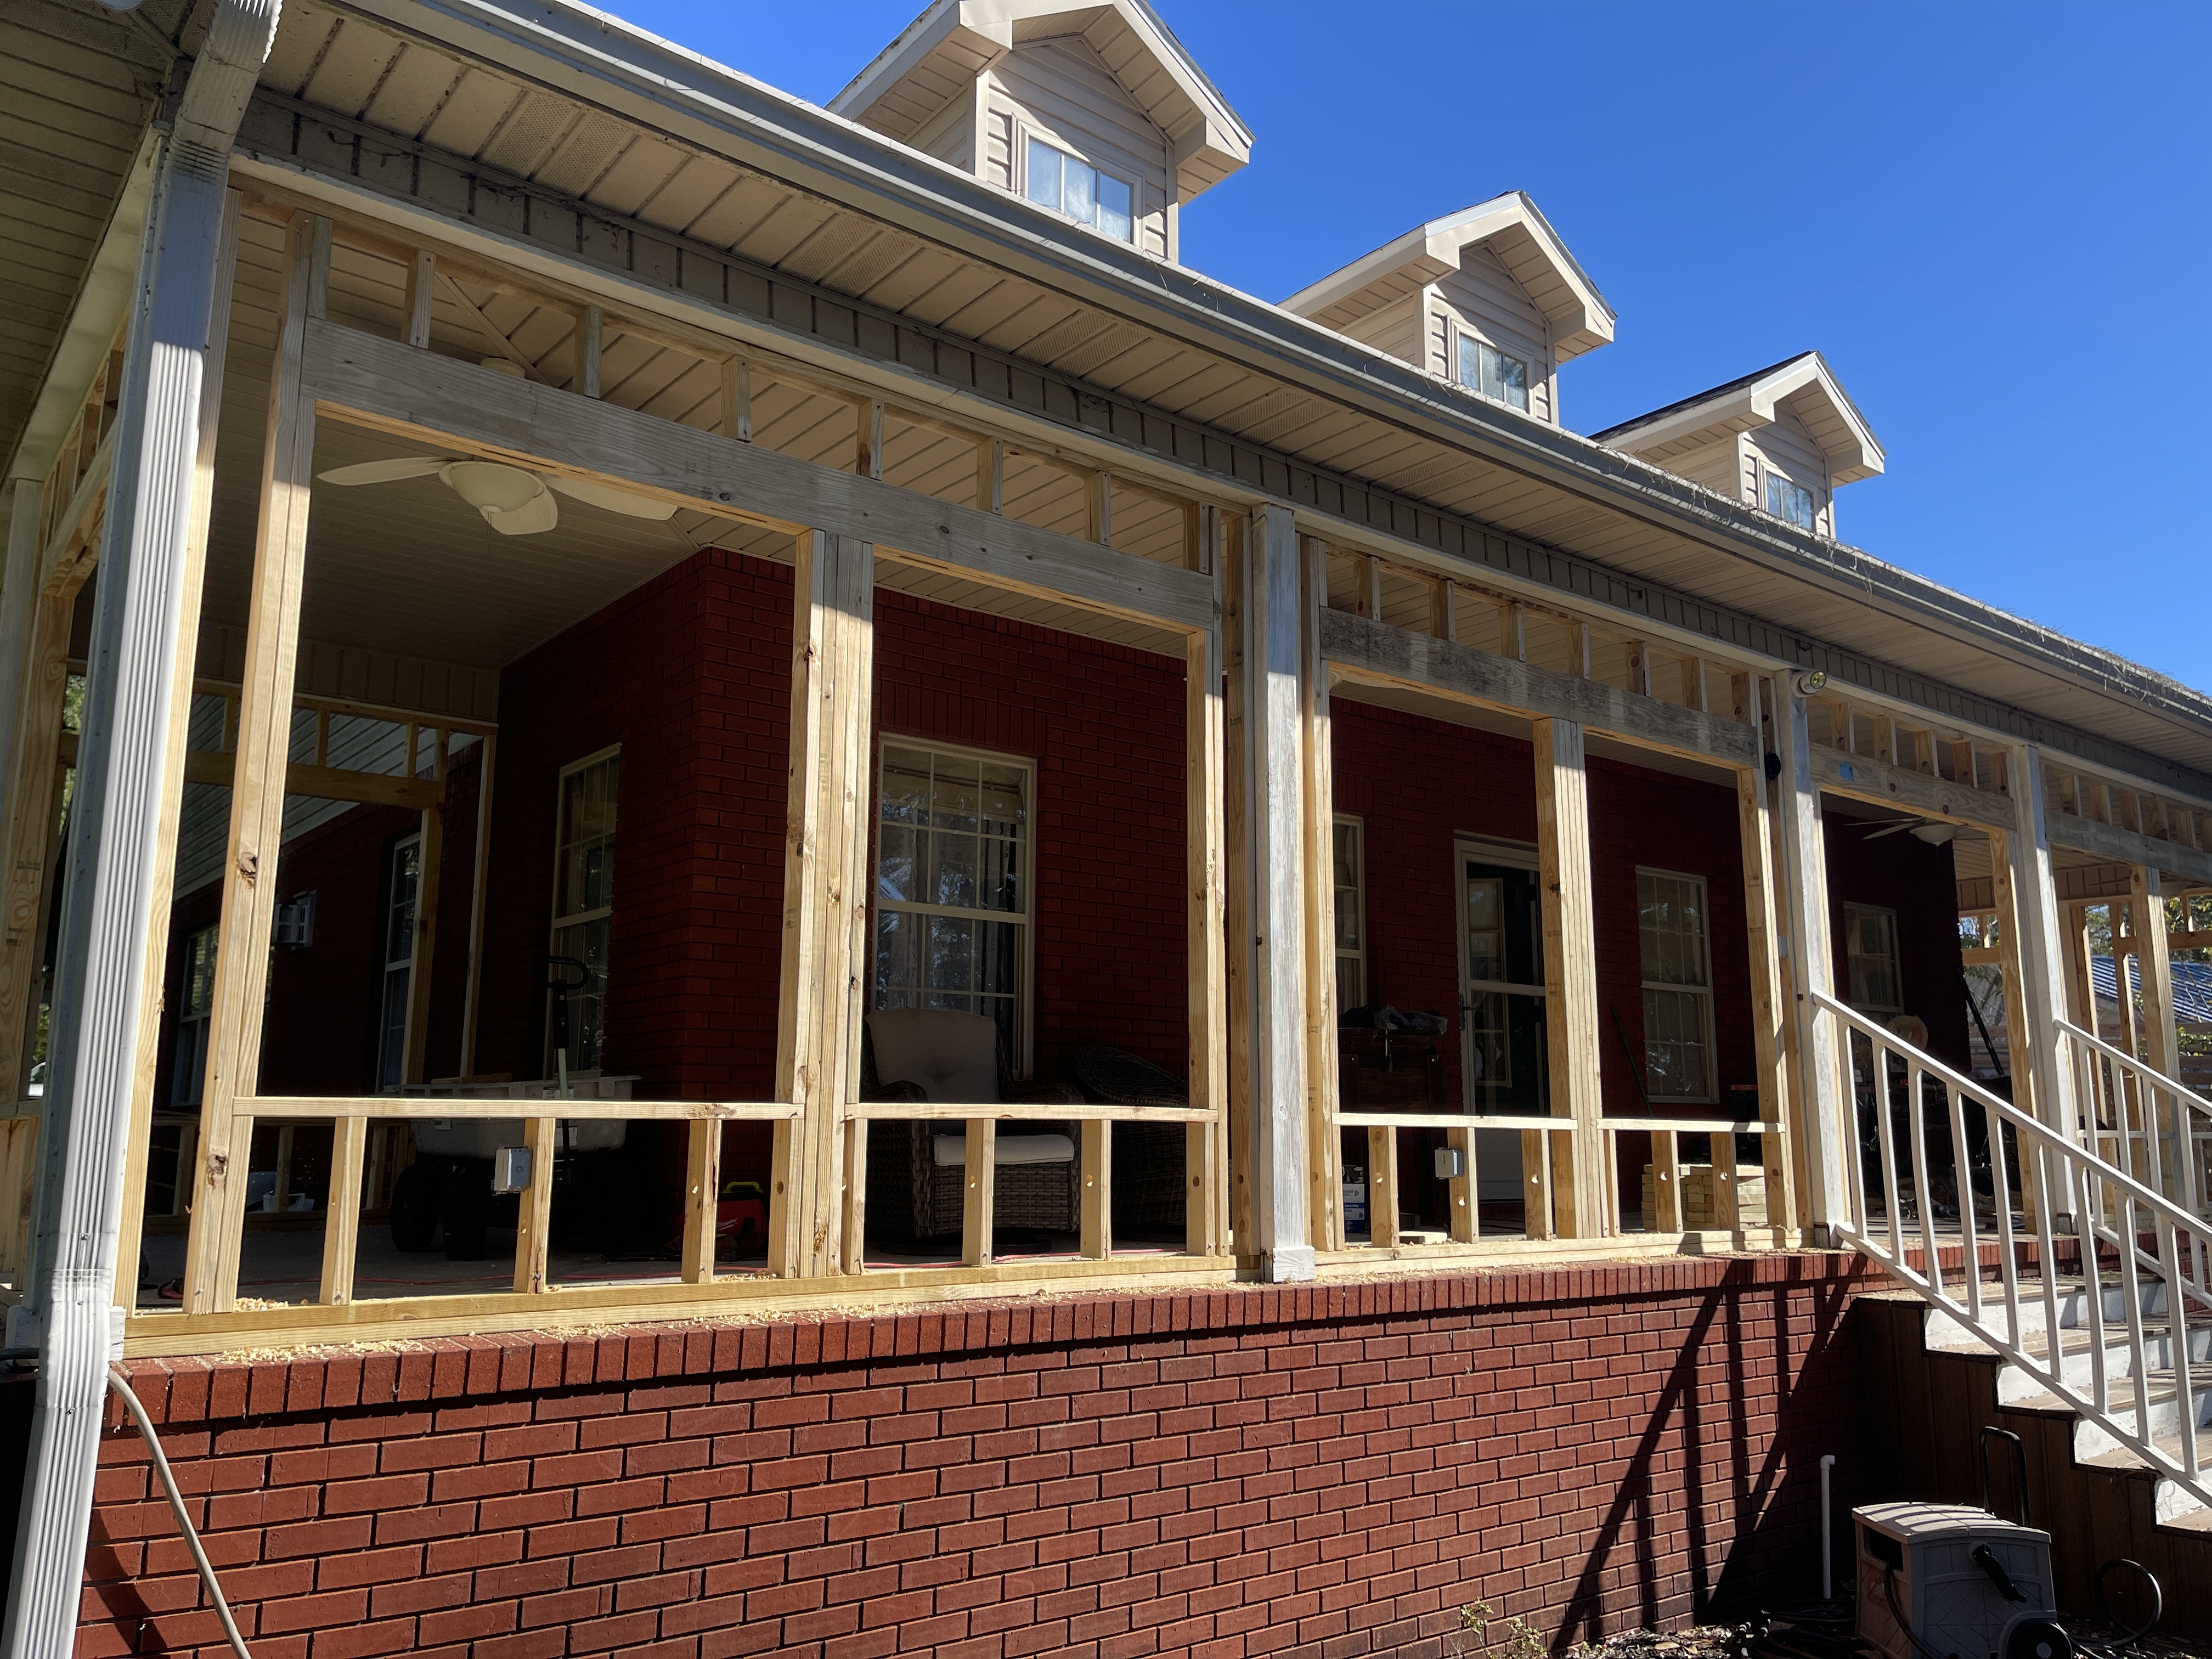
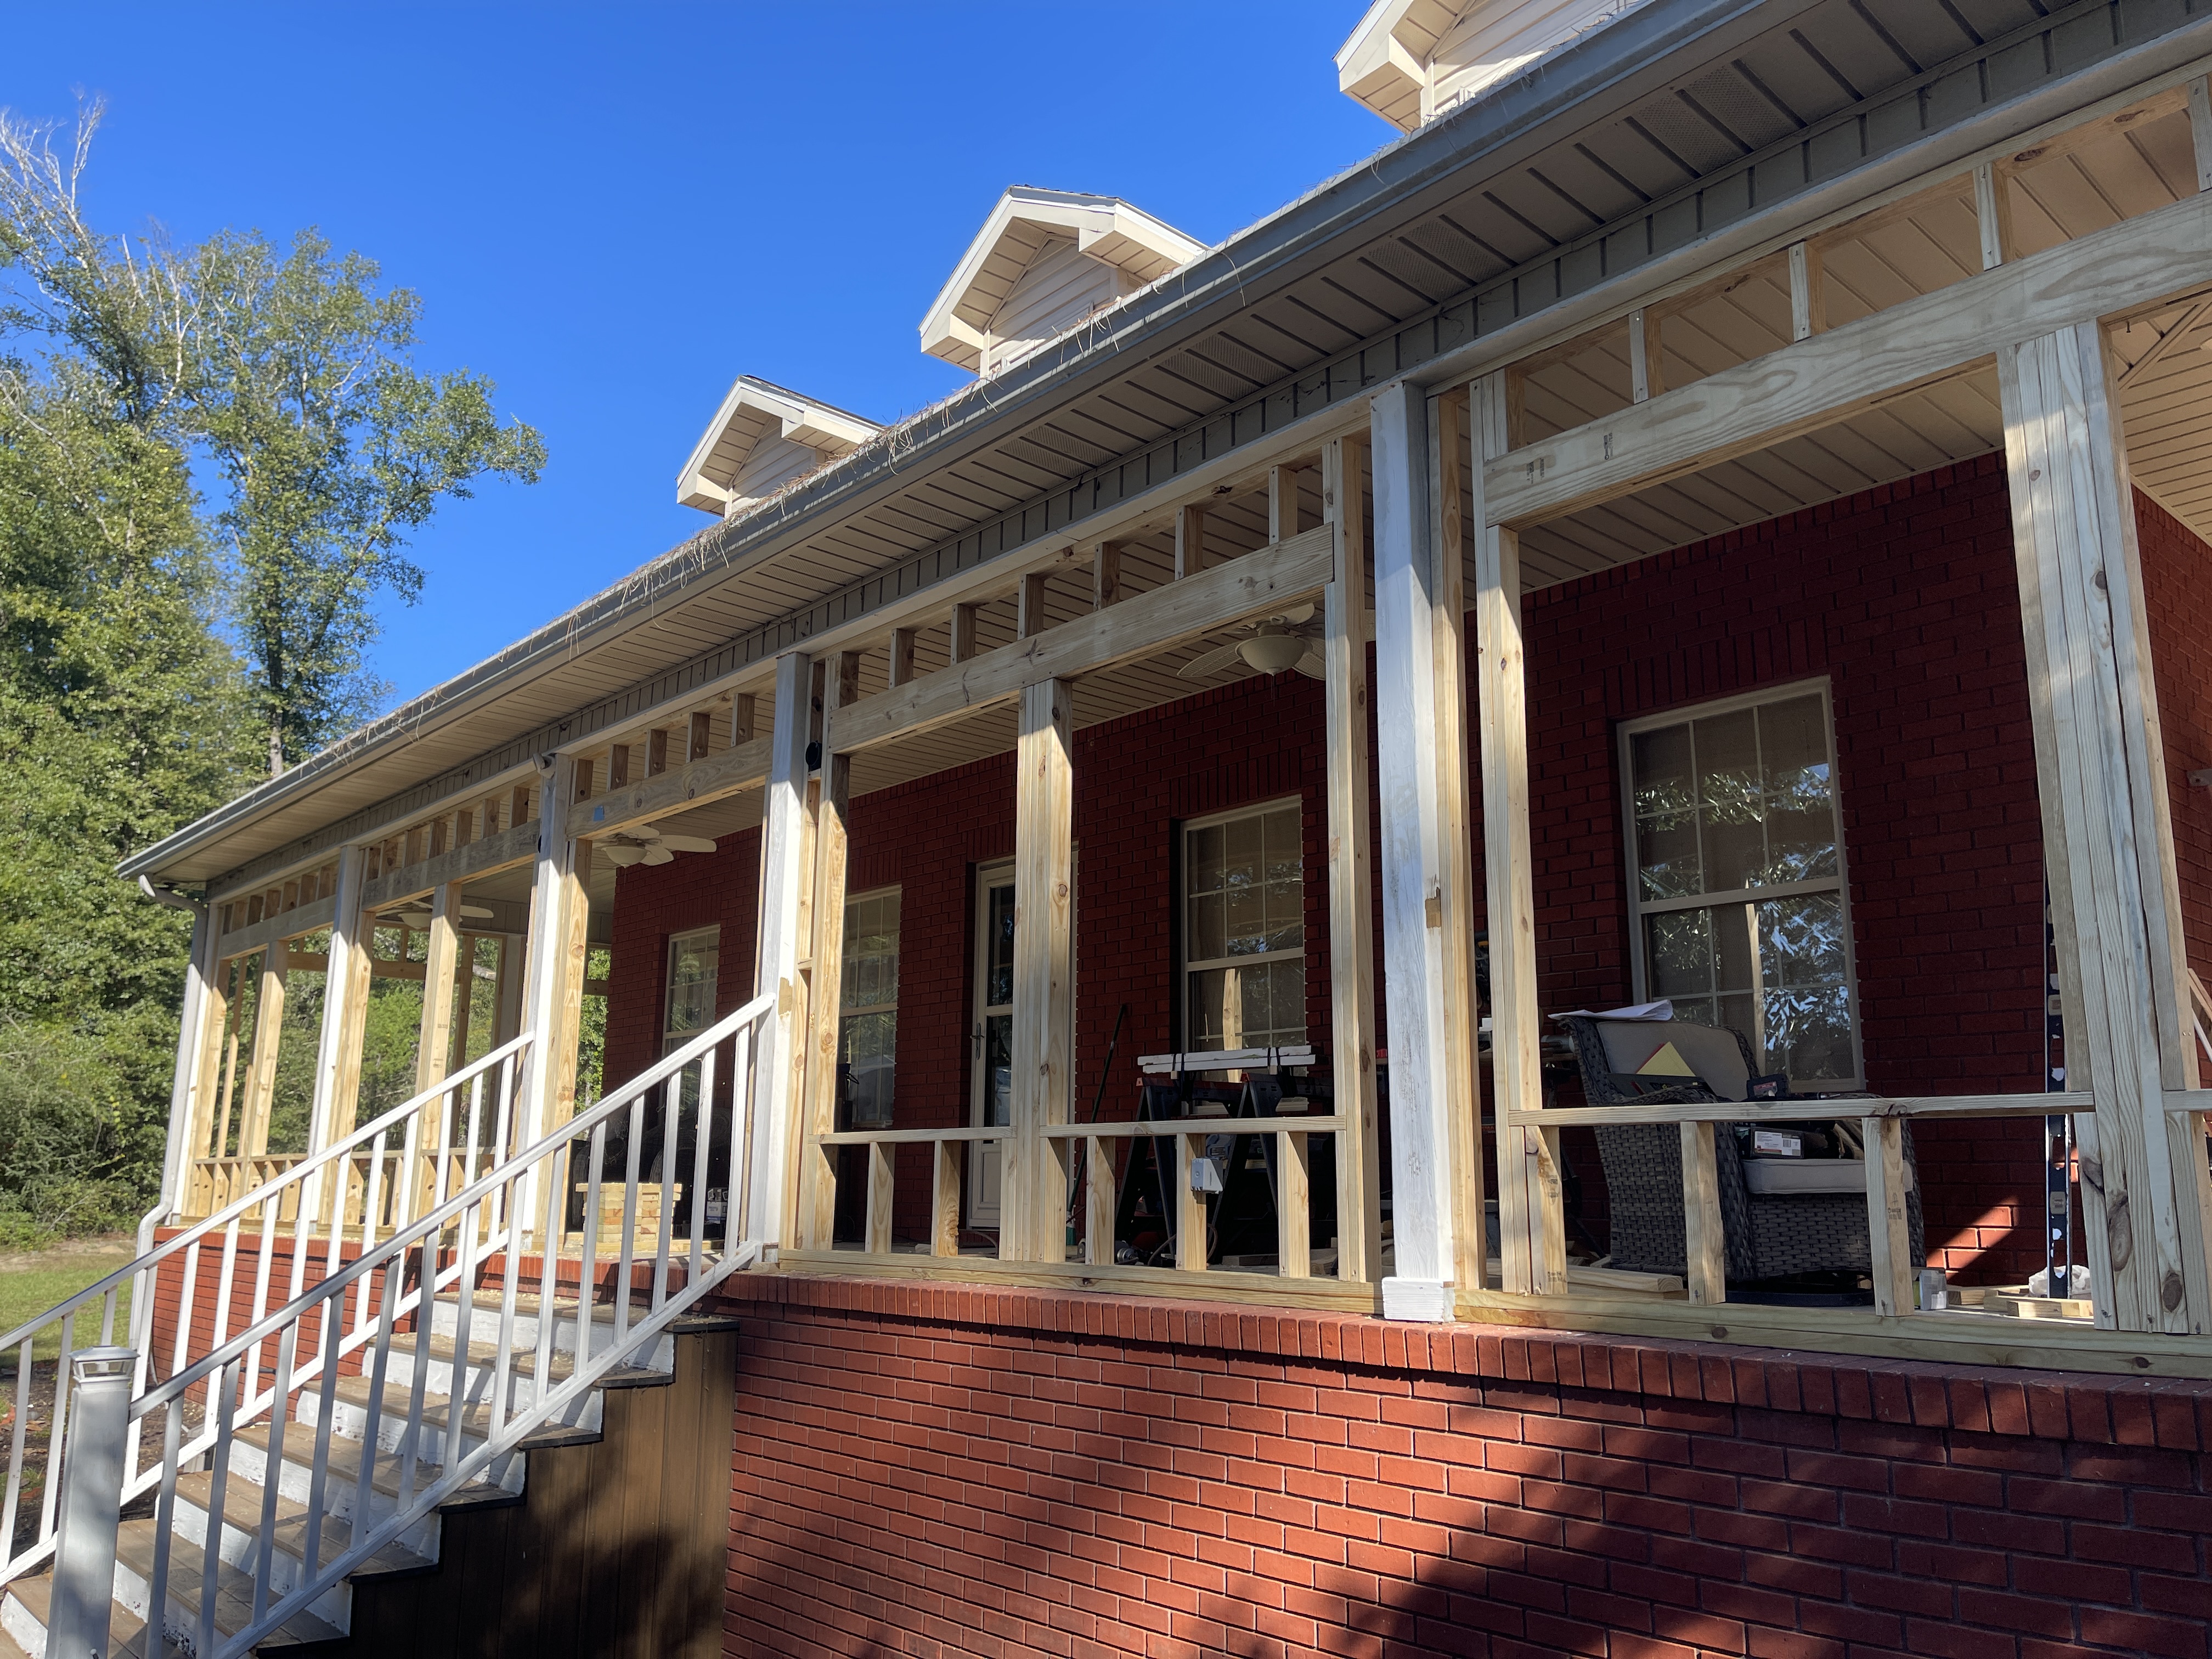
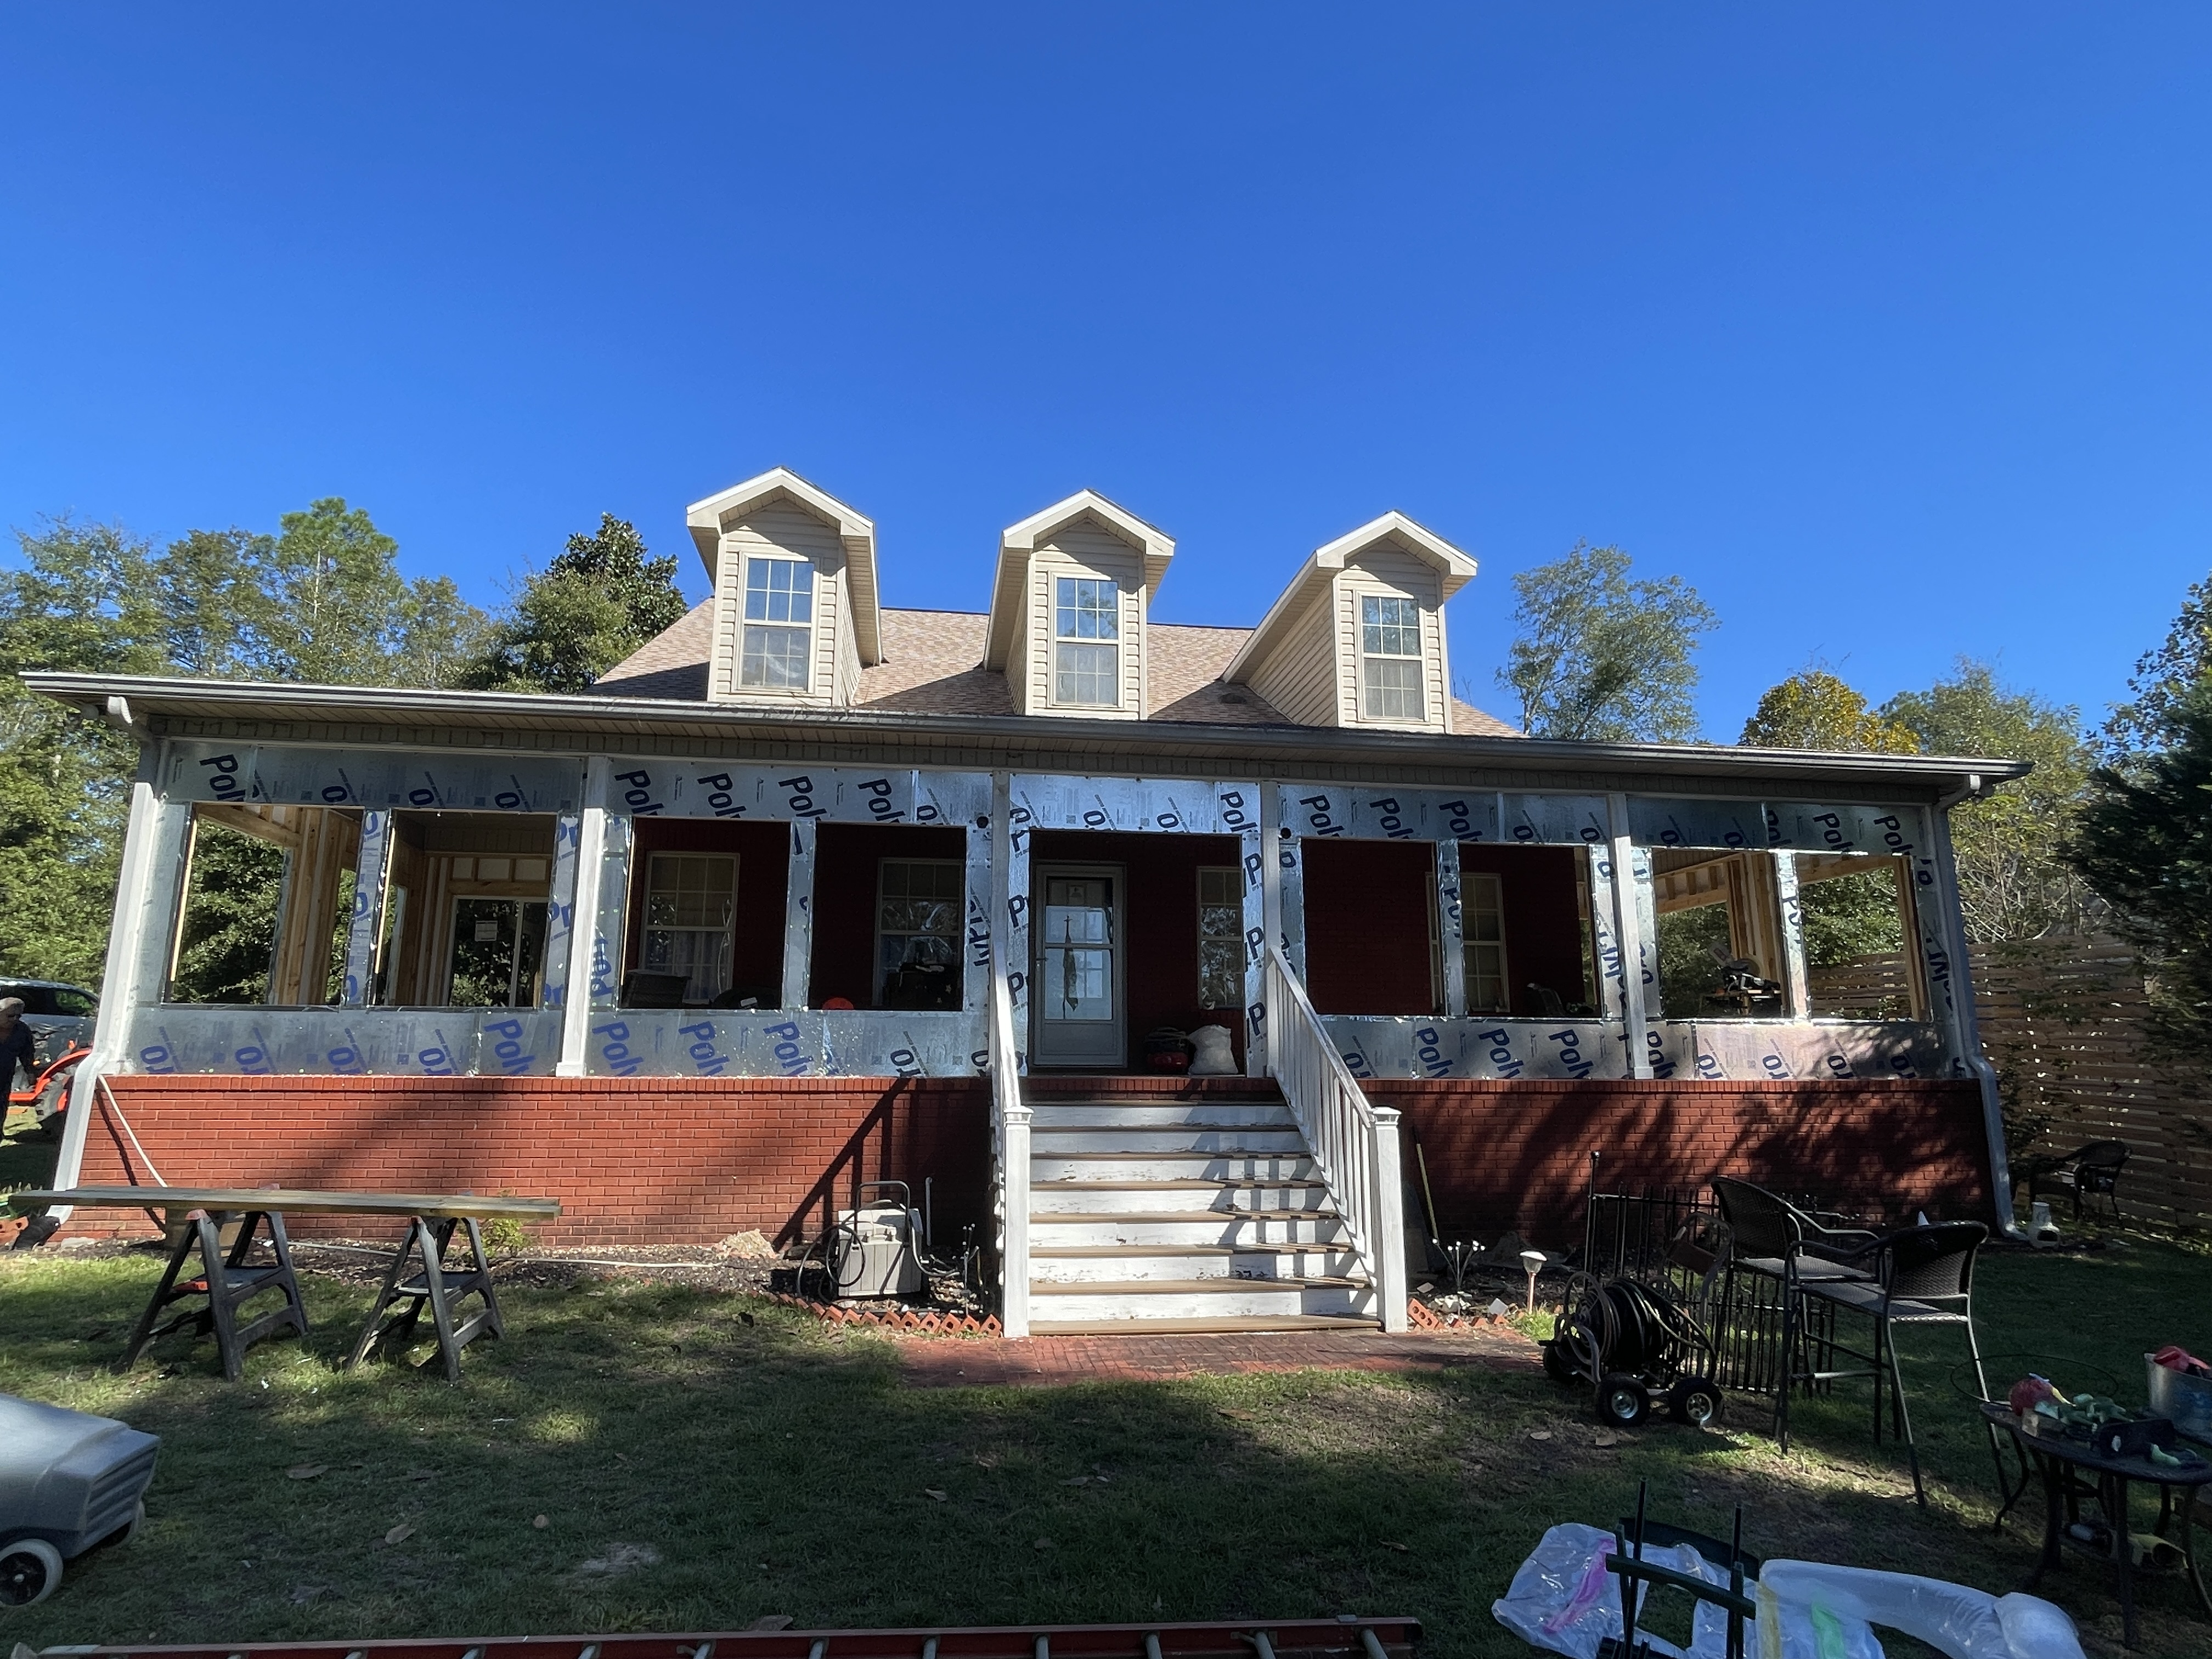
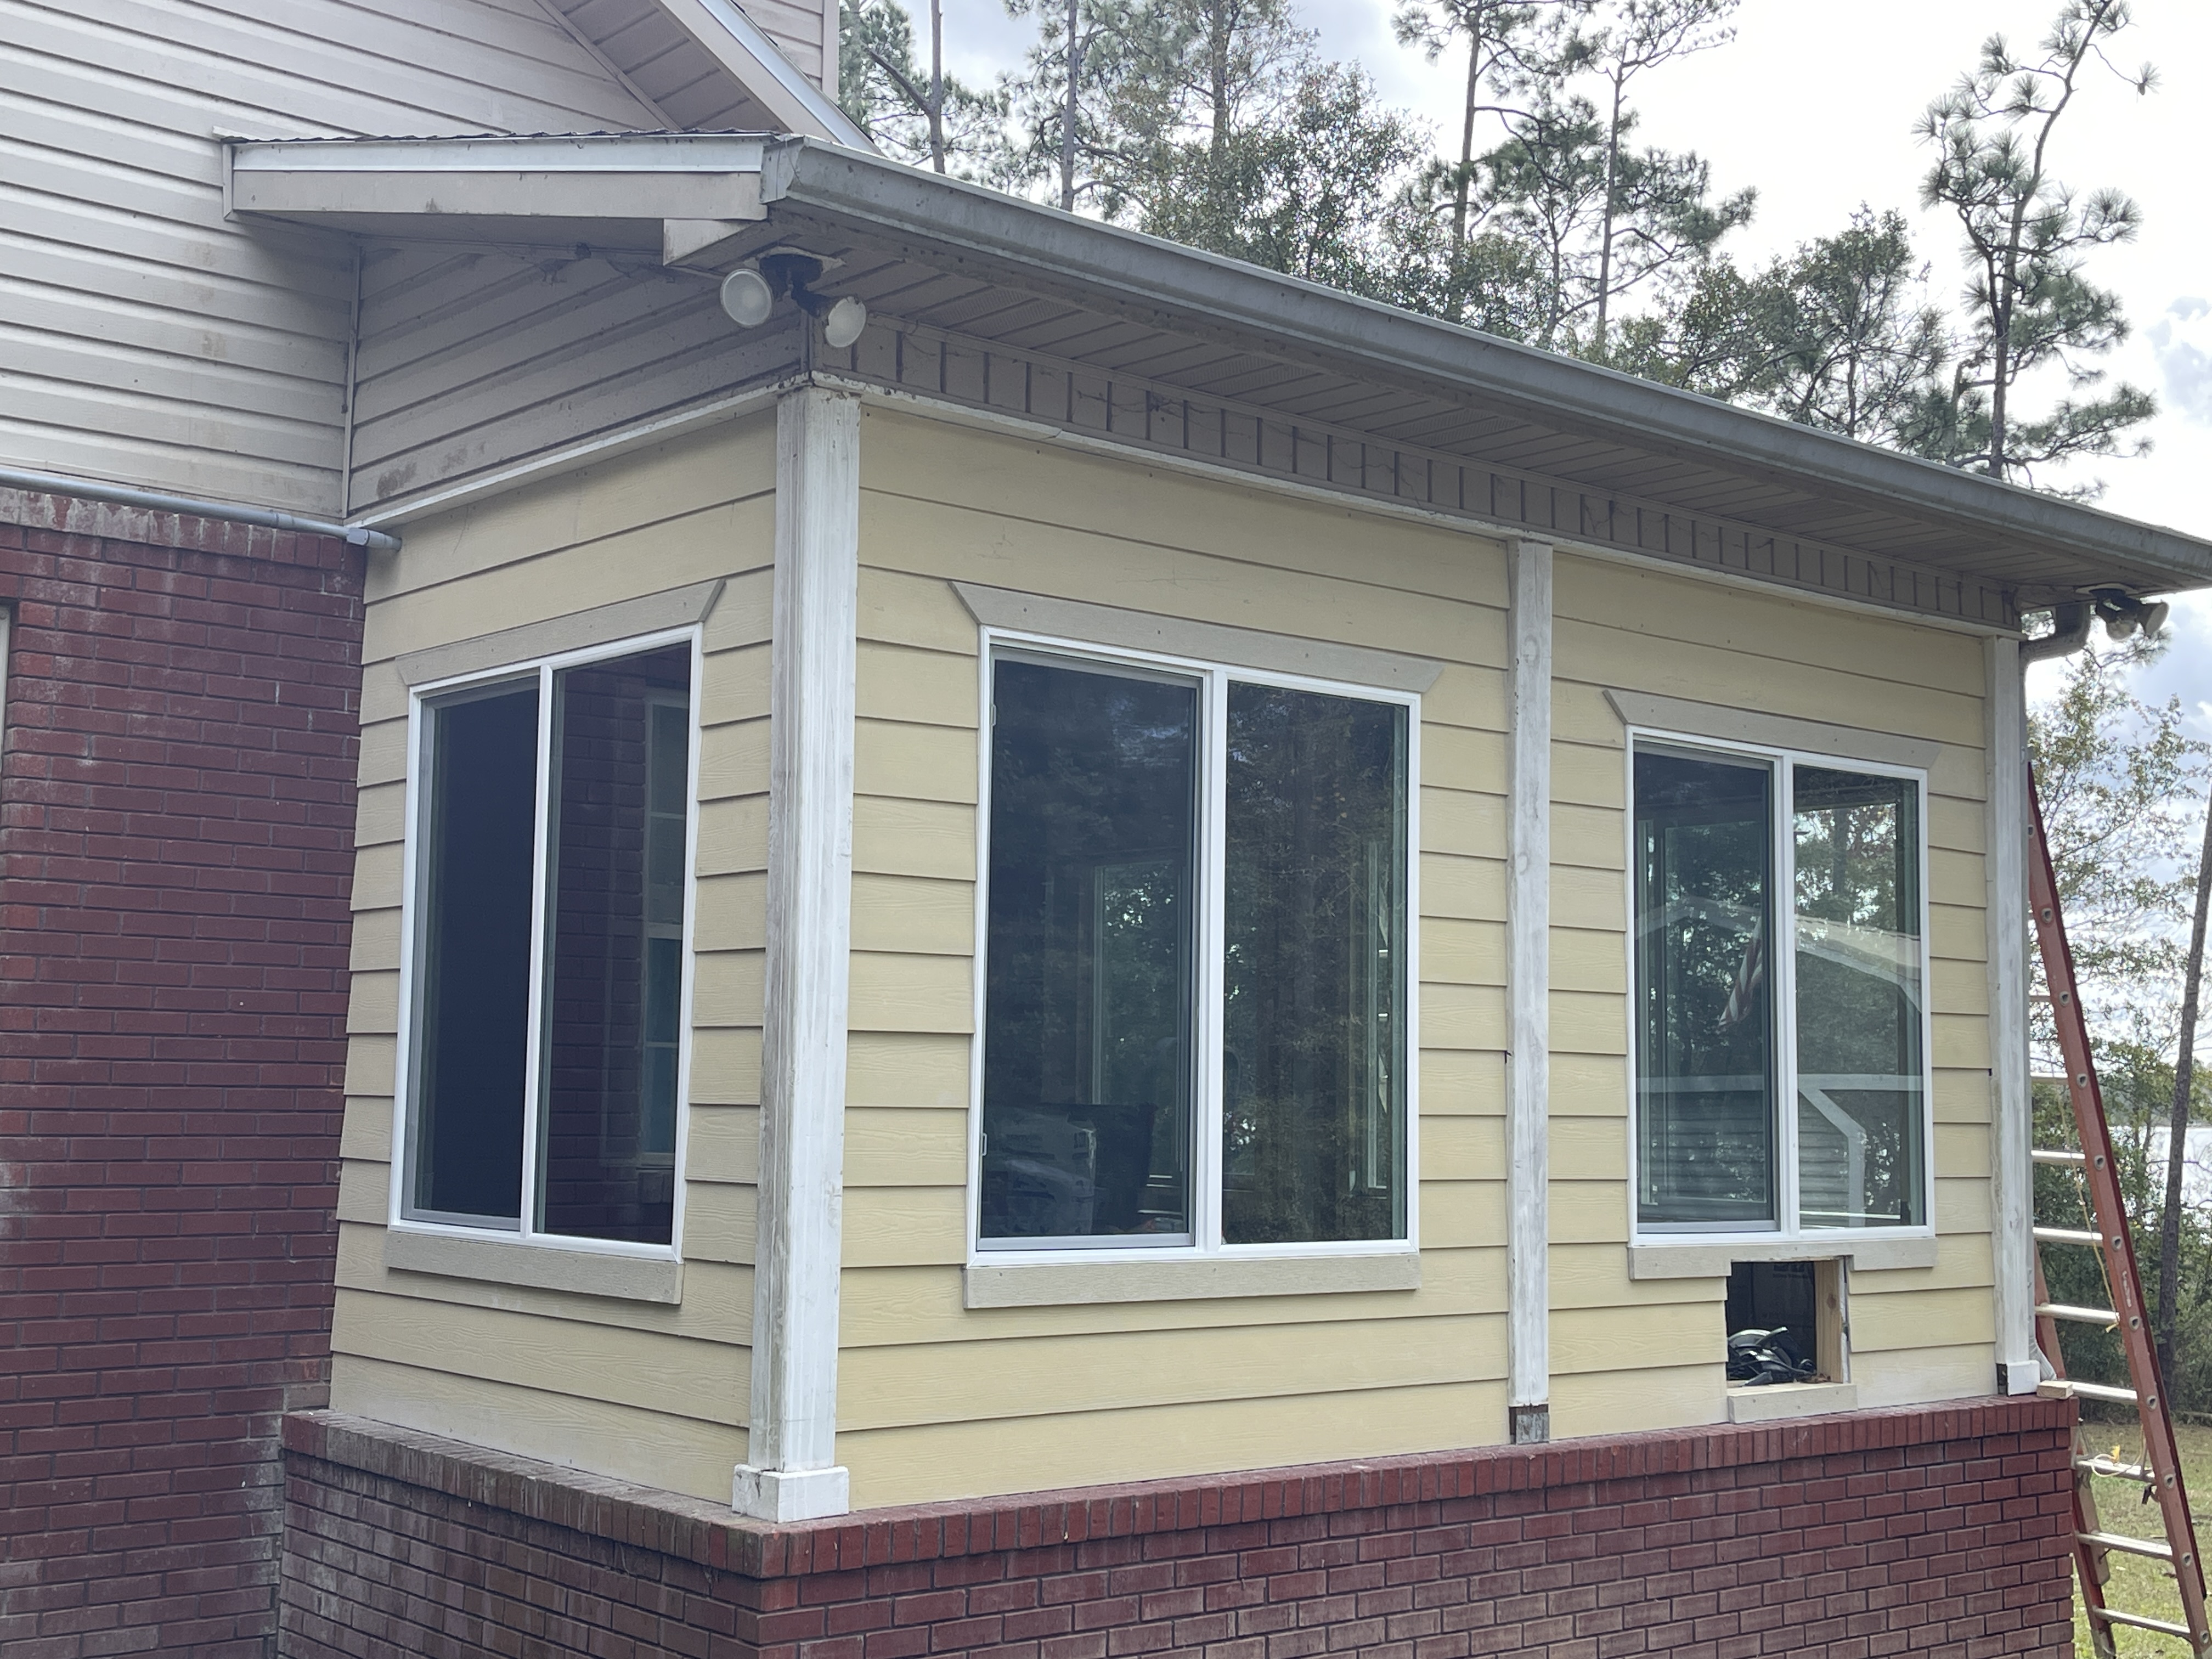
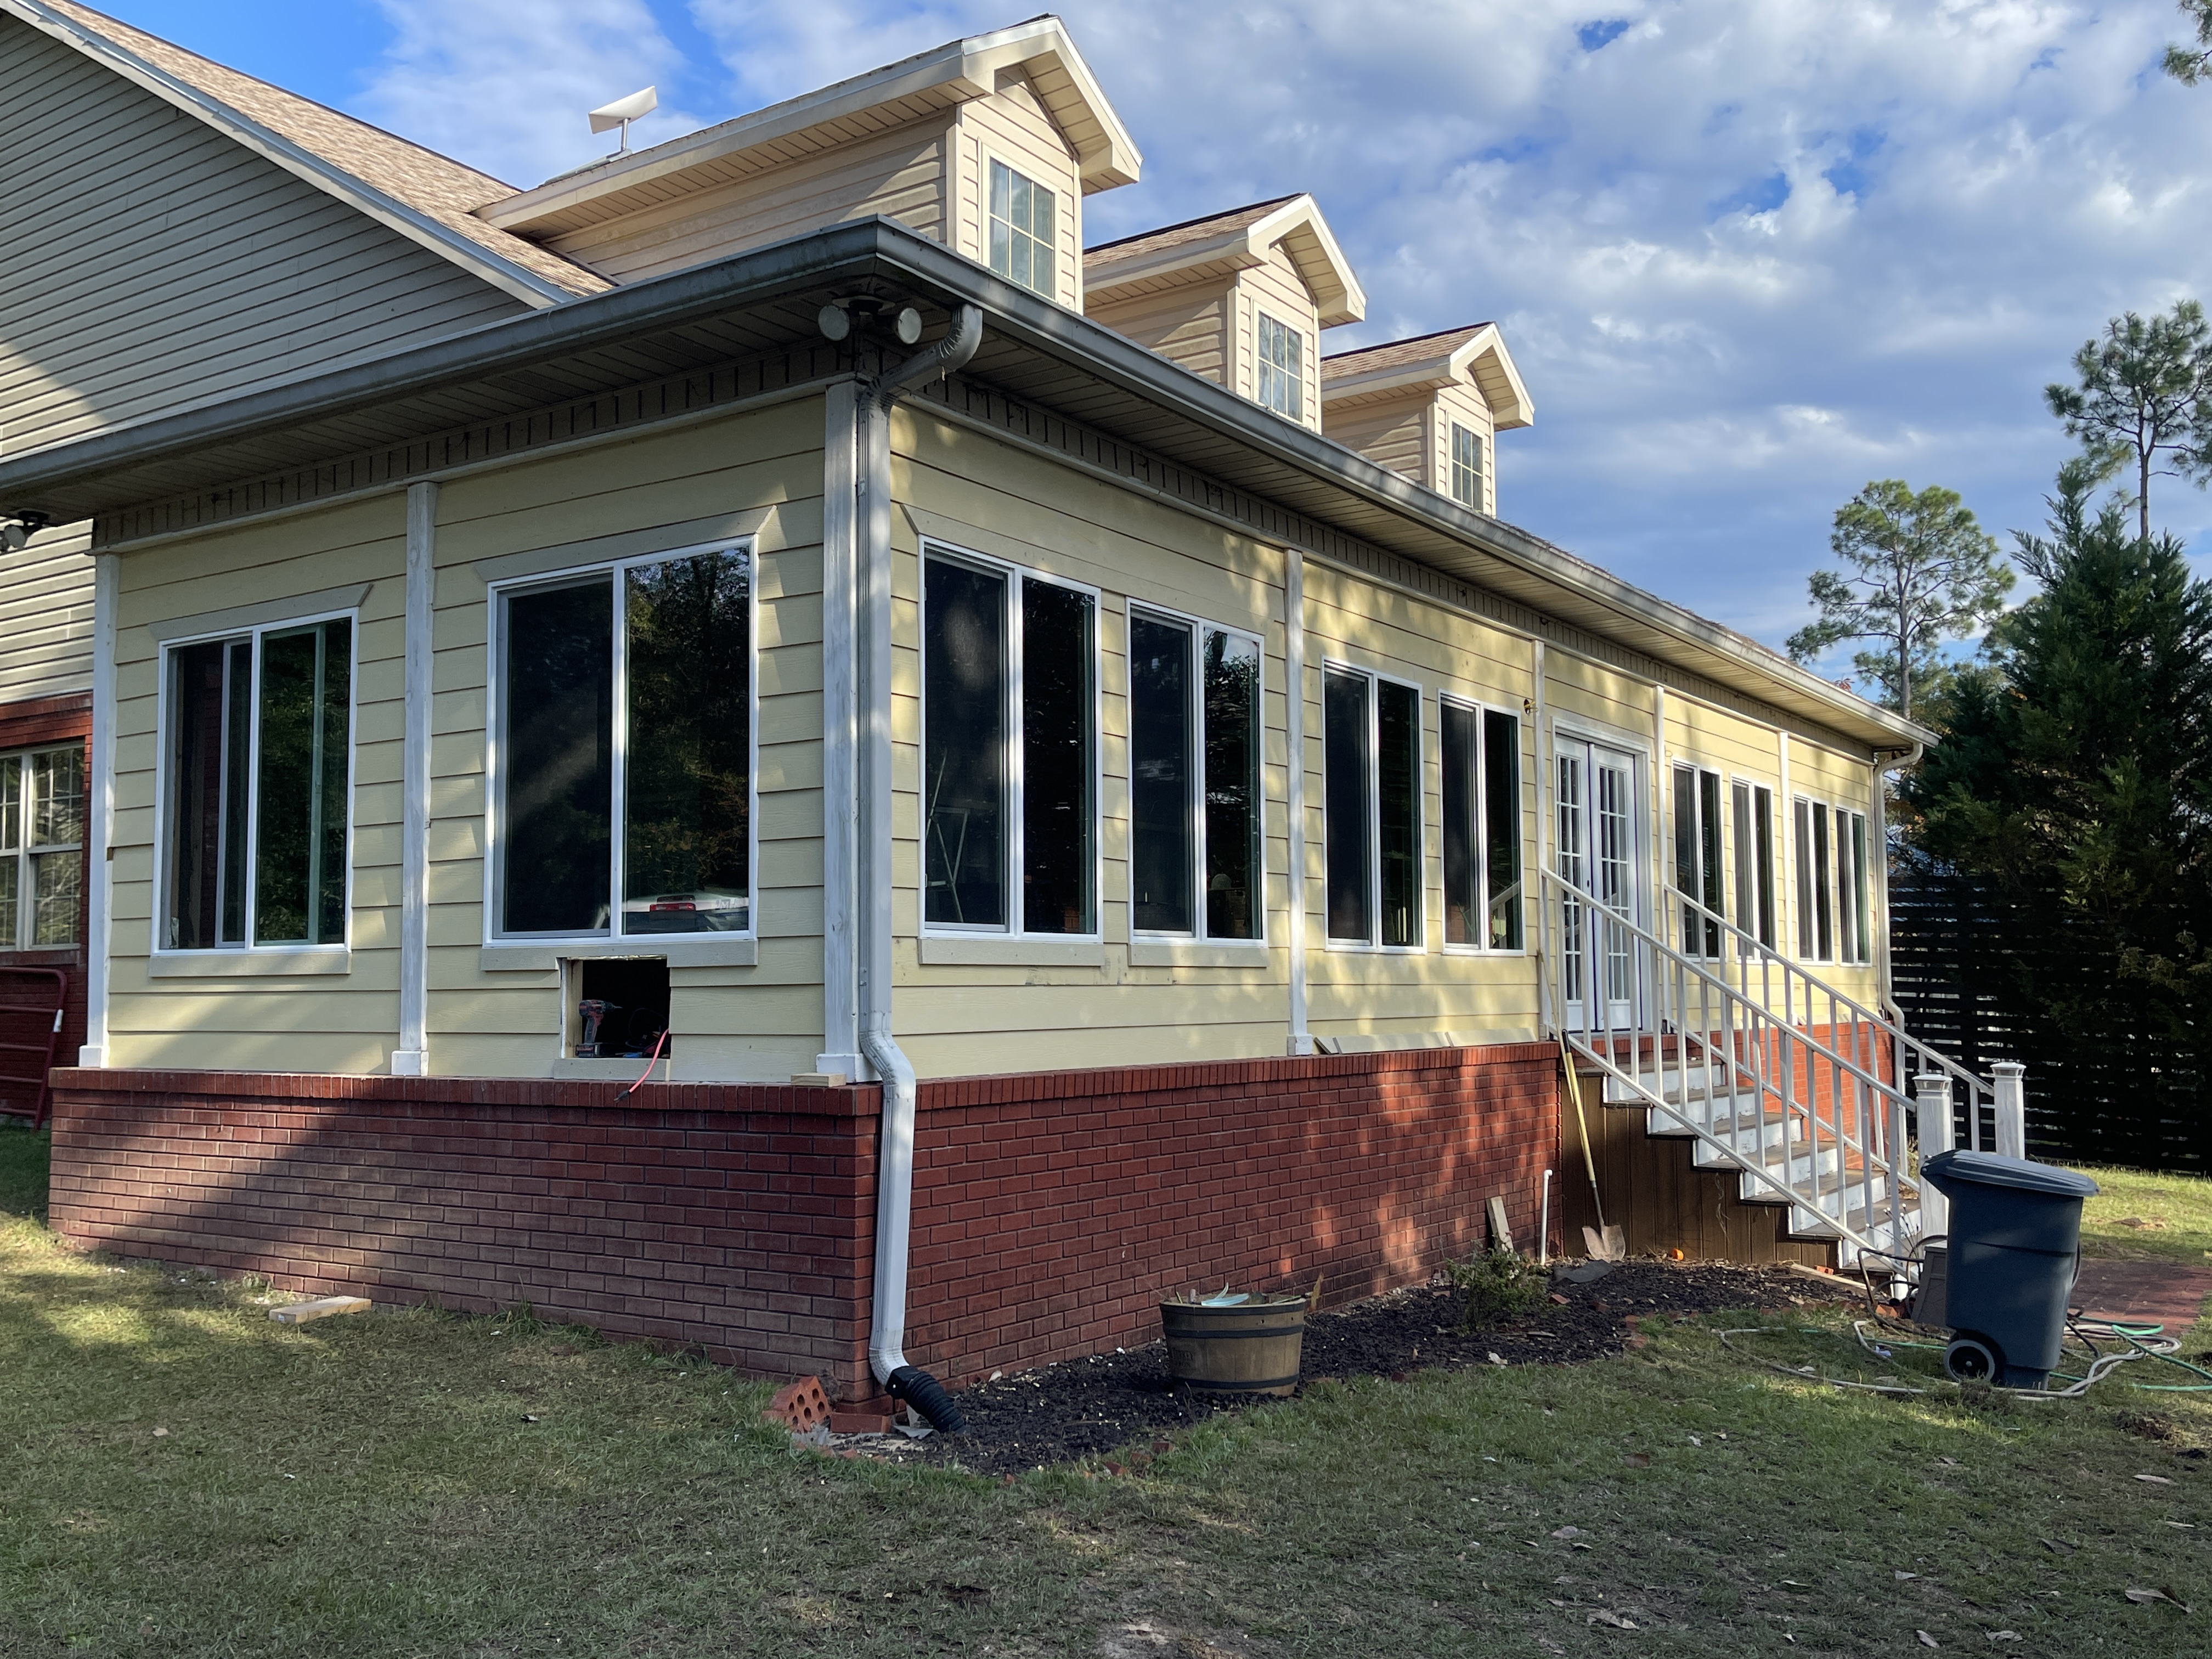
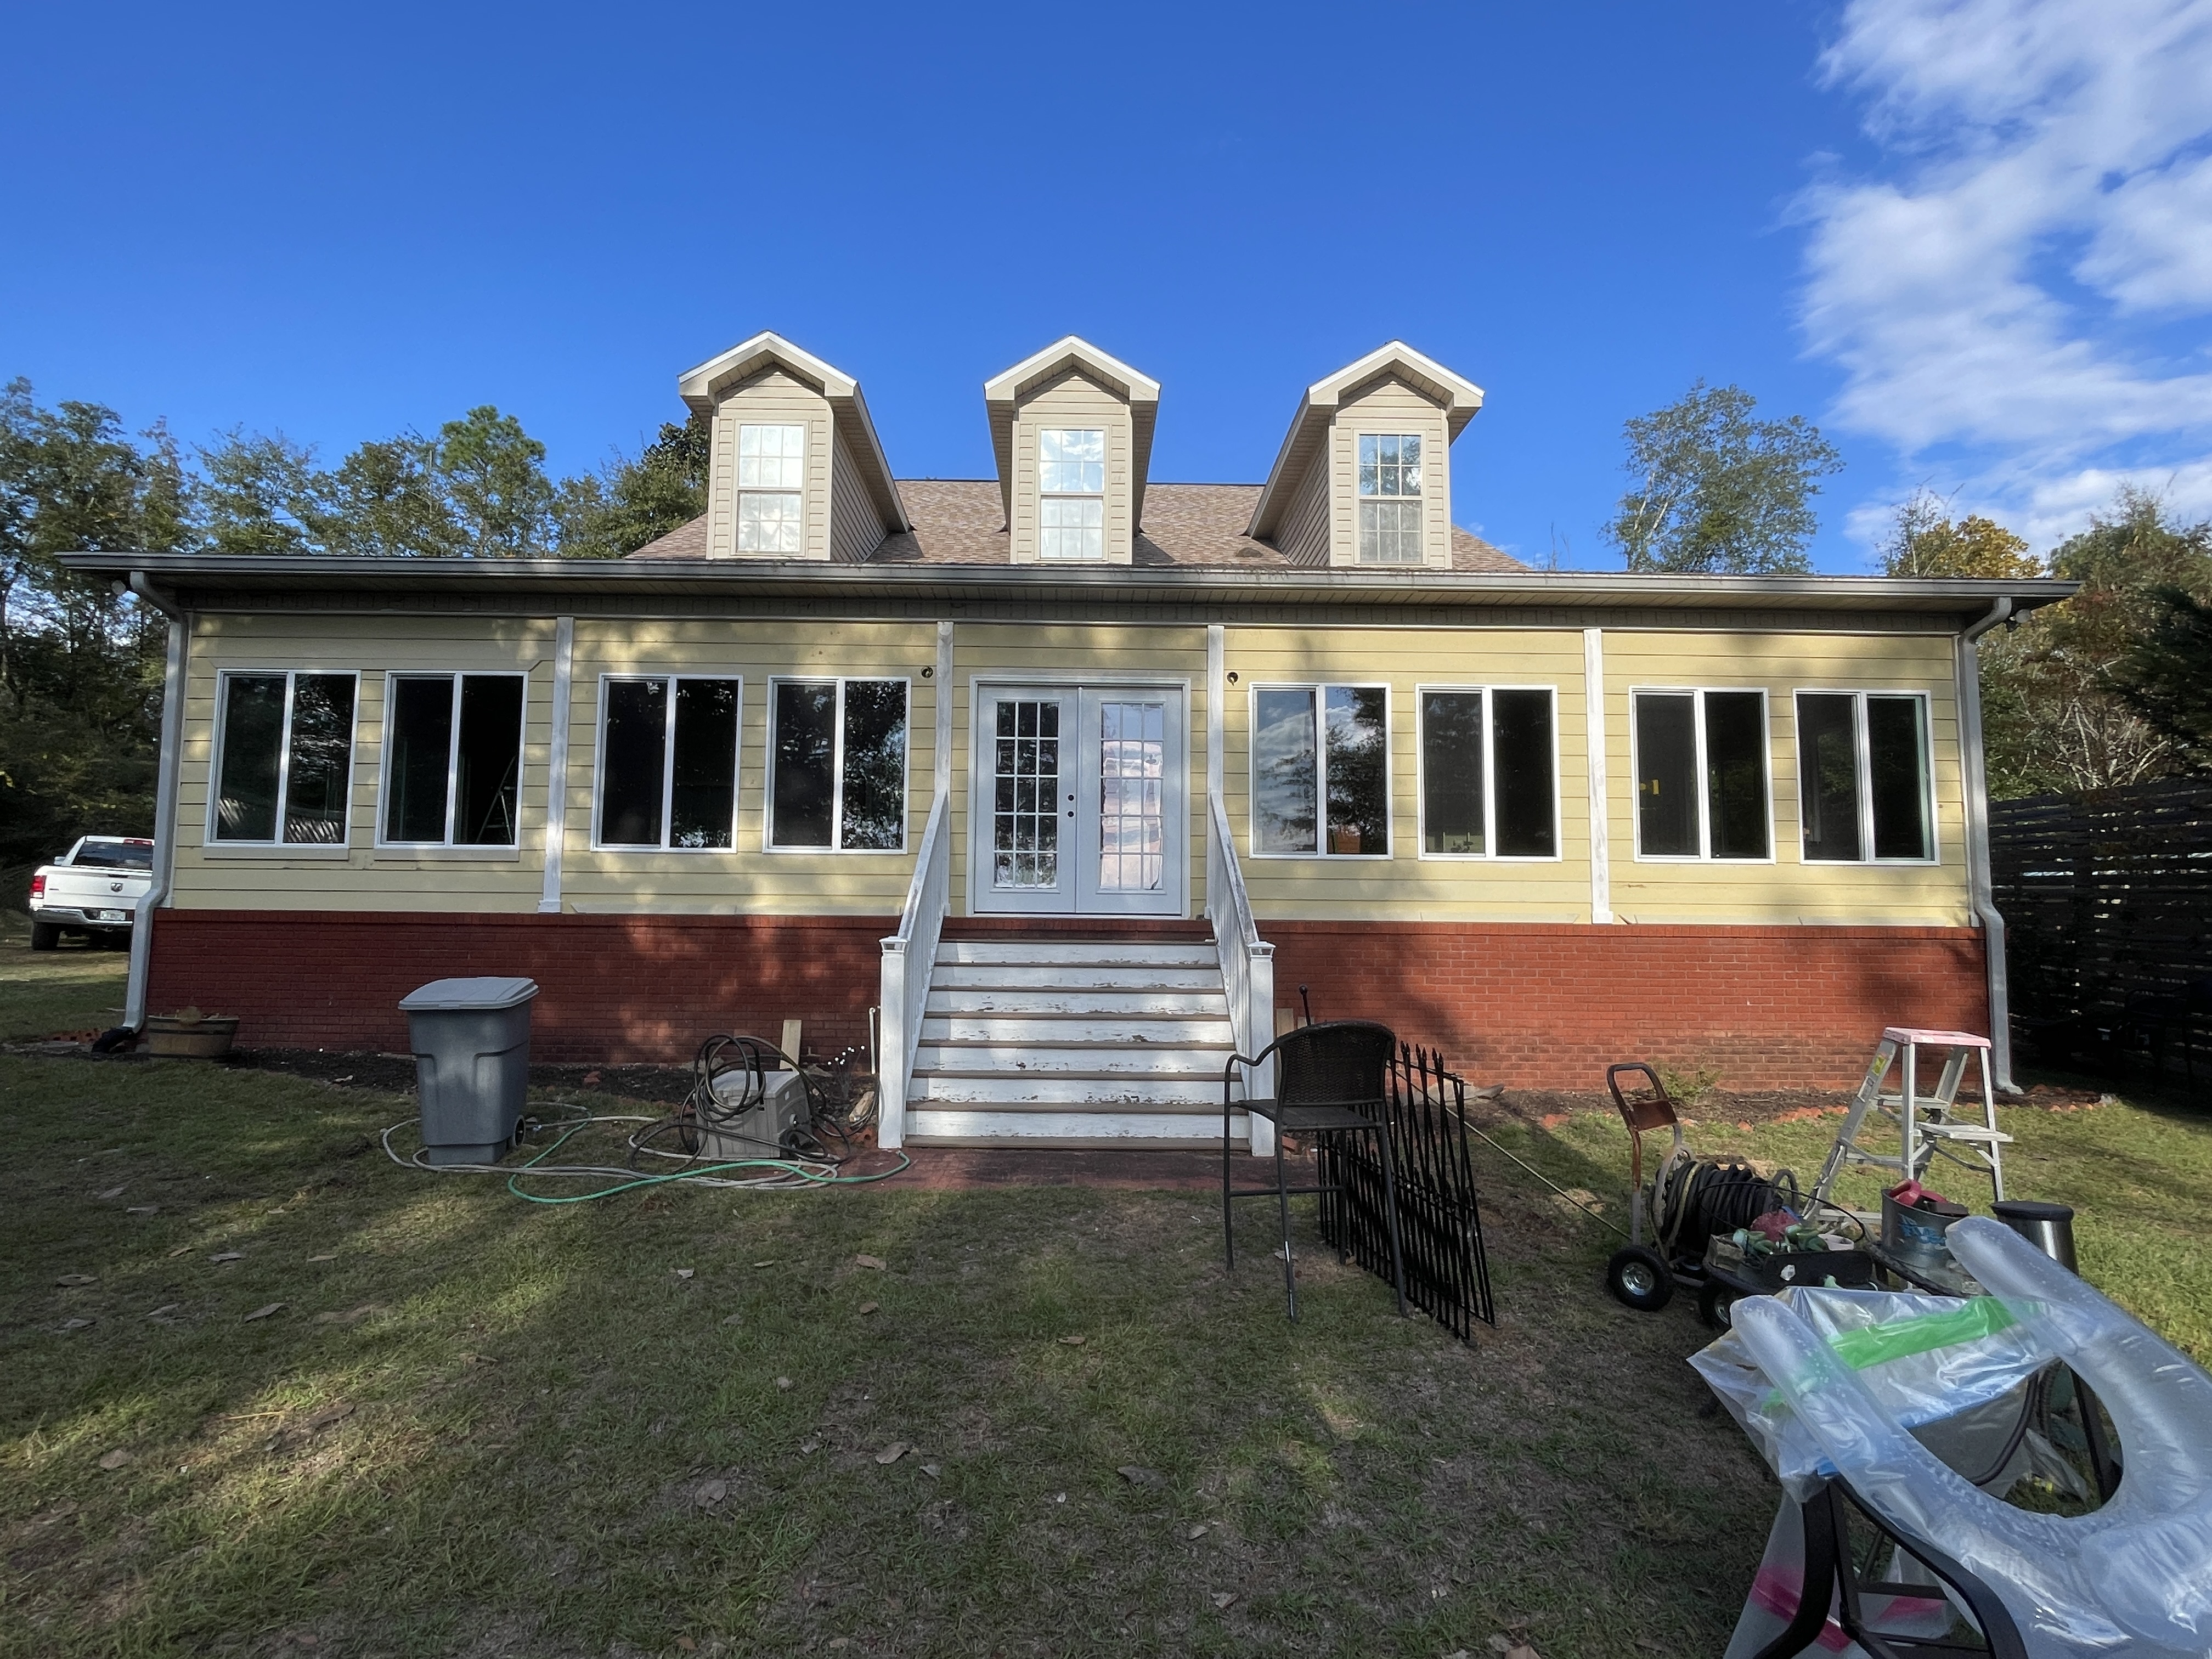
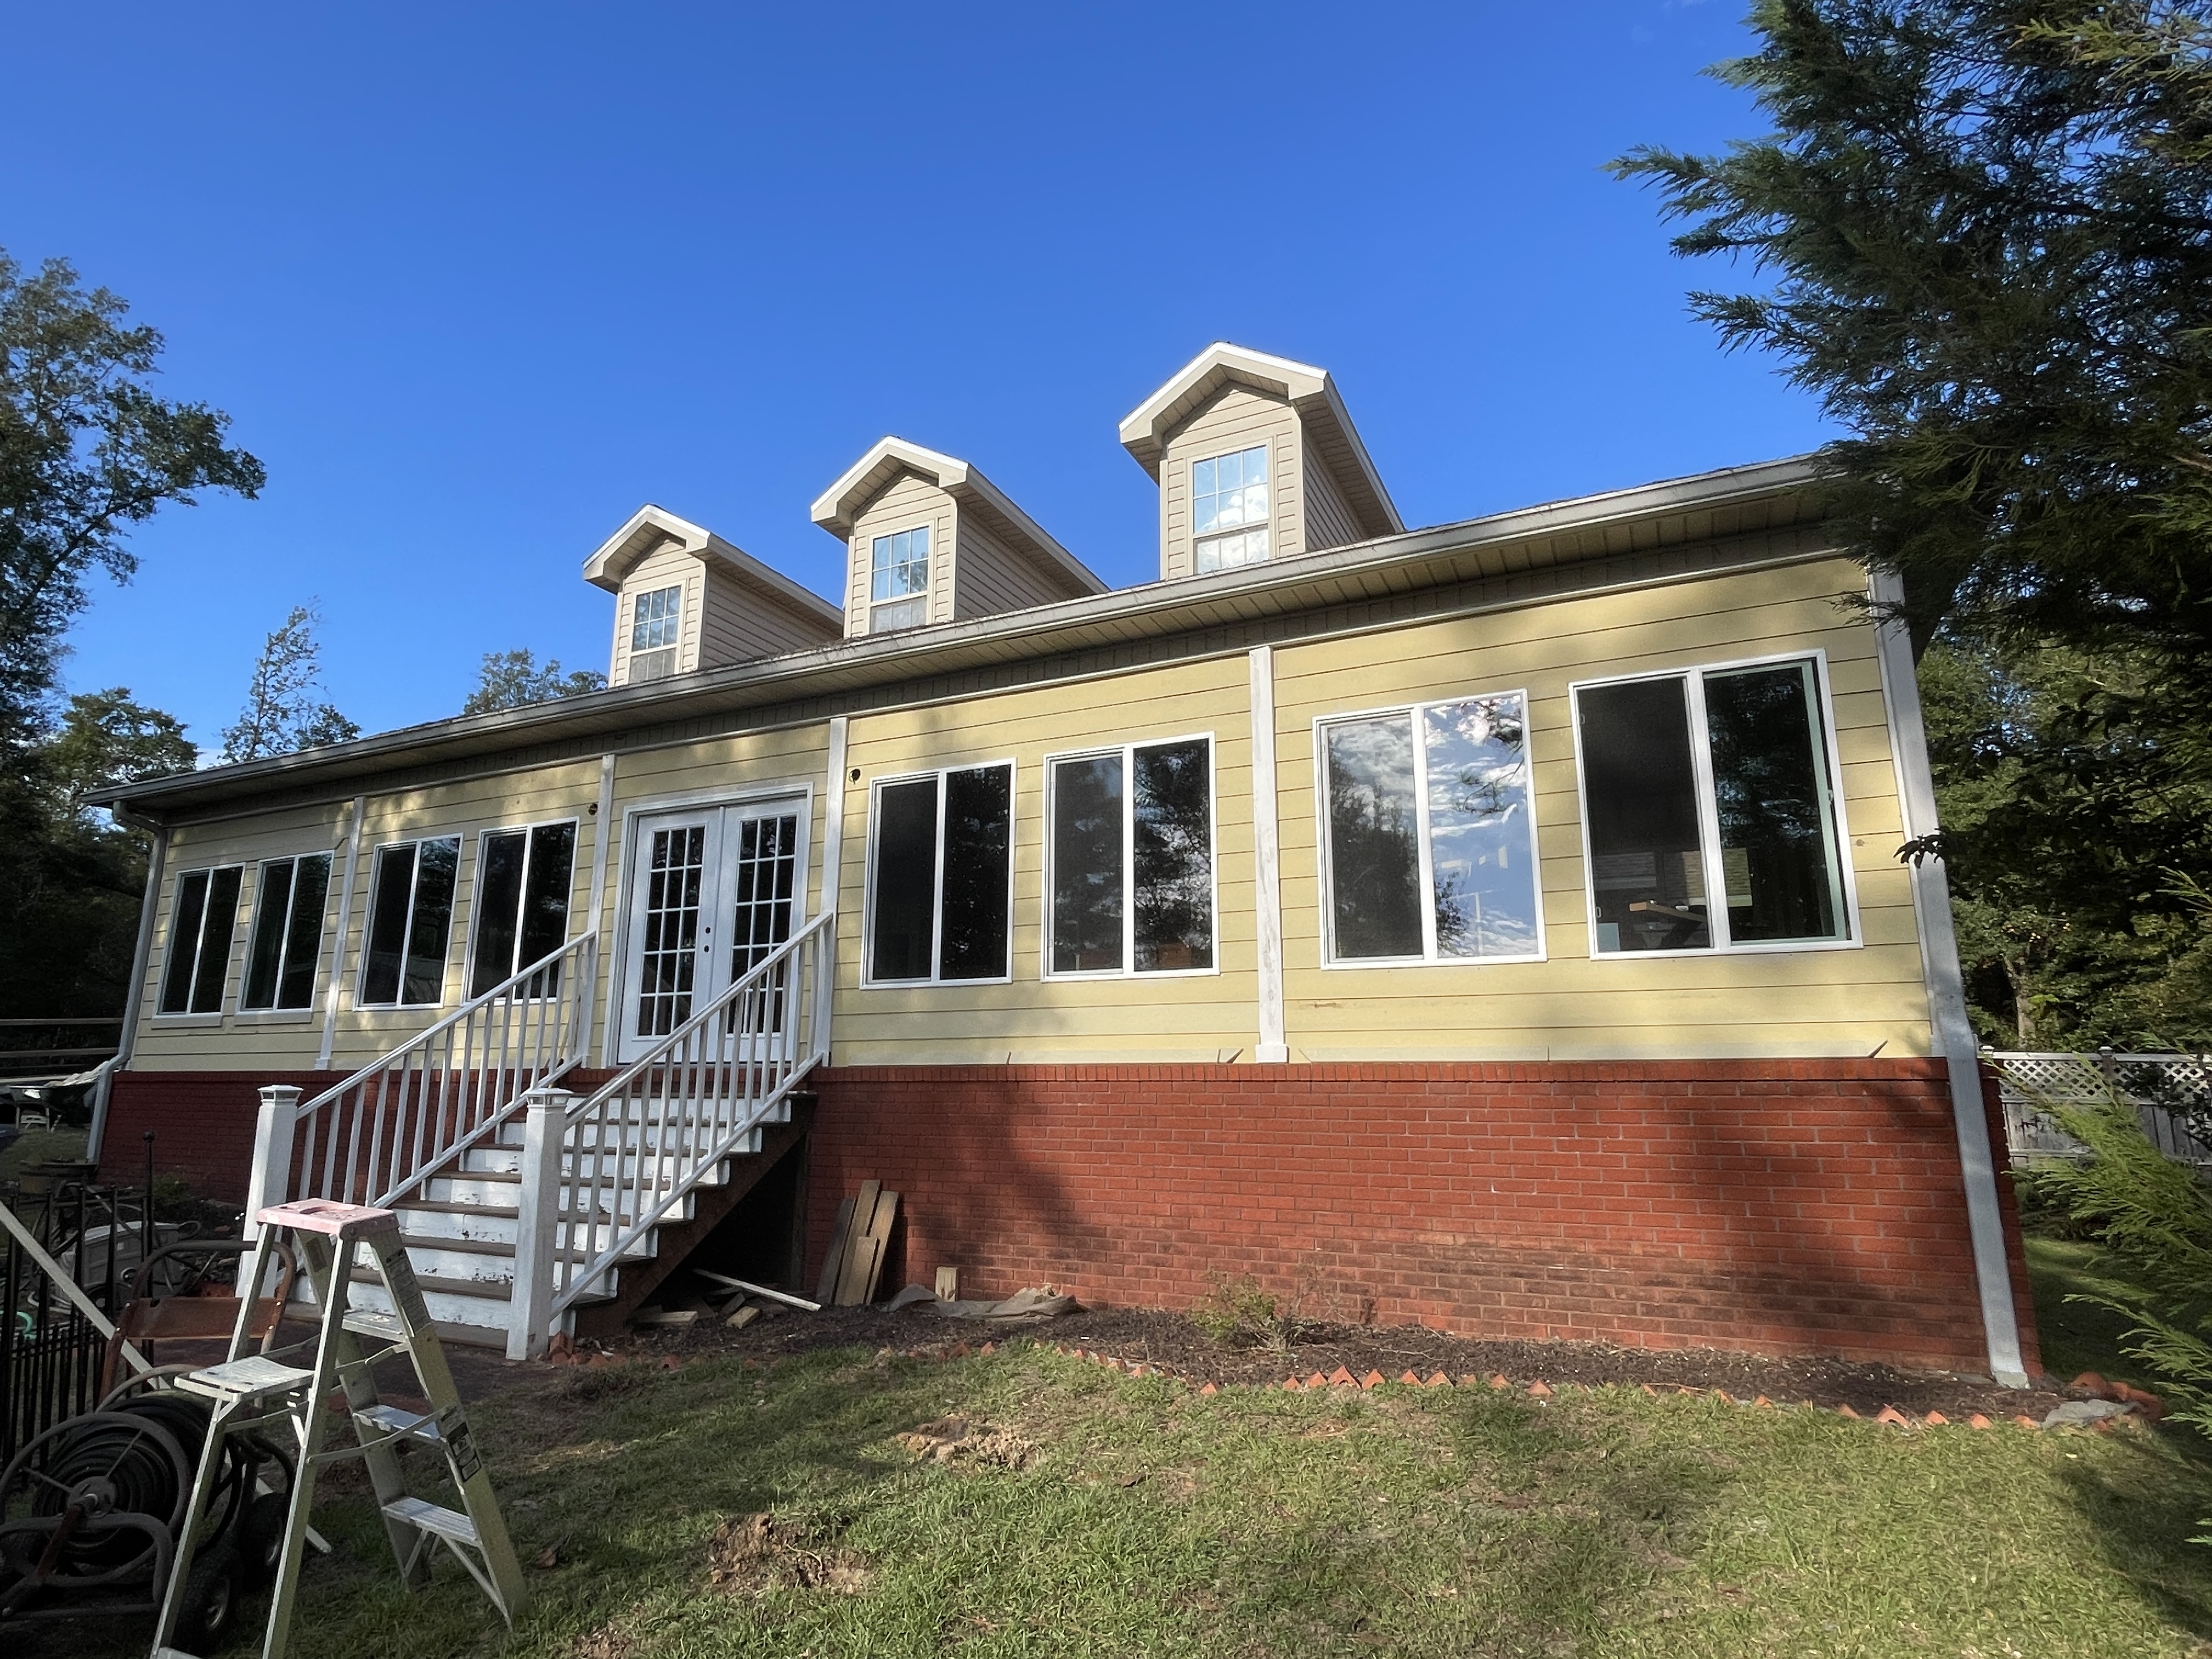
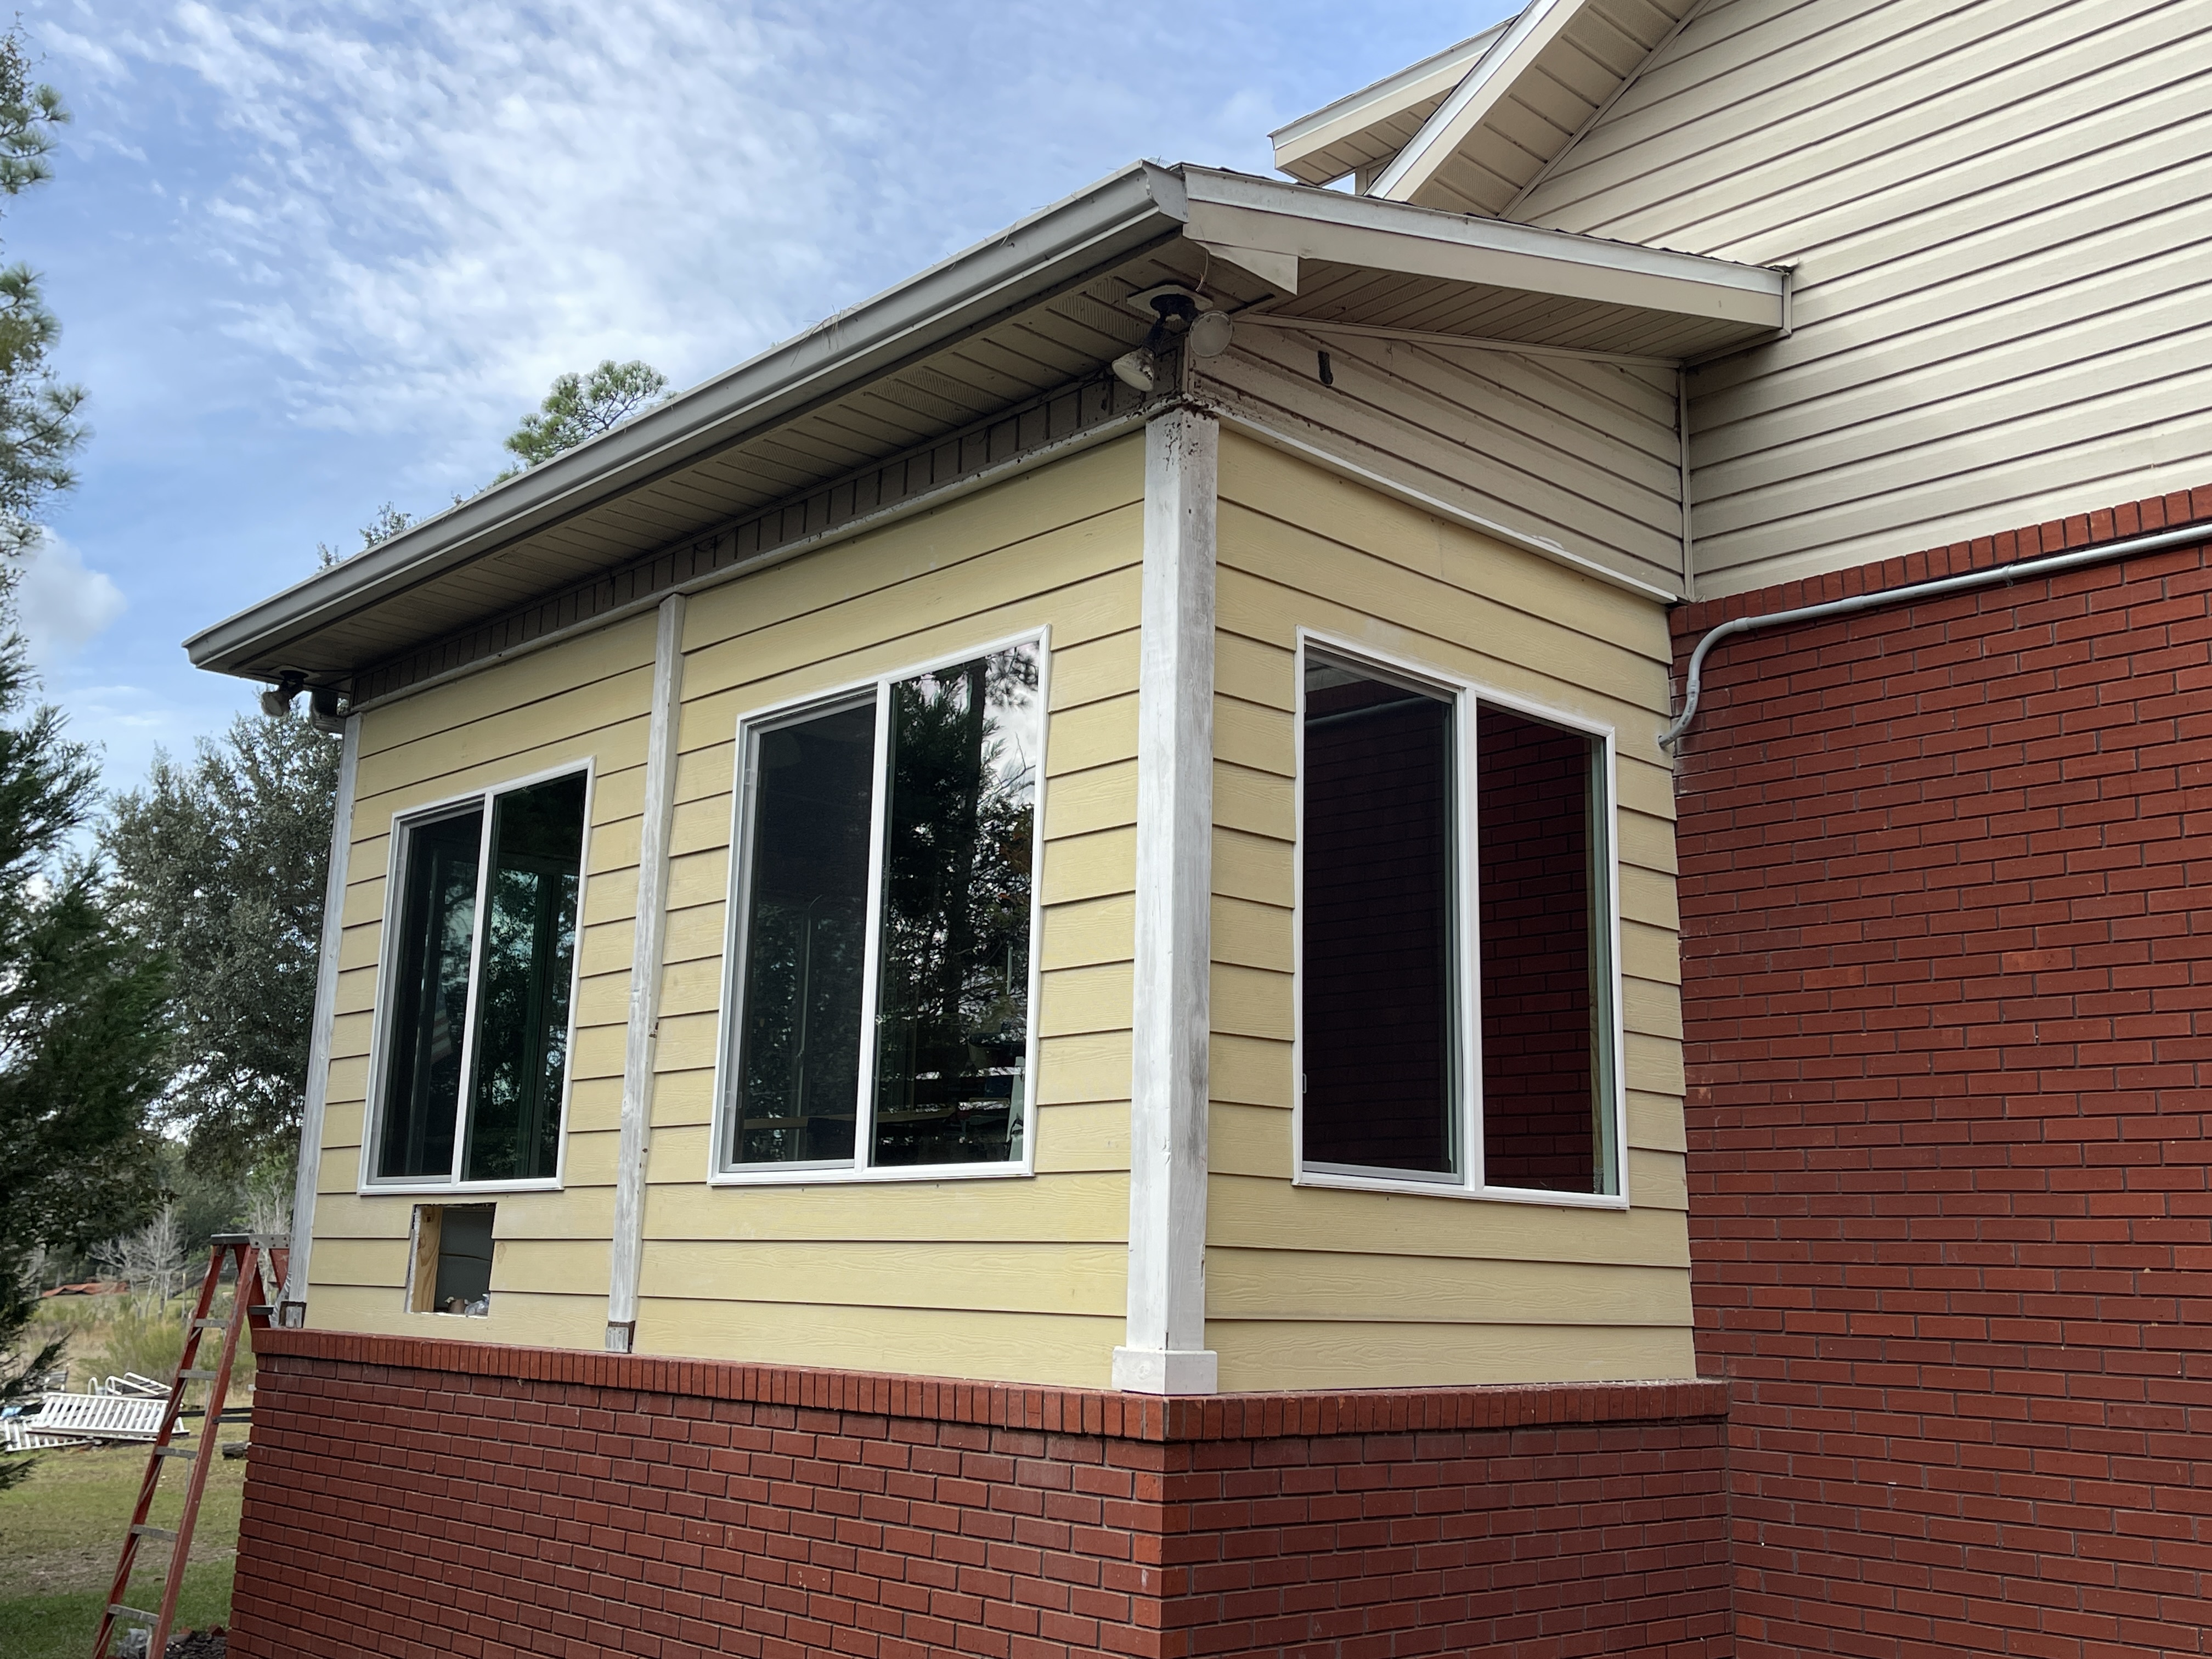
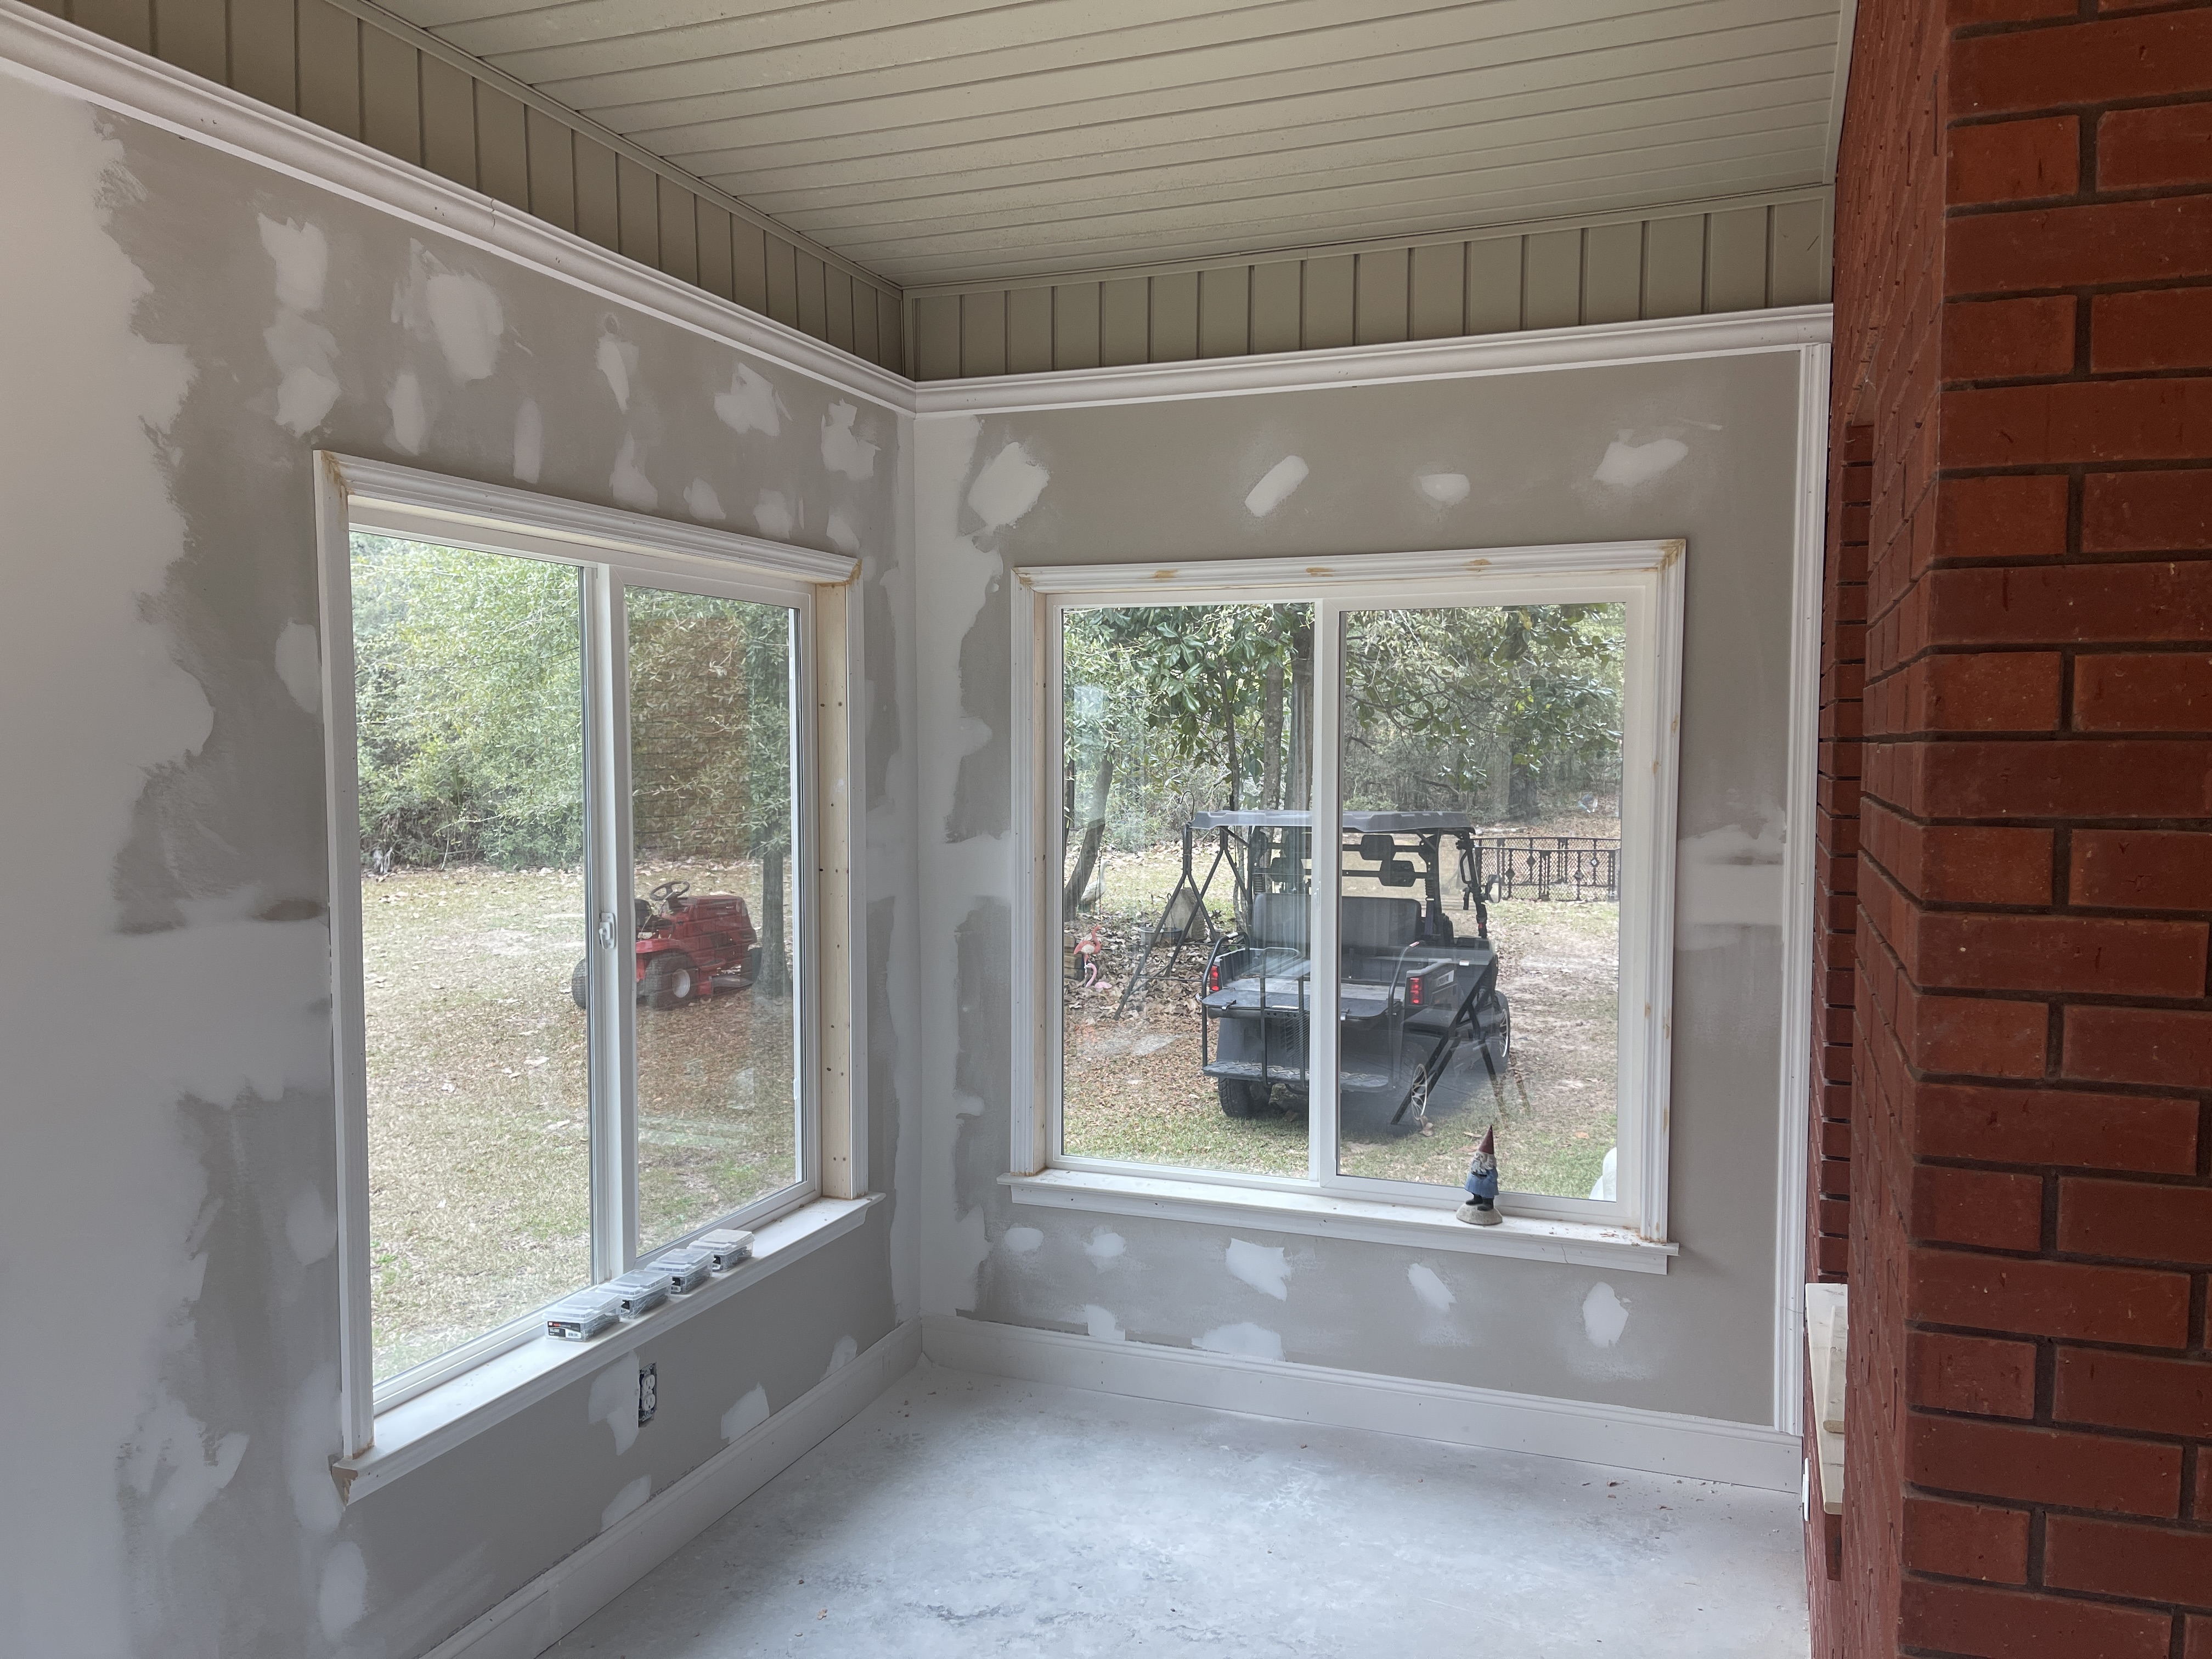
The Owner asked about the time and cost that might be required to enclose his wraparound porch. Their goals were to mainly to keep out insects,
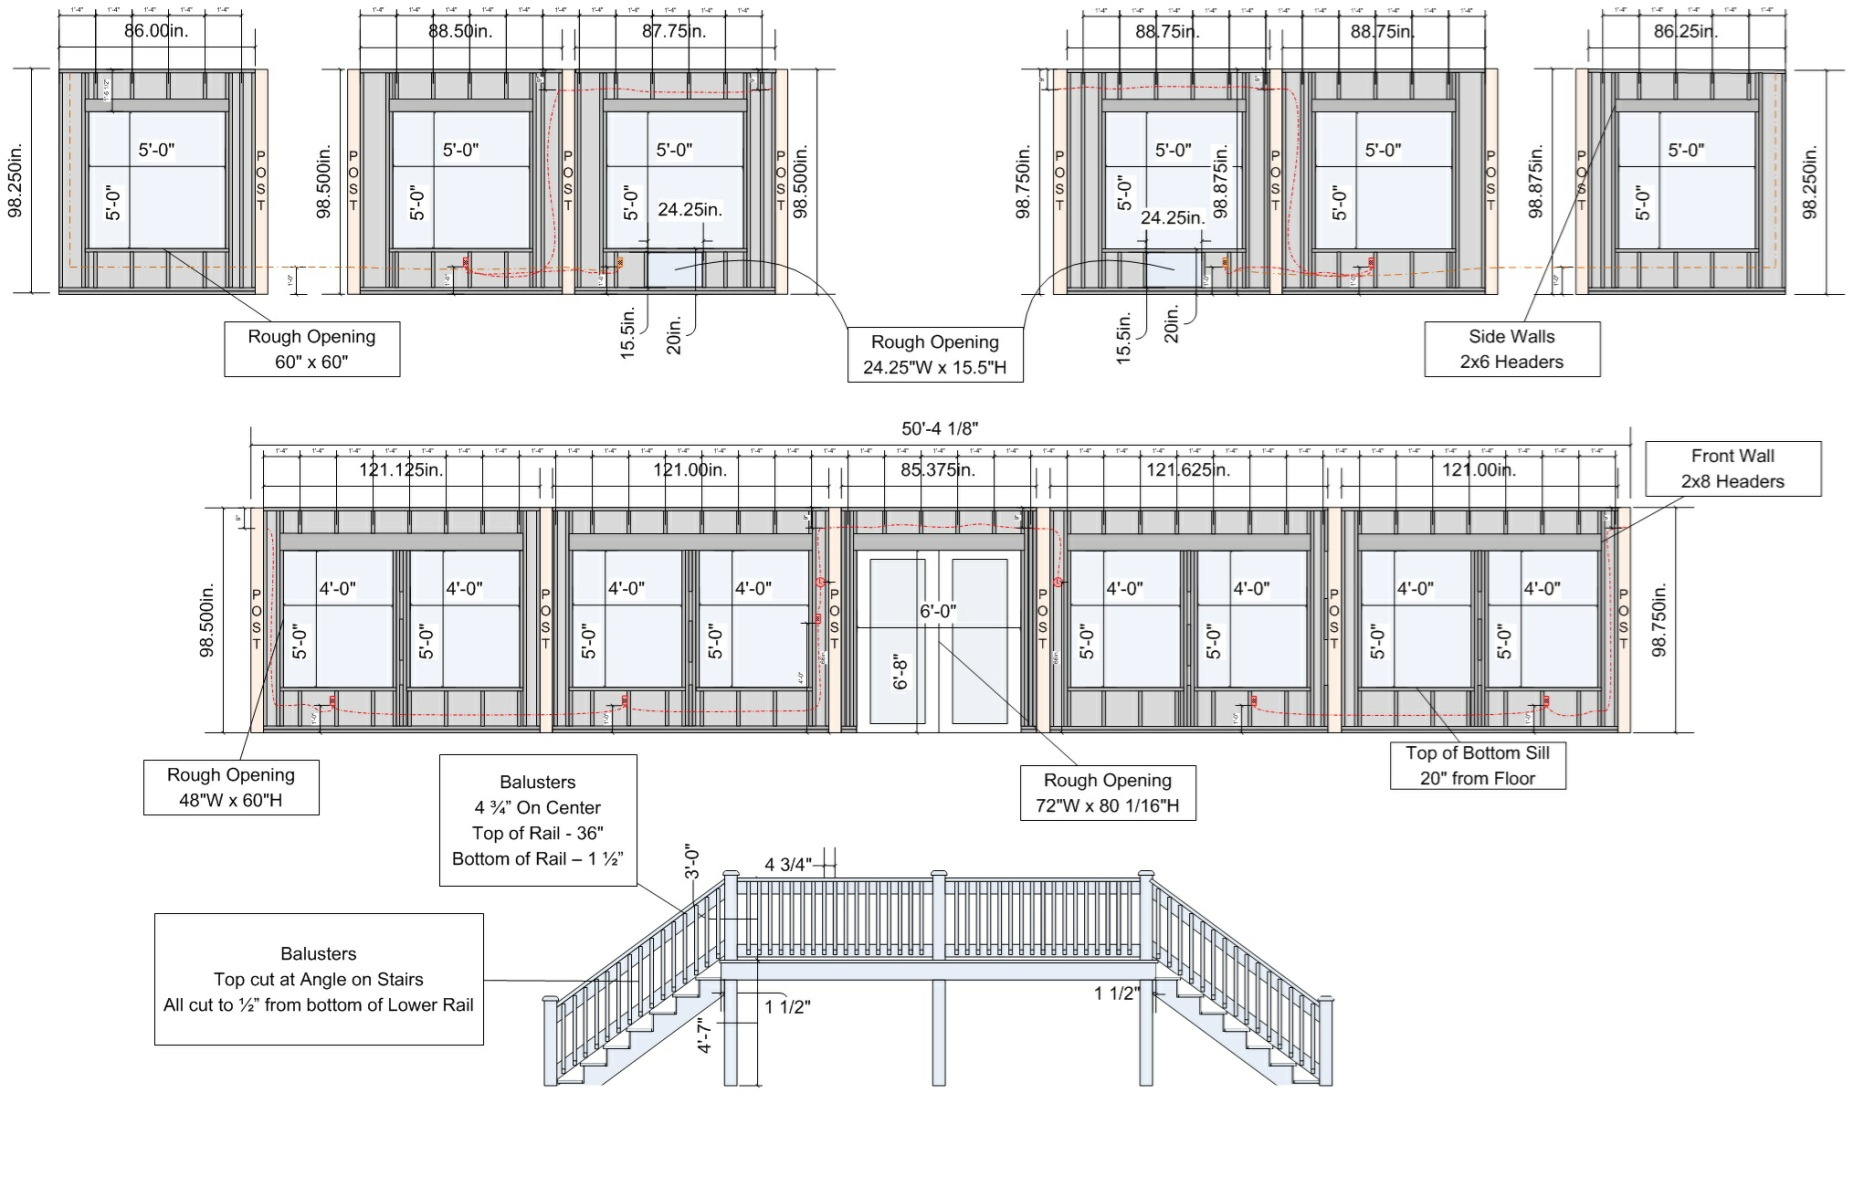
but they also wanted to better utilize the space year-round. So, the first step was to take measurements and then produce some drawings.
Once they approved of the design, I created a material list that they could use to acquire everything that we needed to
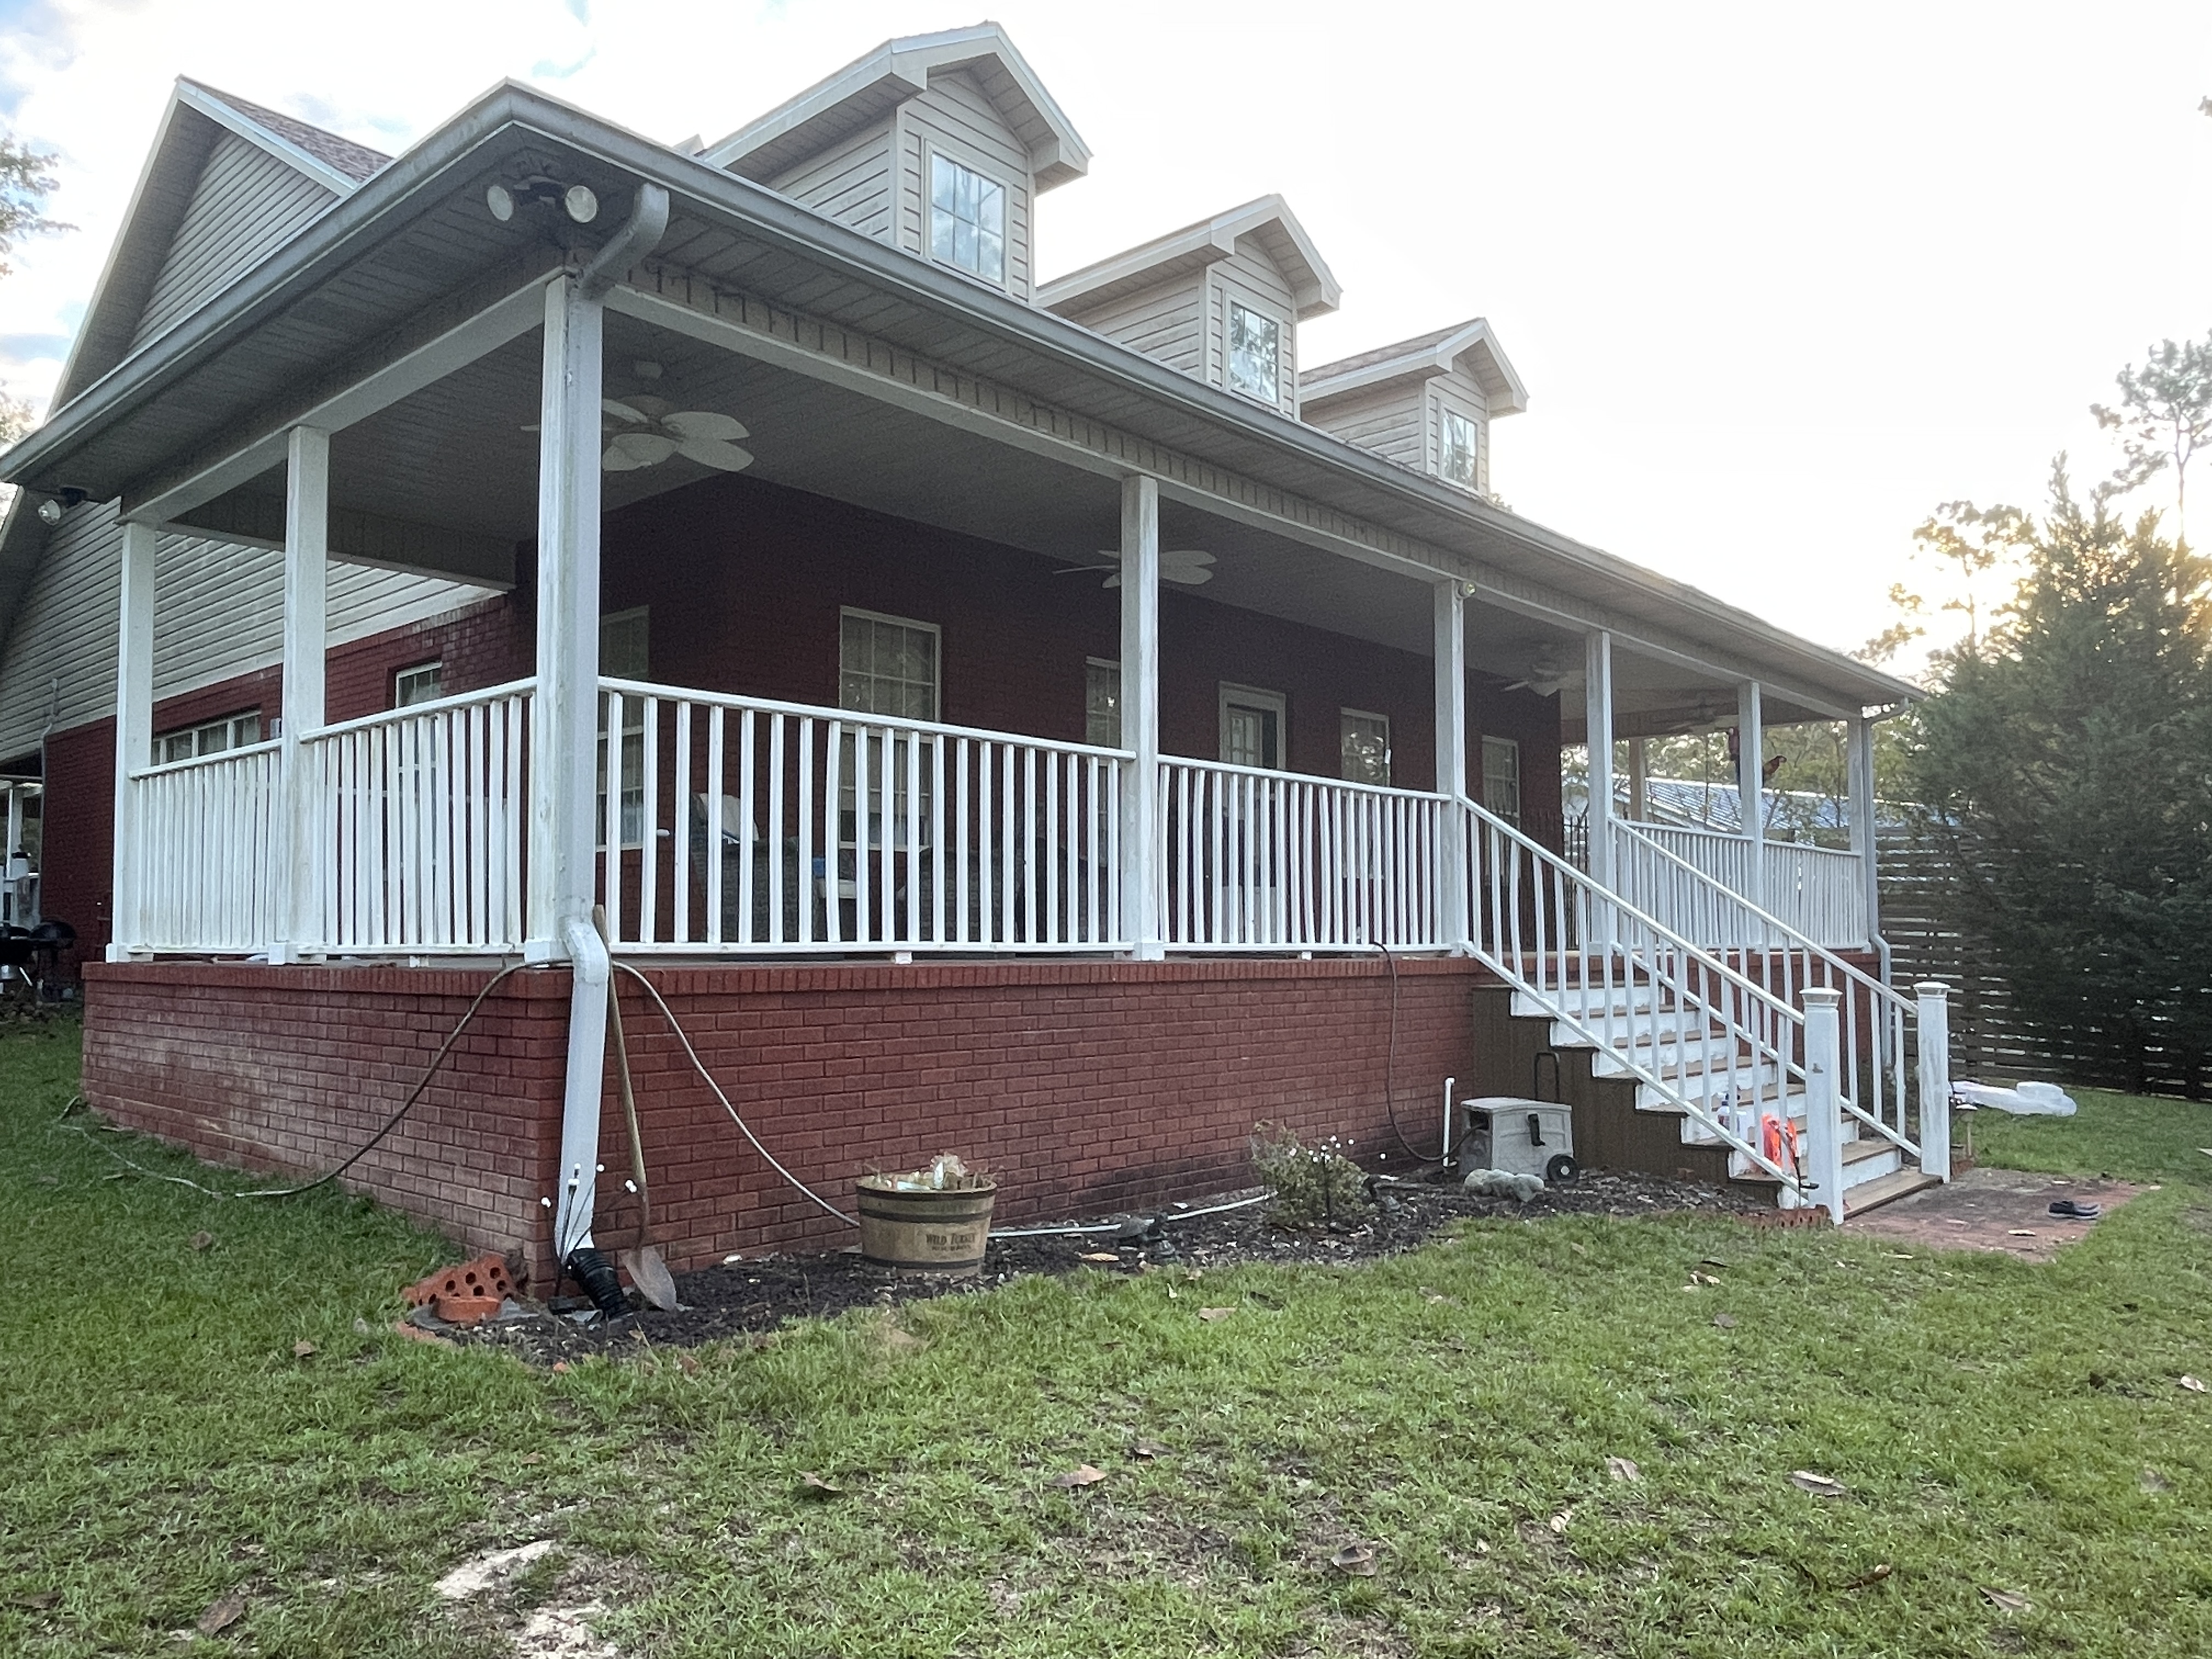
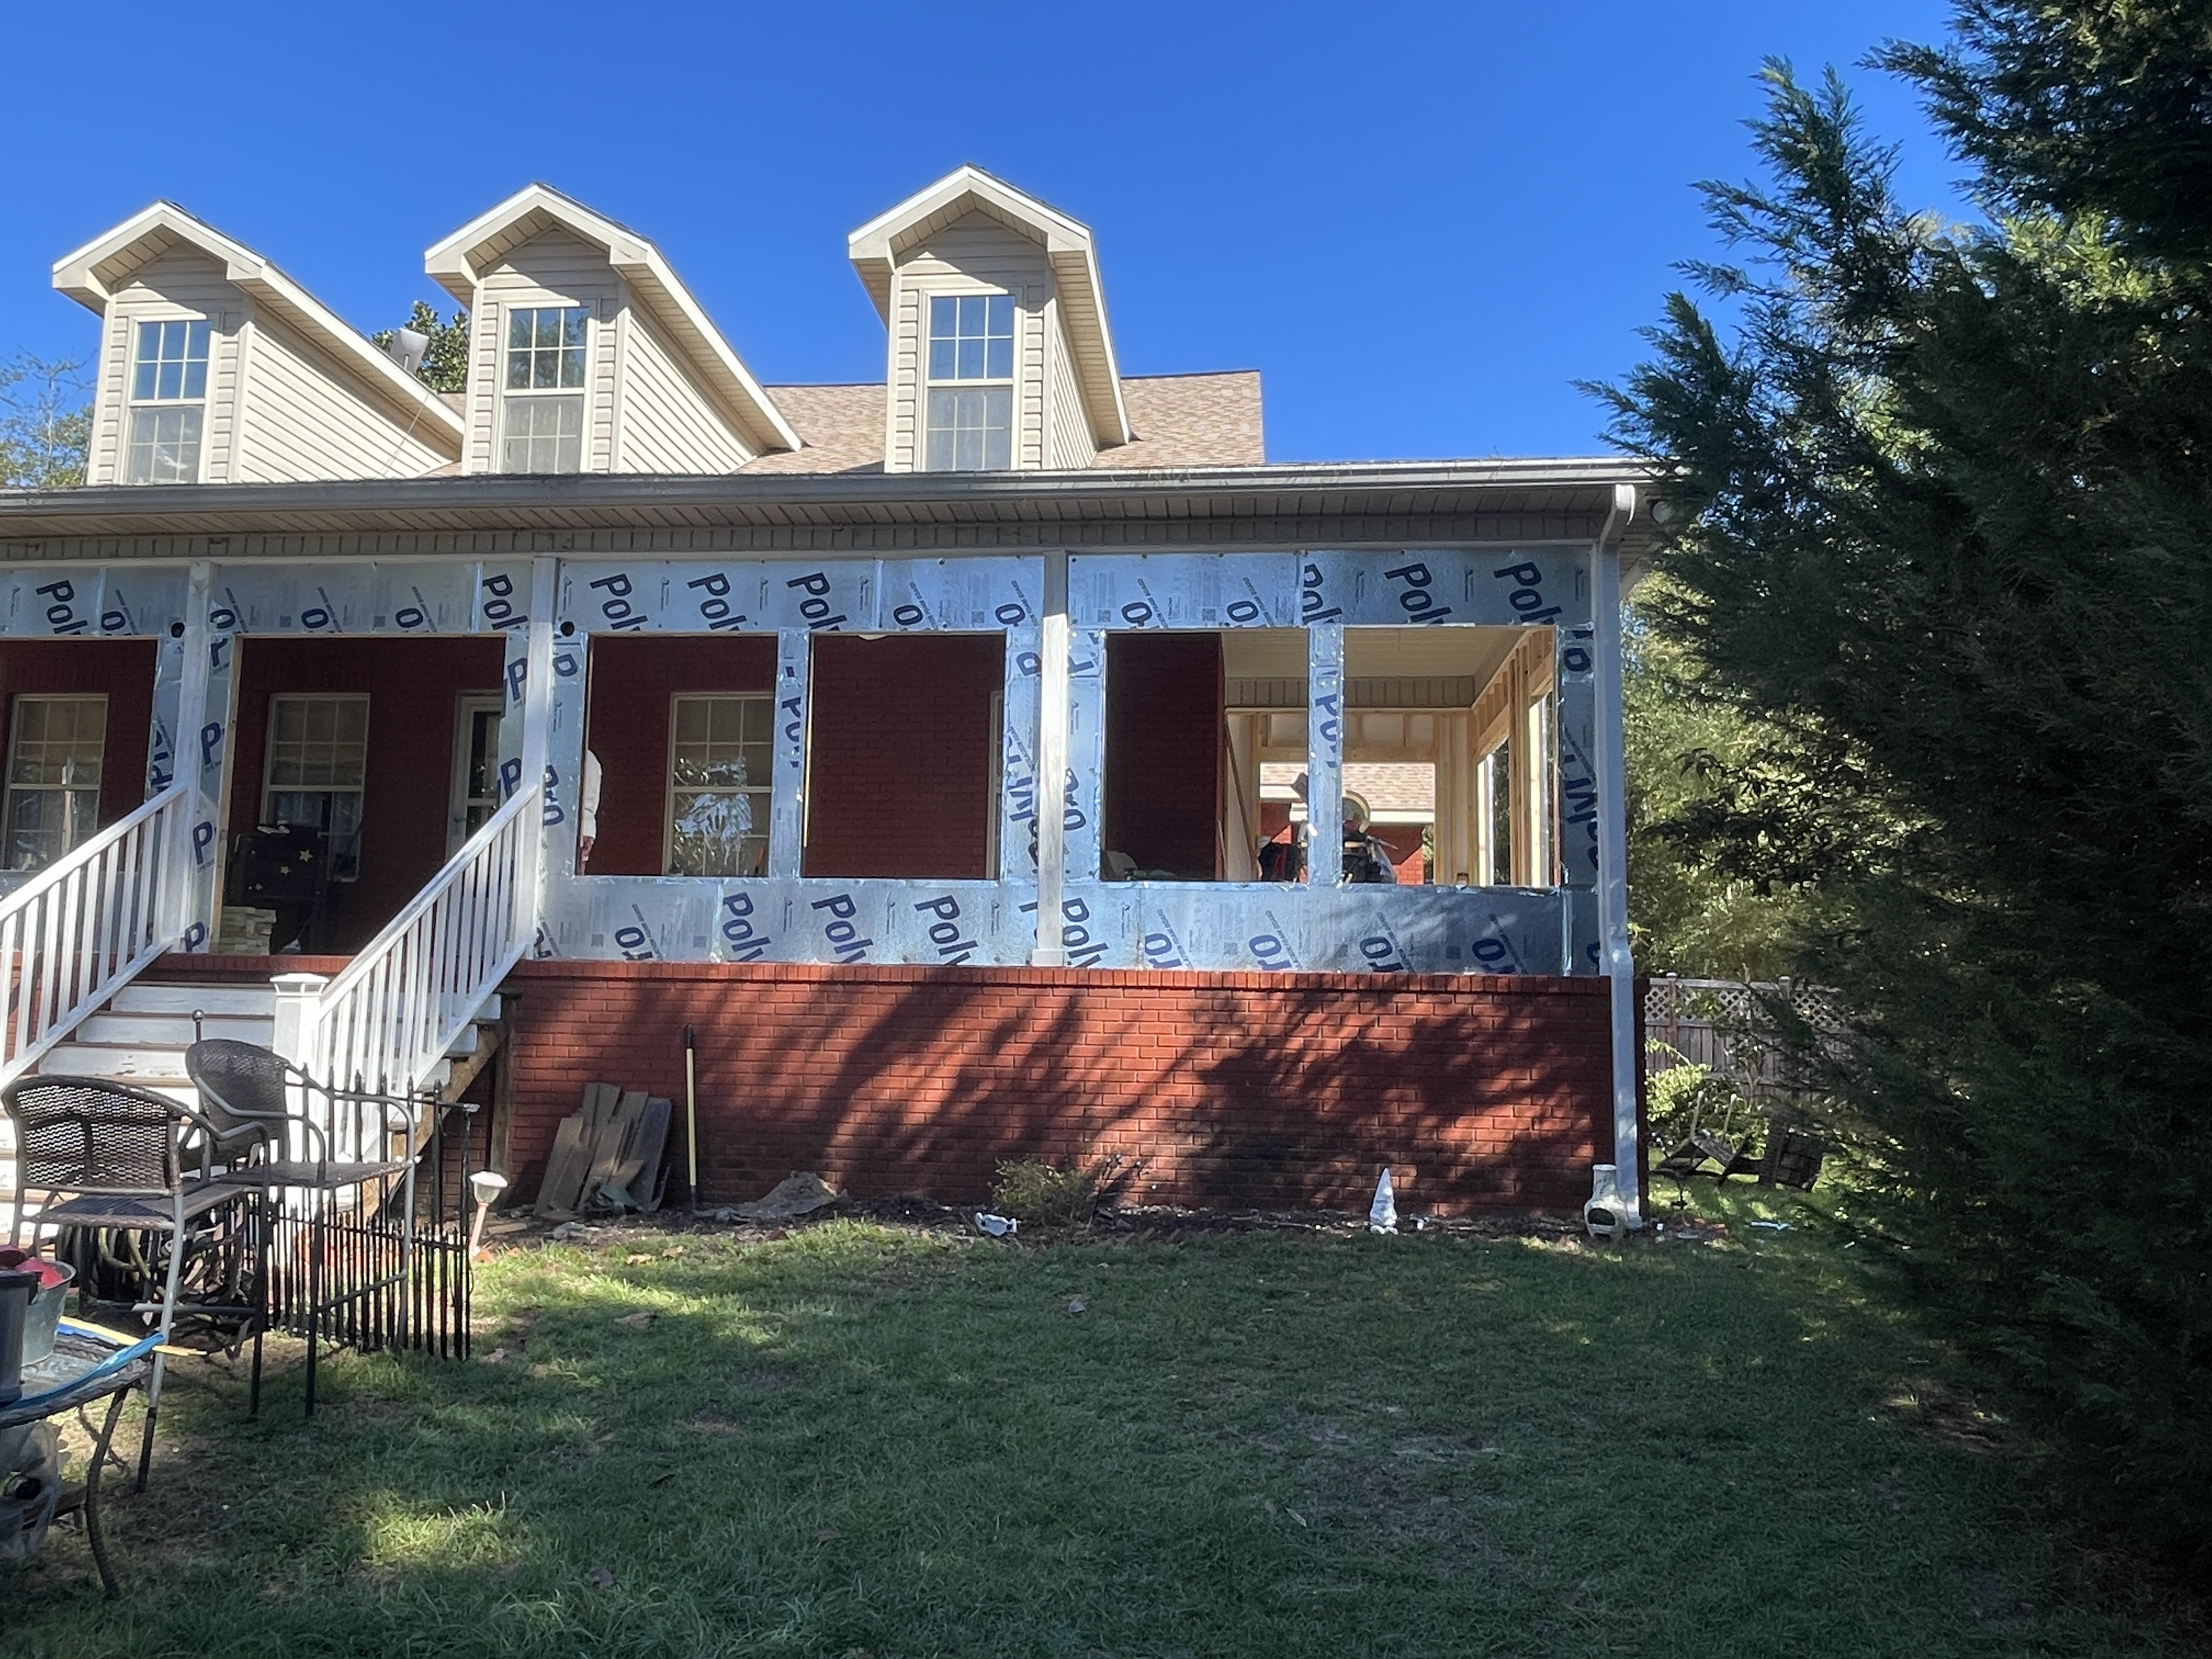
complete the job. So, here are a few pictures of the Porch before I began the project.
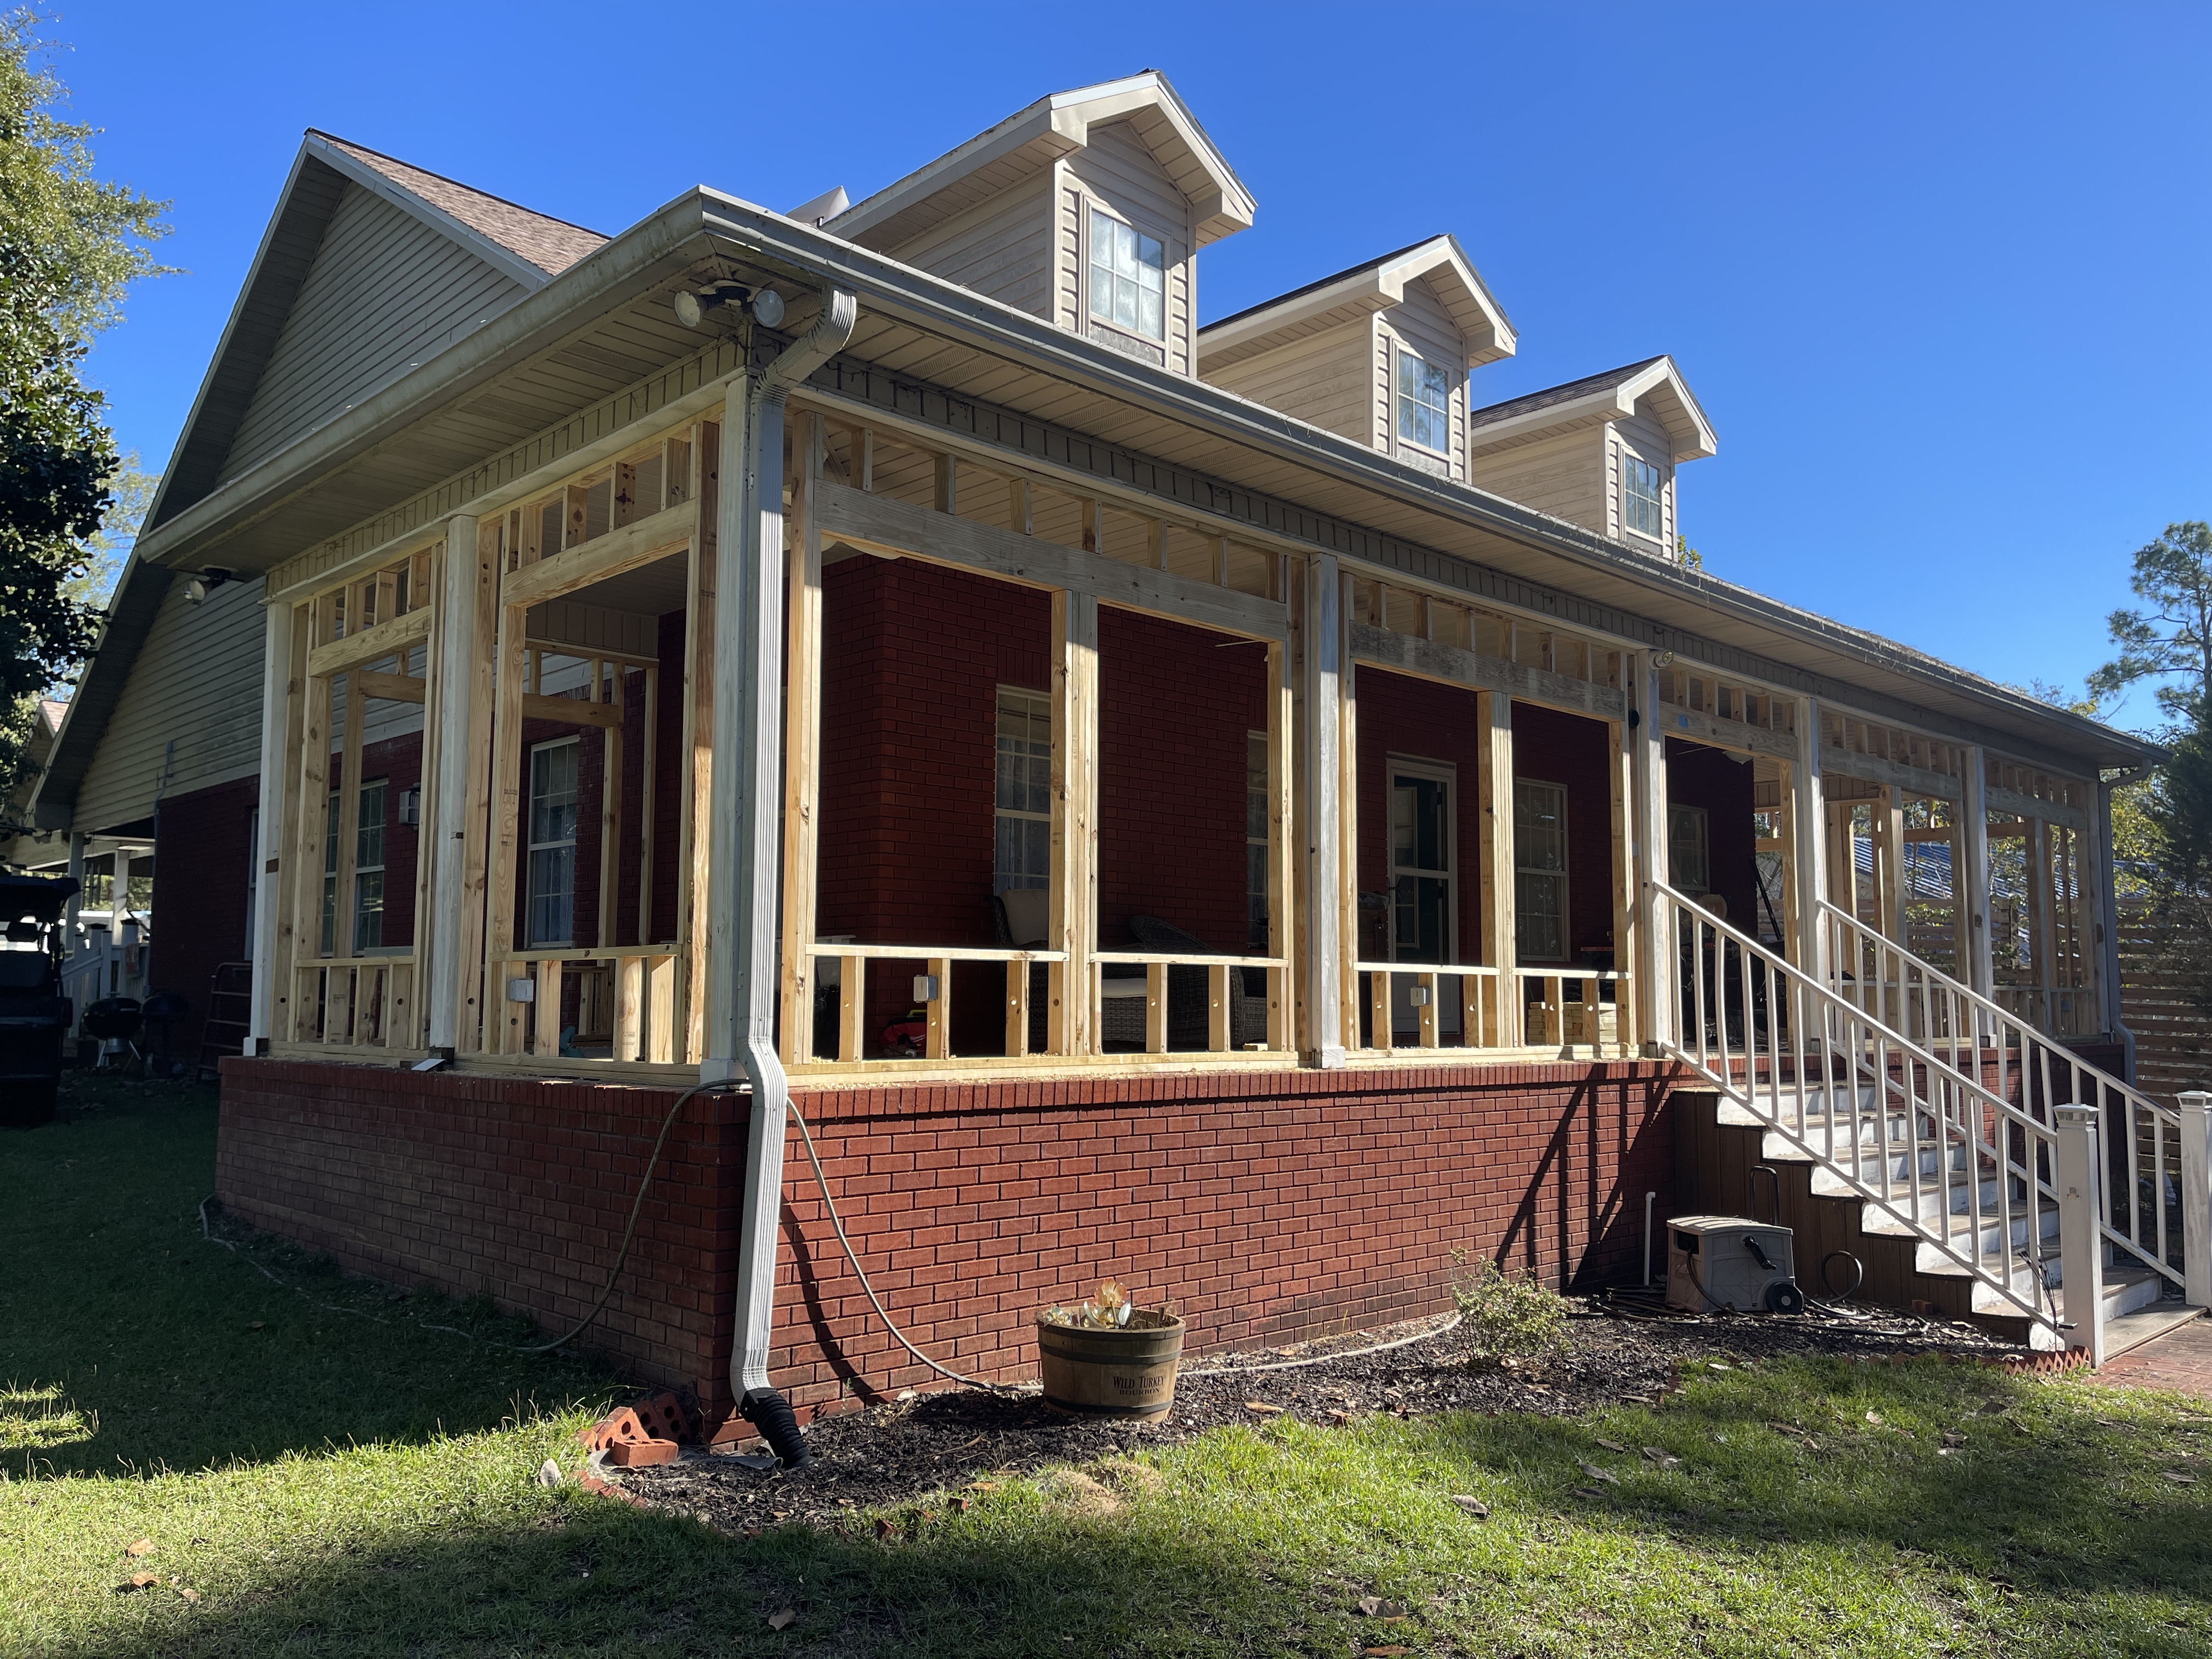
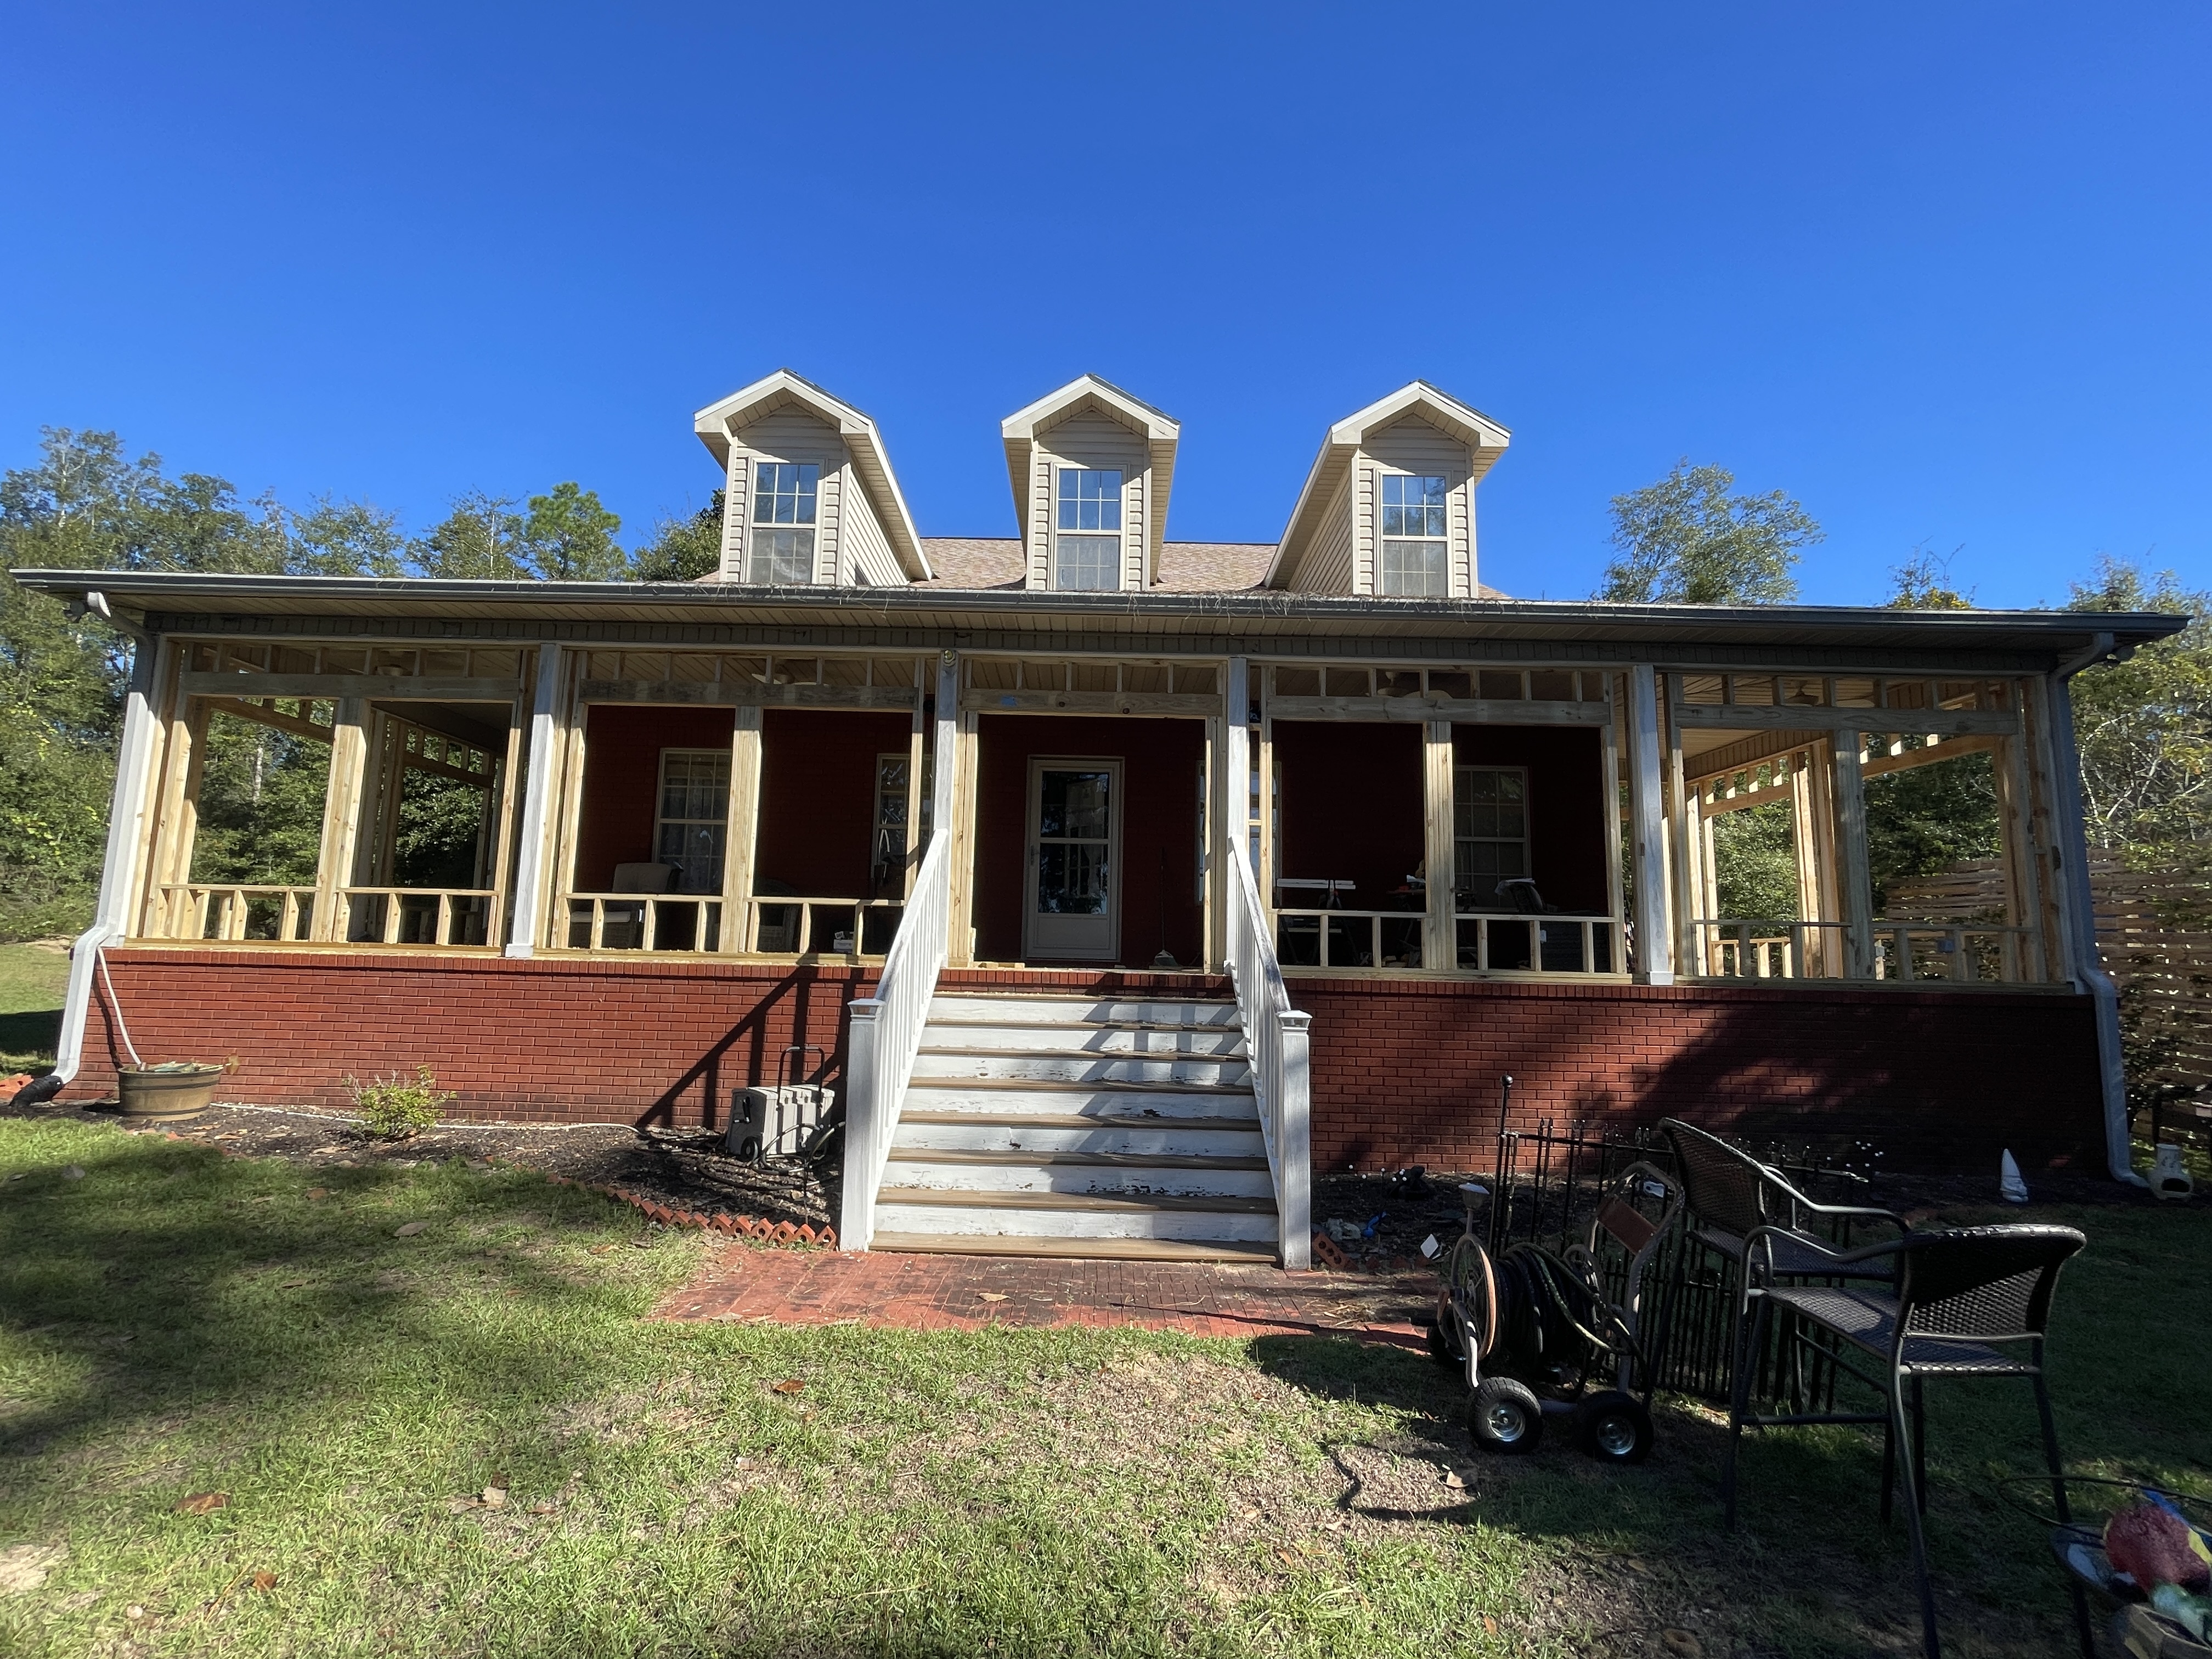
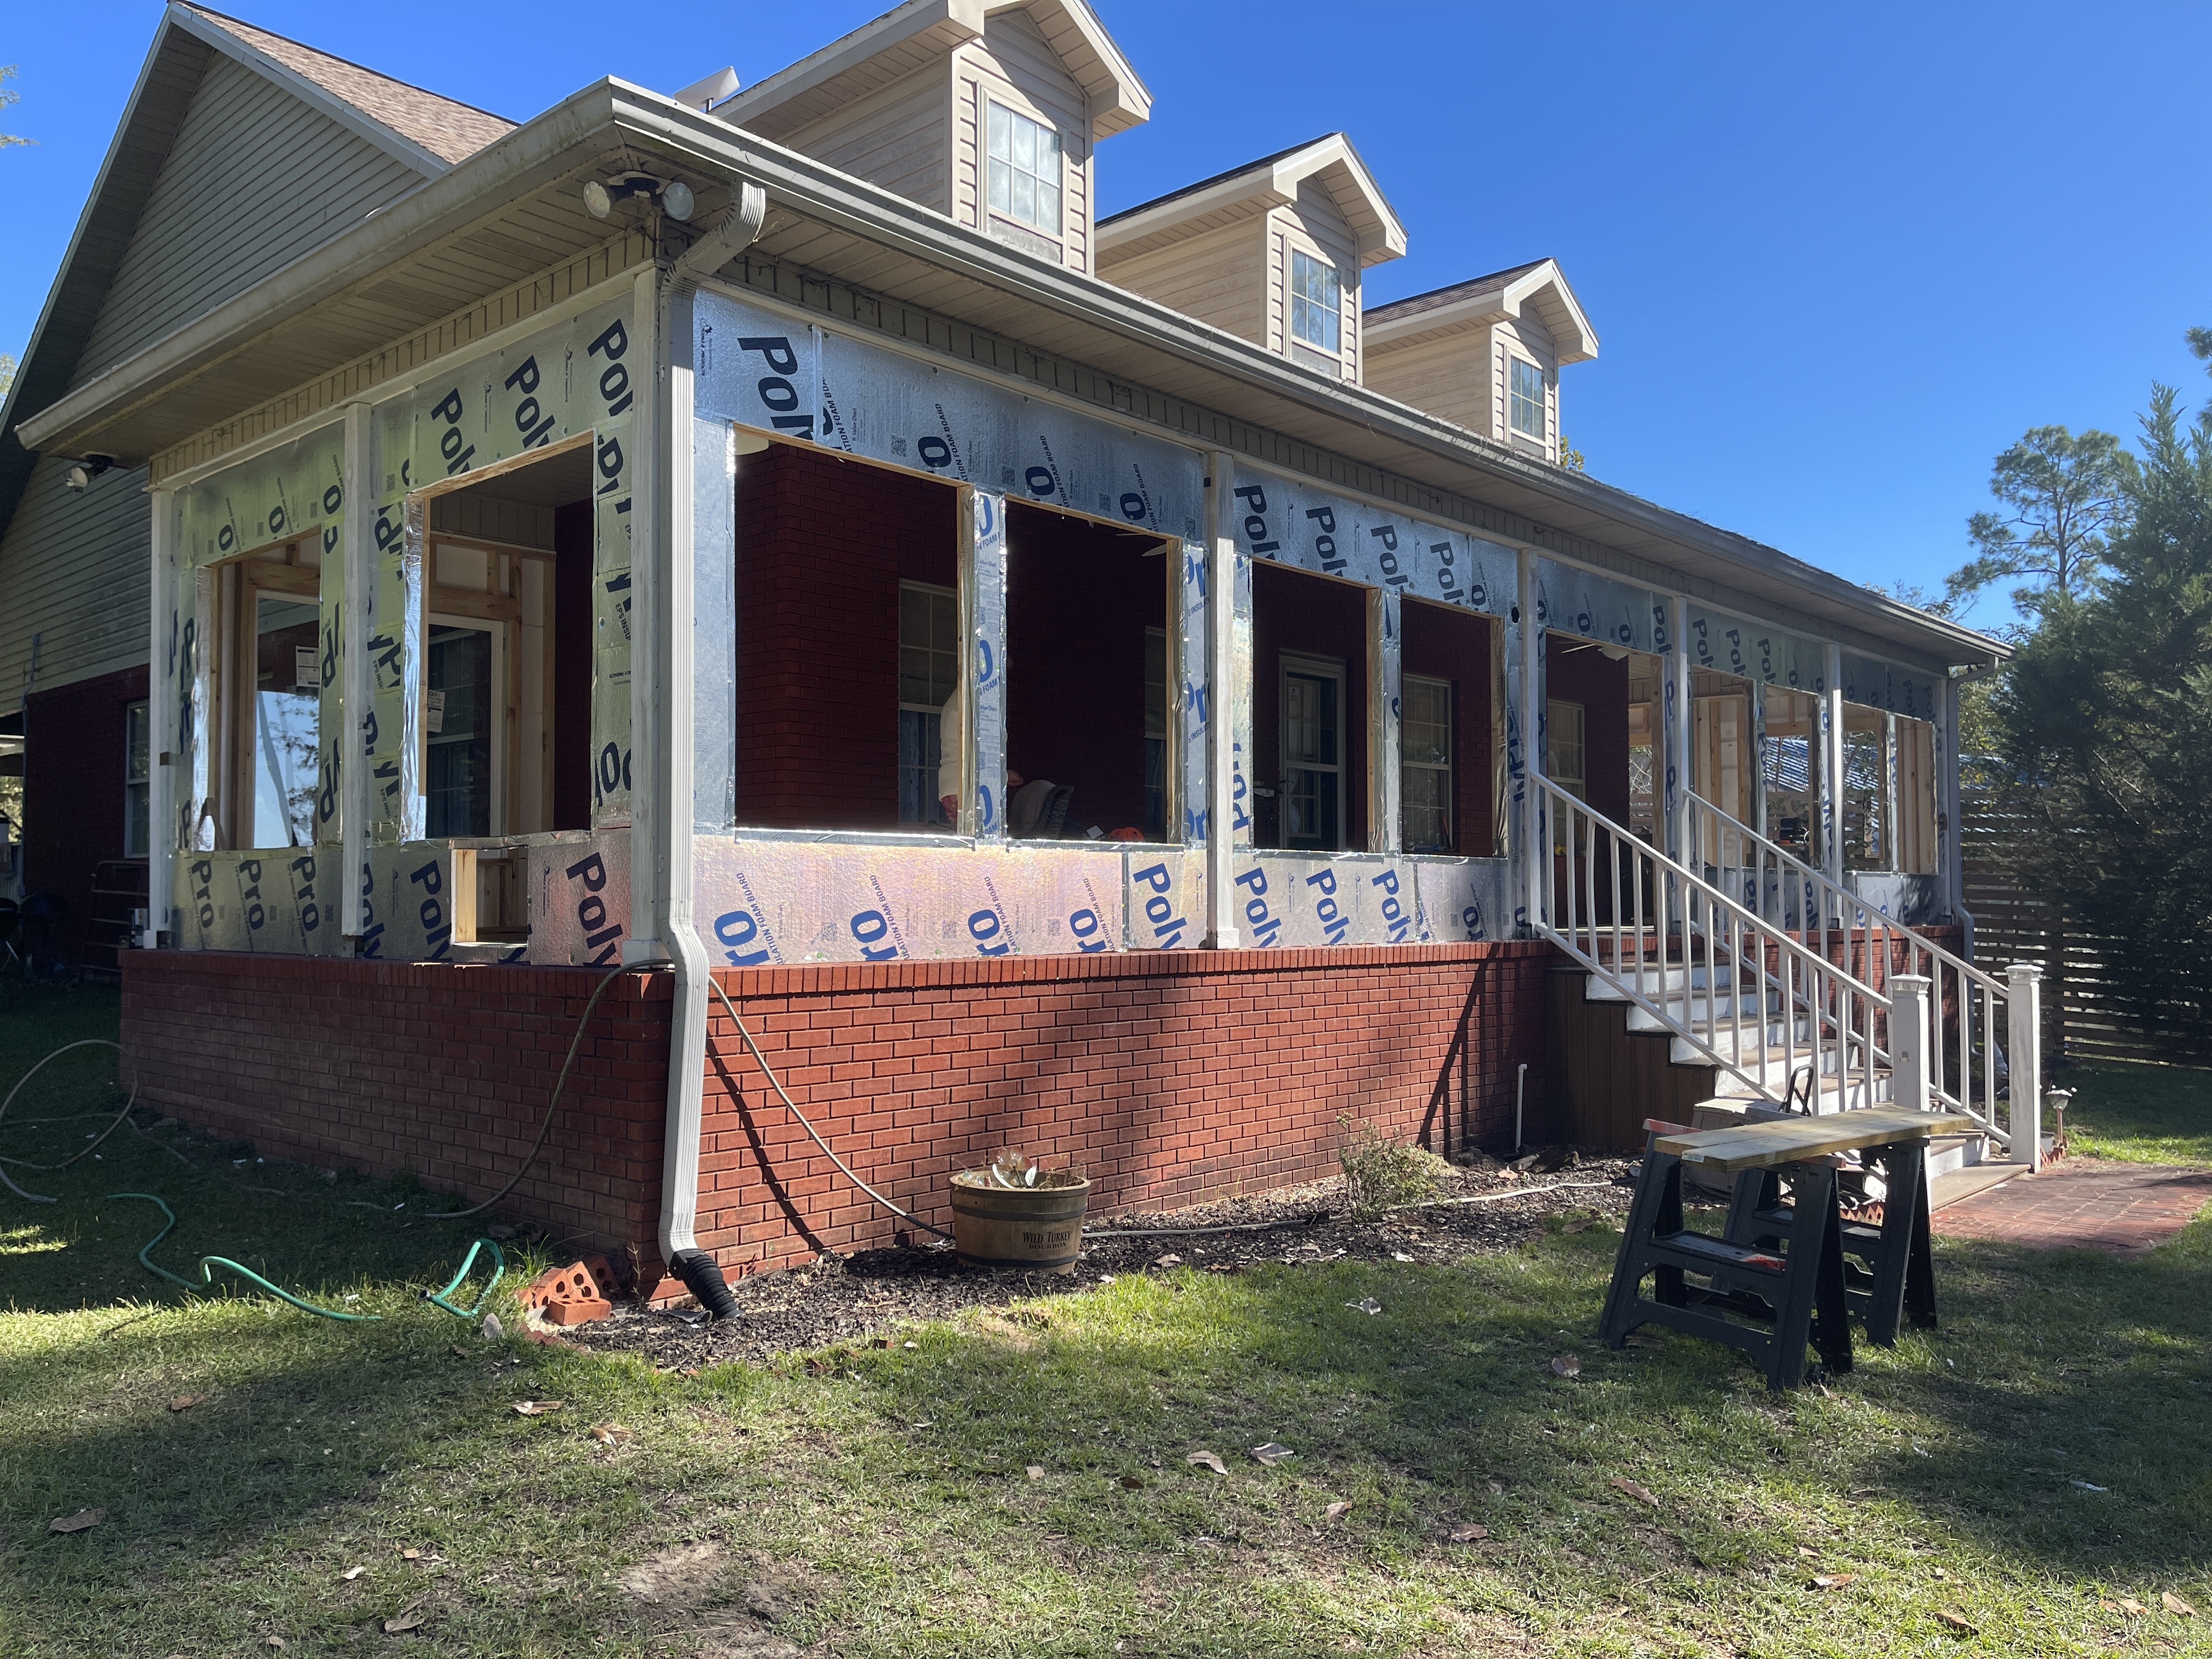
After removing the railings and trim at the bottom of the Posts, I constructed all of the wall framing and put in the electrical boxes and wiring.
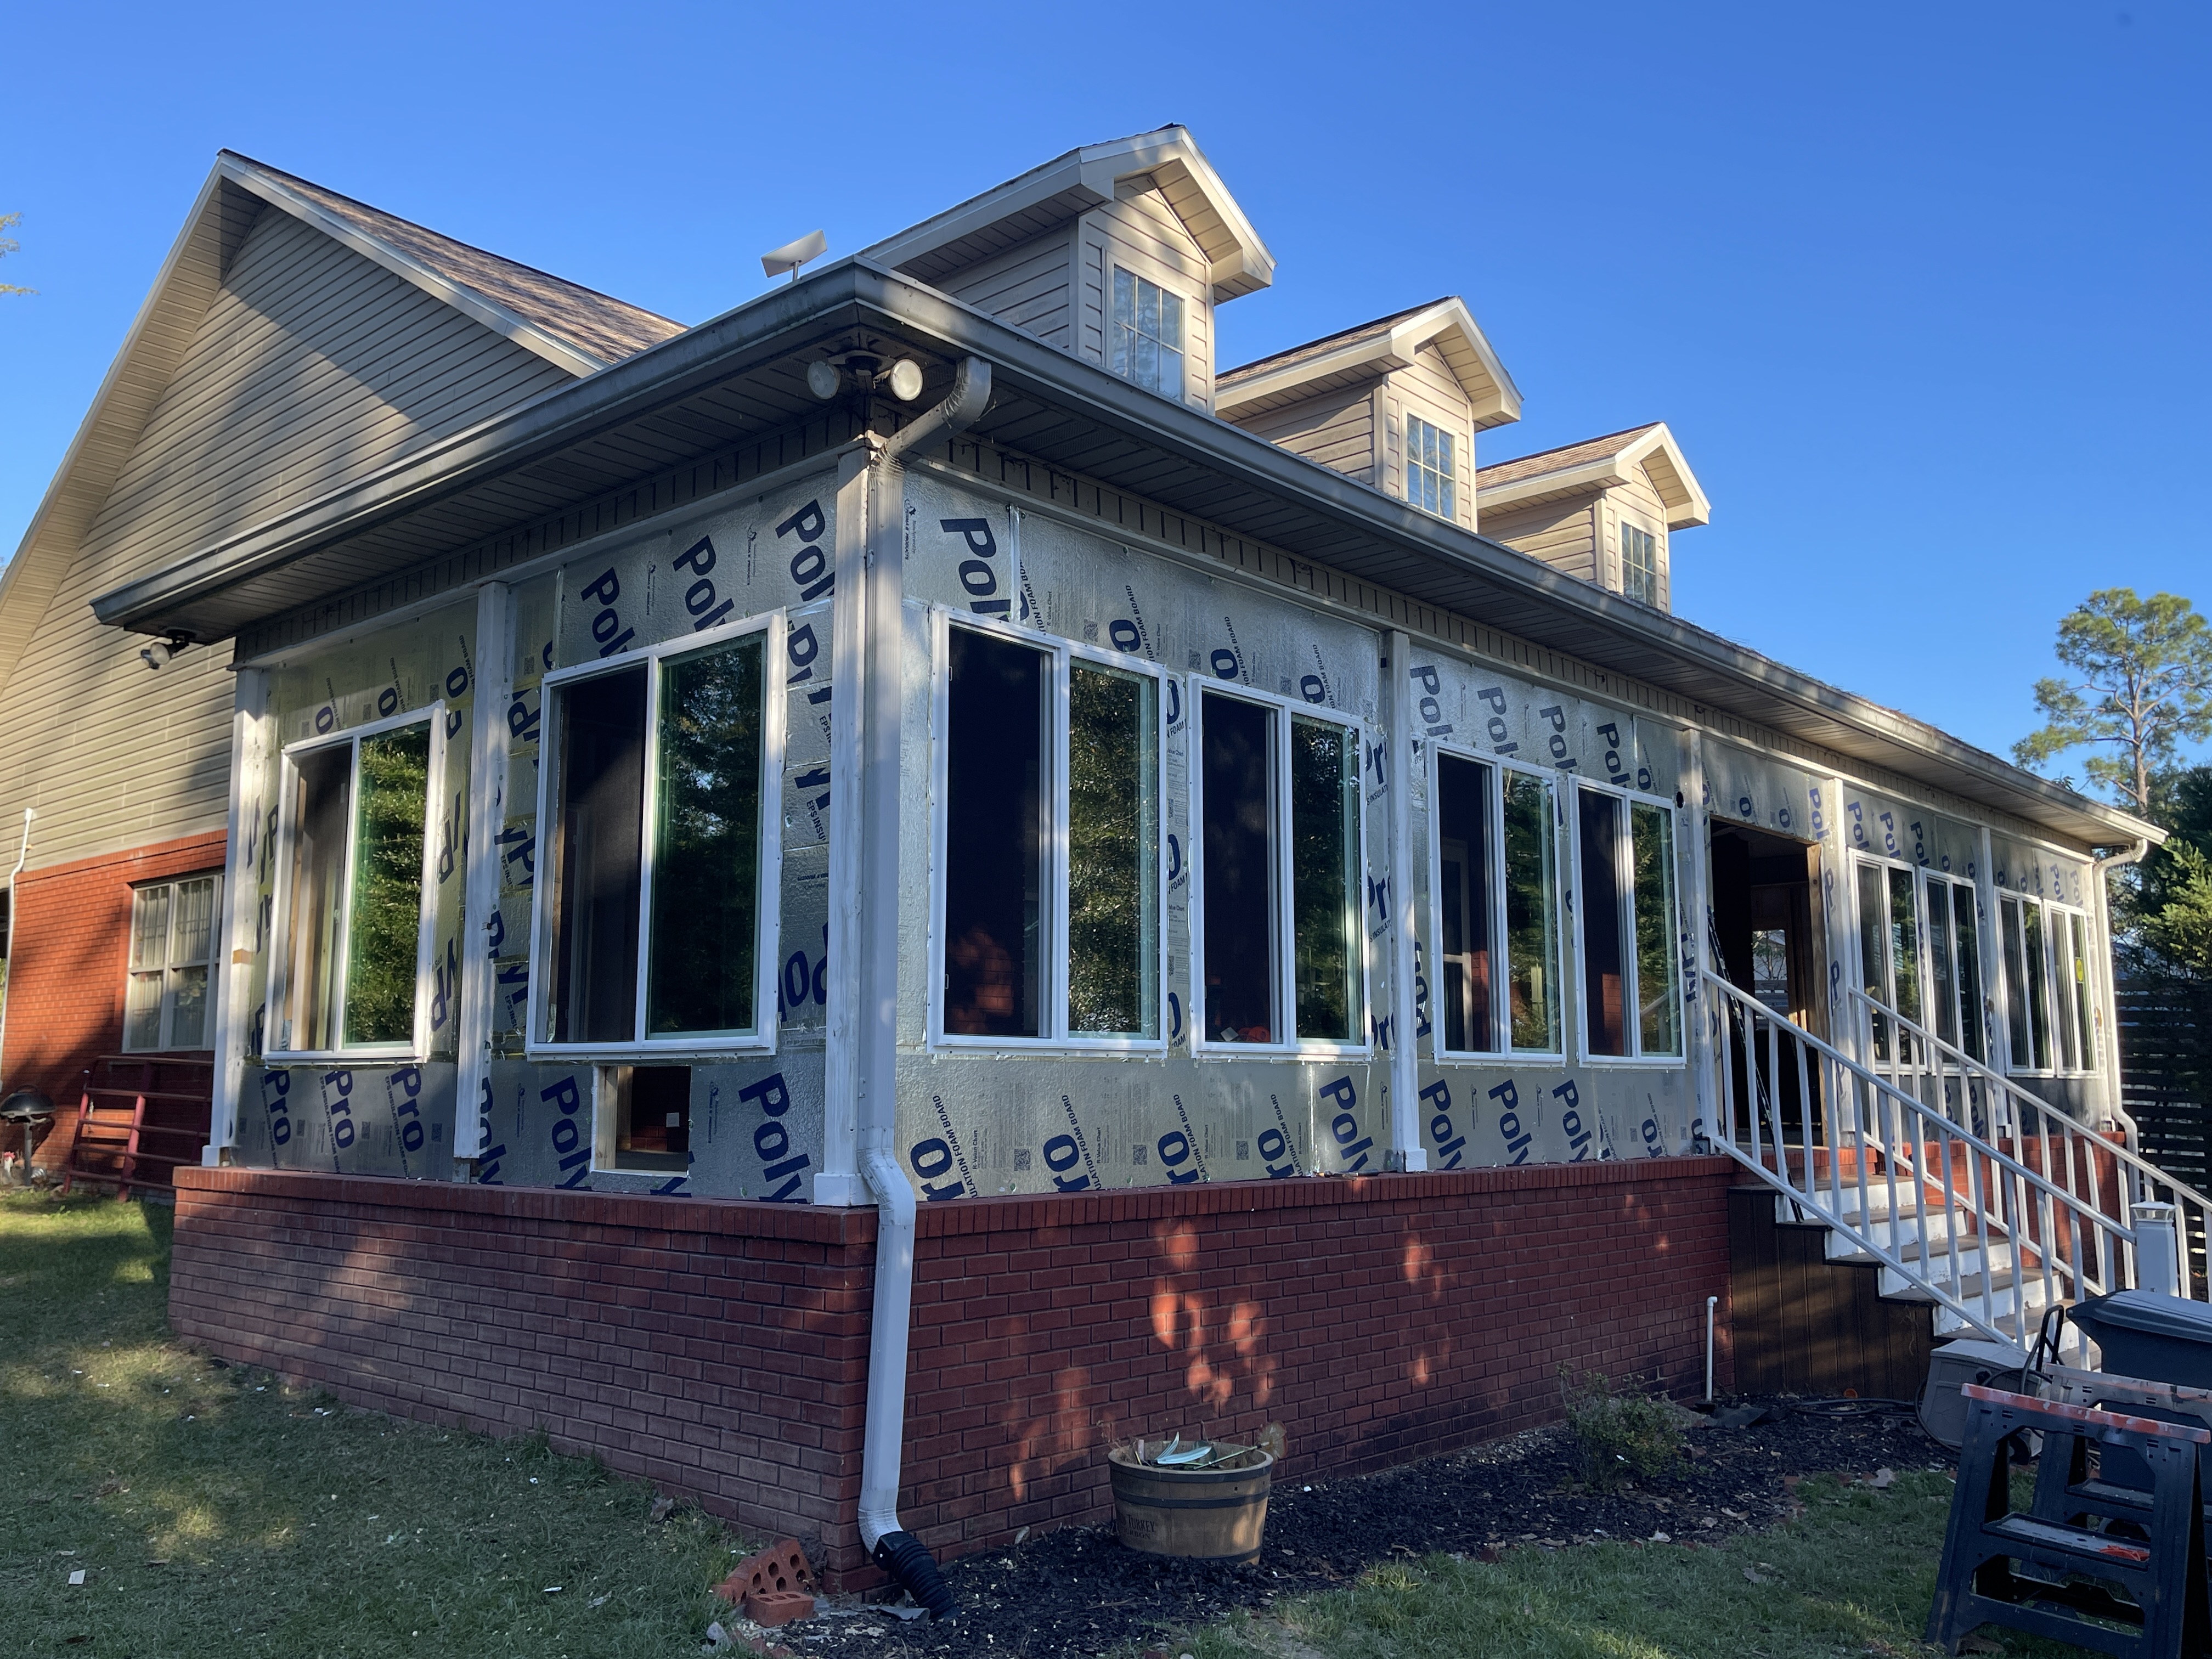
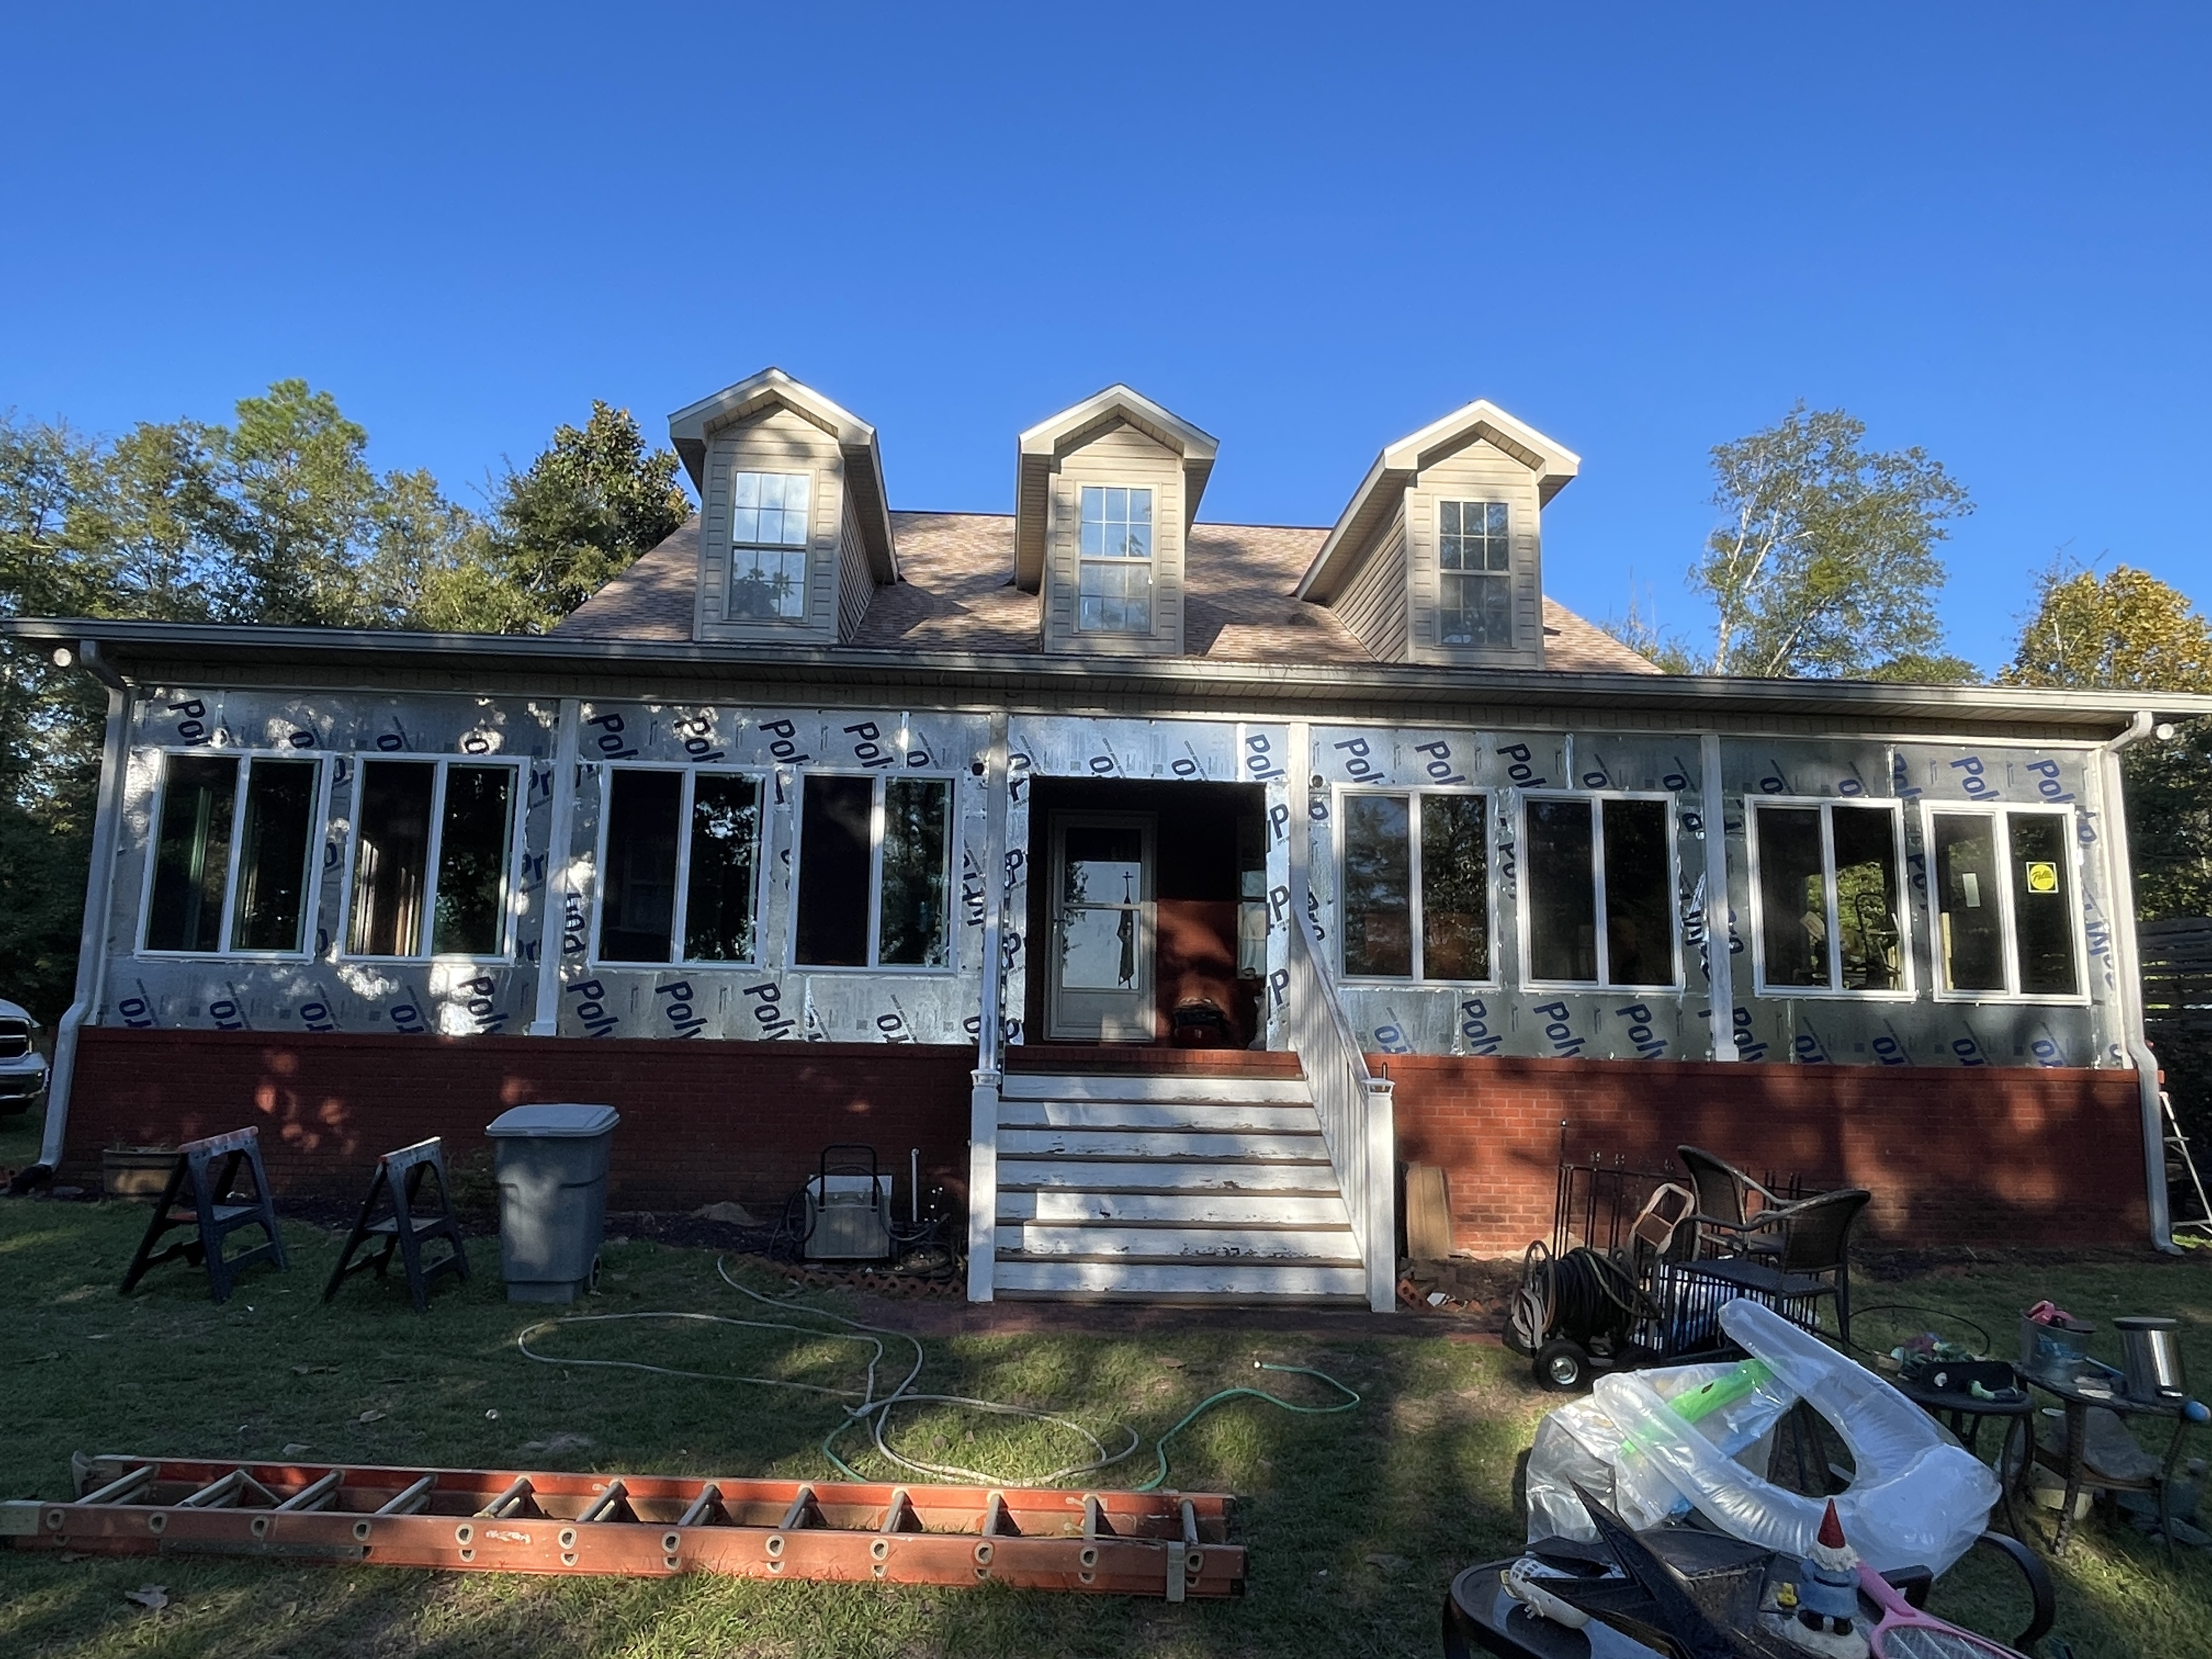
The next step was to install the insulation board, and tape all the joints.
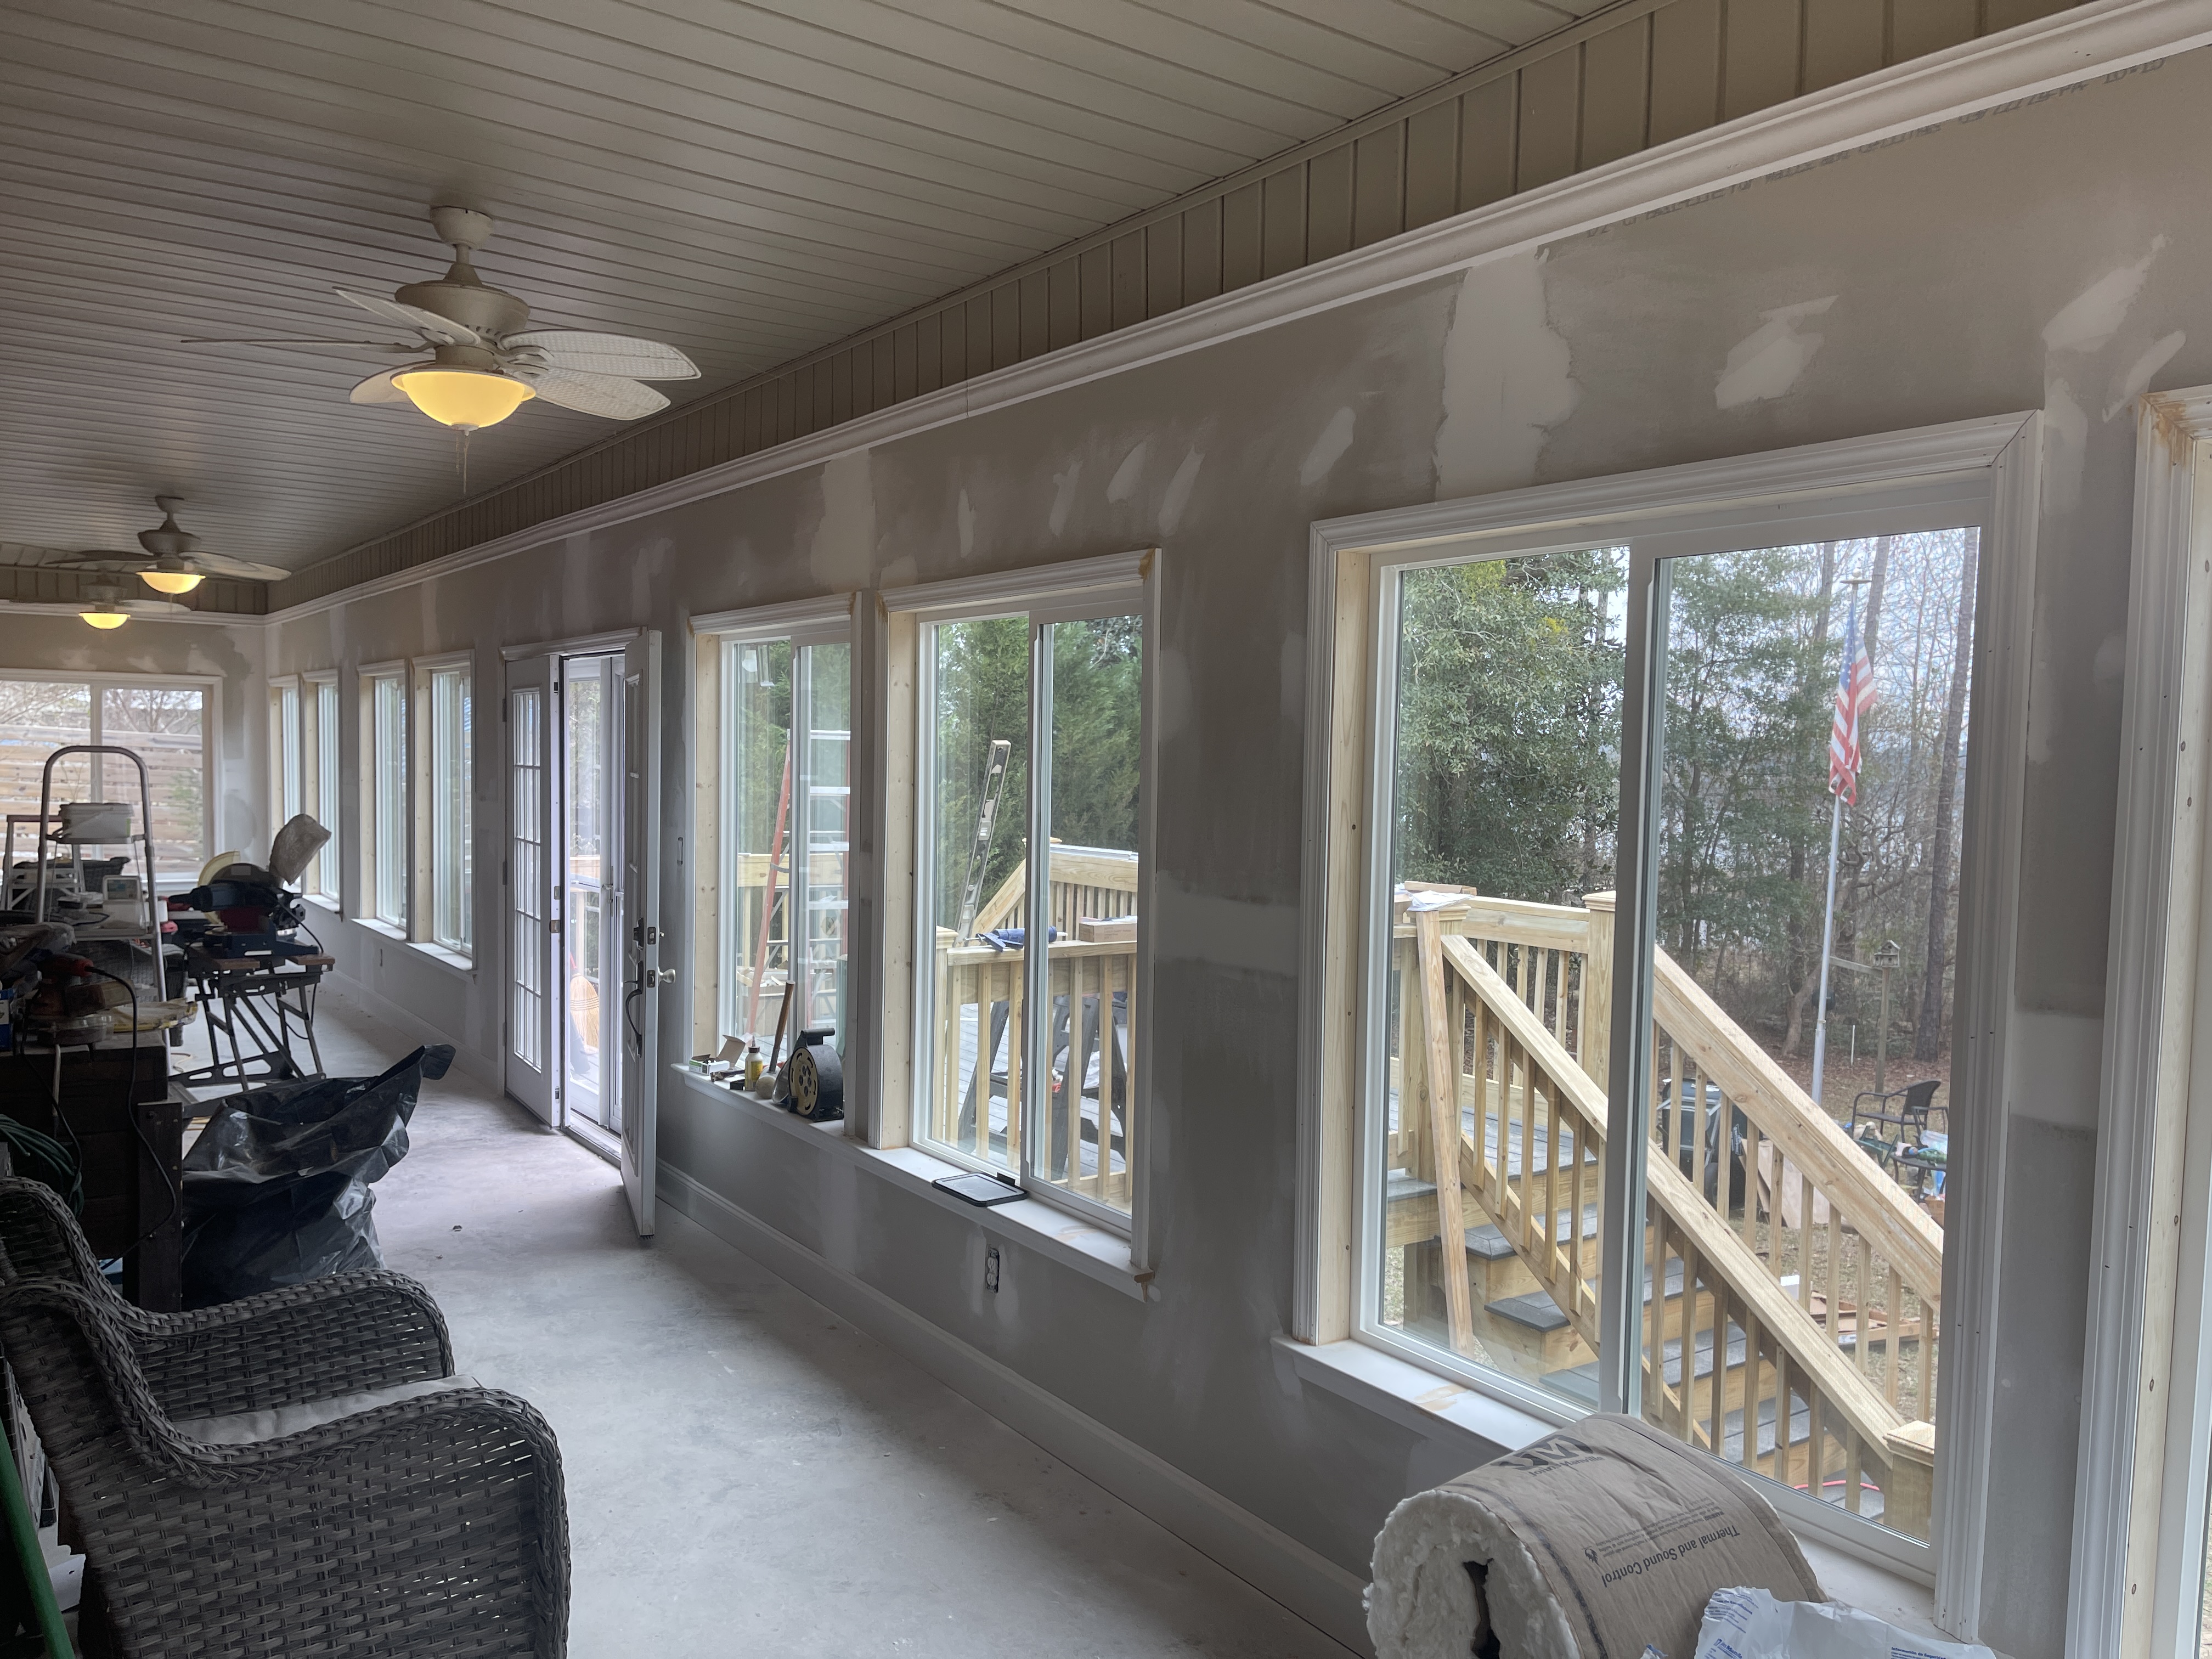
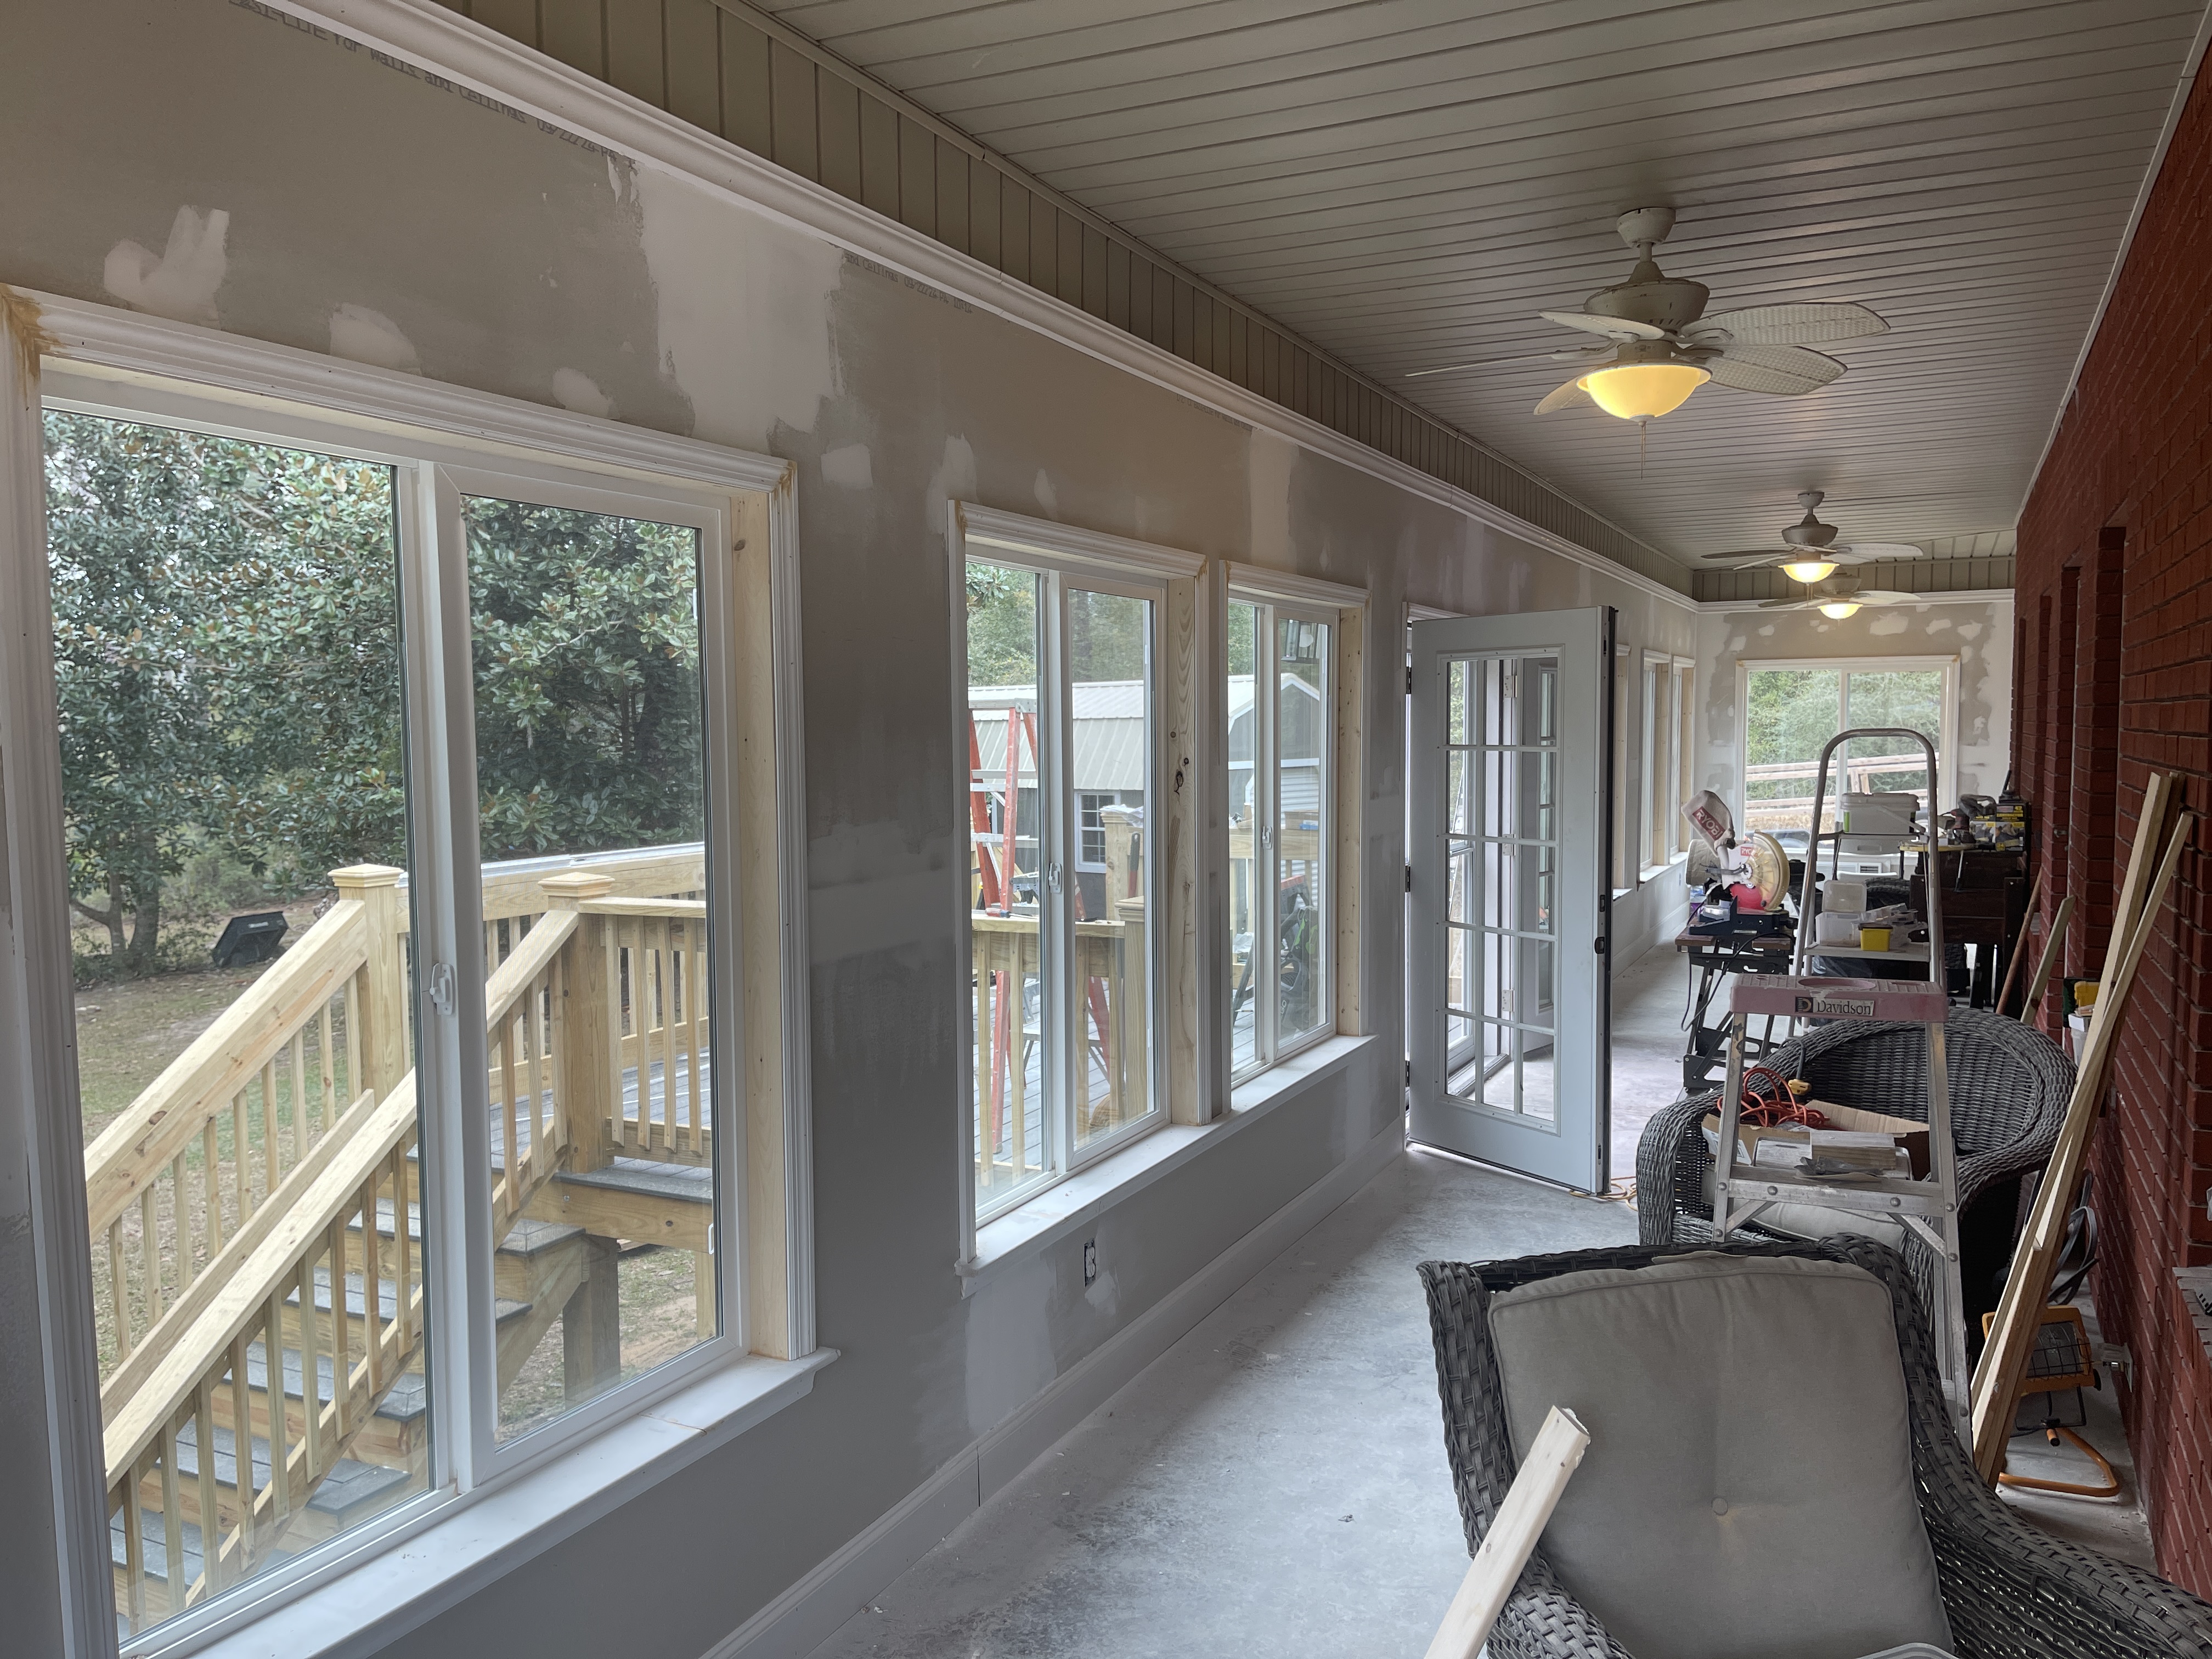
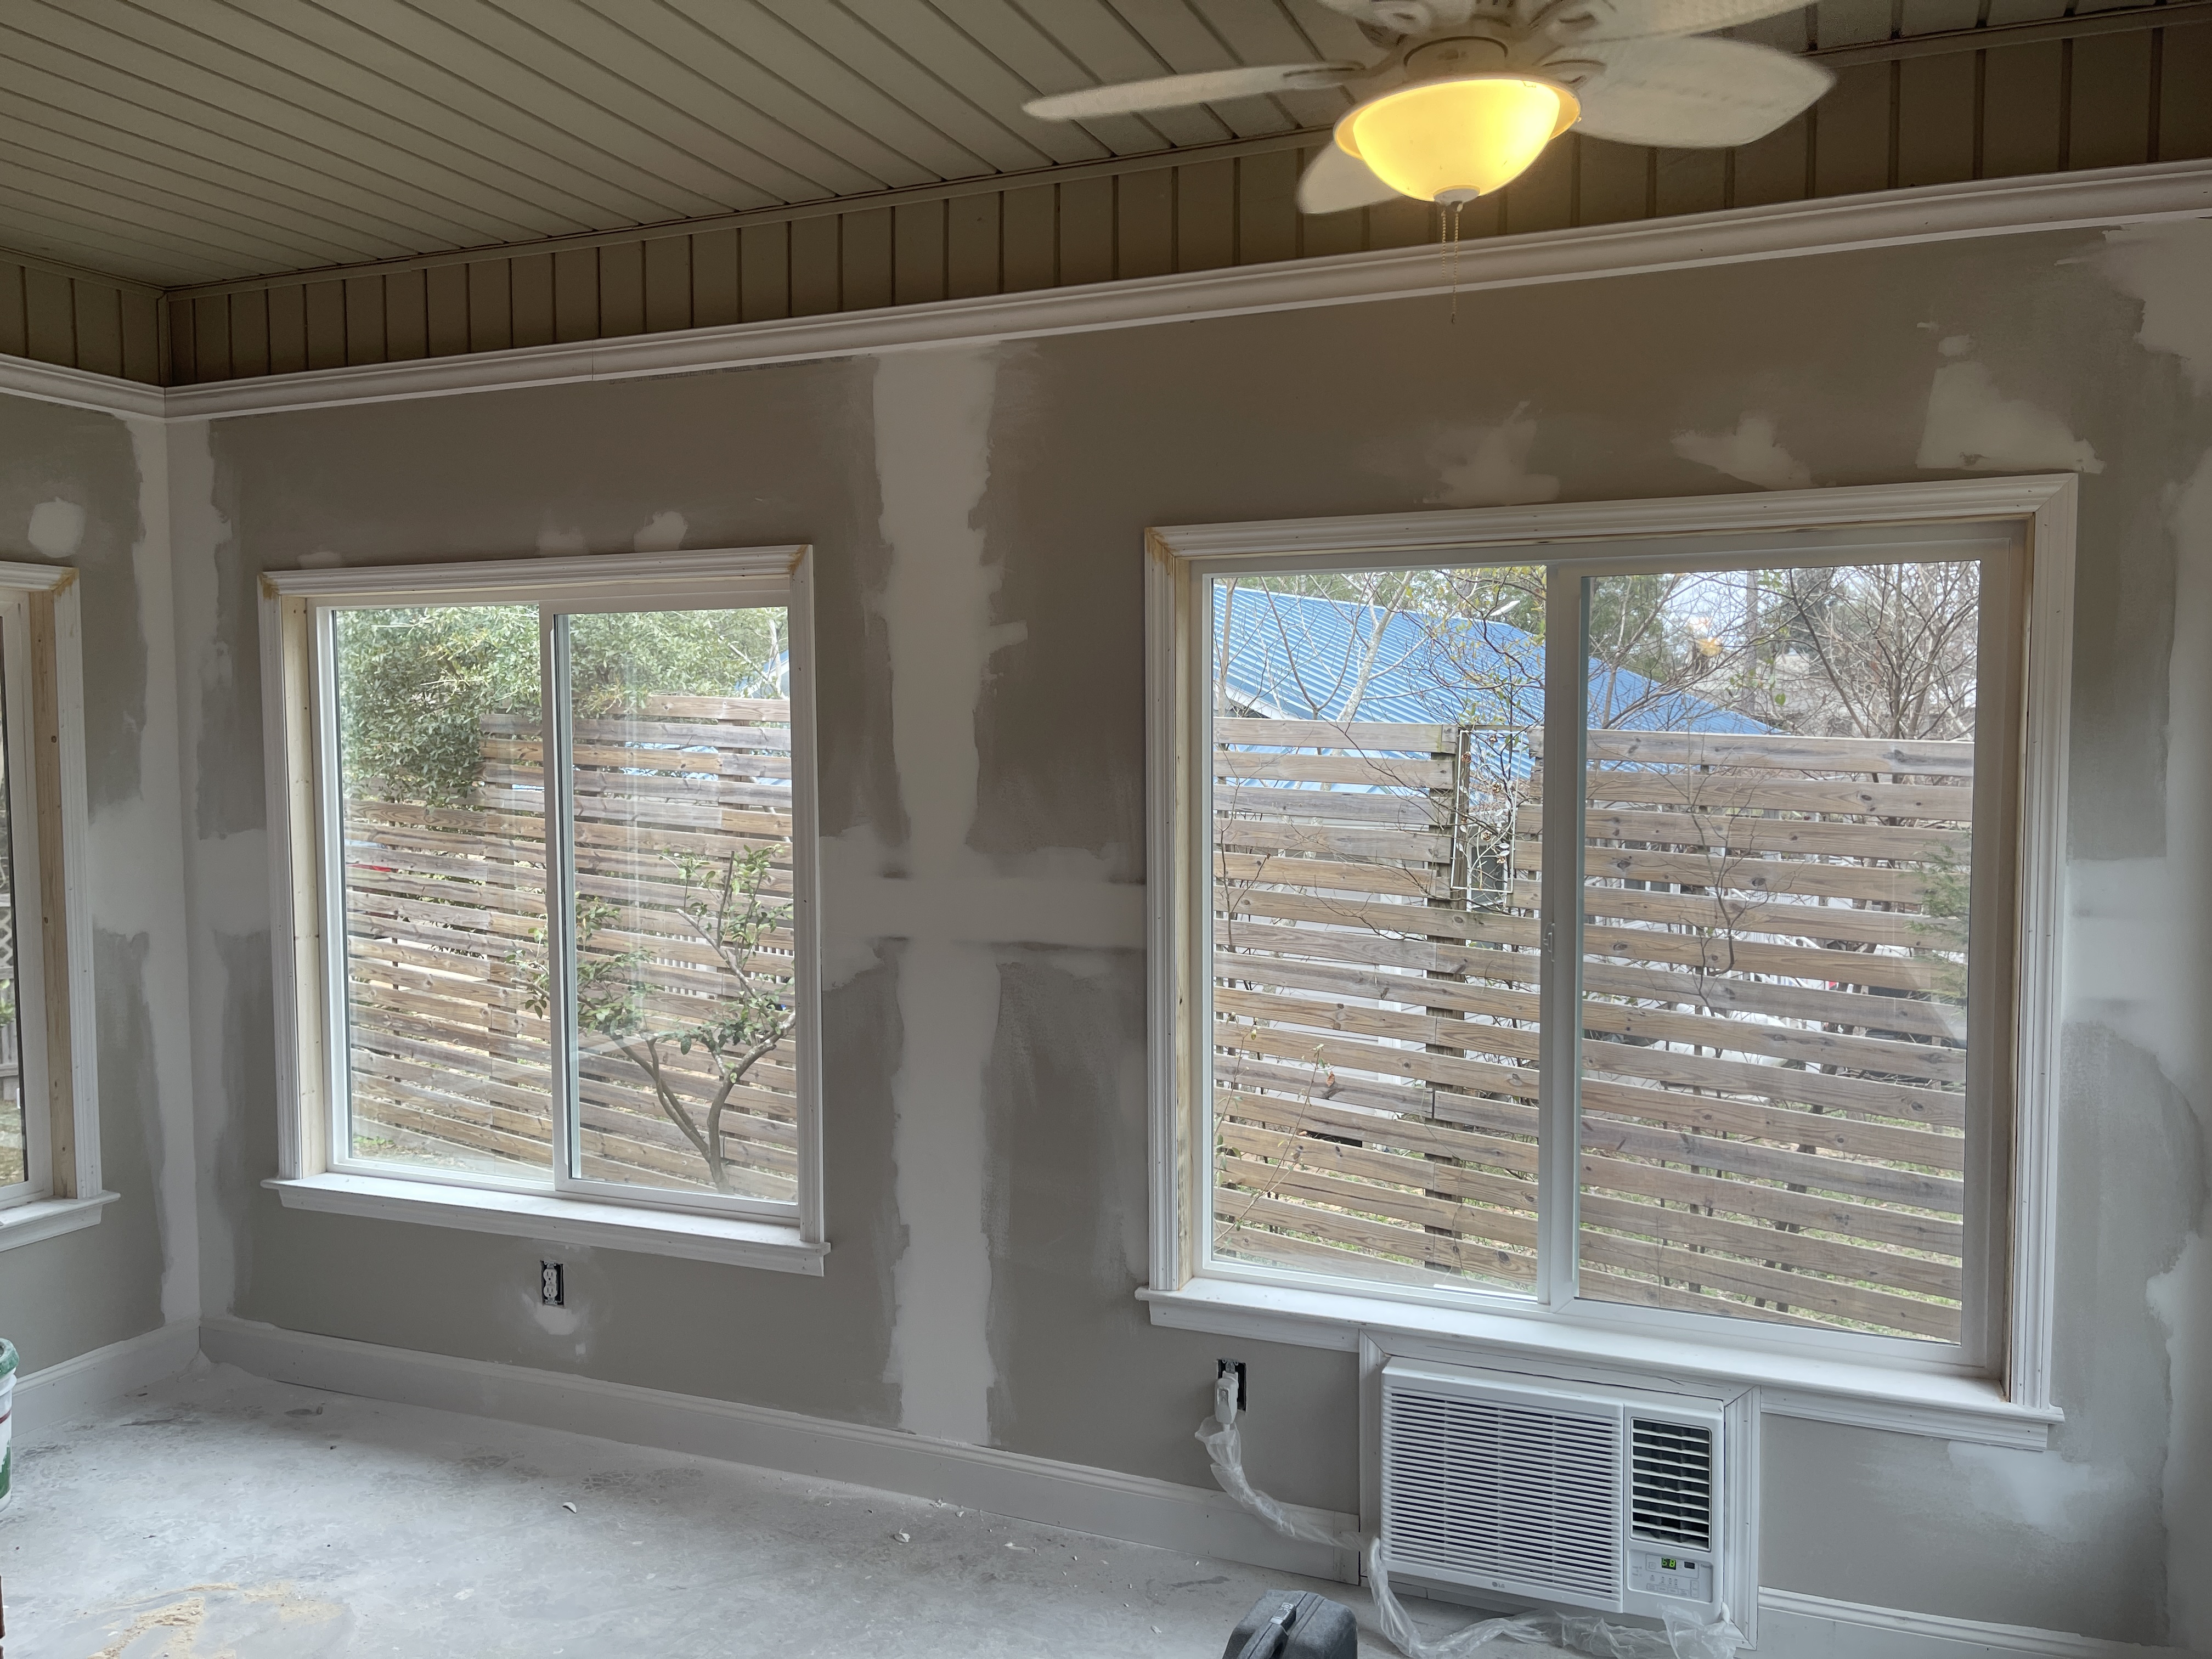
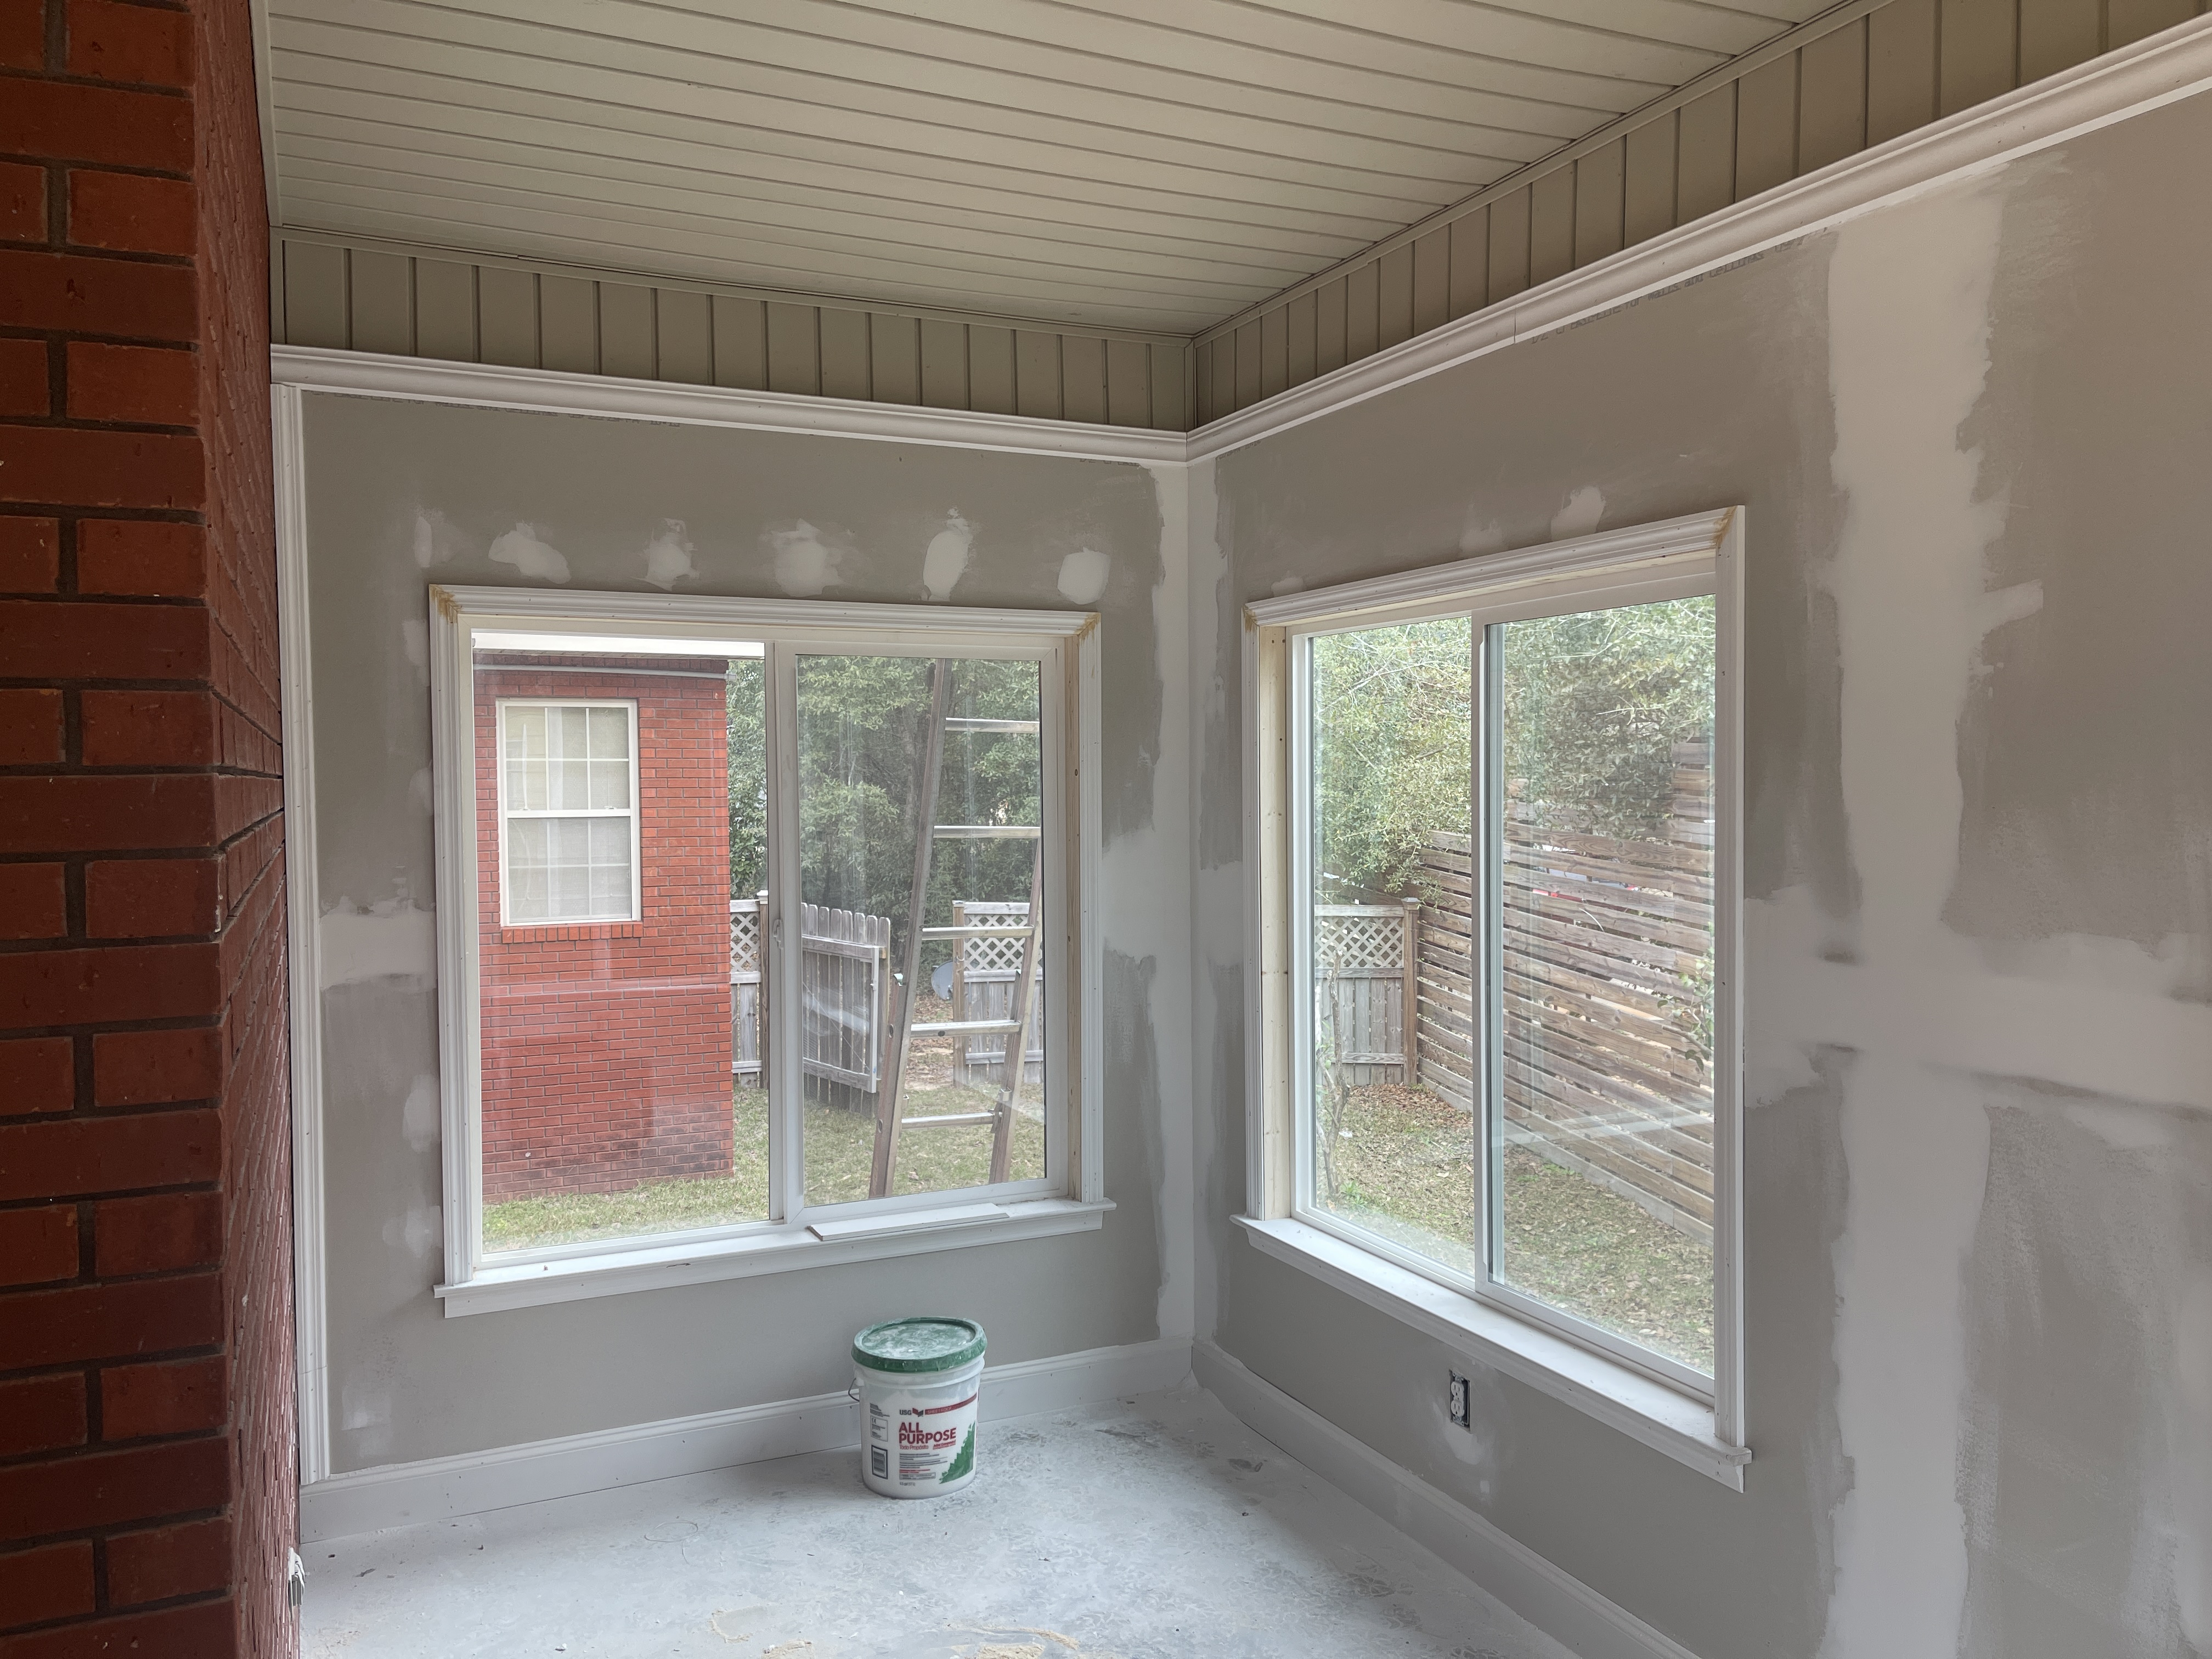
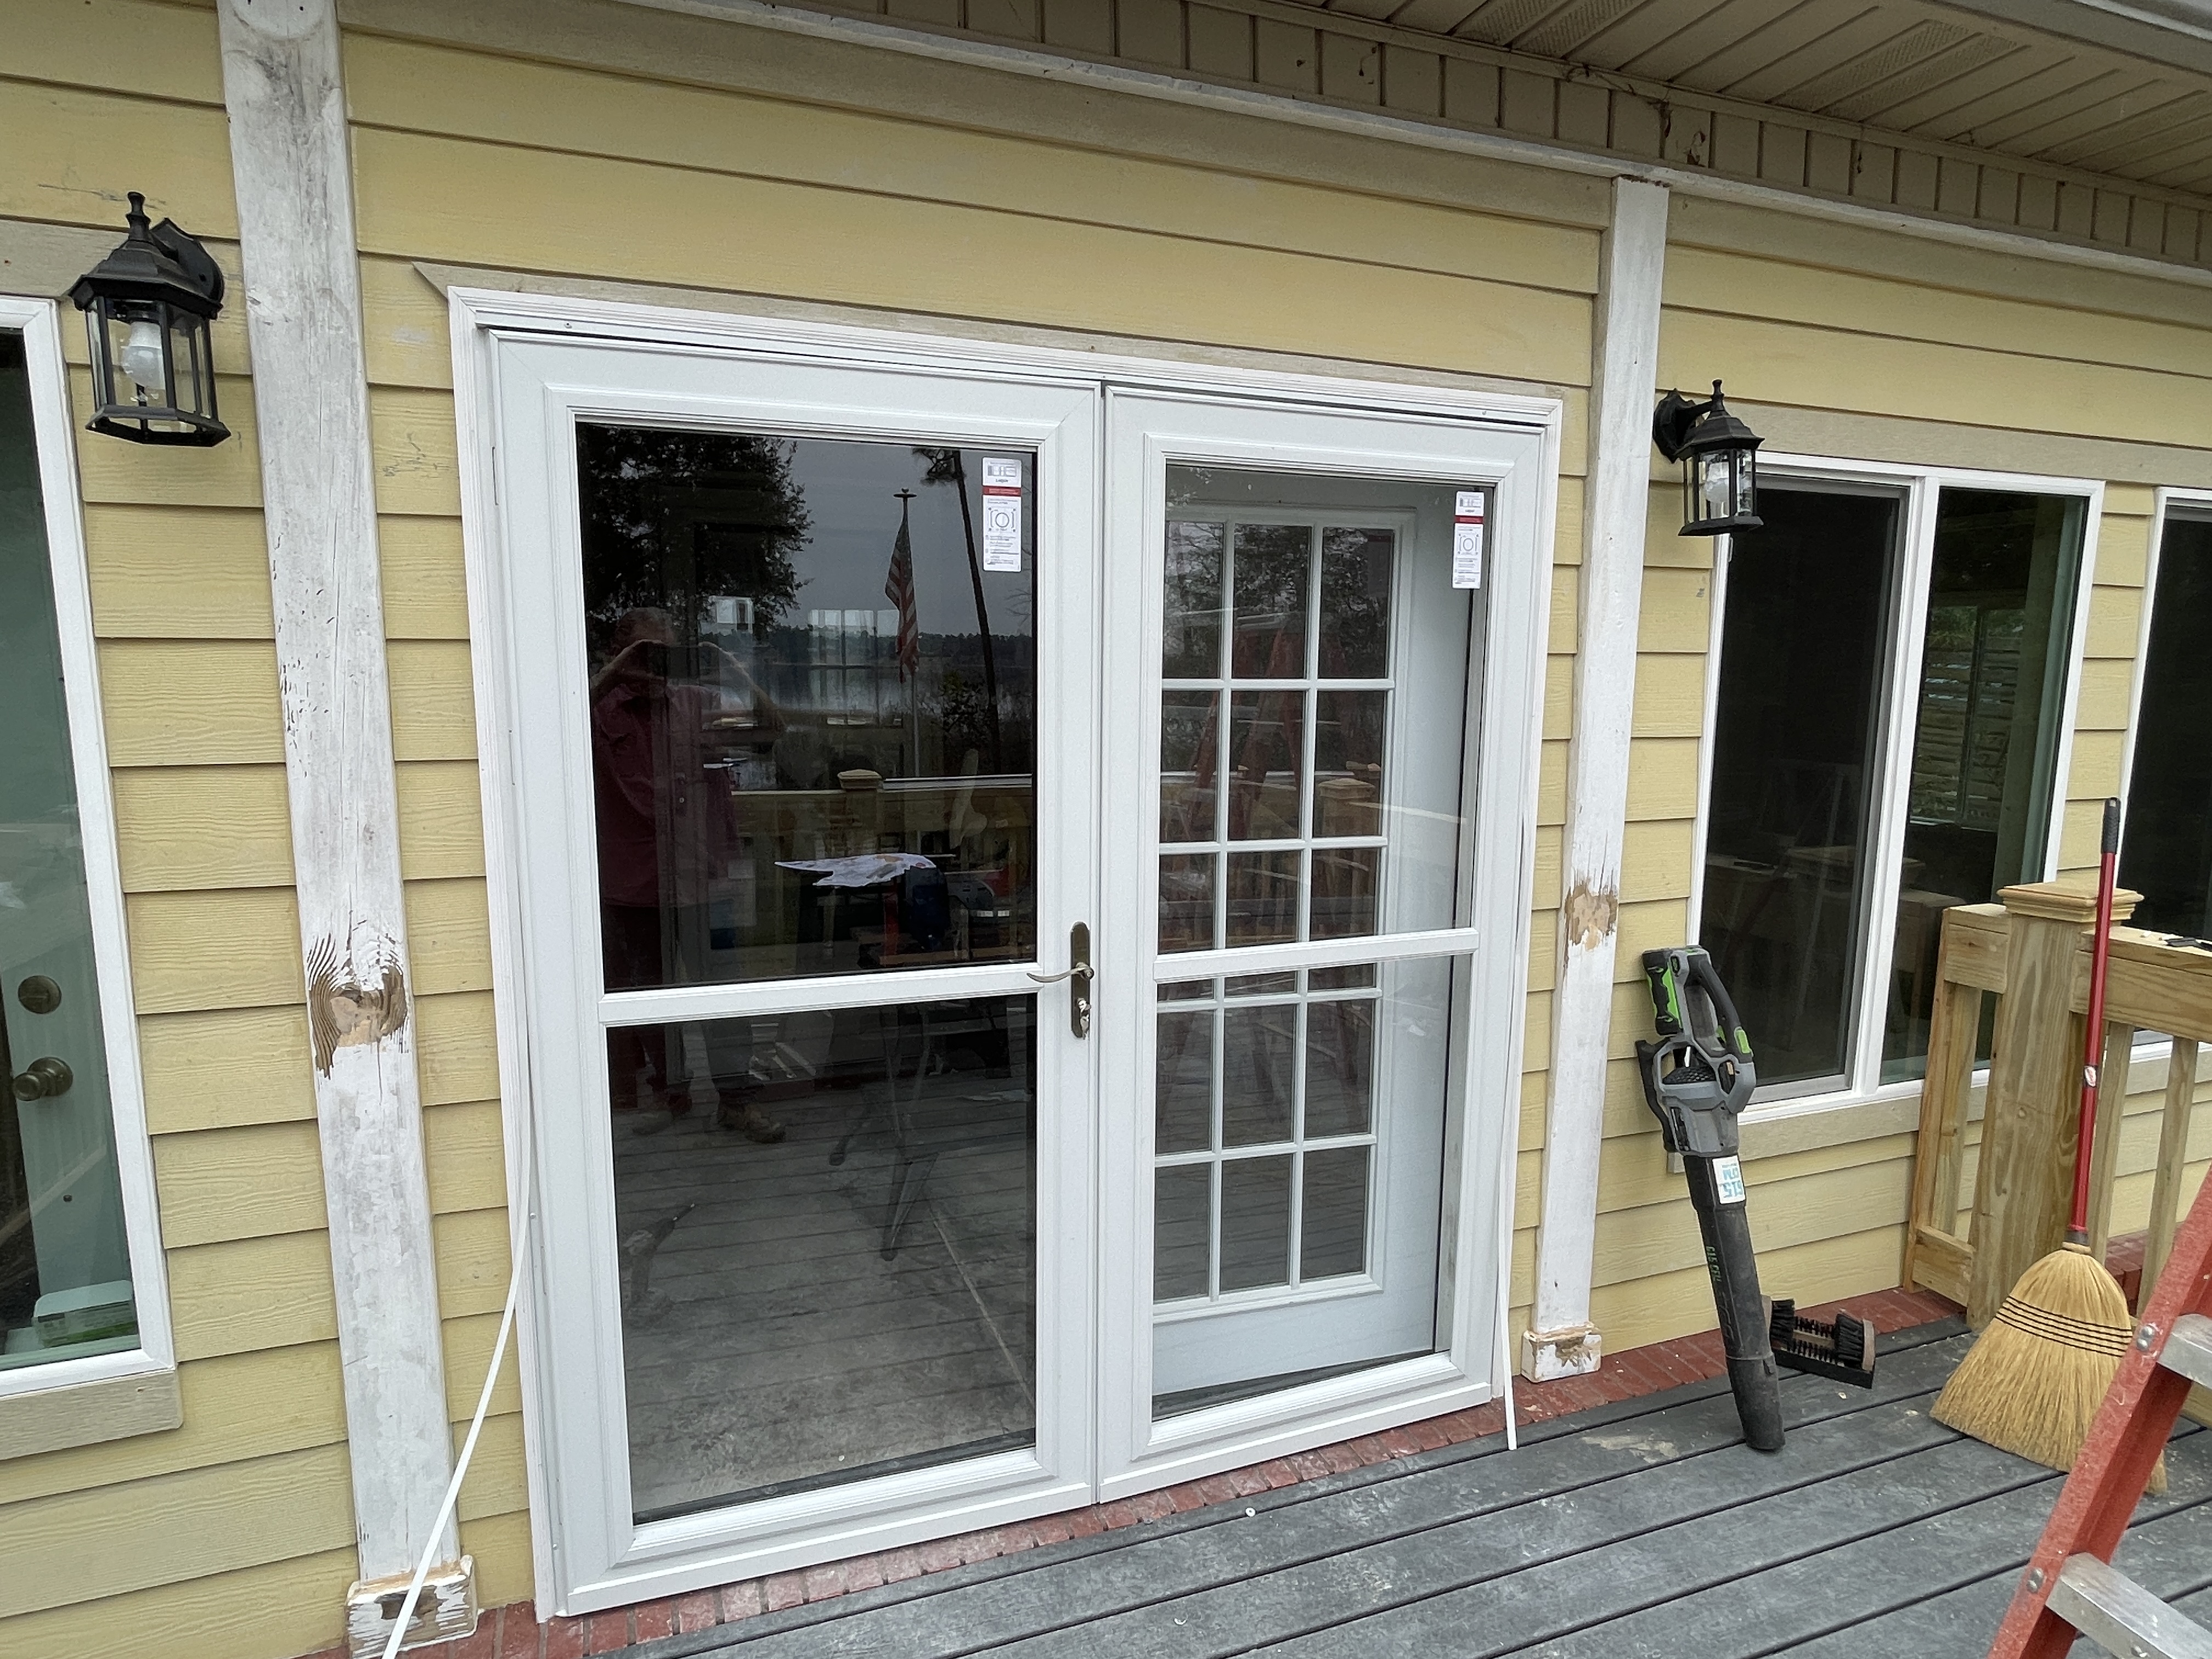
Once the windows arrived (yes, they were late in getting delivered), I installed the 14 horizontal slider windows and the exterior French Doors.
While the weather was nice, I started installing the Hardie® Plank lap siding.
After completing all of the exterior siding and trim, we moved to the inside to put in the wall insulation
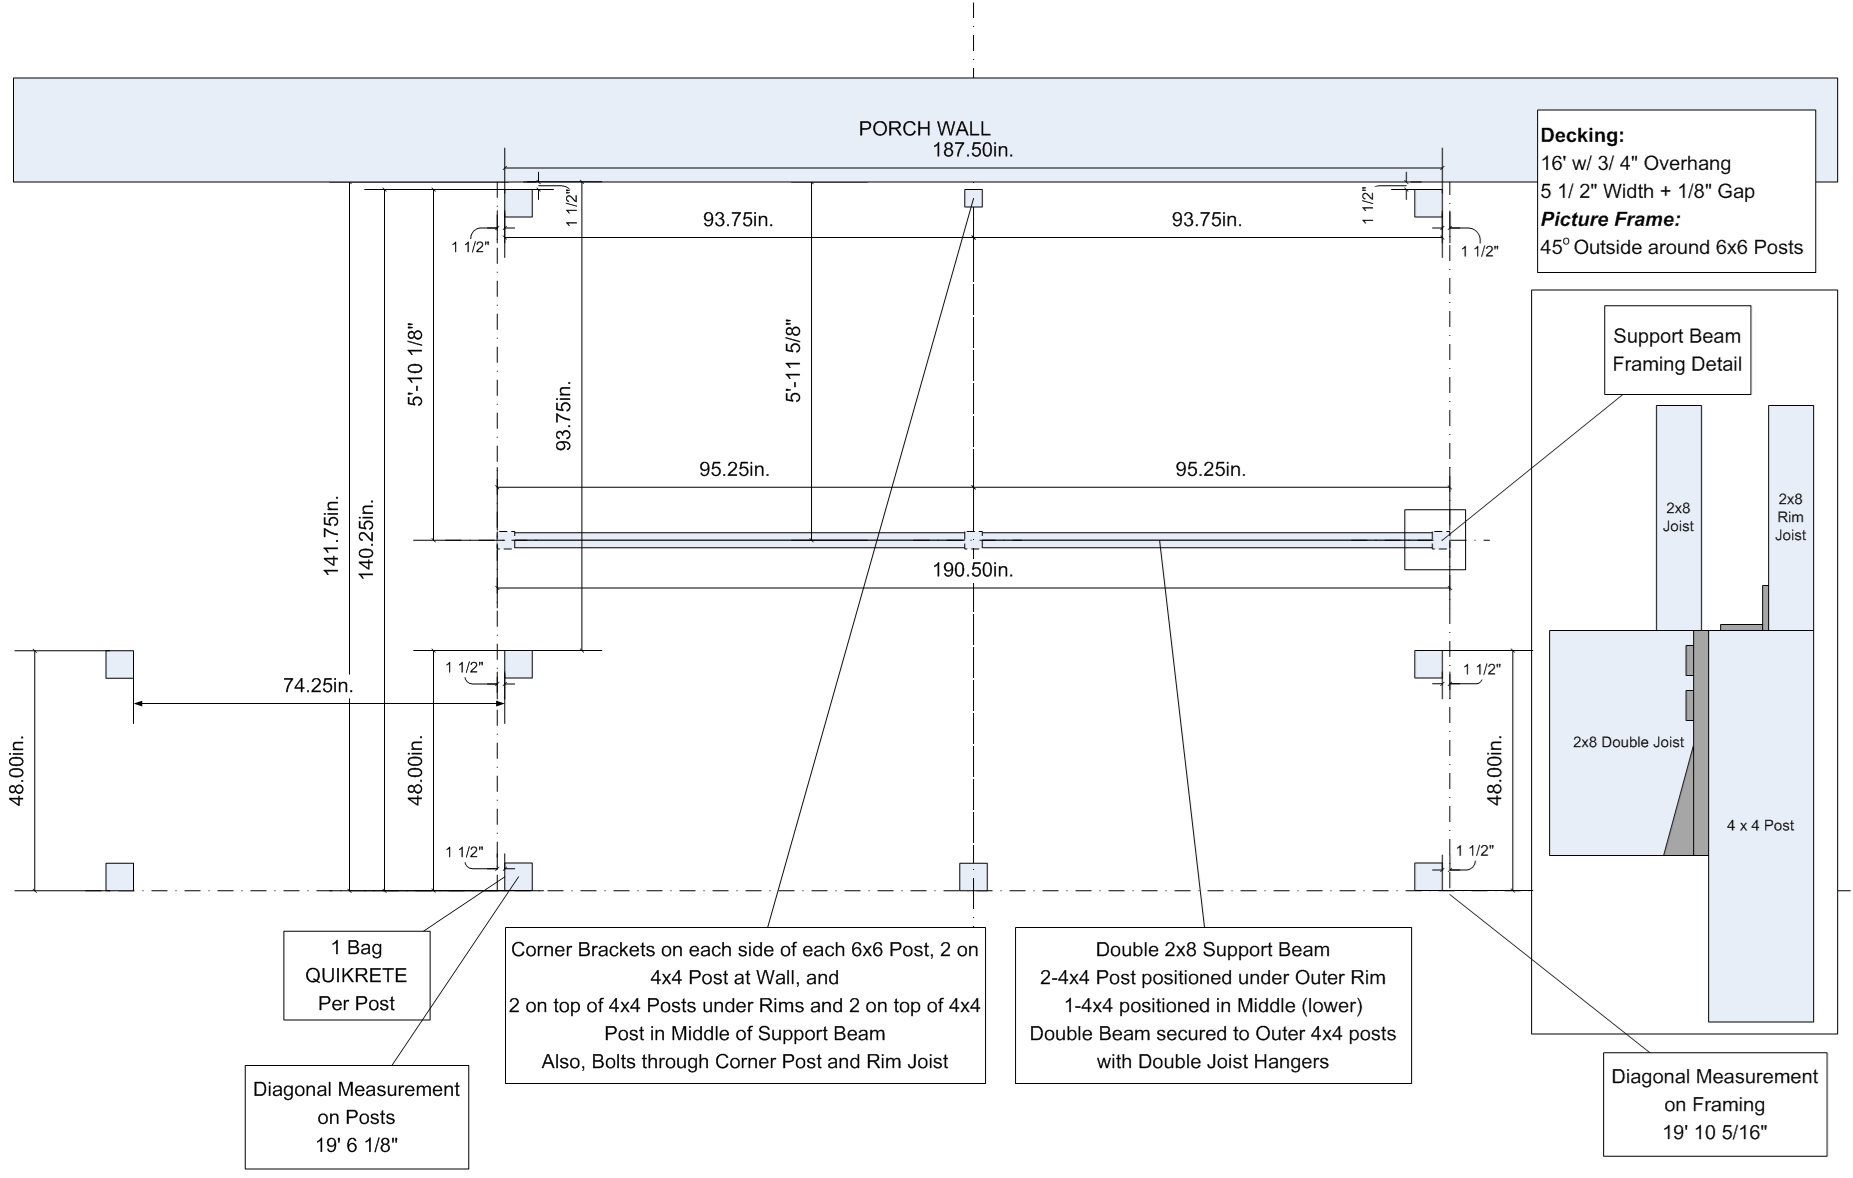
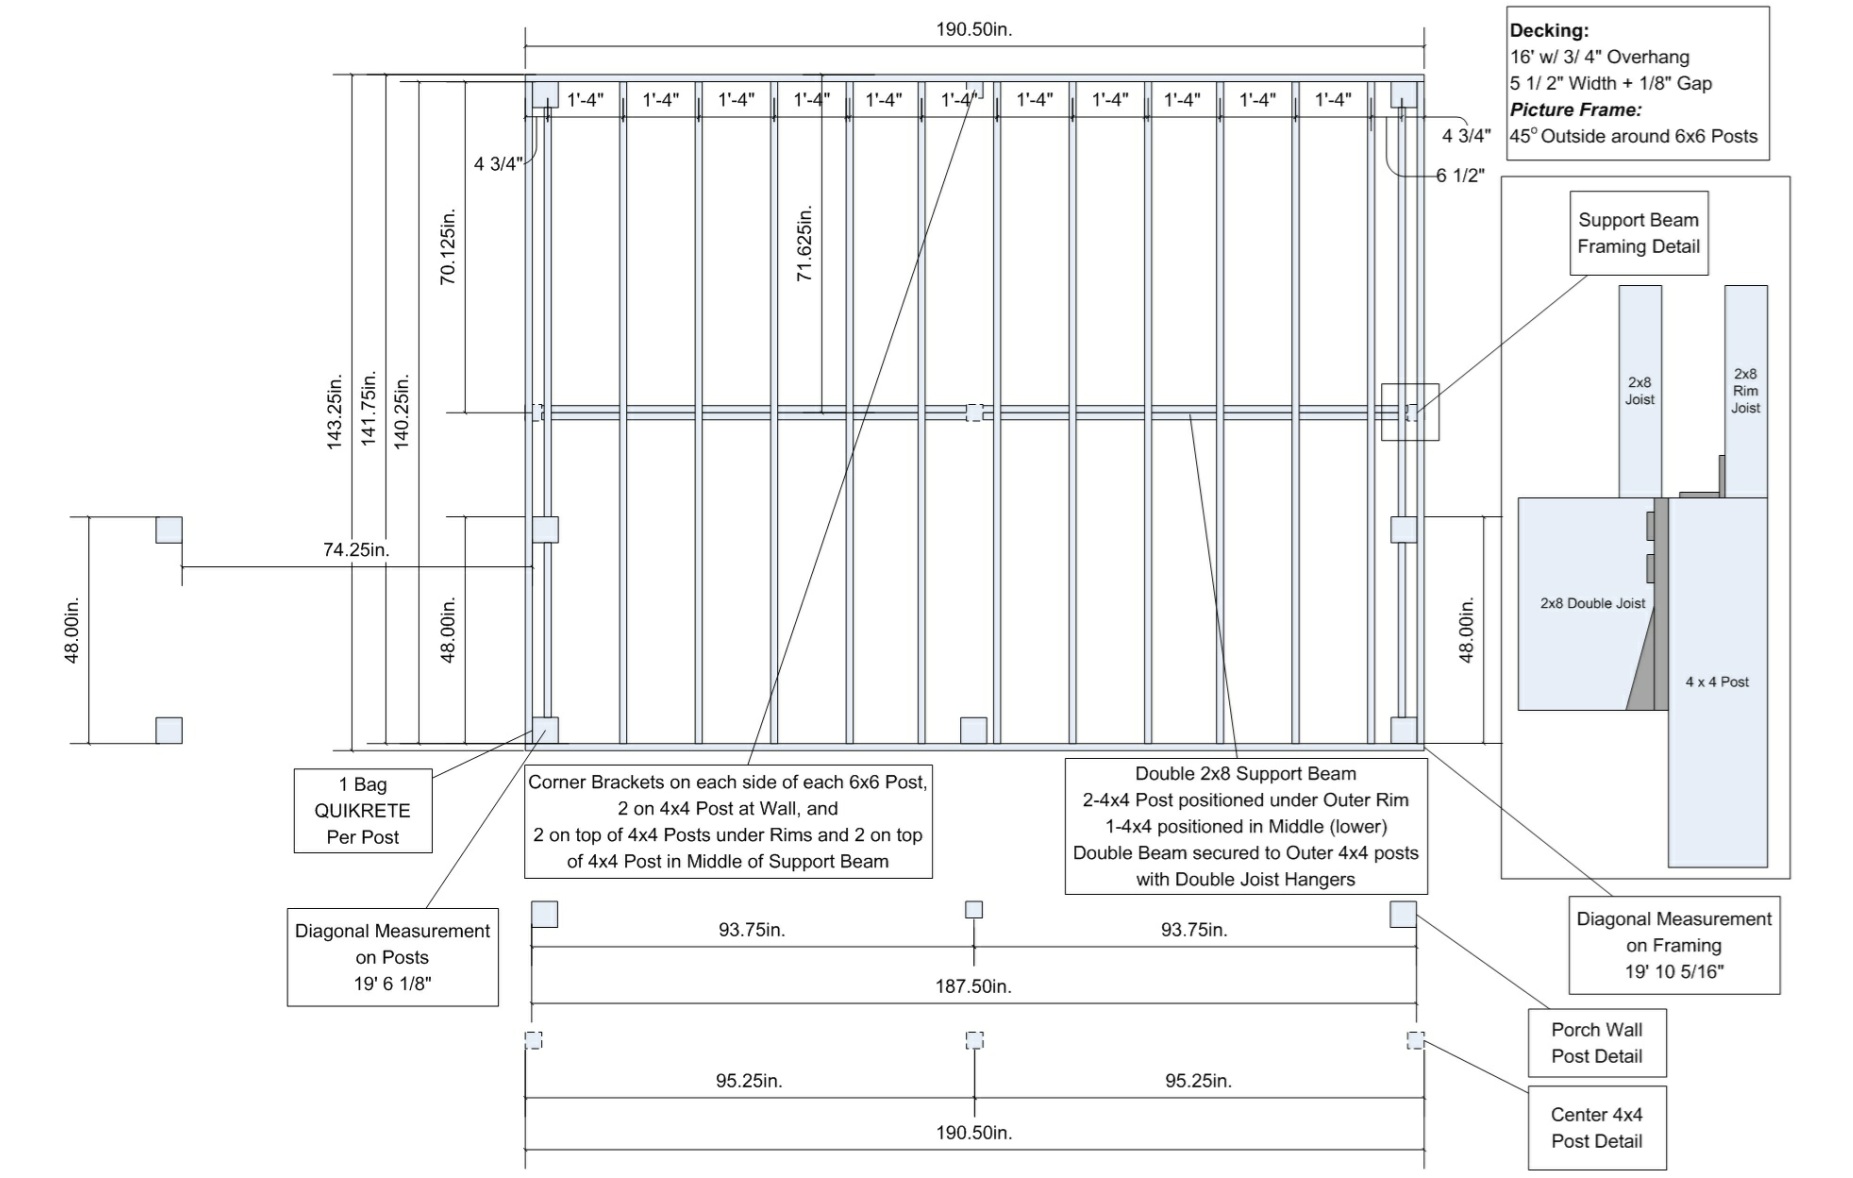
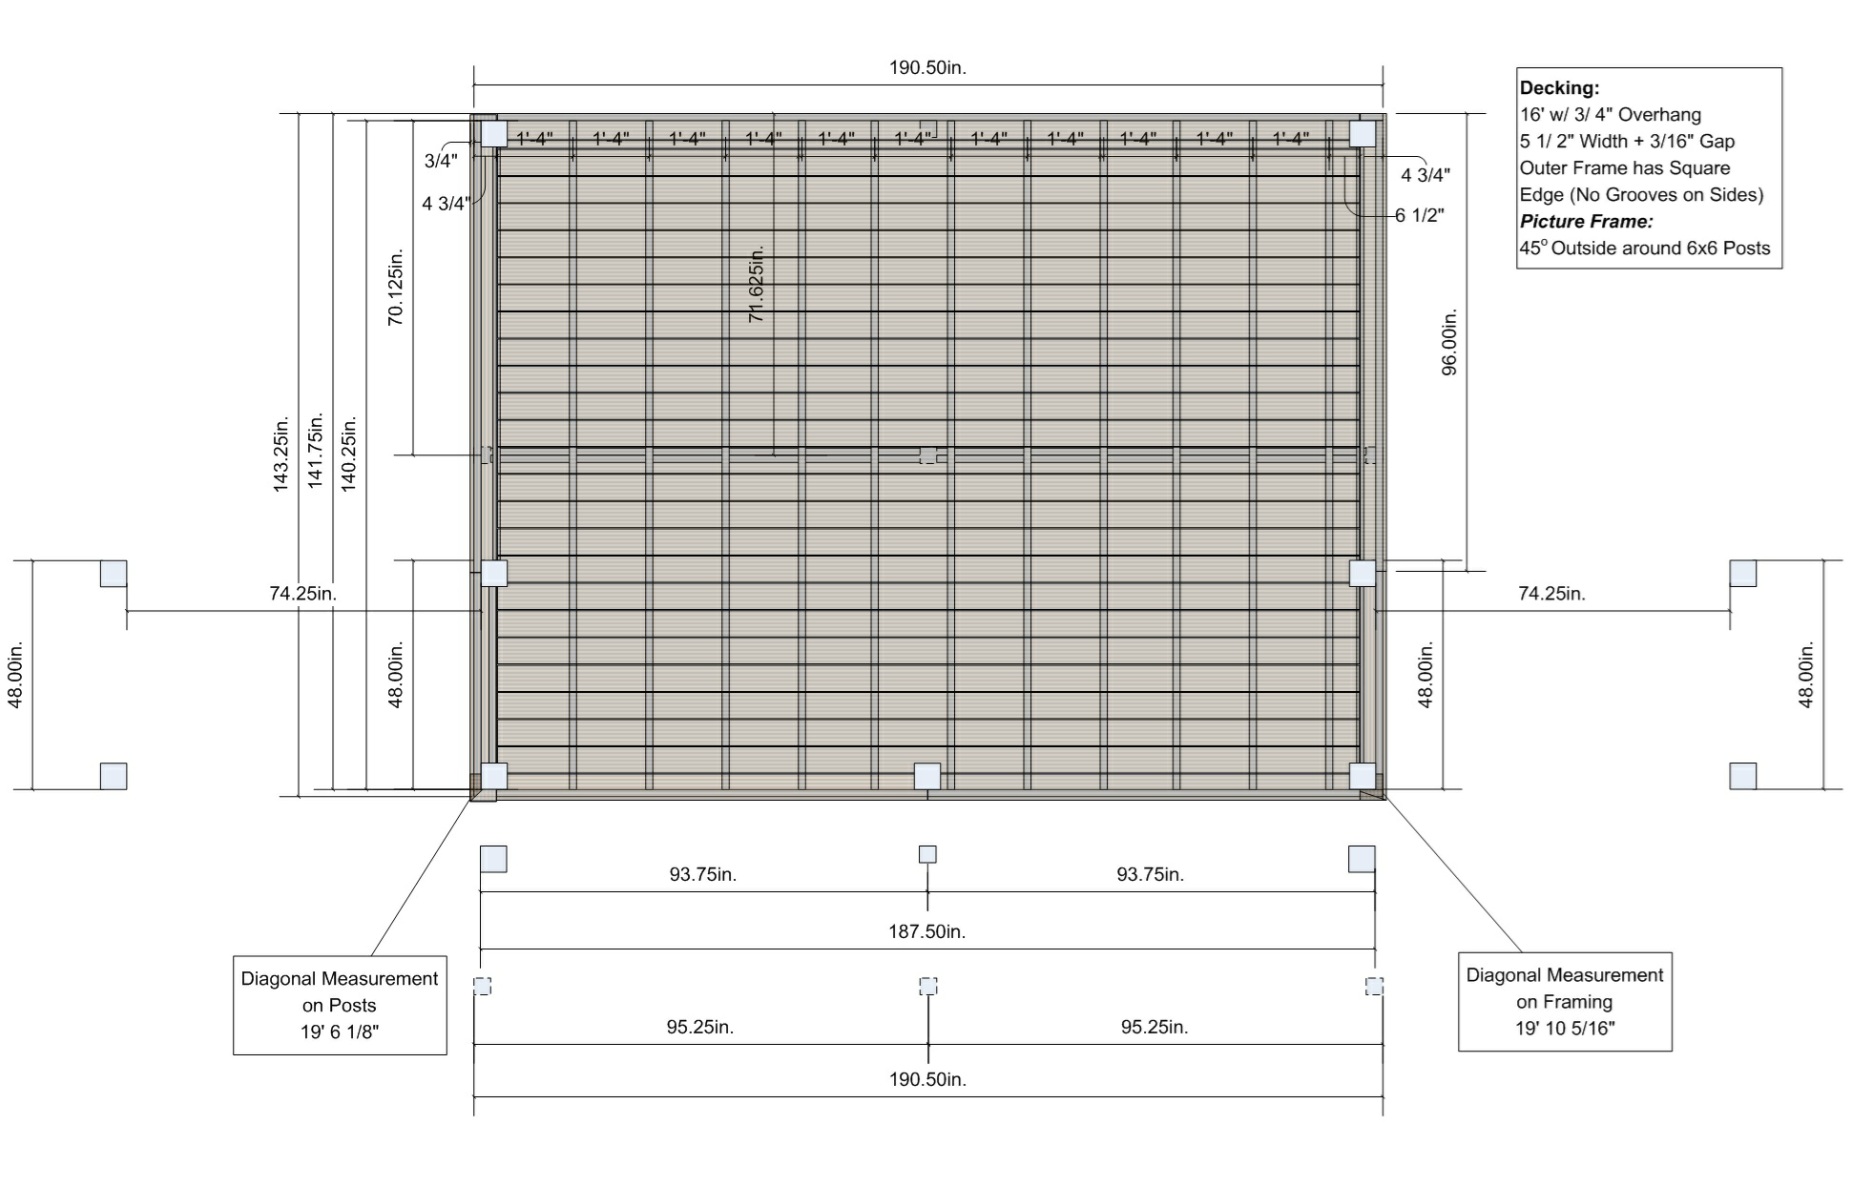
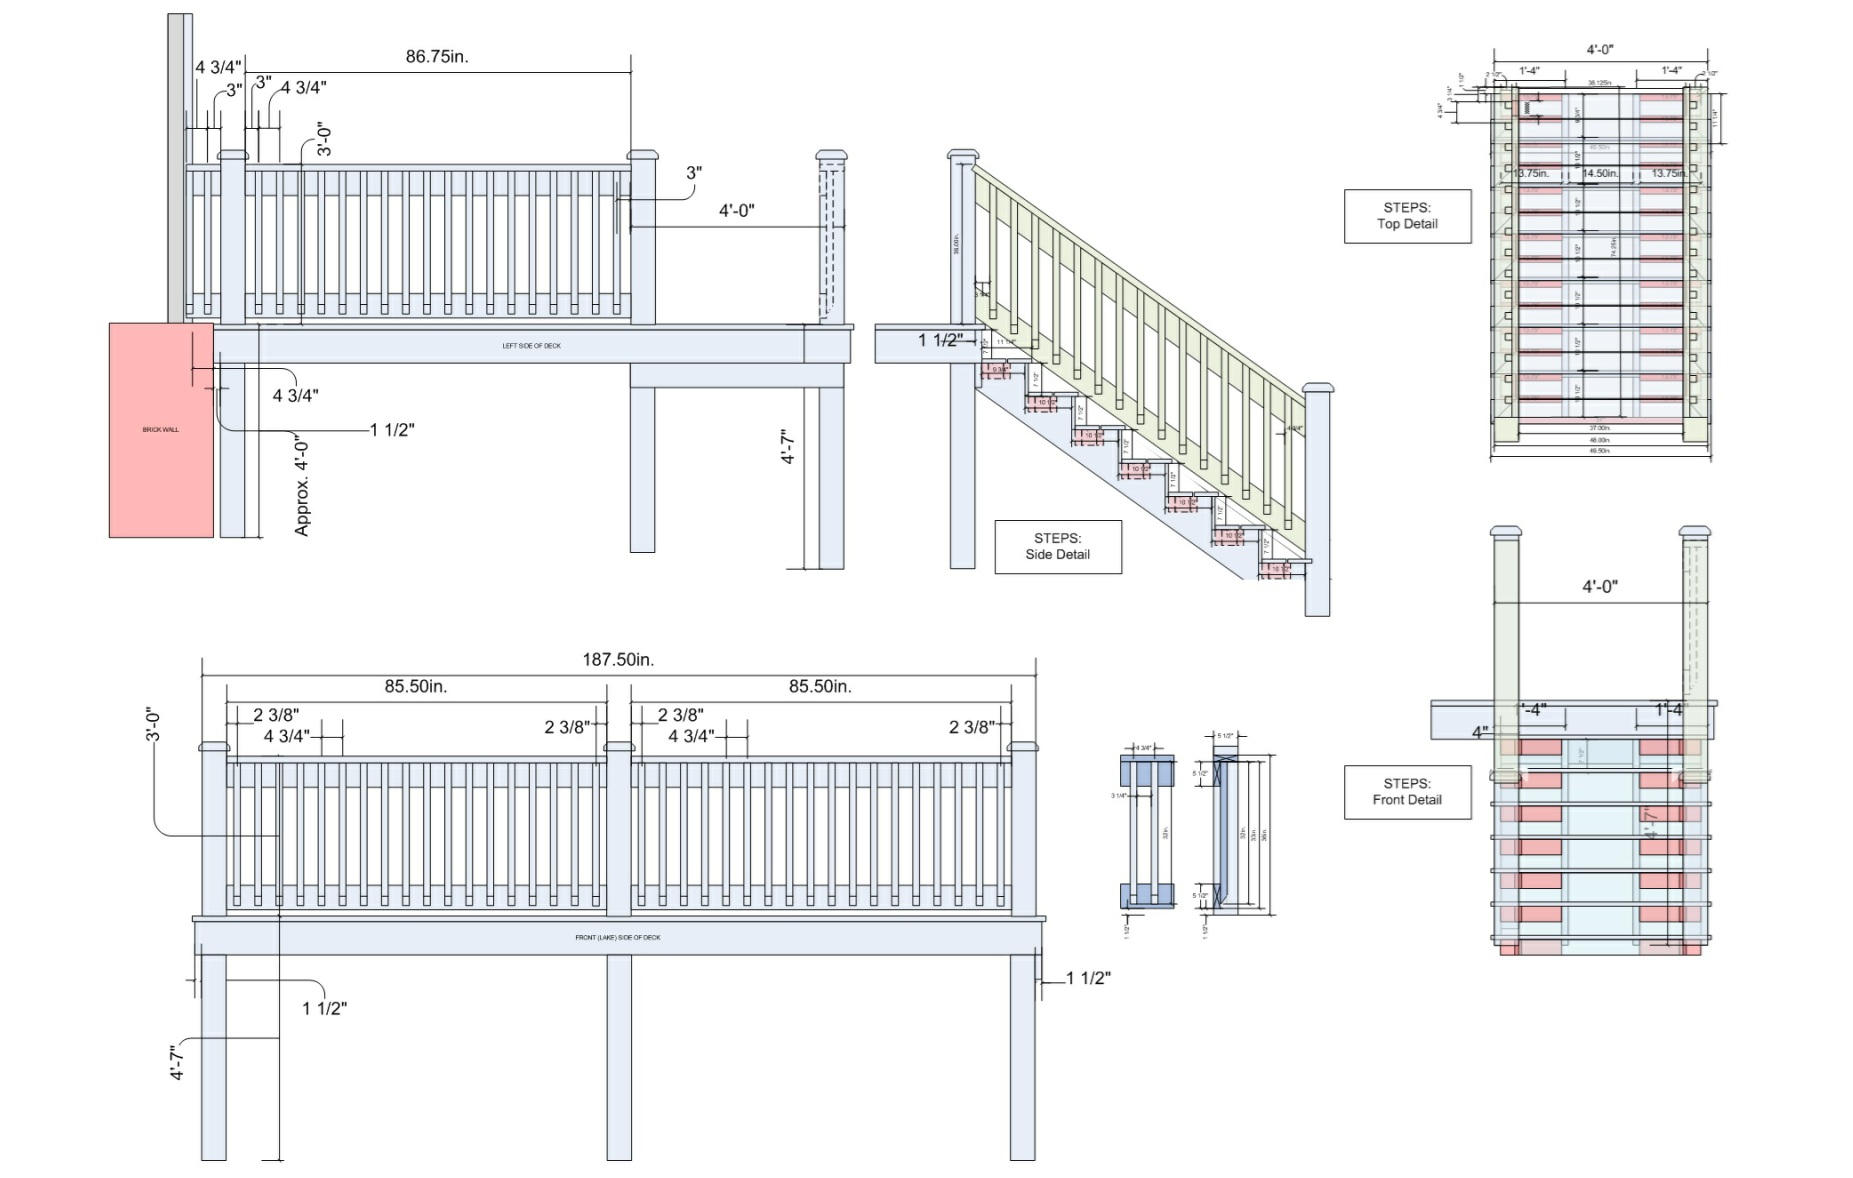
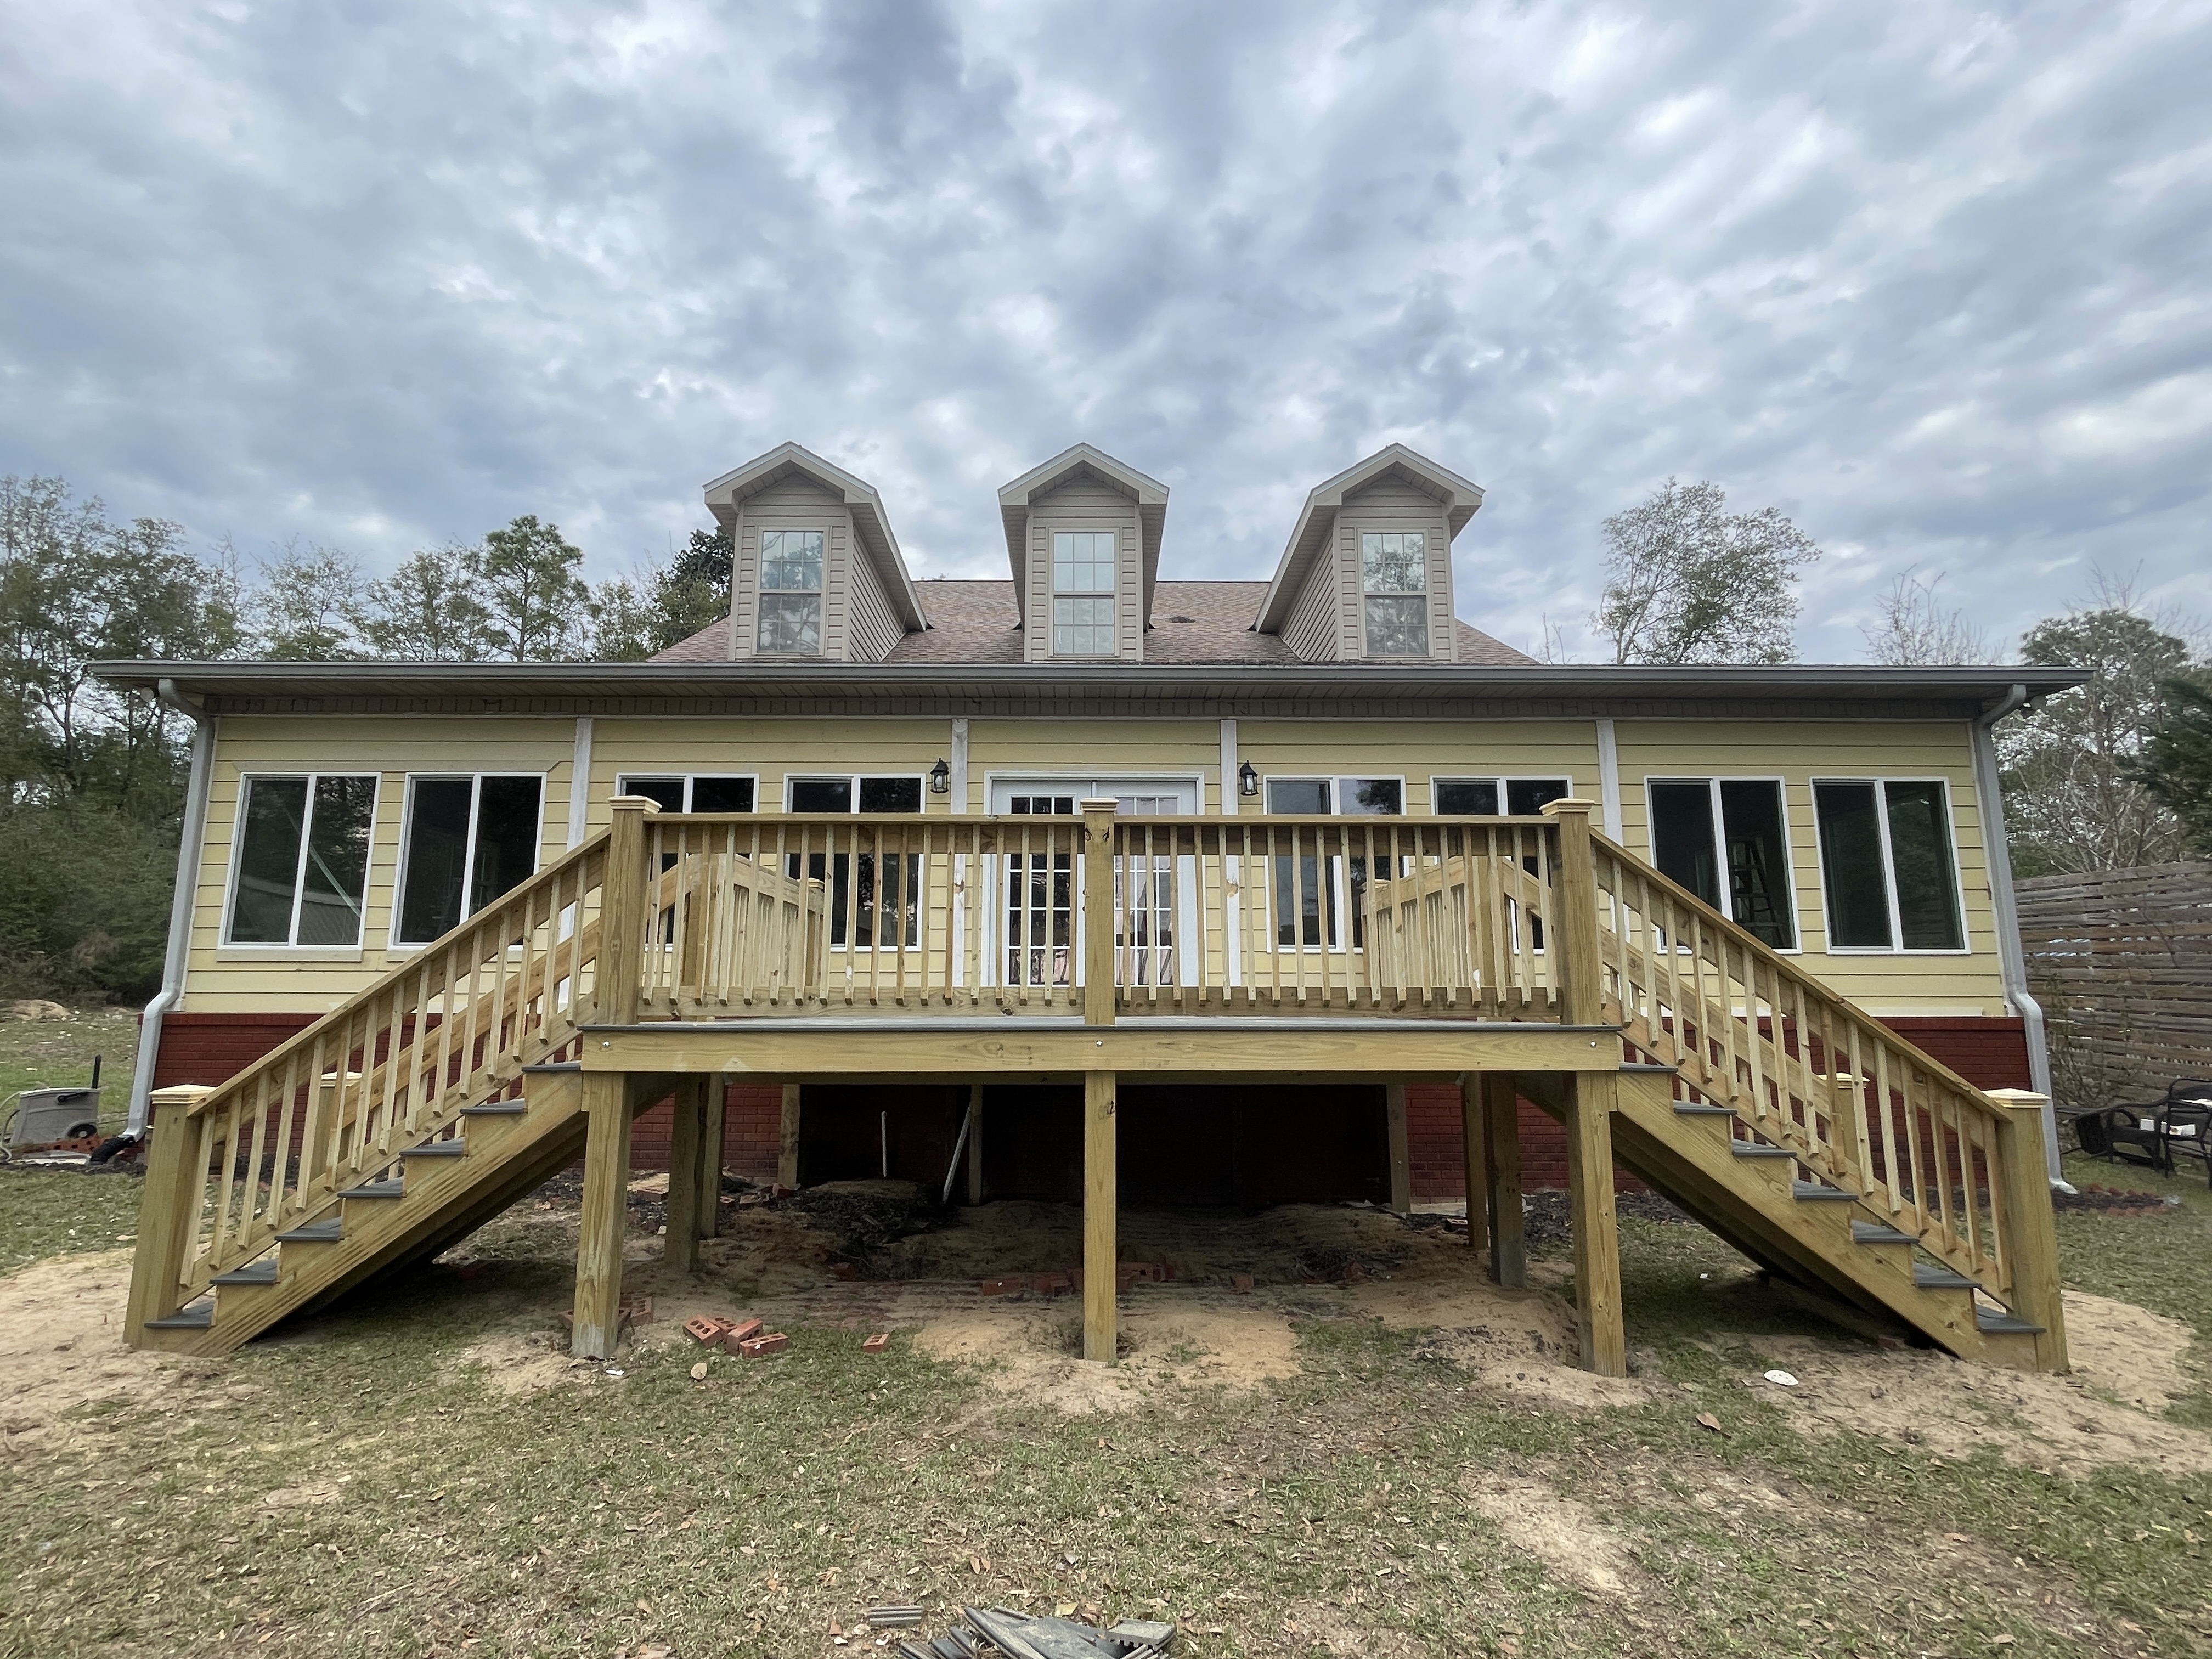
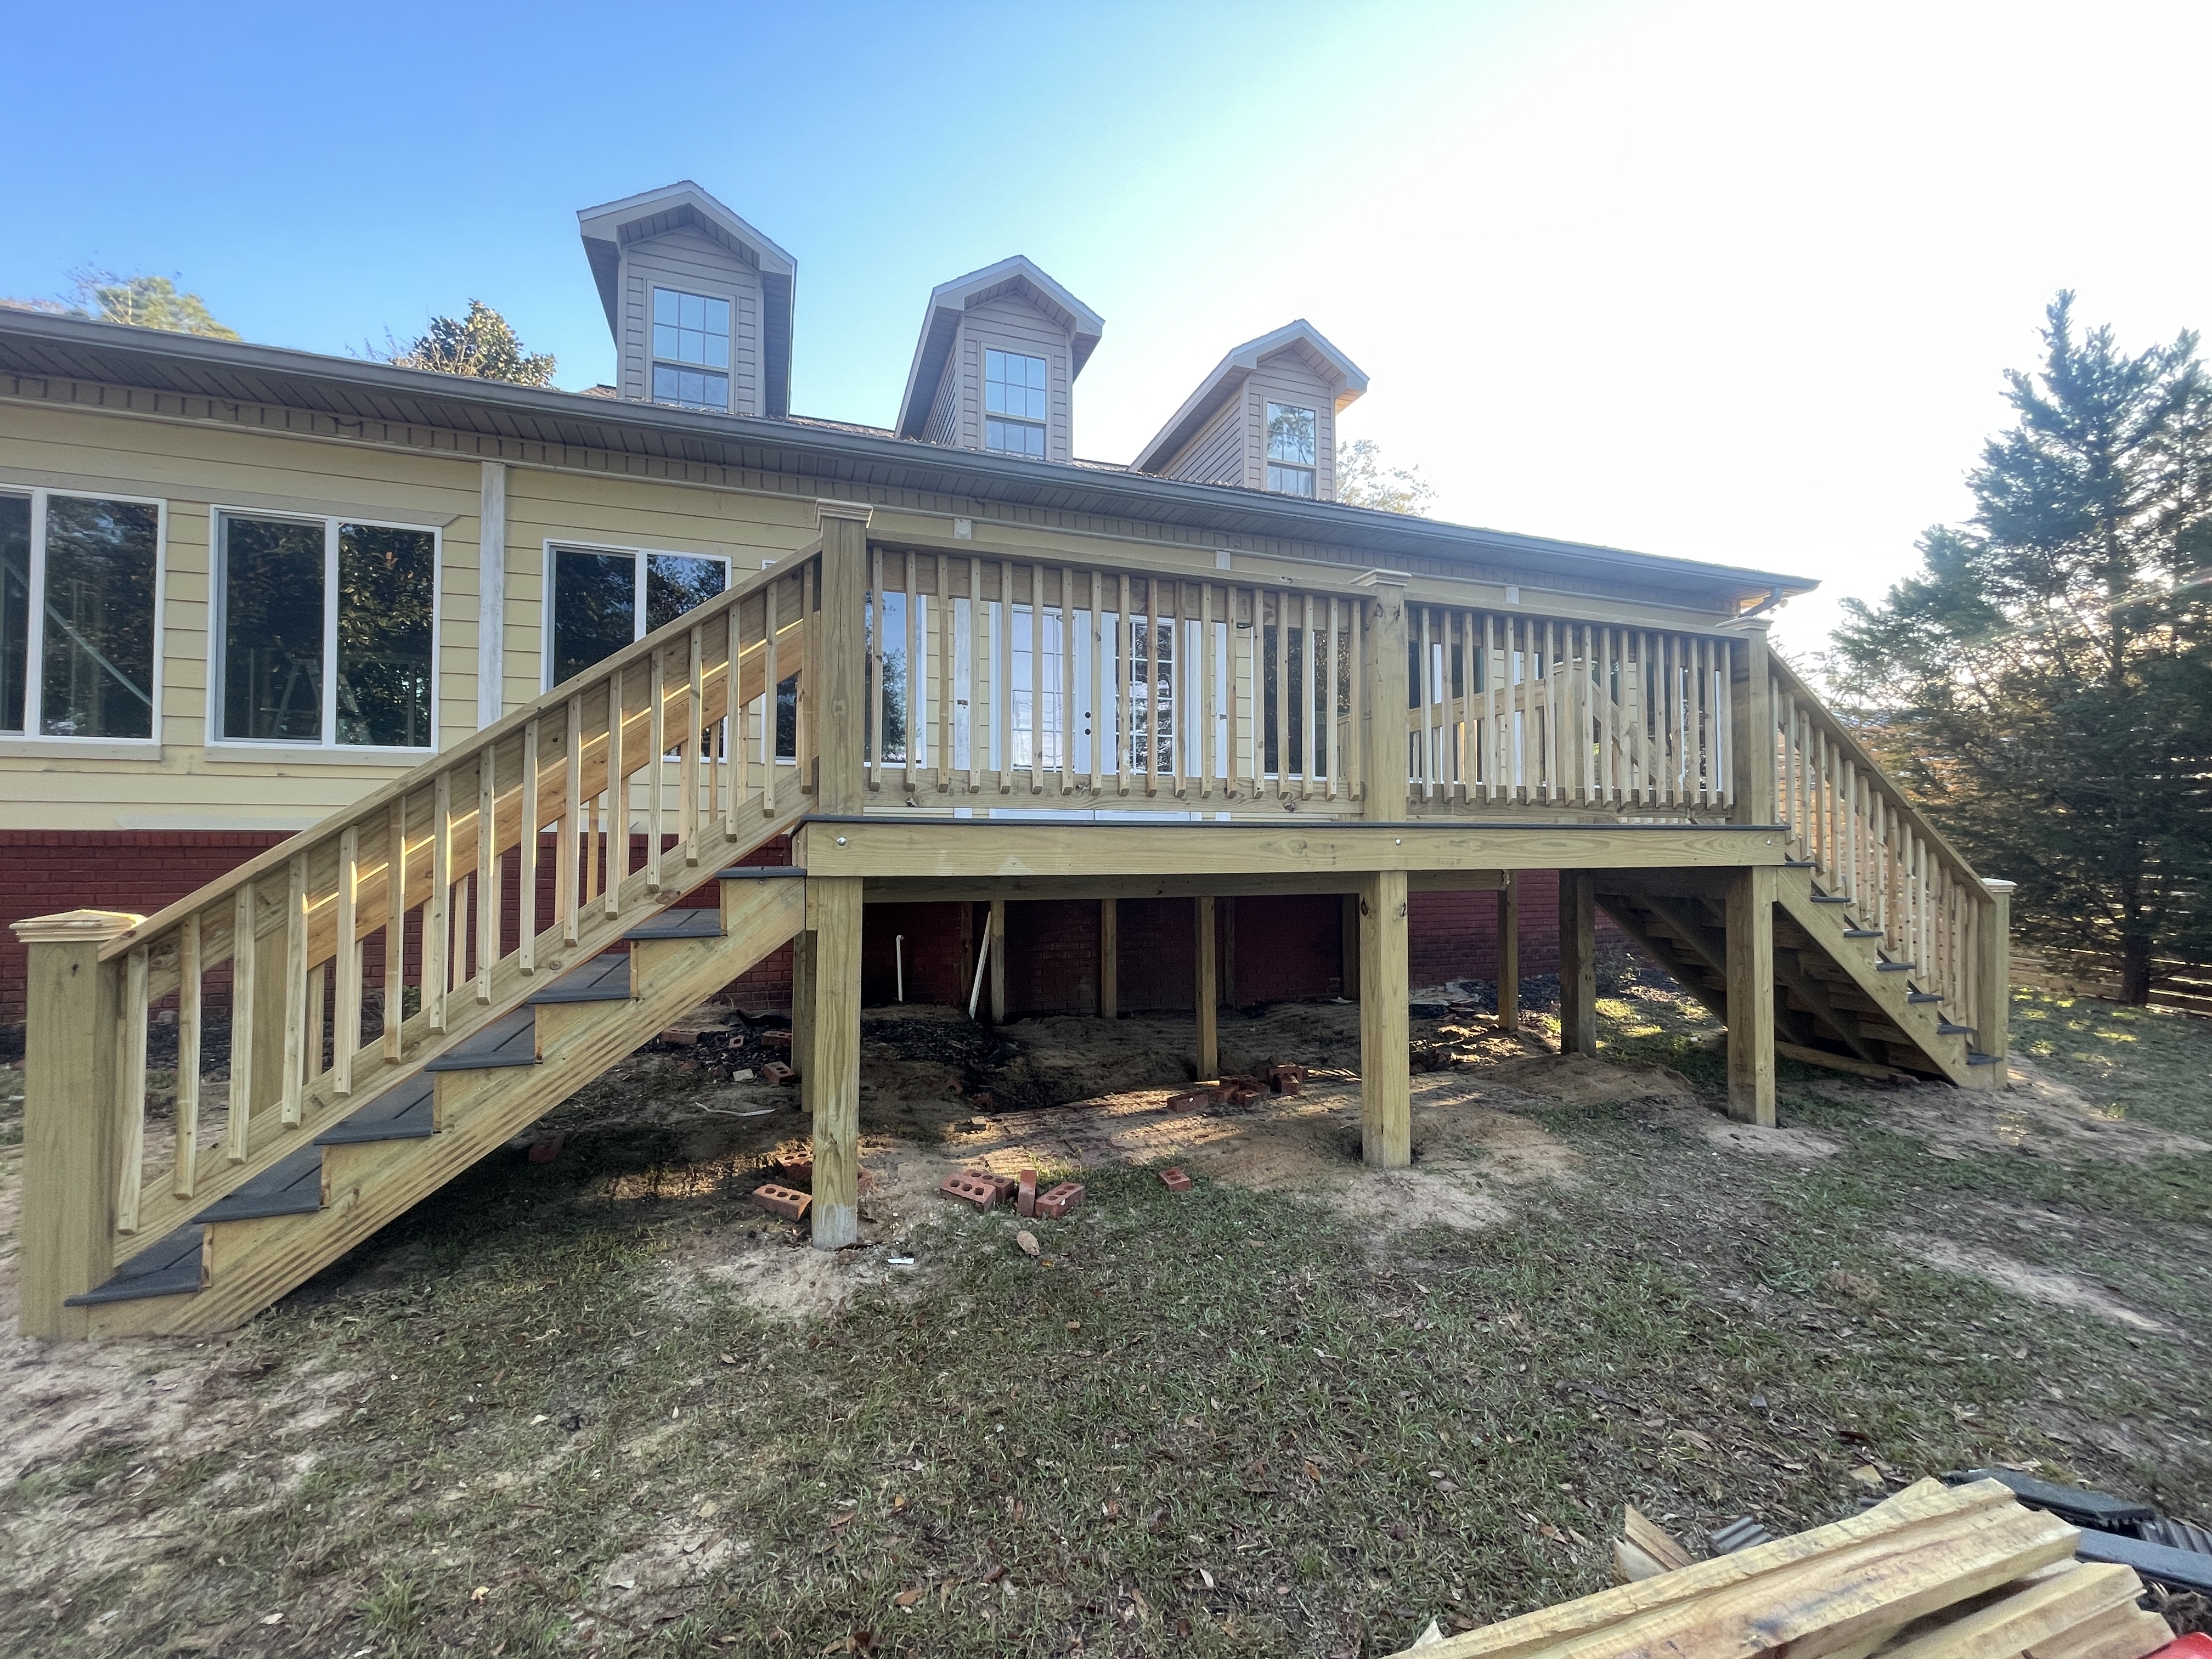
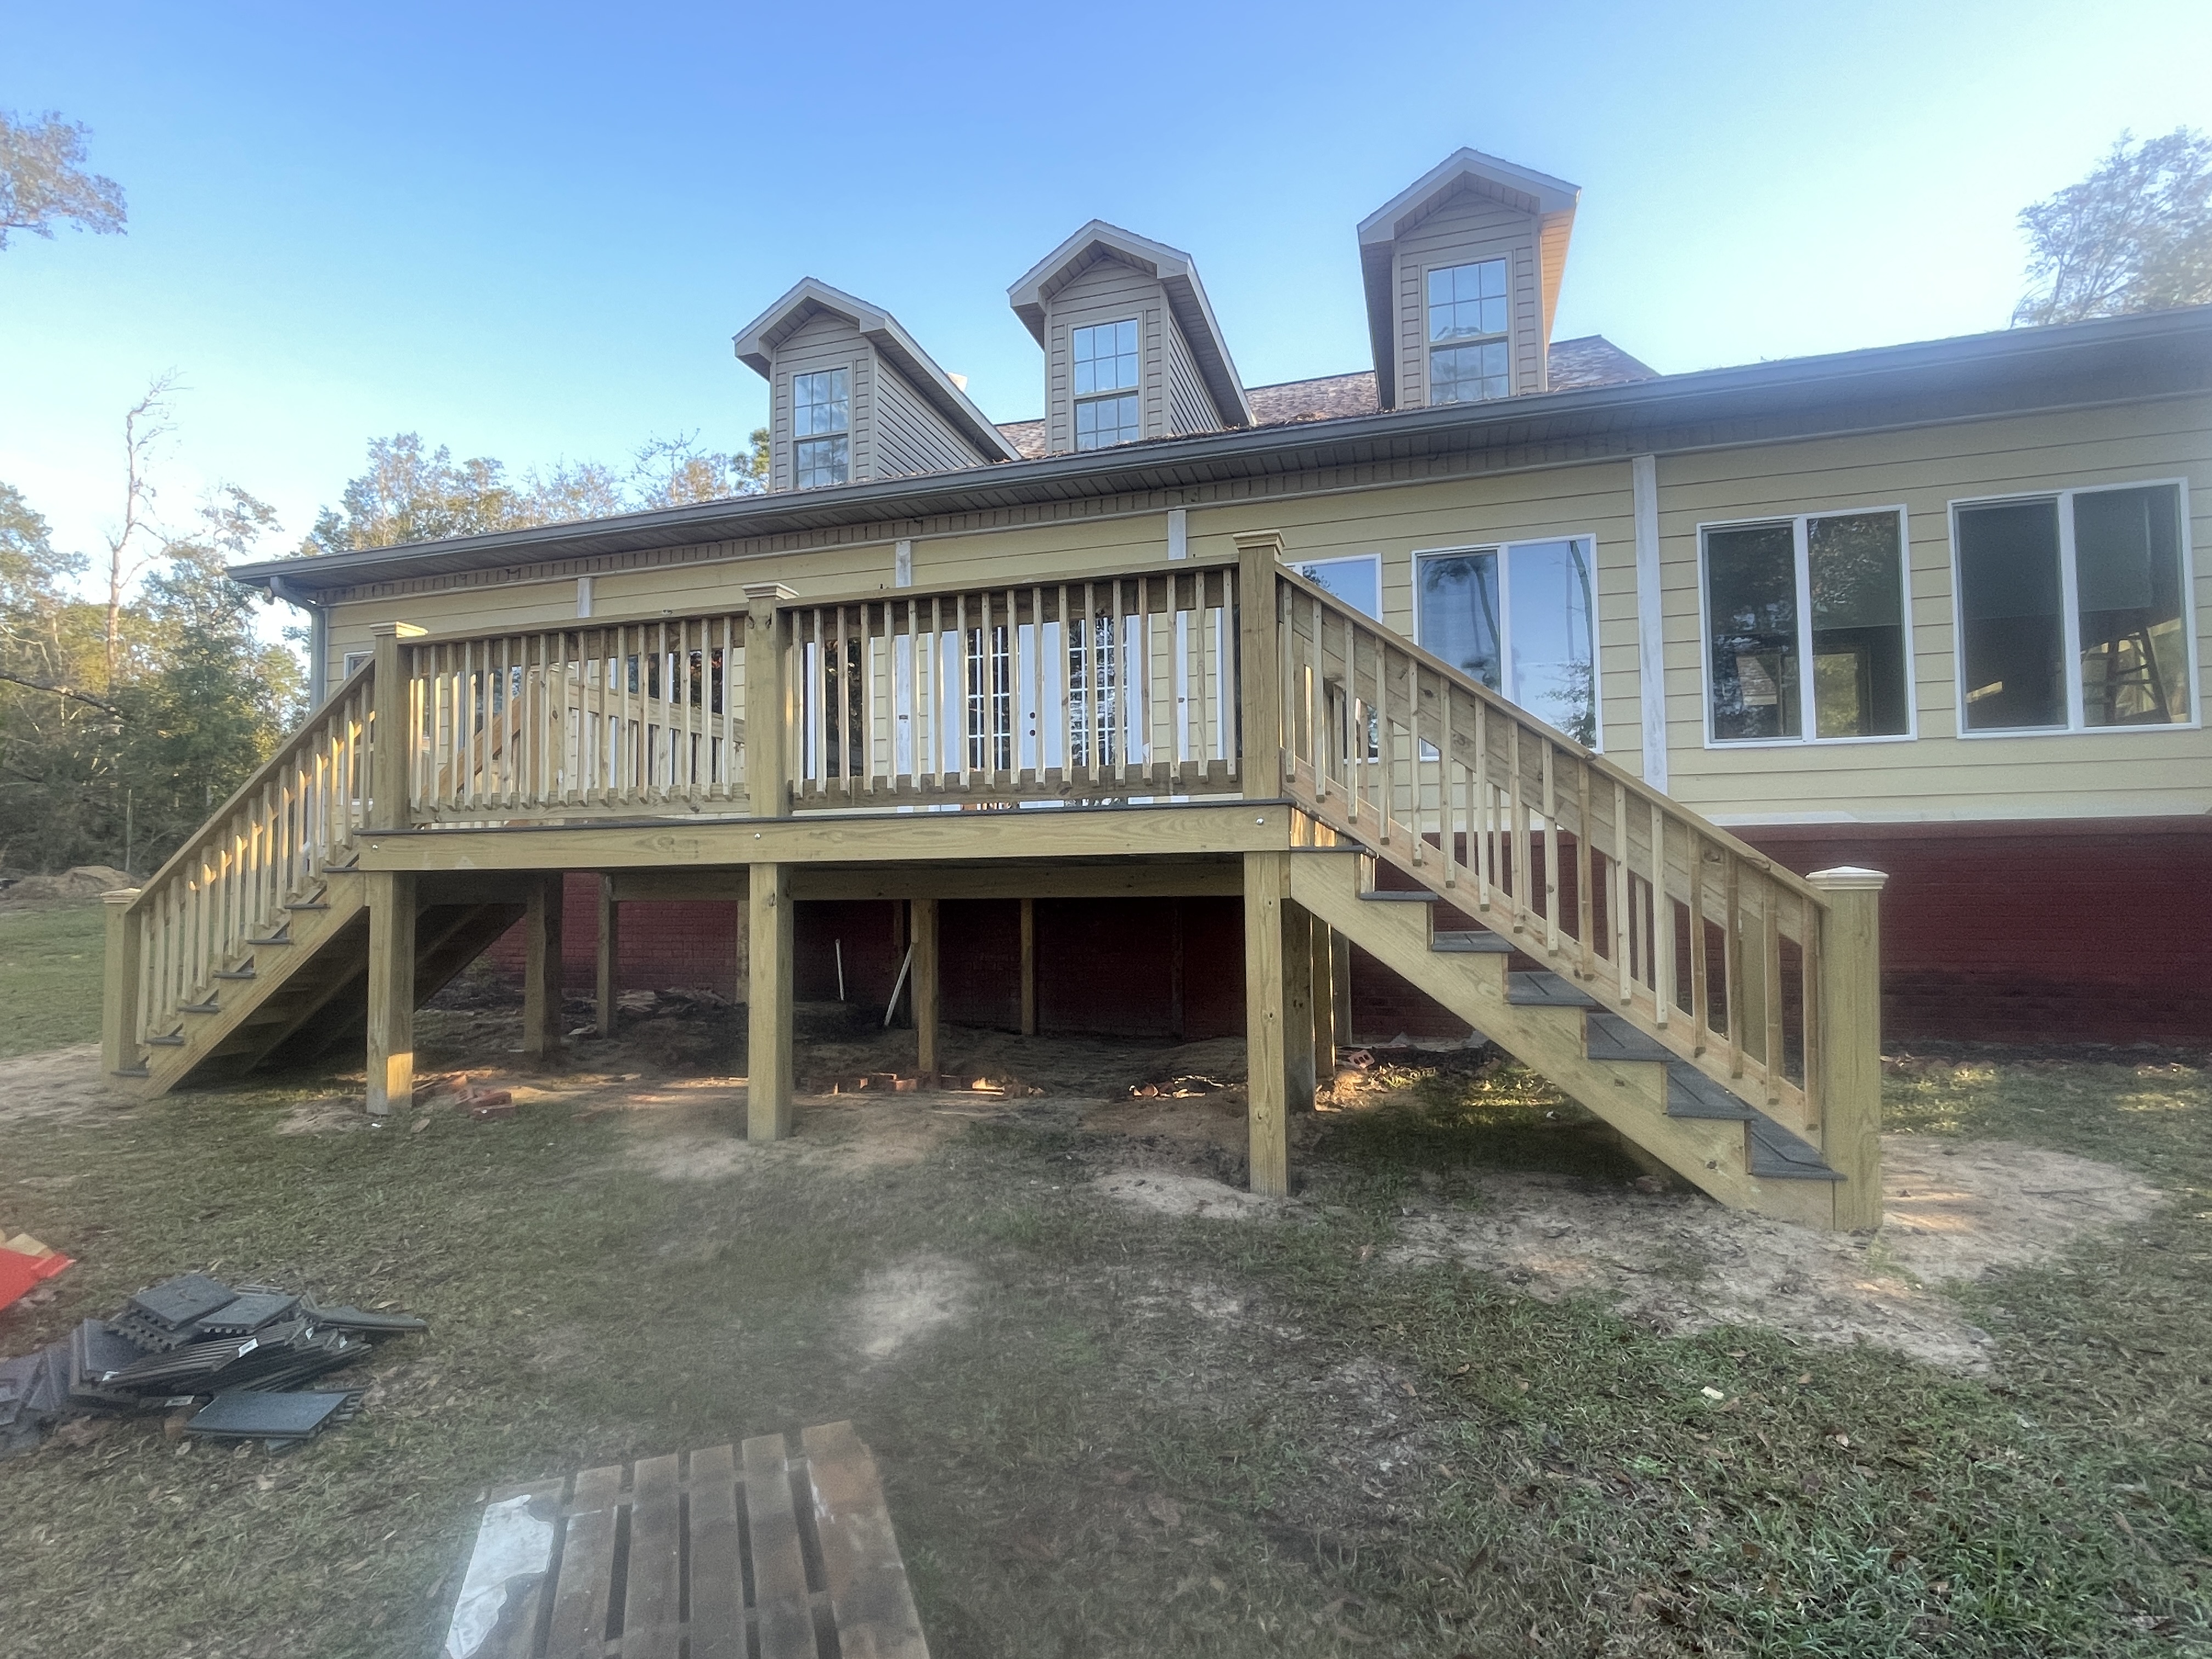
and complete all the electrical work. However while the weather was holding we started to construct the 16' x 12' deck.
We used TREX decking on this project and to keep the grooved underside from being visible on the ends I "picture framed" the top deck and each of the stair steps.
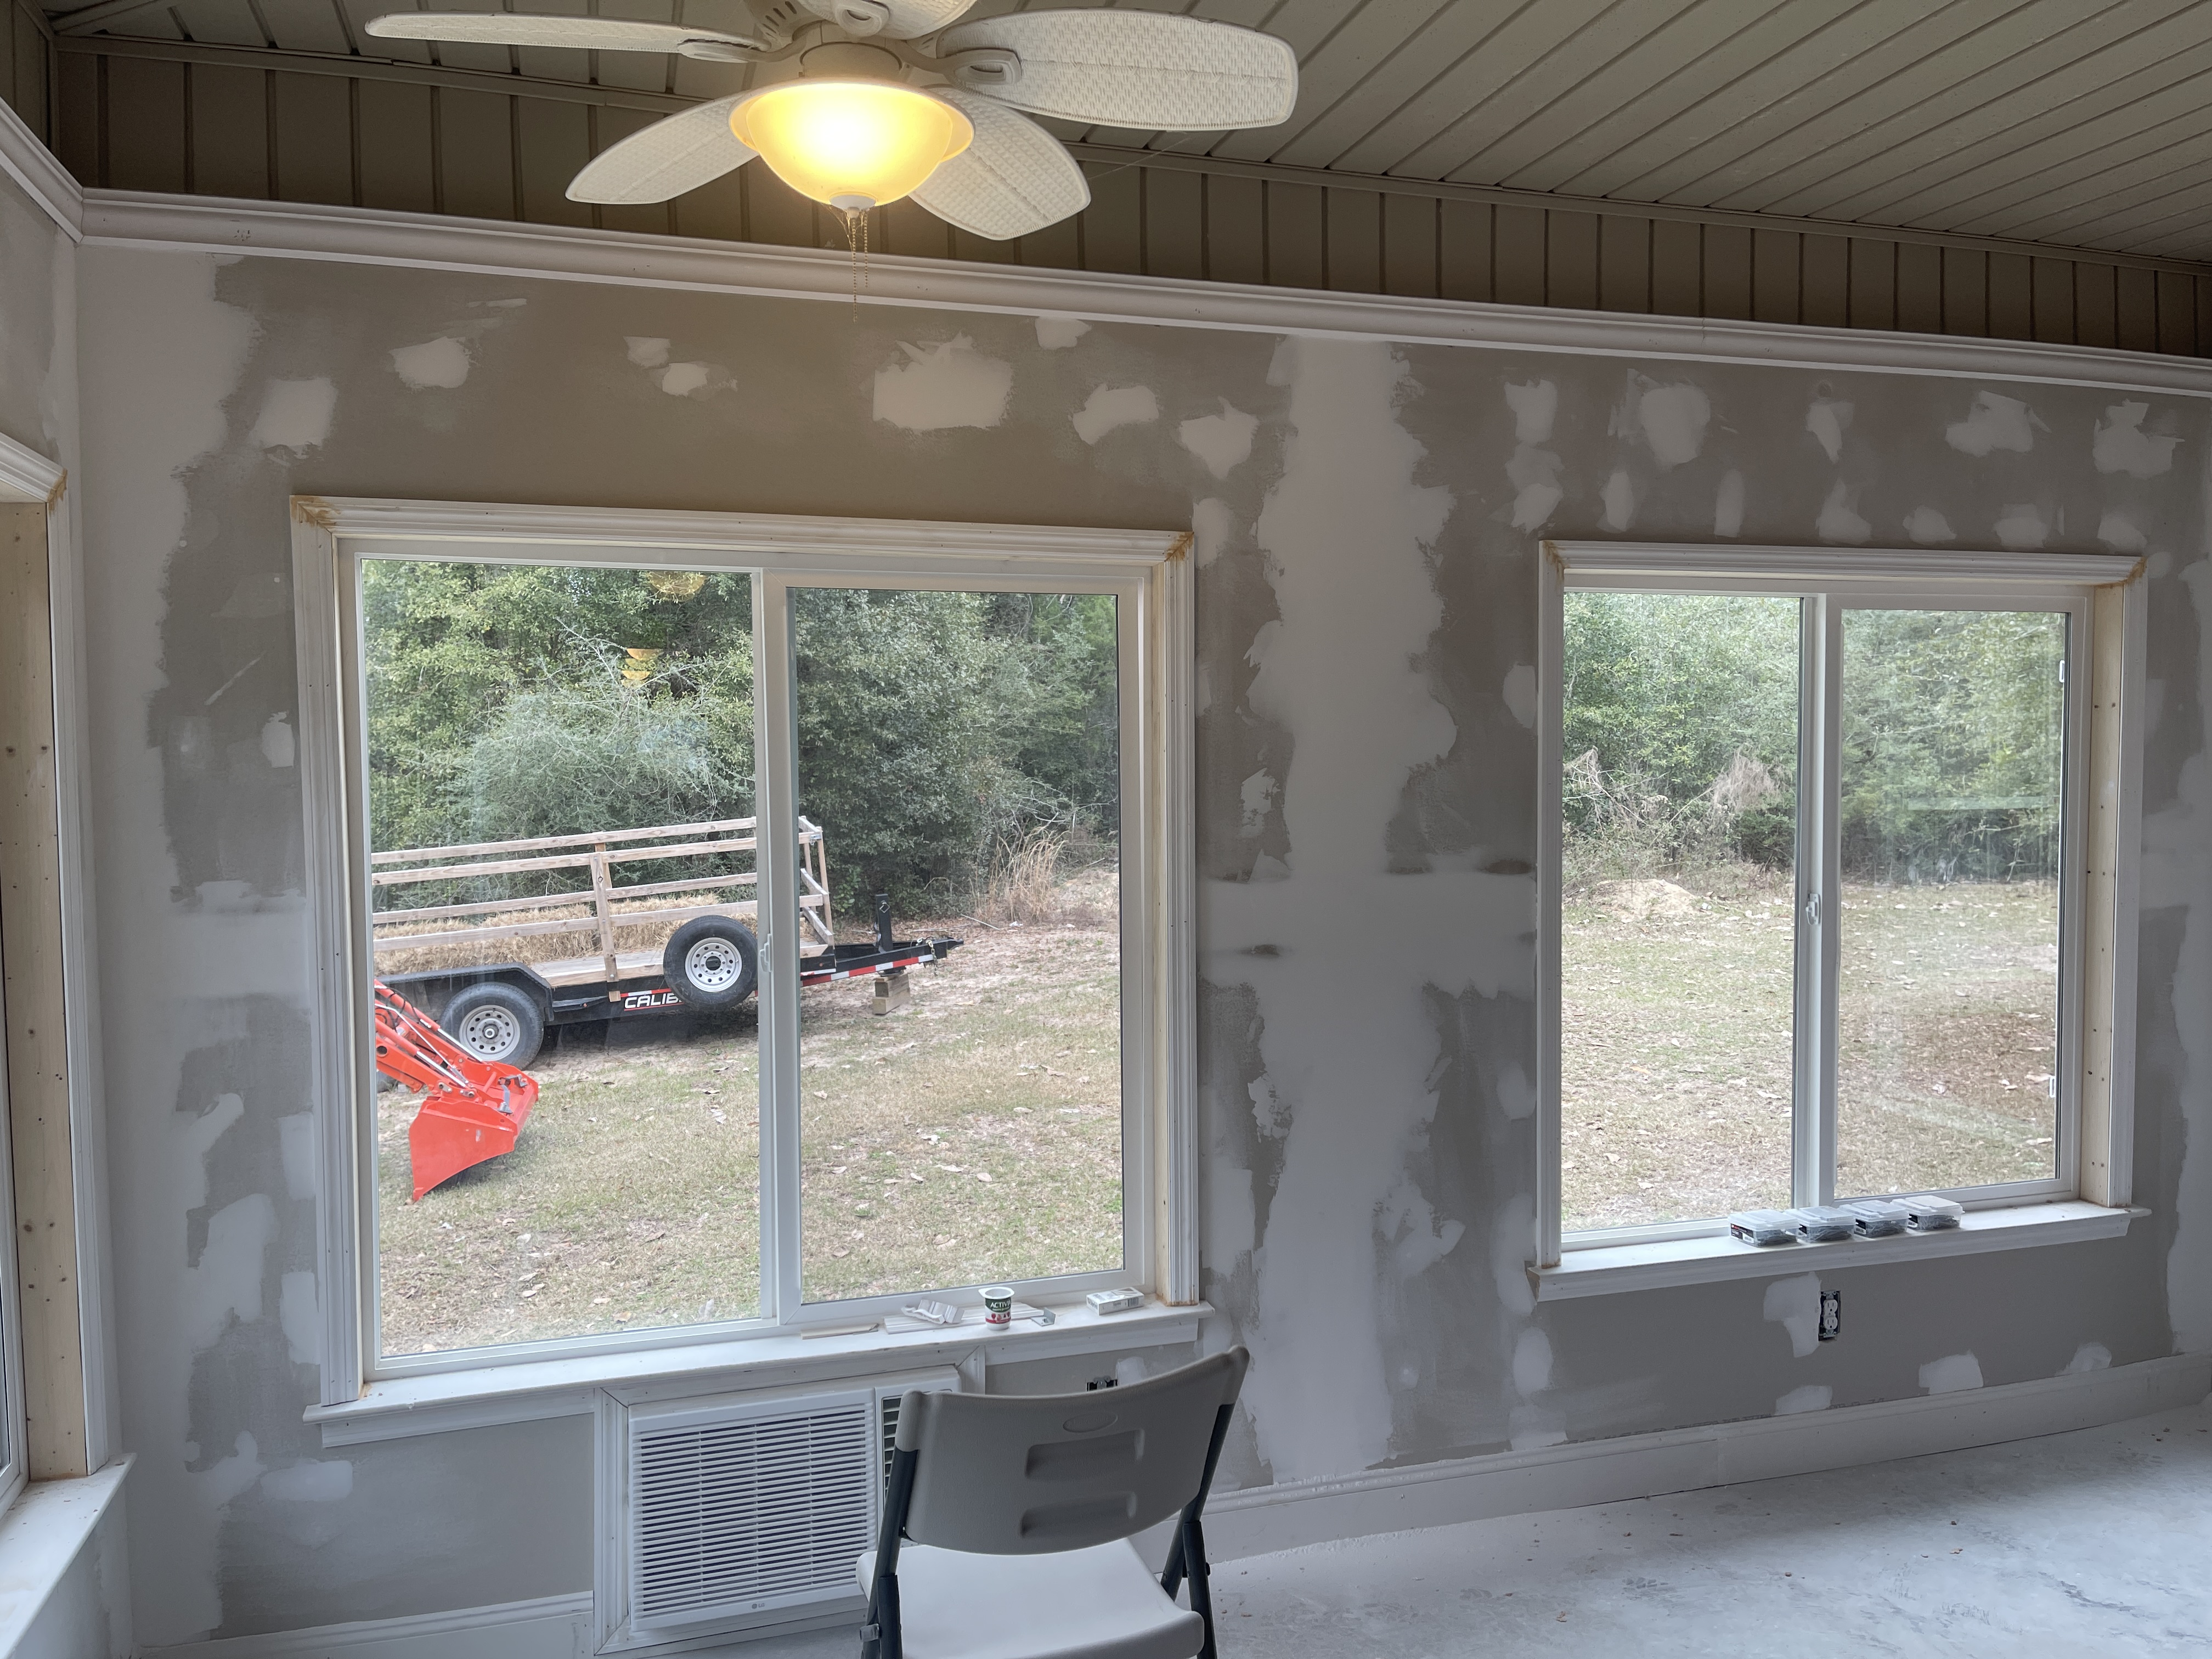
Once the Deck was completed, we moved back inside to complete all of the drywall and completing the tape and finishing.
On each end of the porch enclosure we installed a window airconditioning unit that also provides heating. And it's WiFi enabled so they can be controlled from the homeowner's iPhone.
The final step was to configure and install 2 storm doors to protect the double french doors. All the handware has now been installed.
The homeowner wants to undertake the remainder of the project with any remaining caulking and the painting of the deck railing, exterior siding and the interior drywall and molding trim.
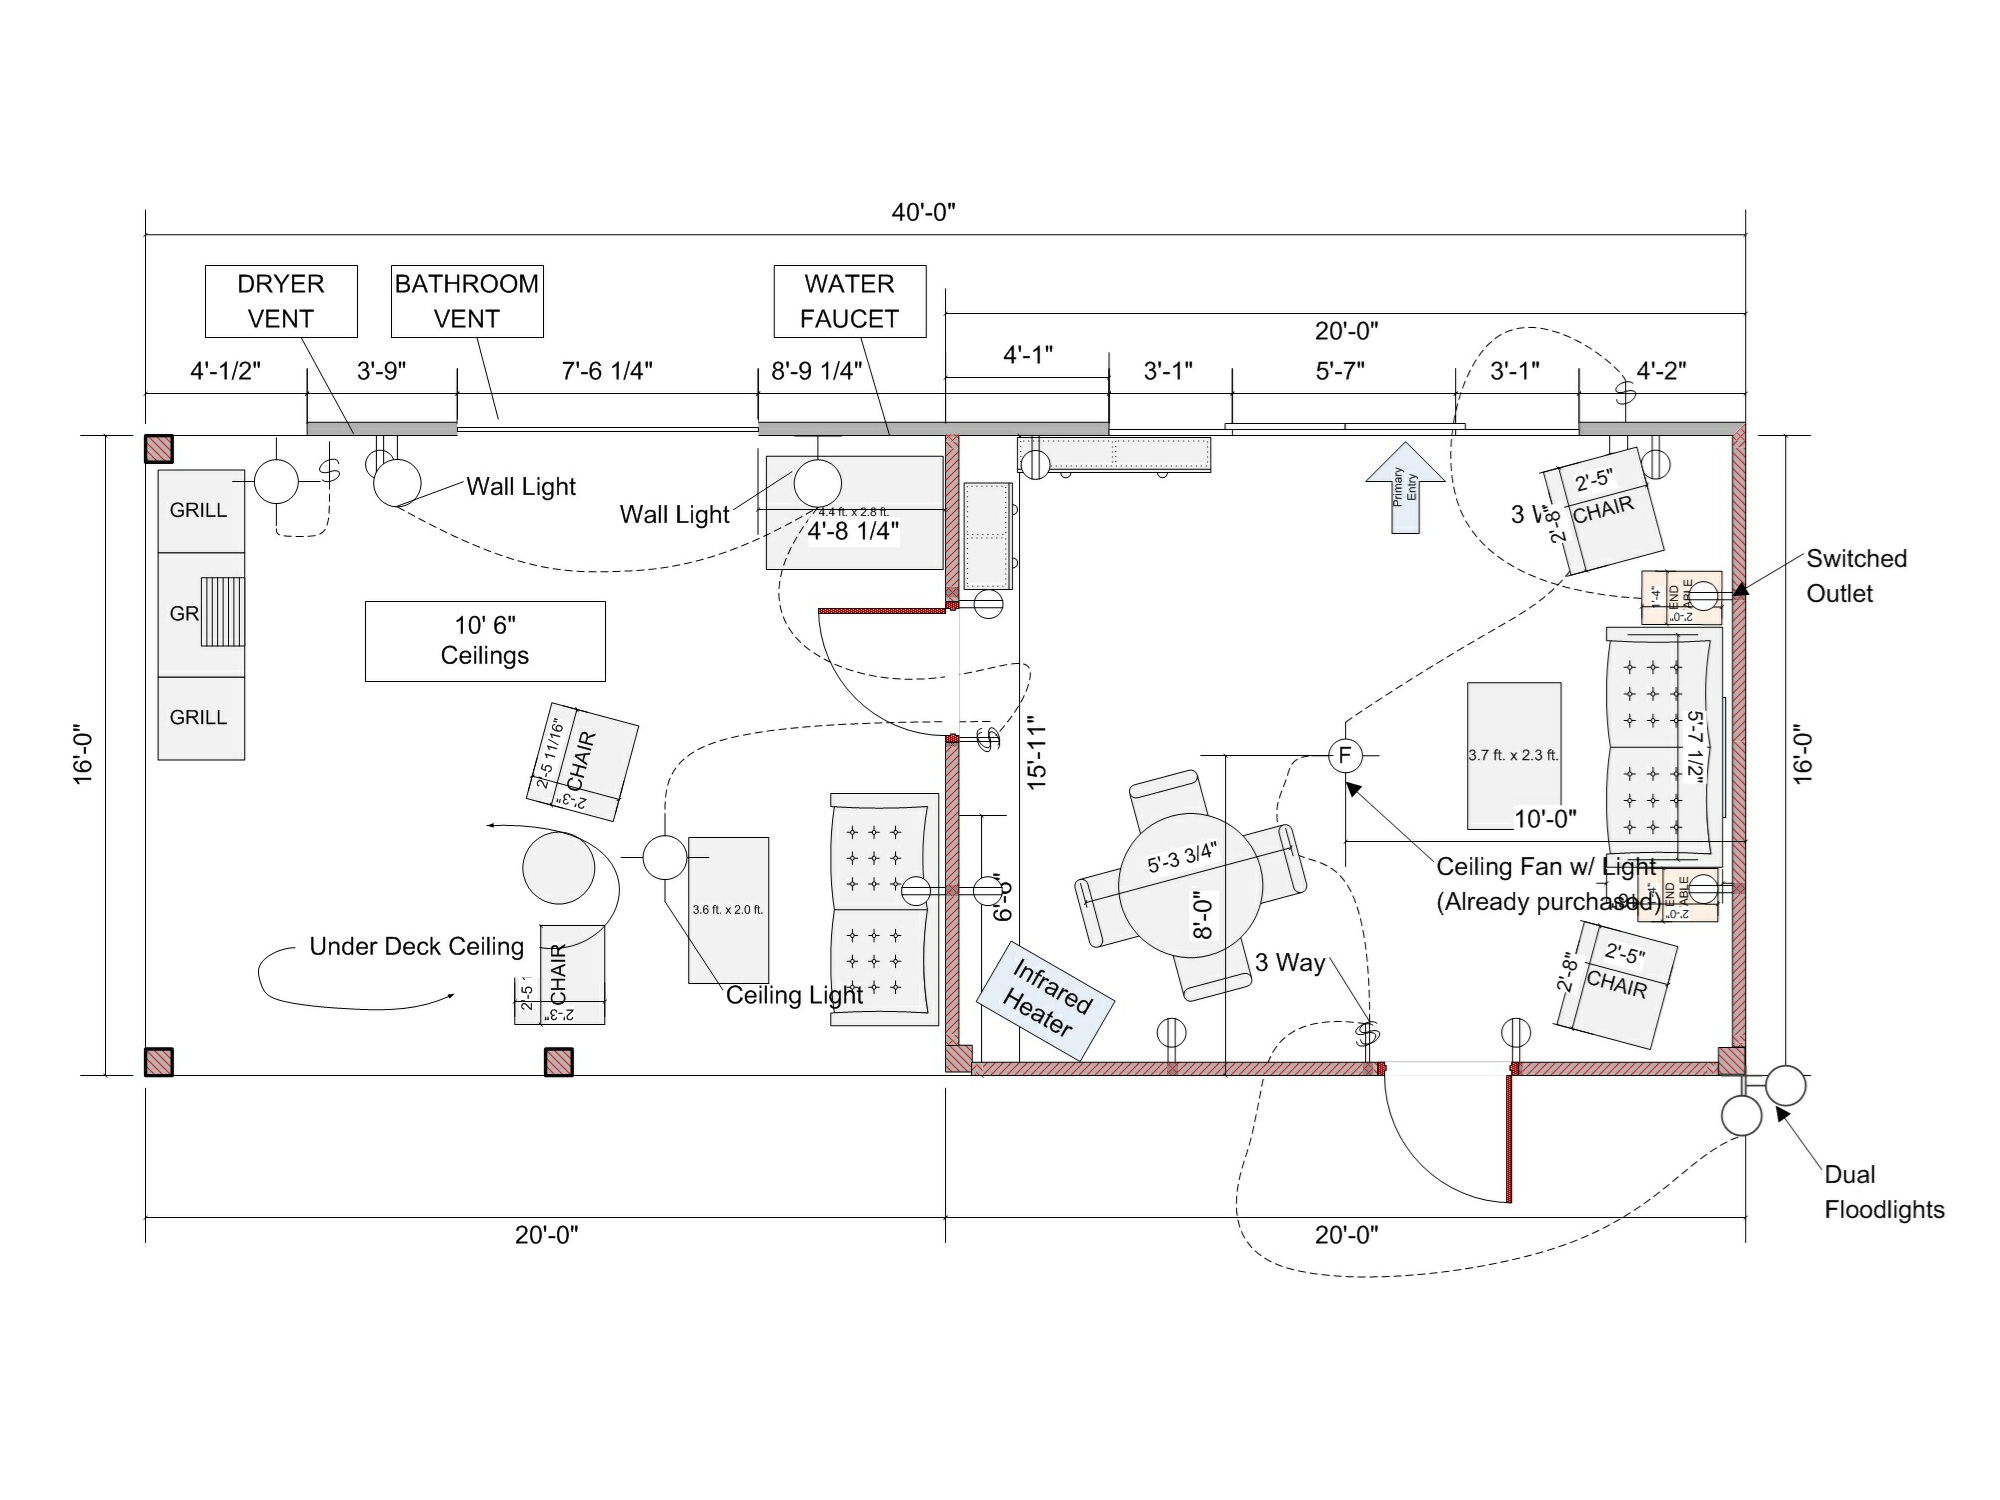
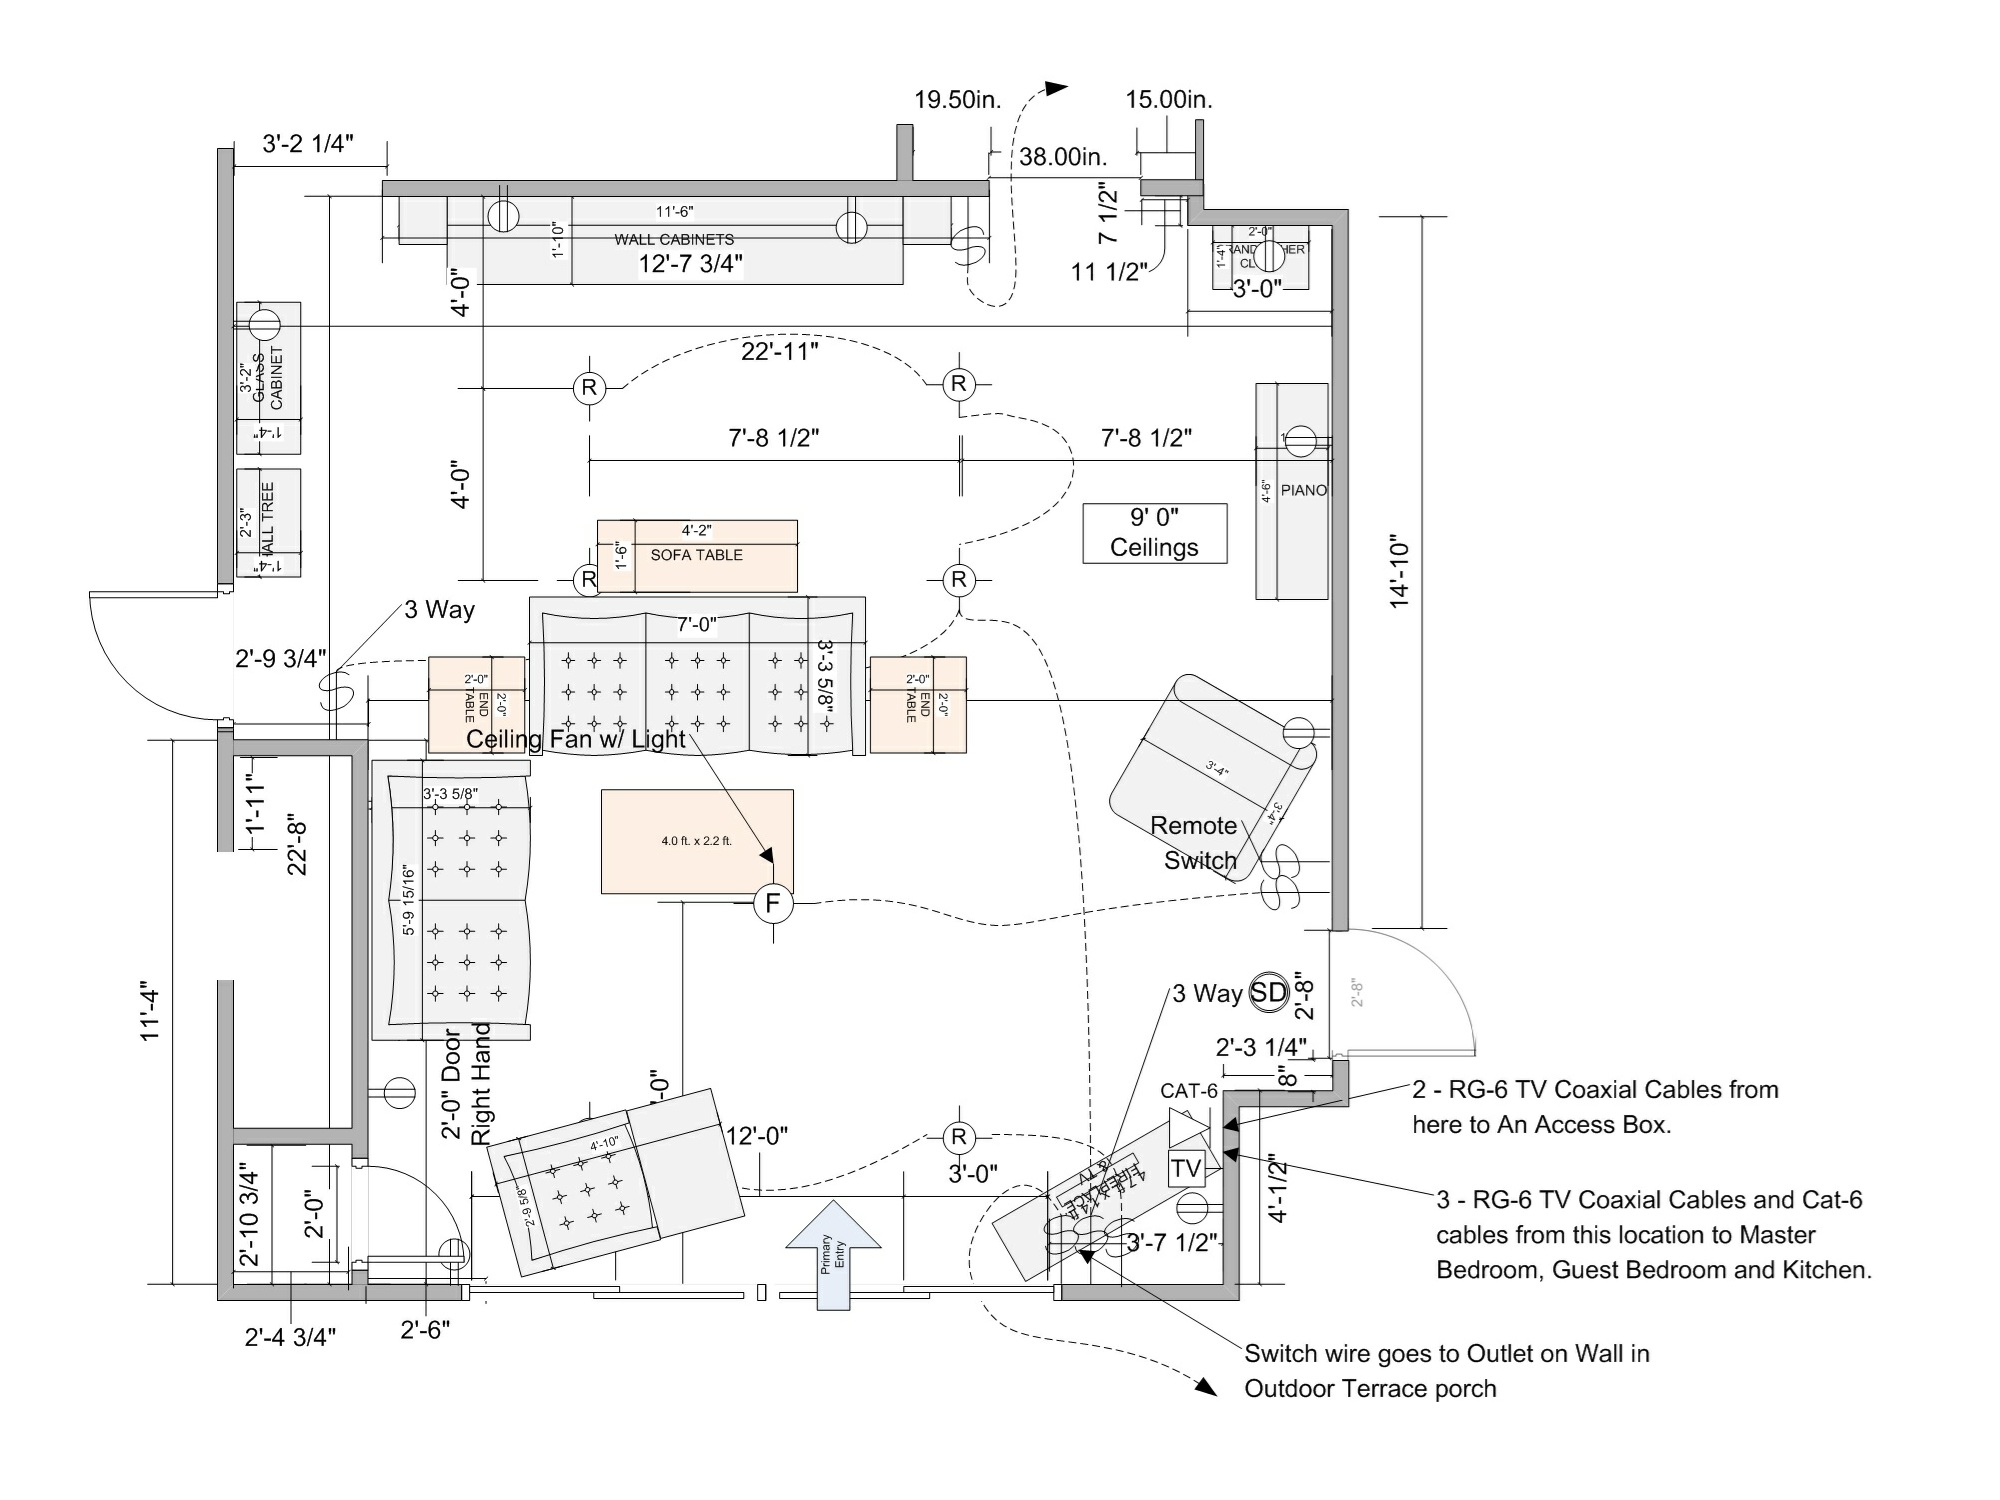
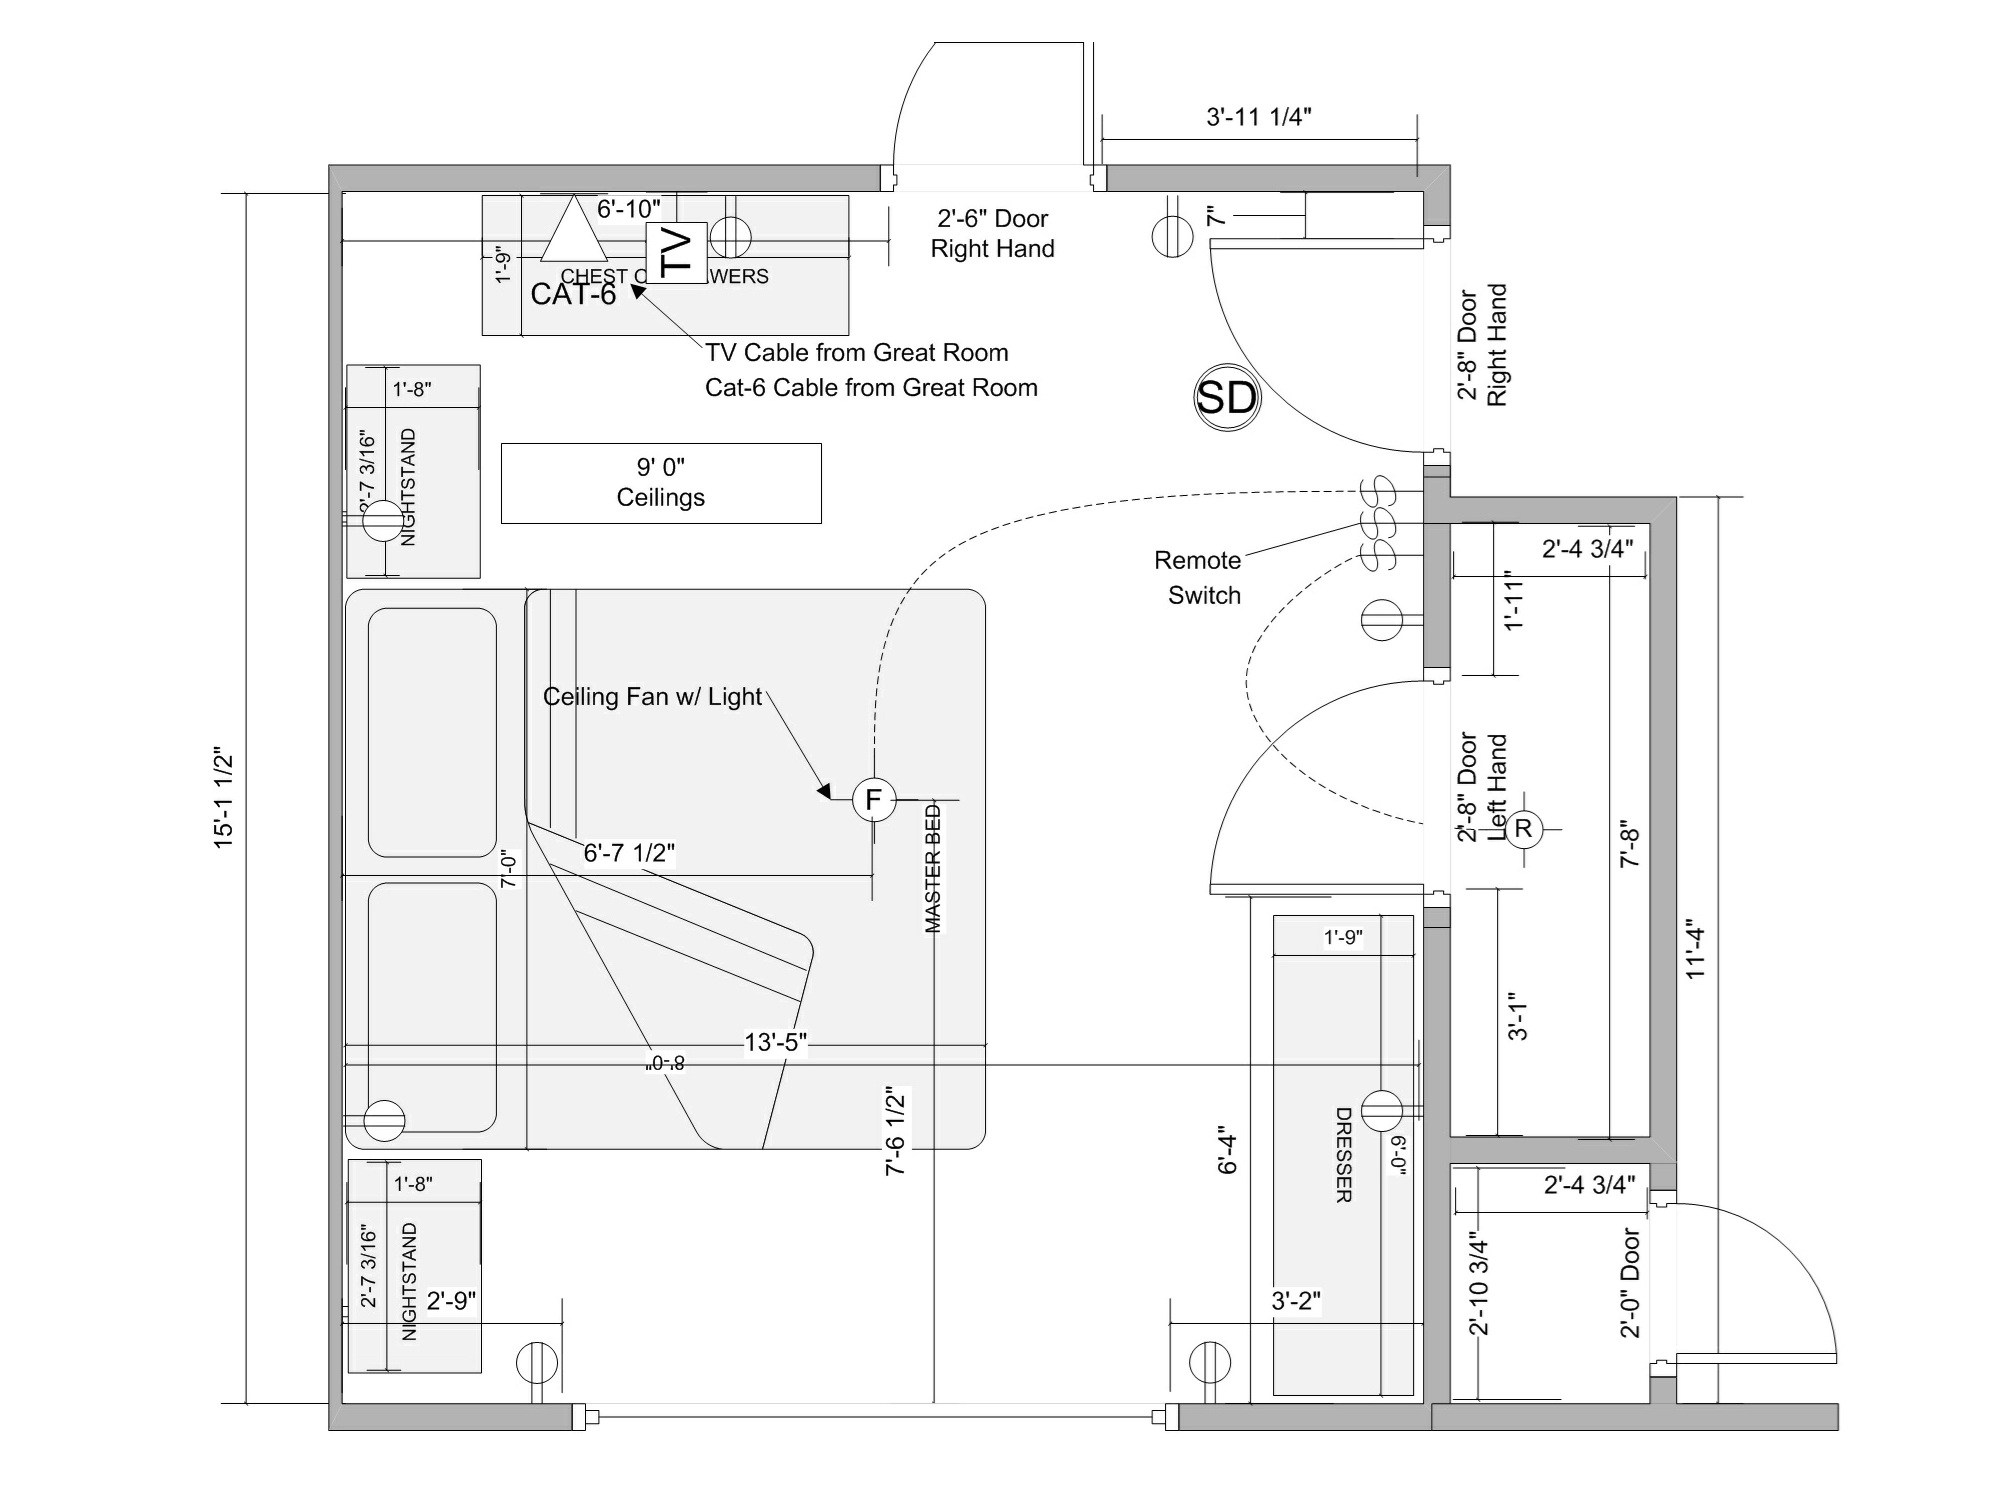
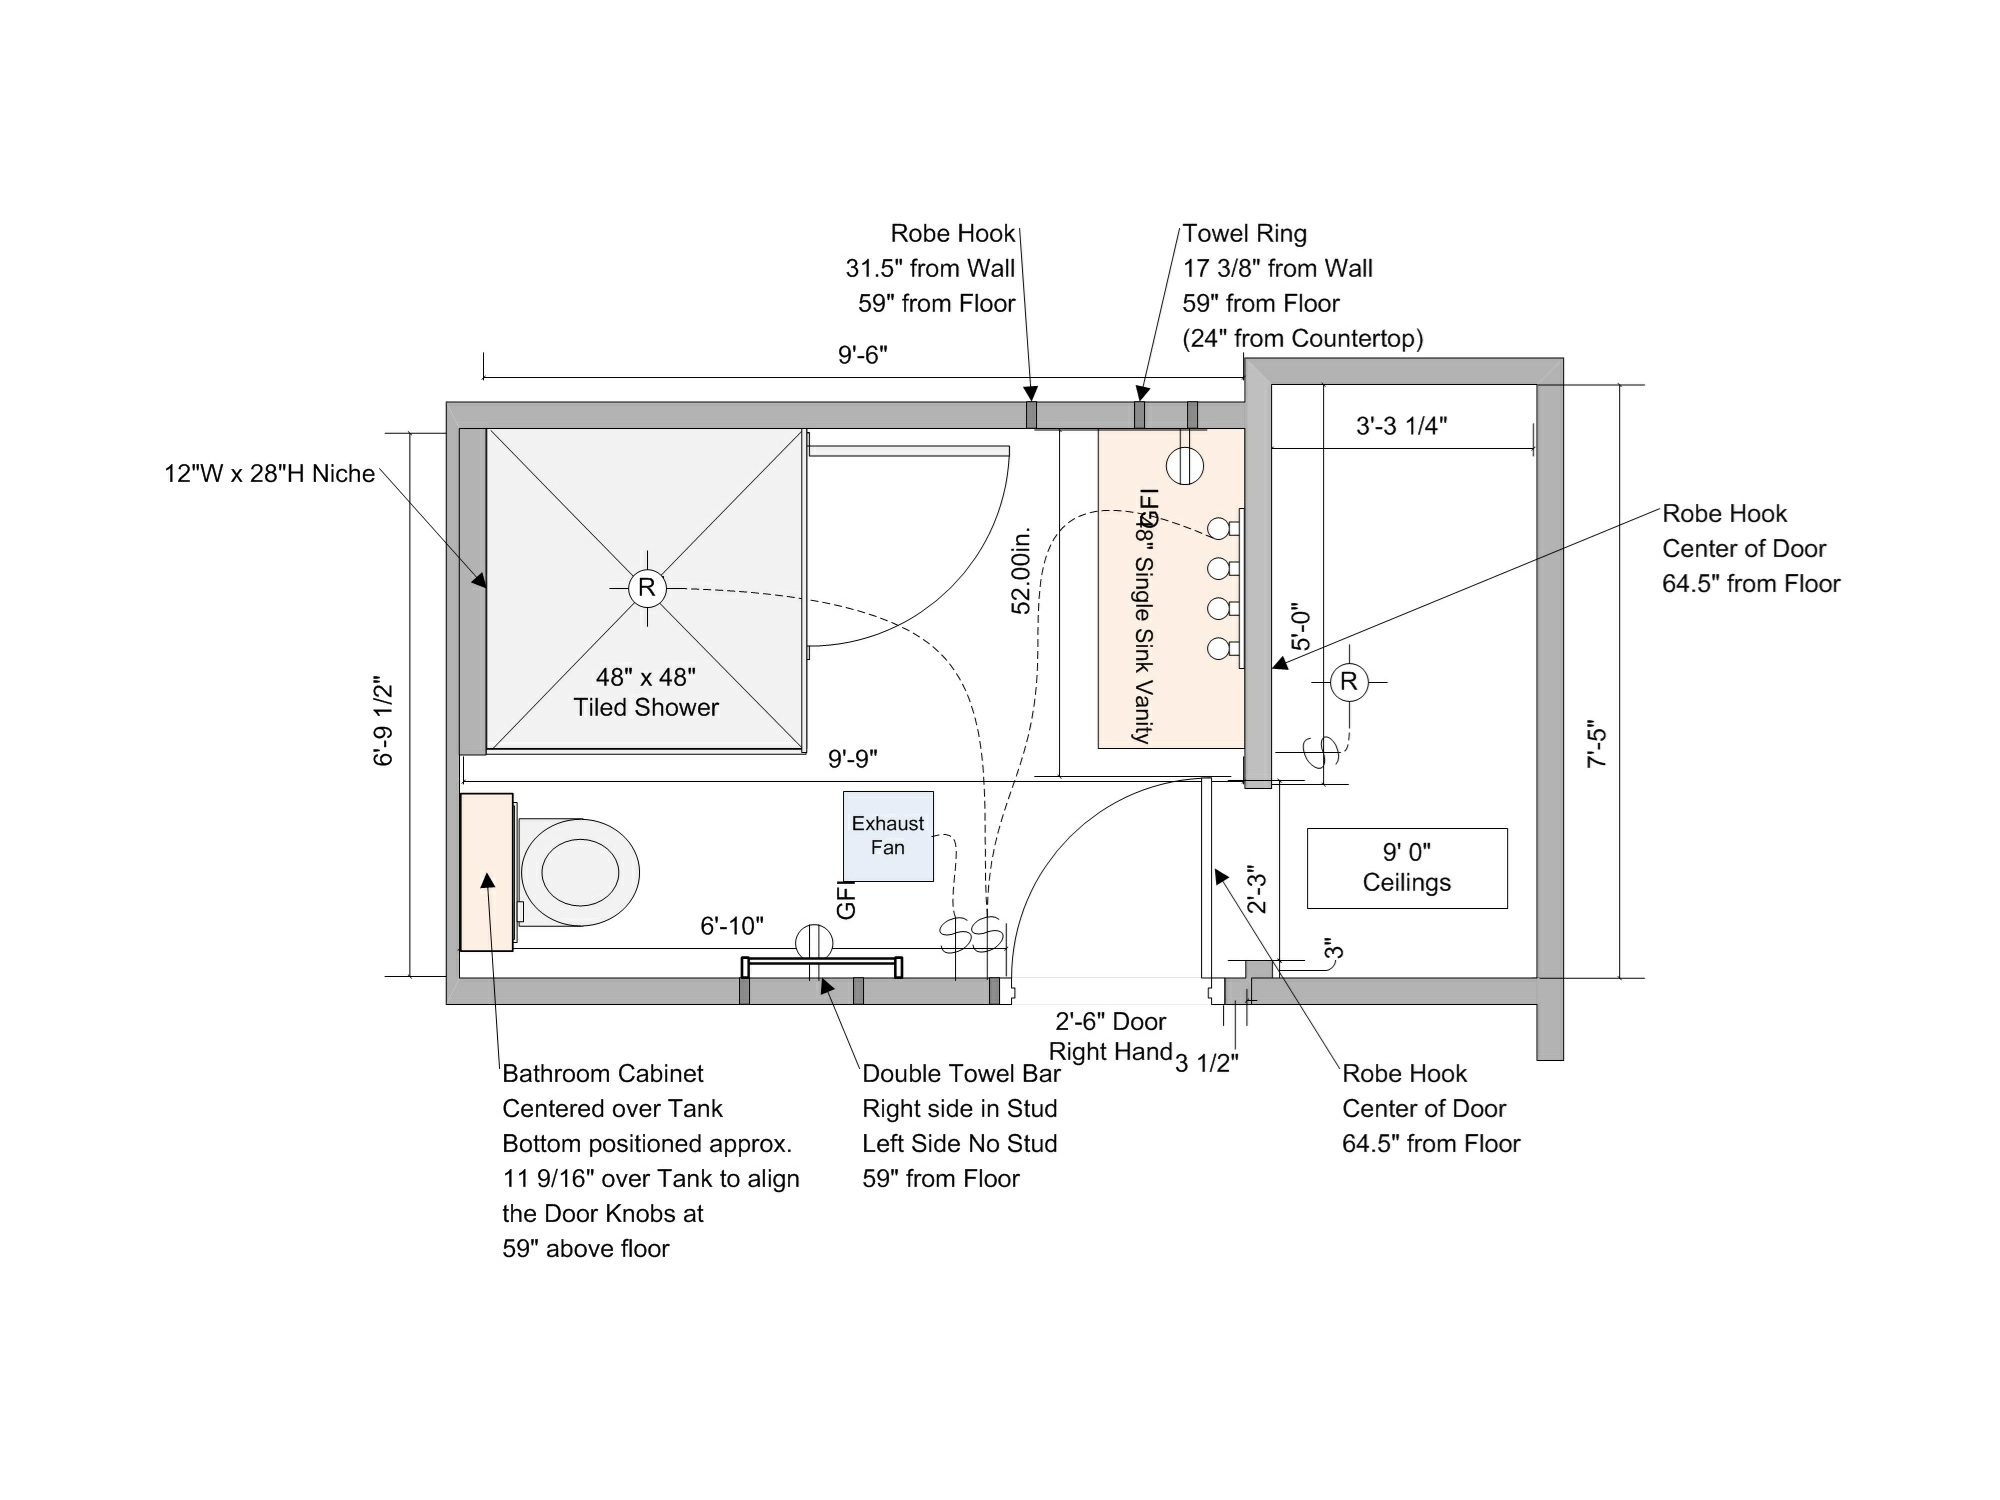
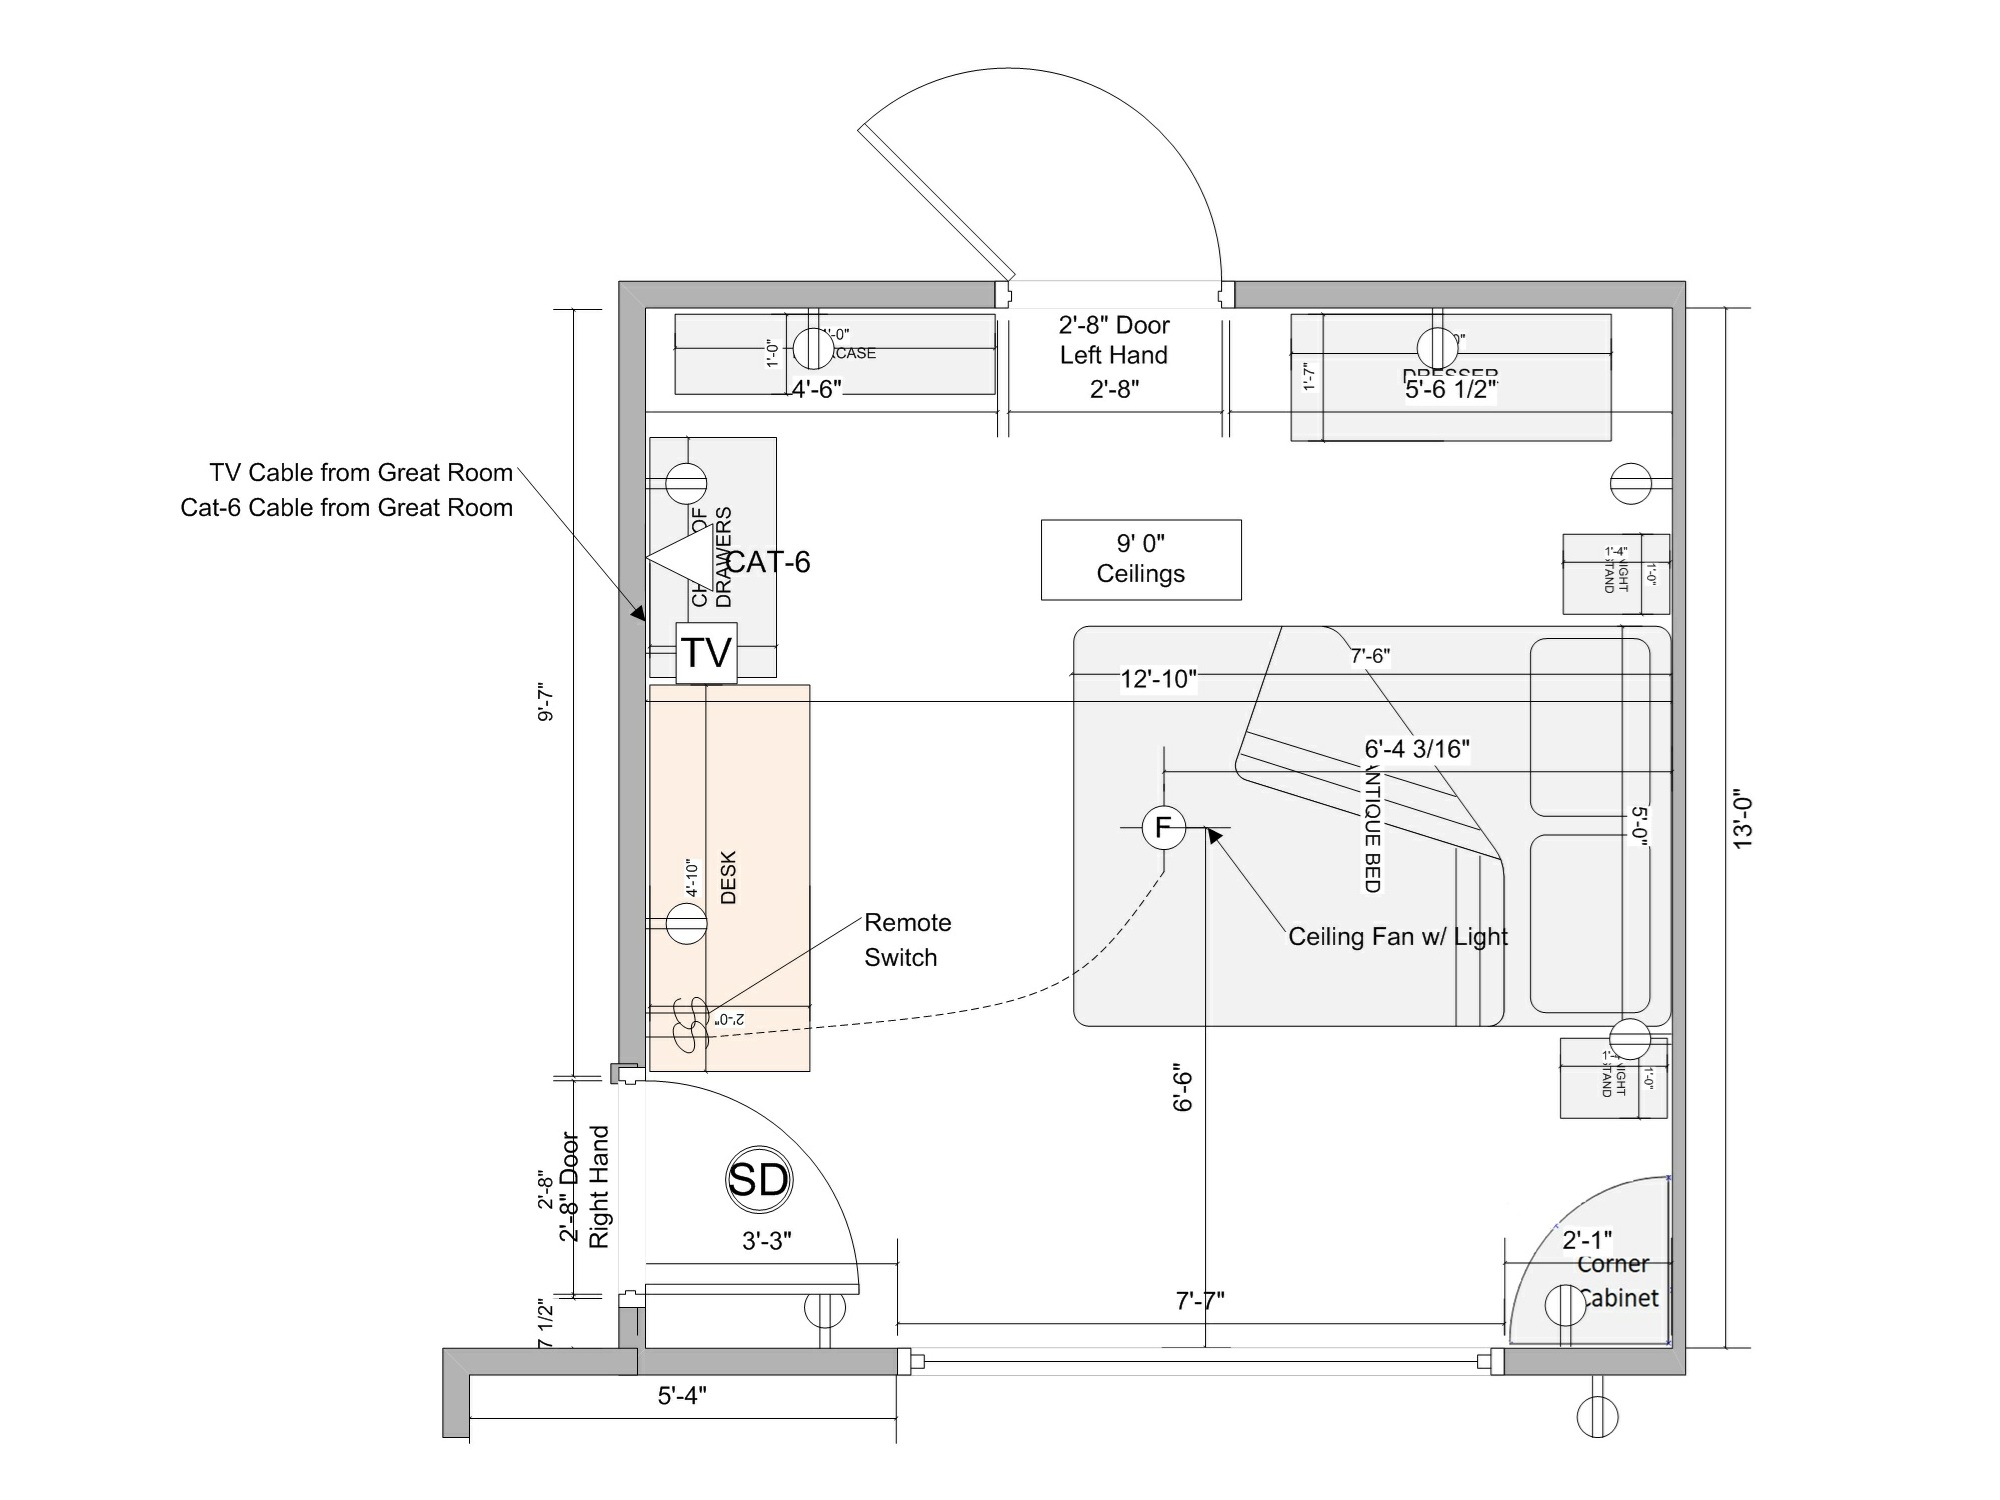
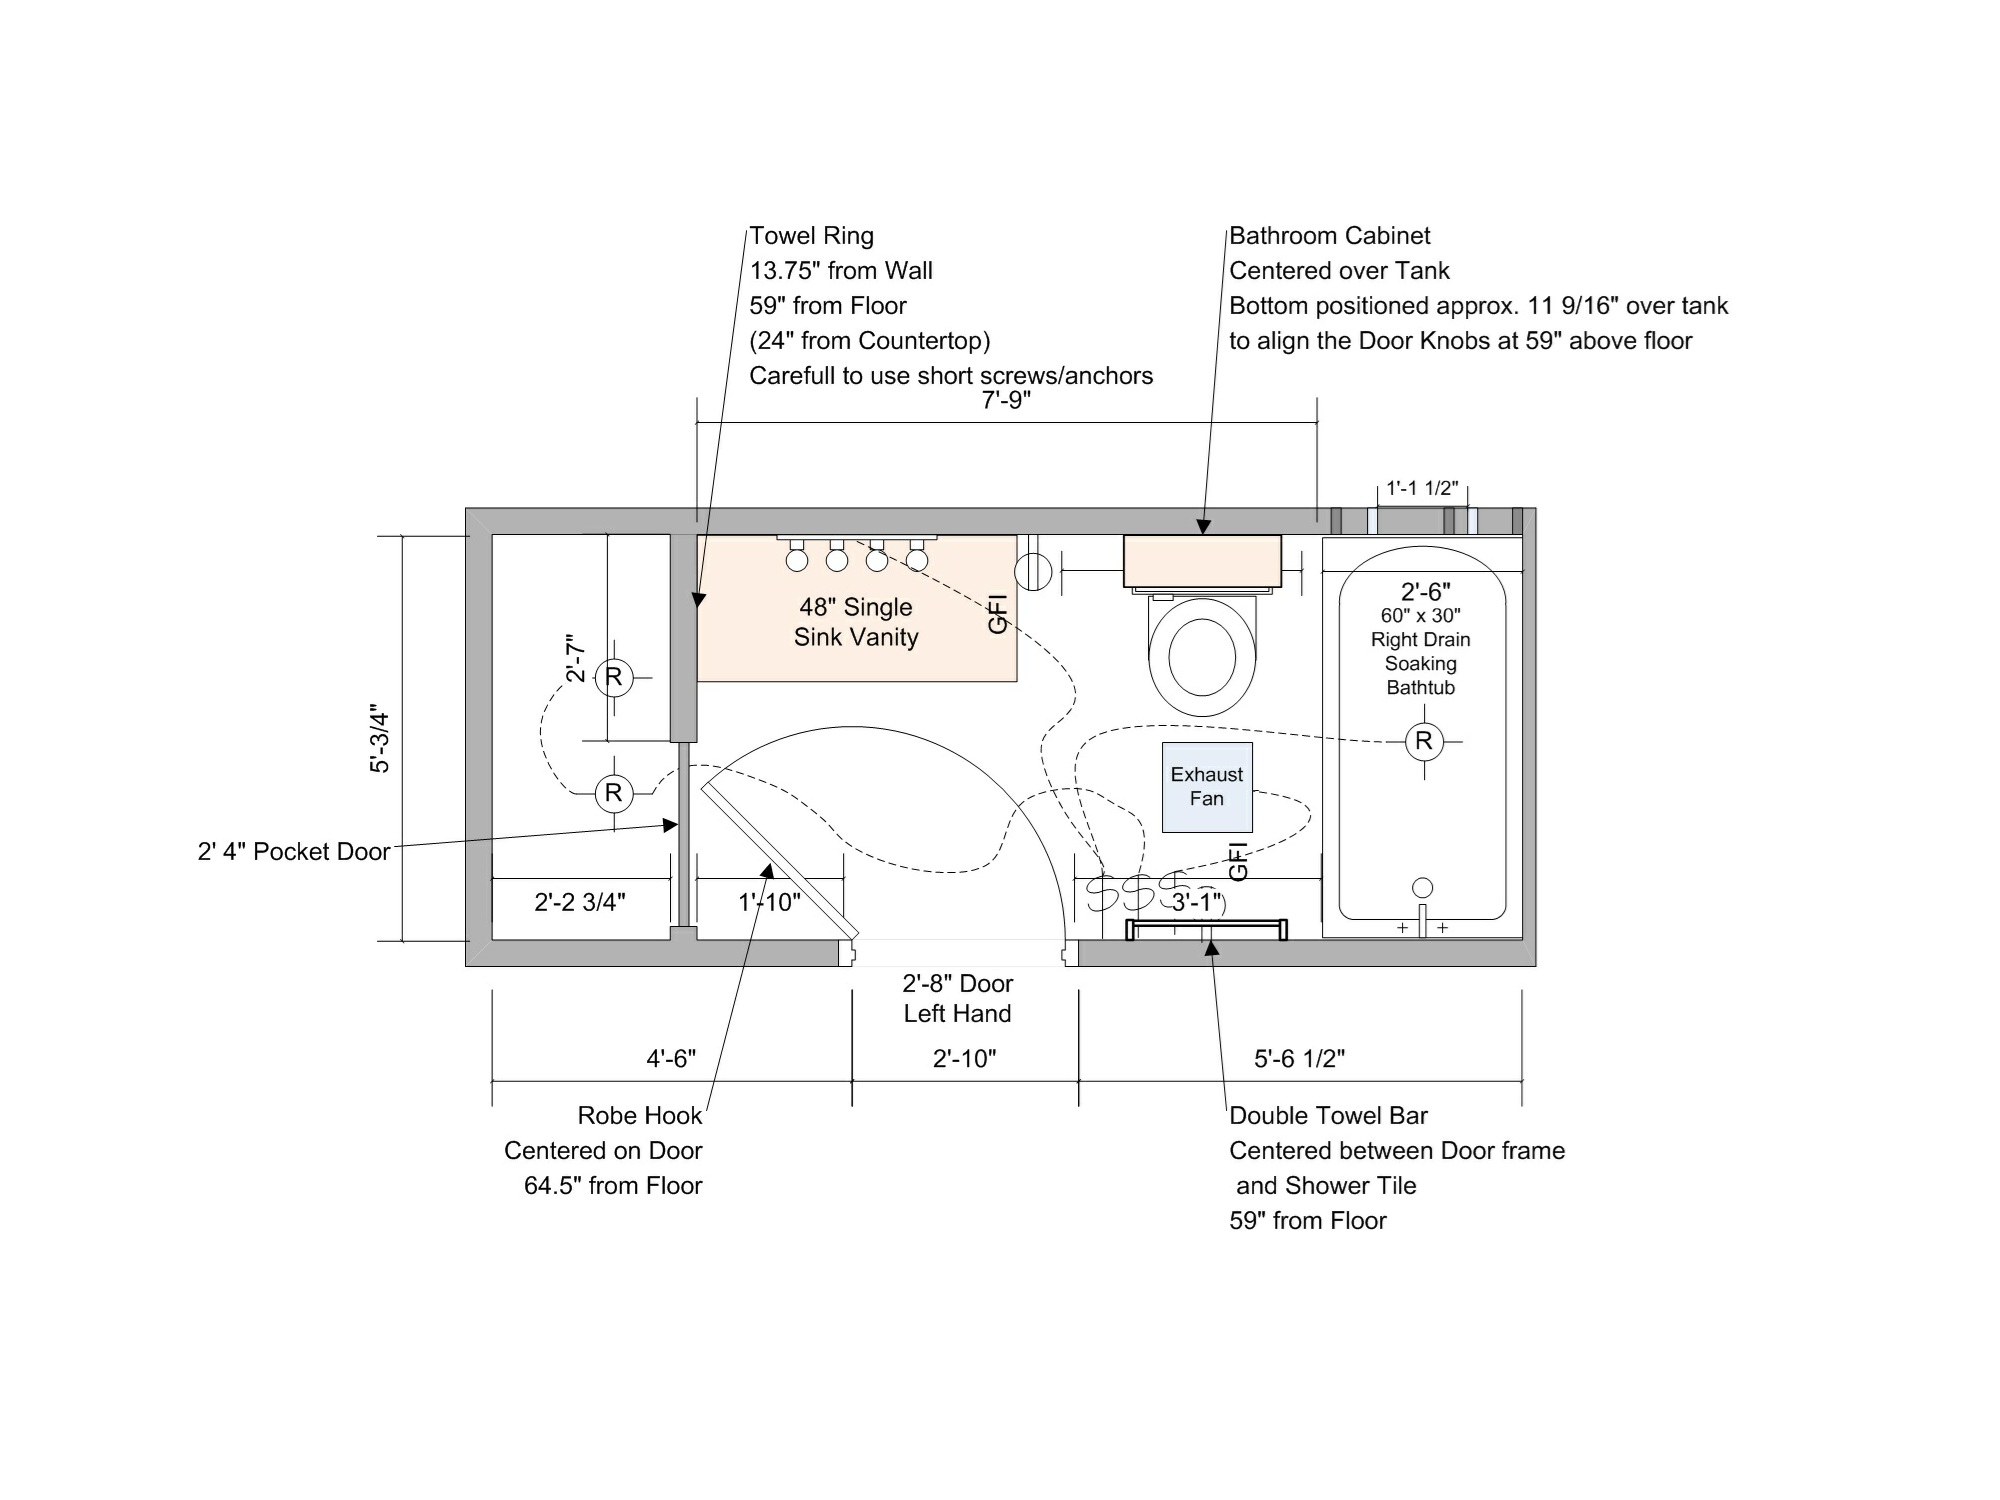
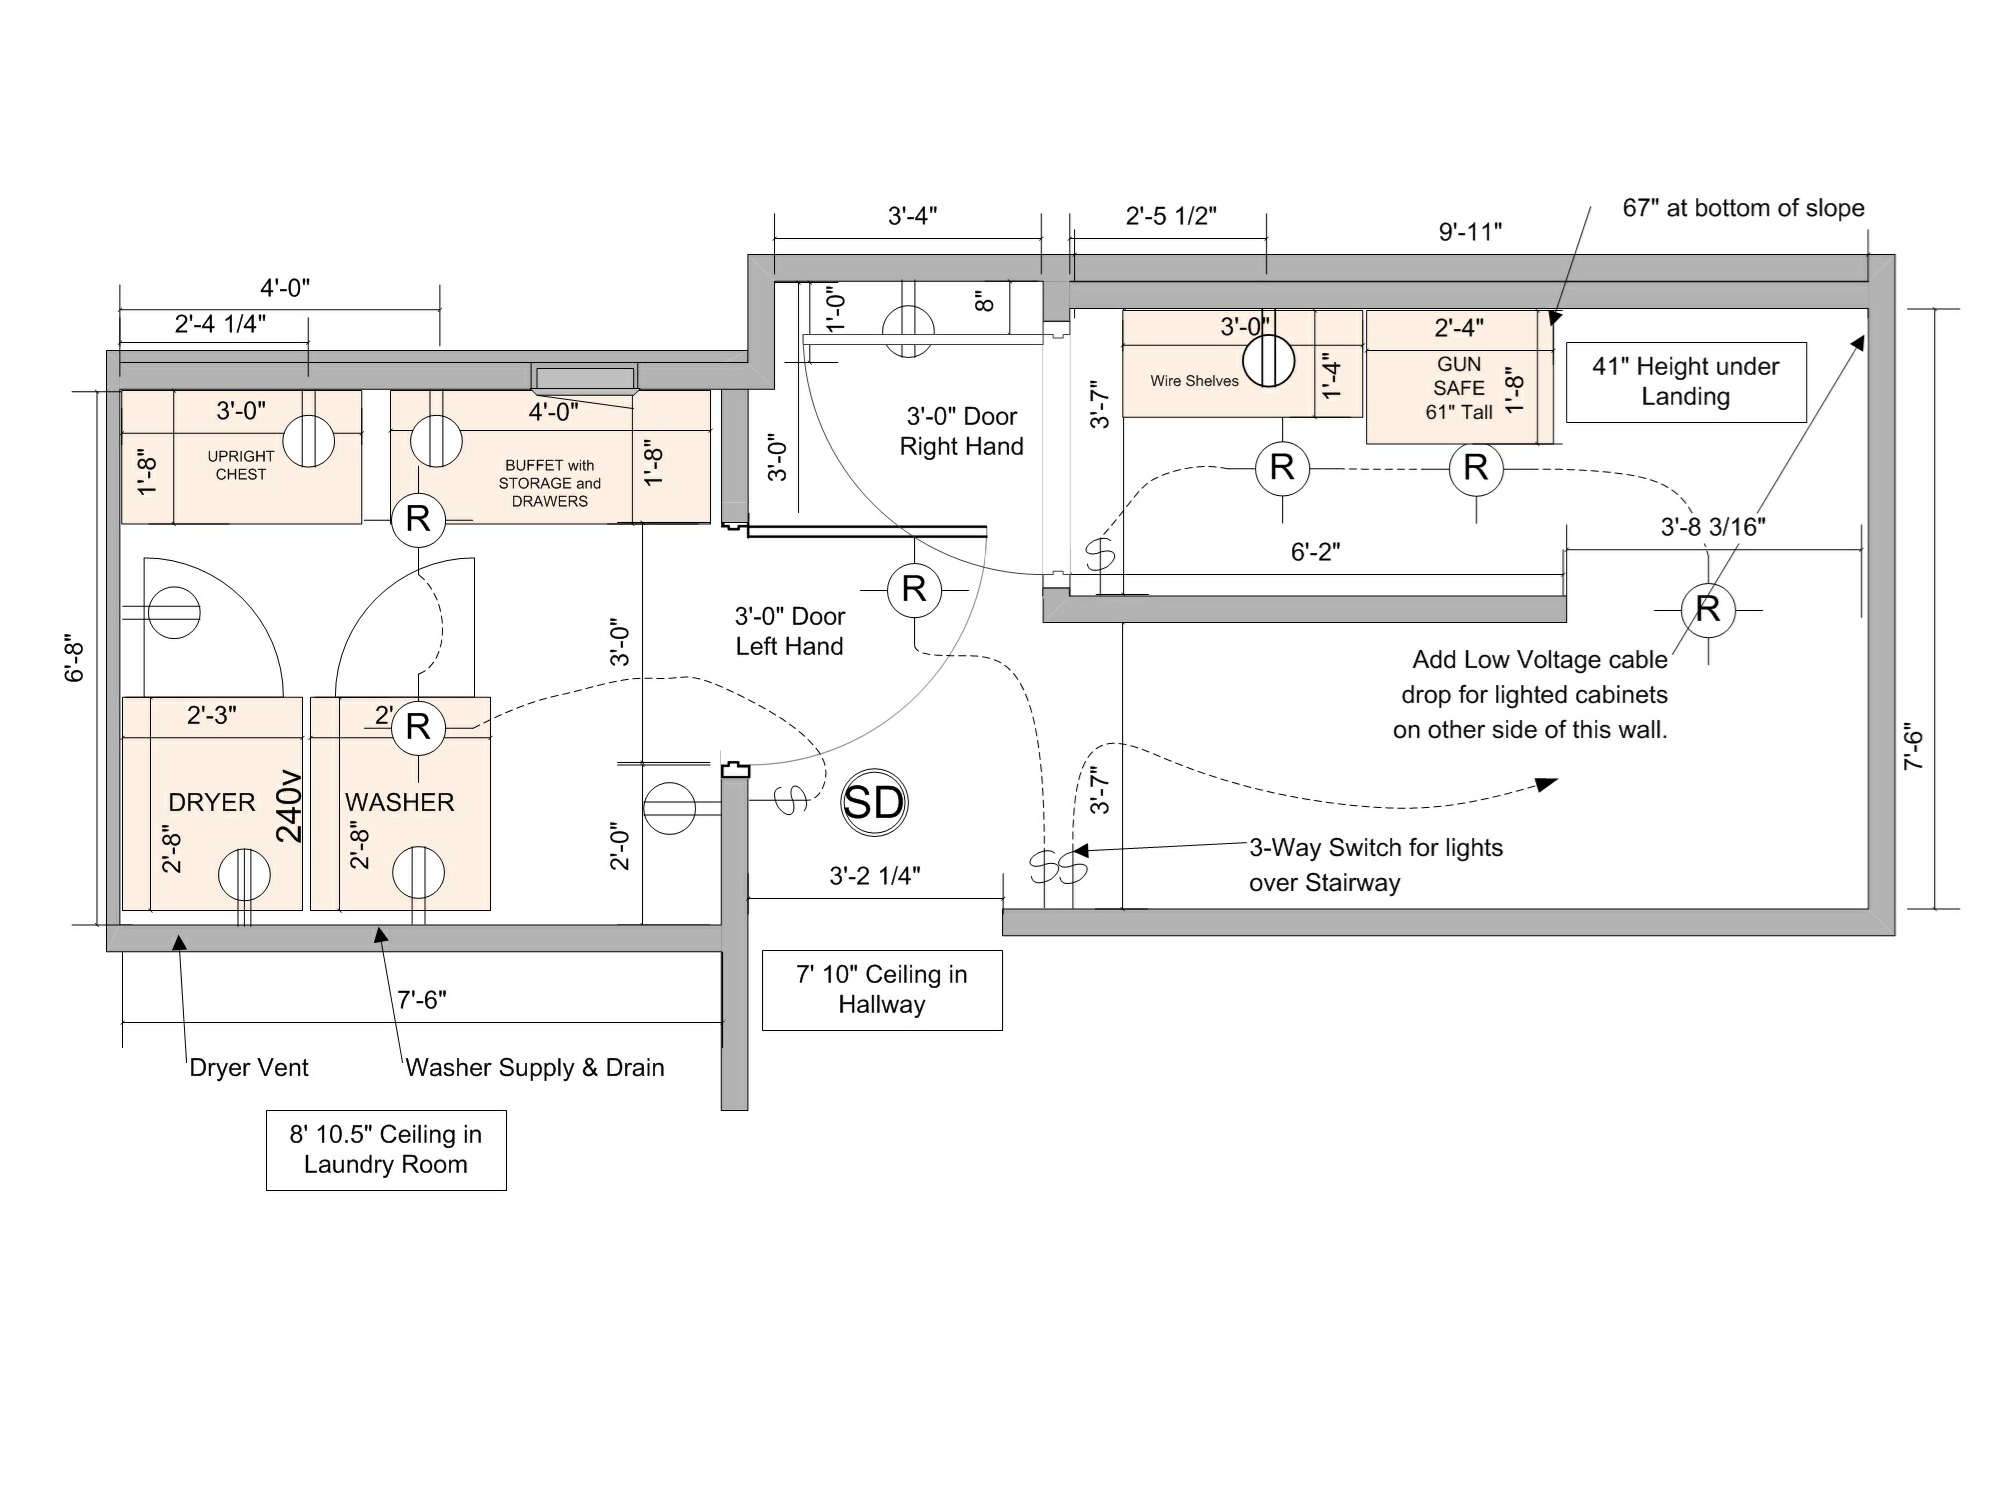
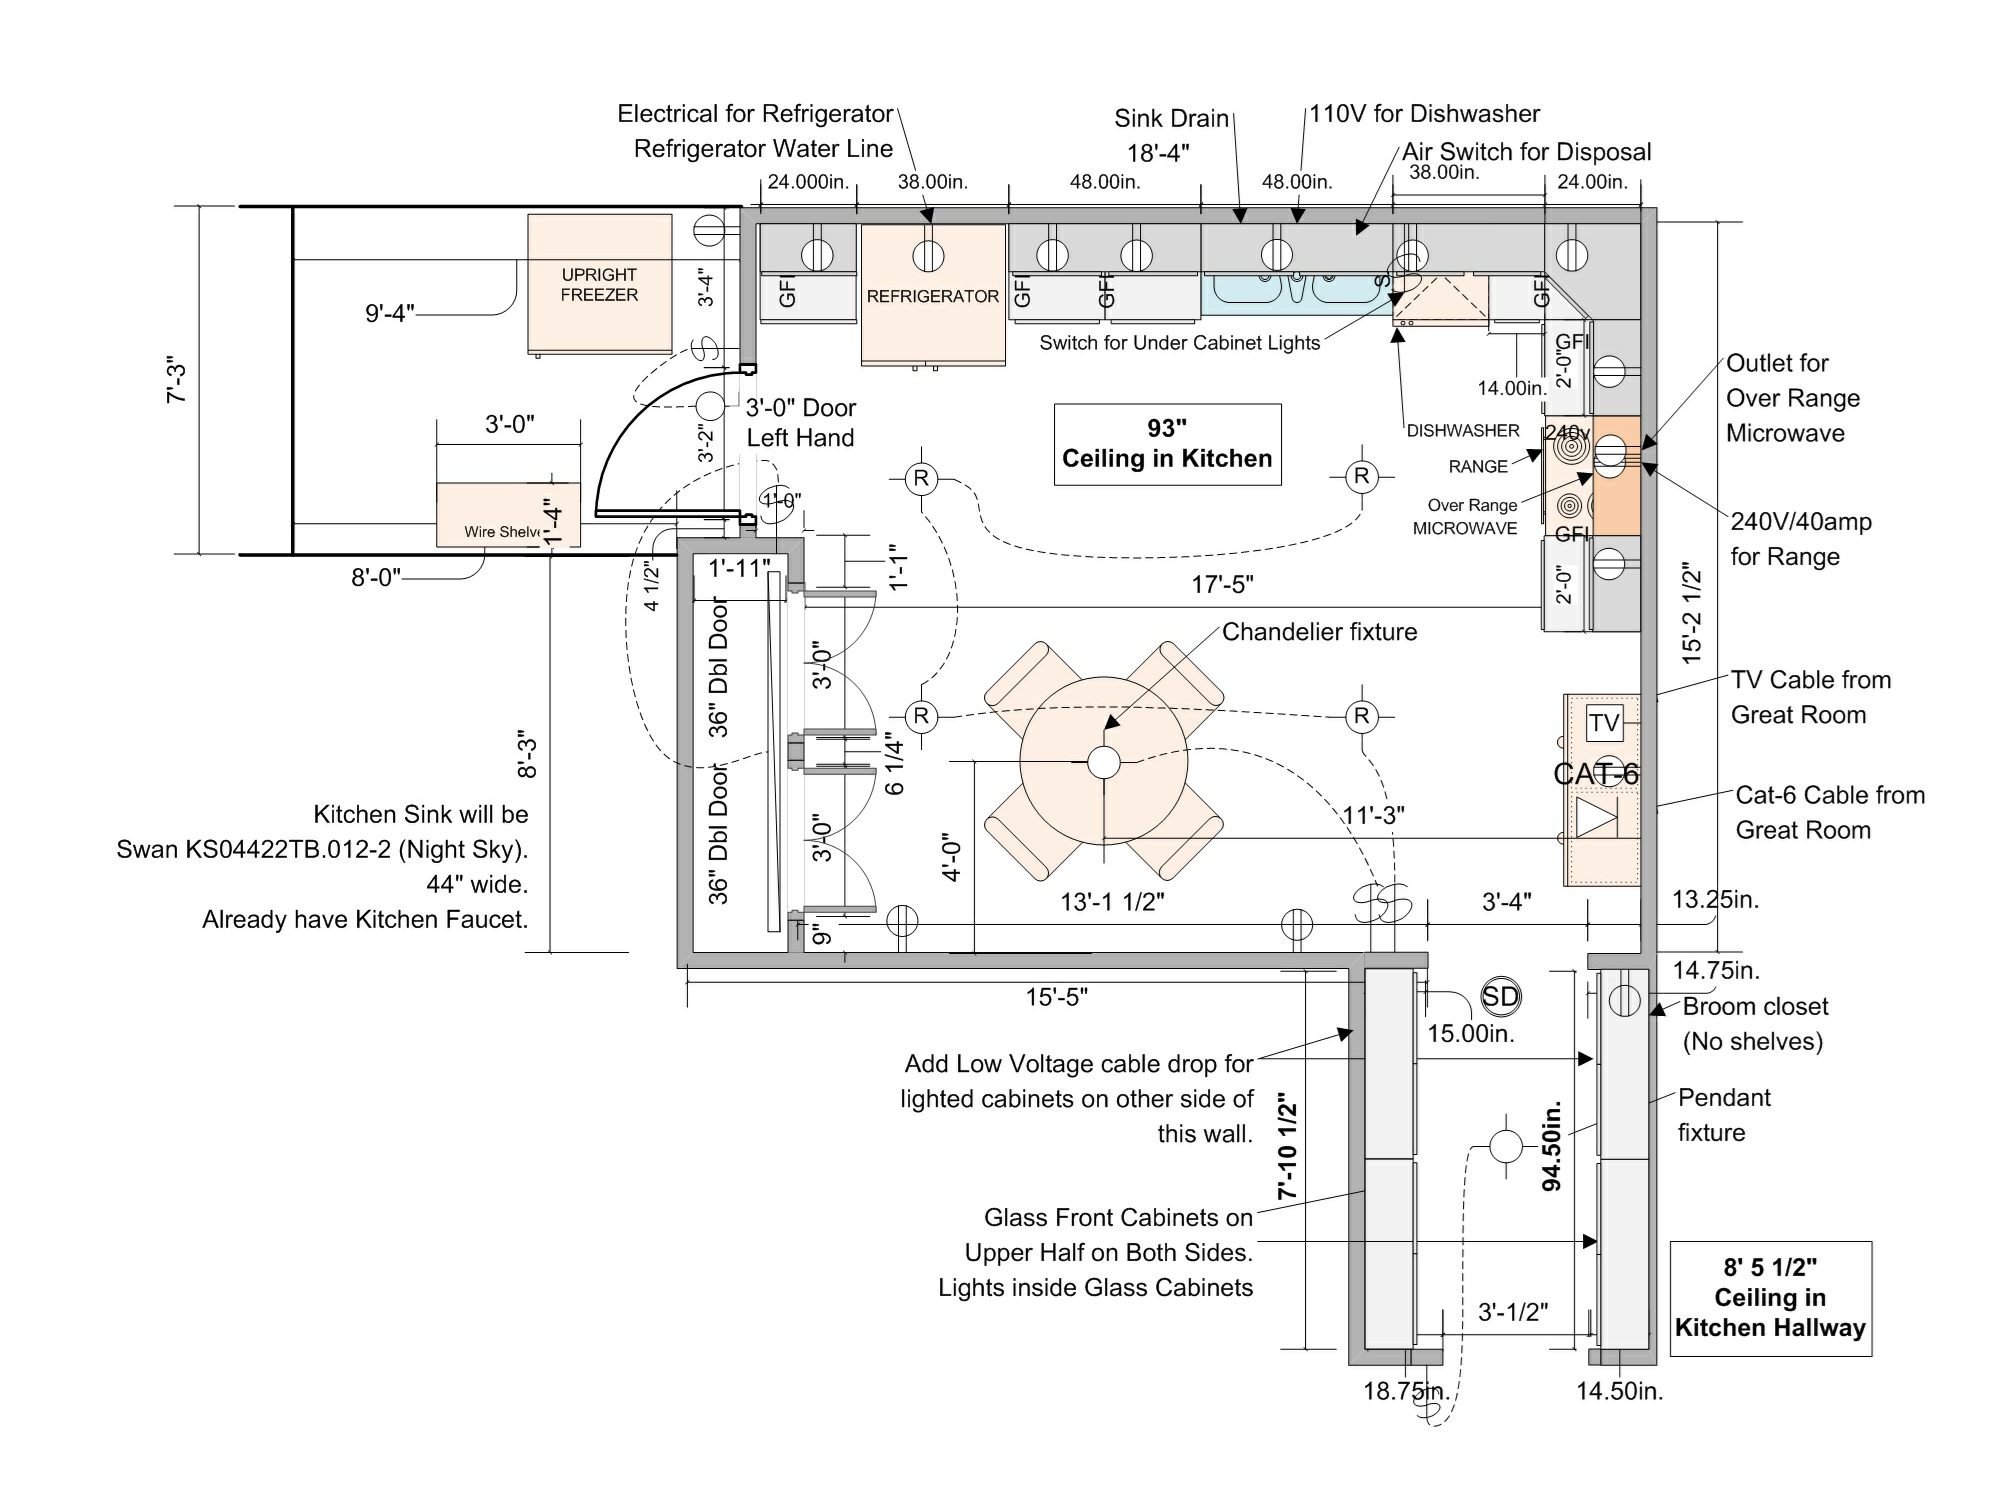
Floor Plan Designs
These are some of the Floor Plan layouts I designed for the construction of our new residence.
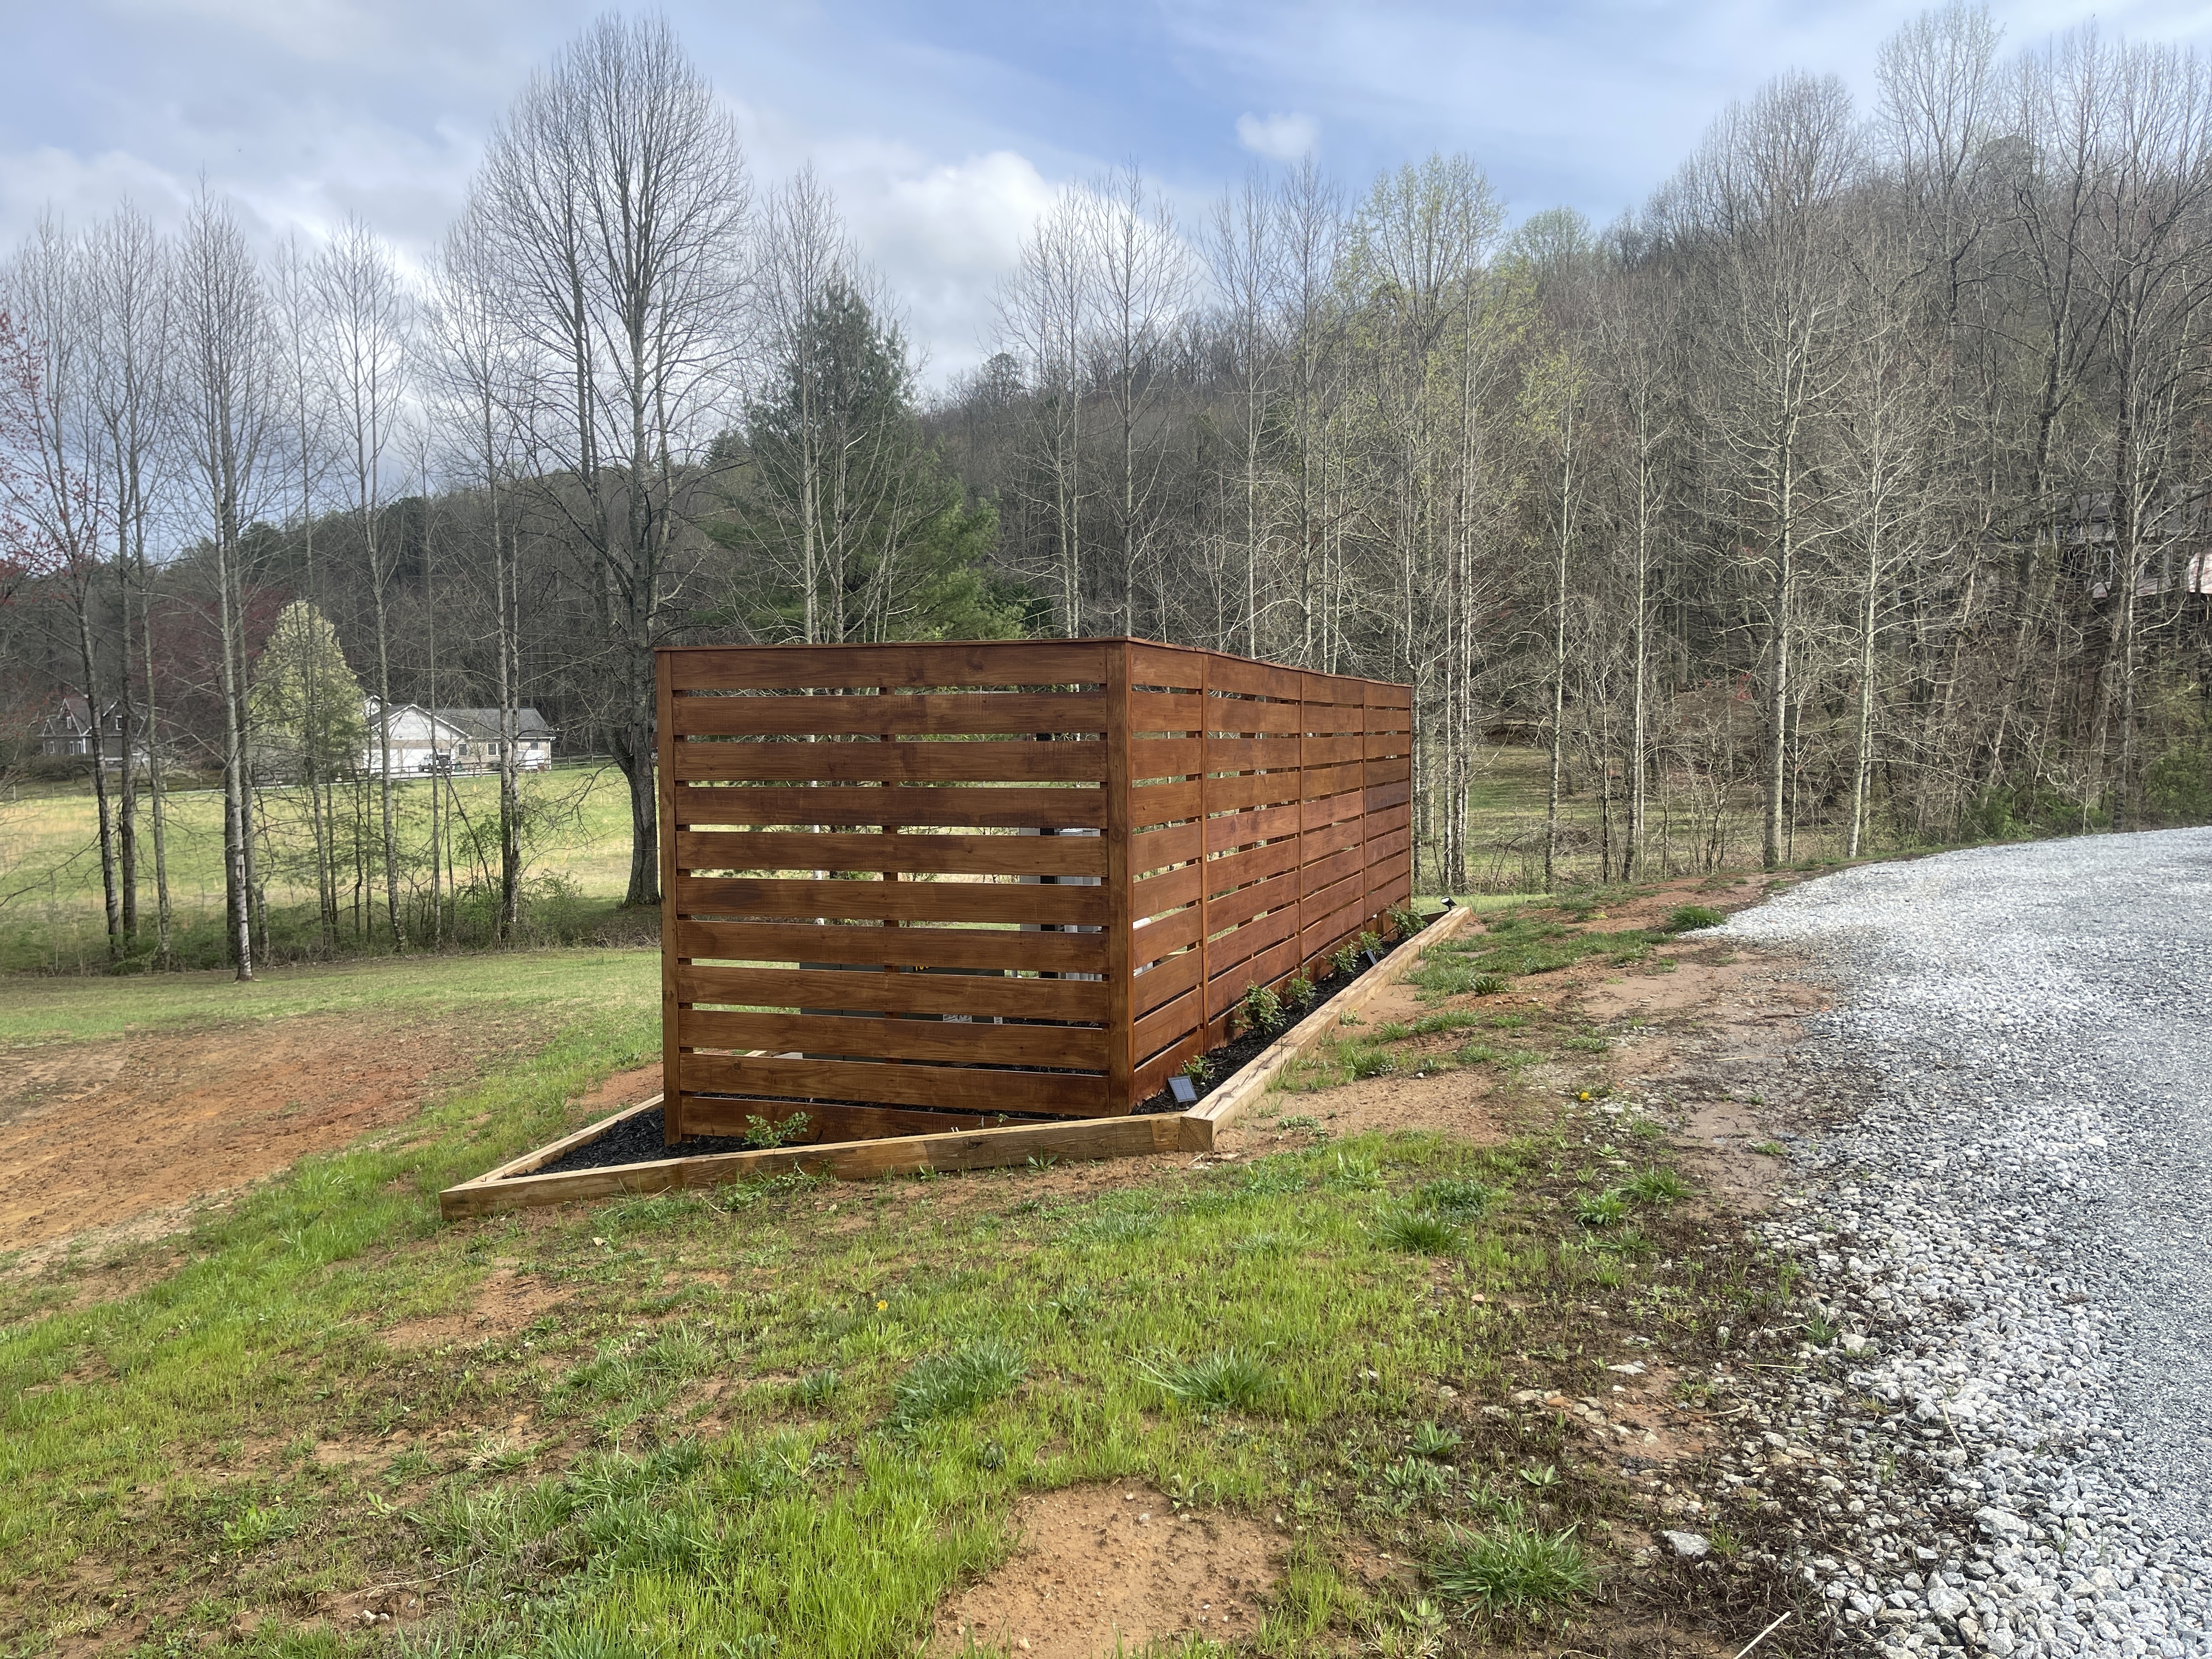
Utility Blind
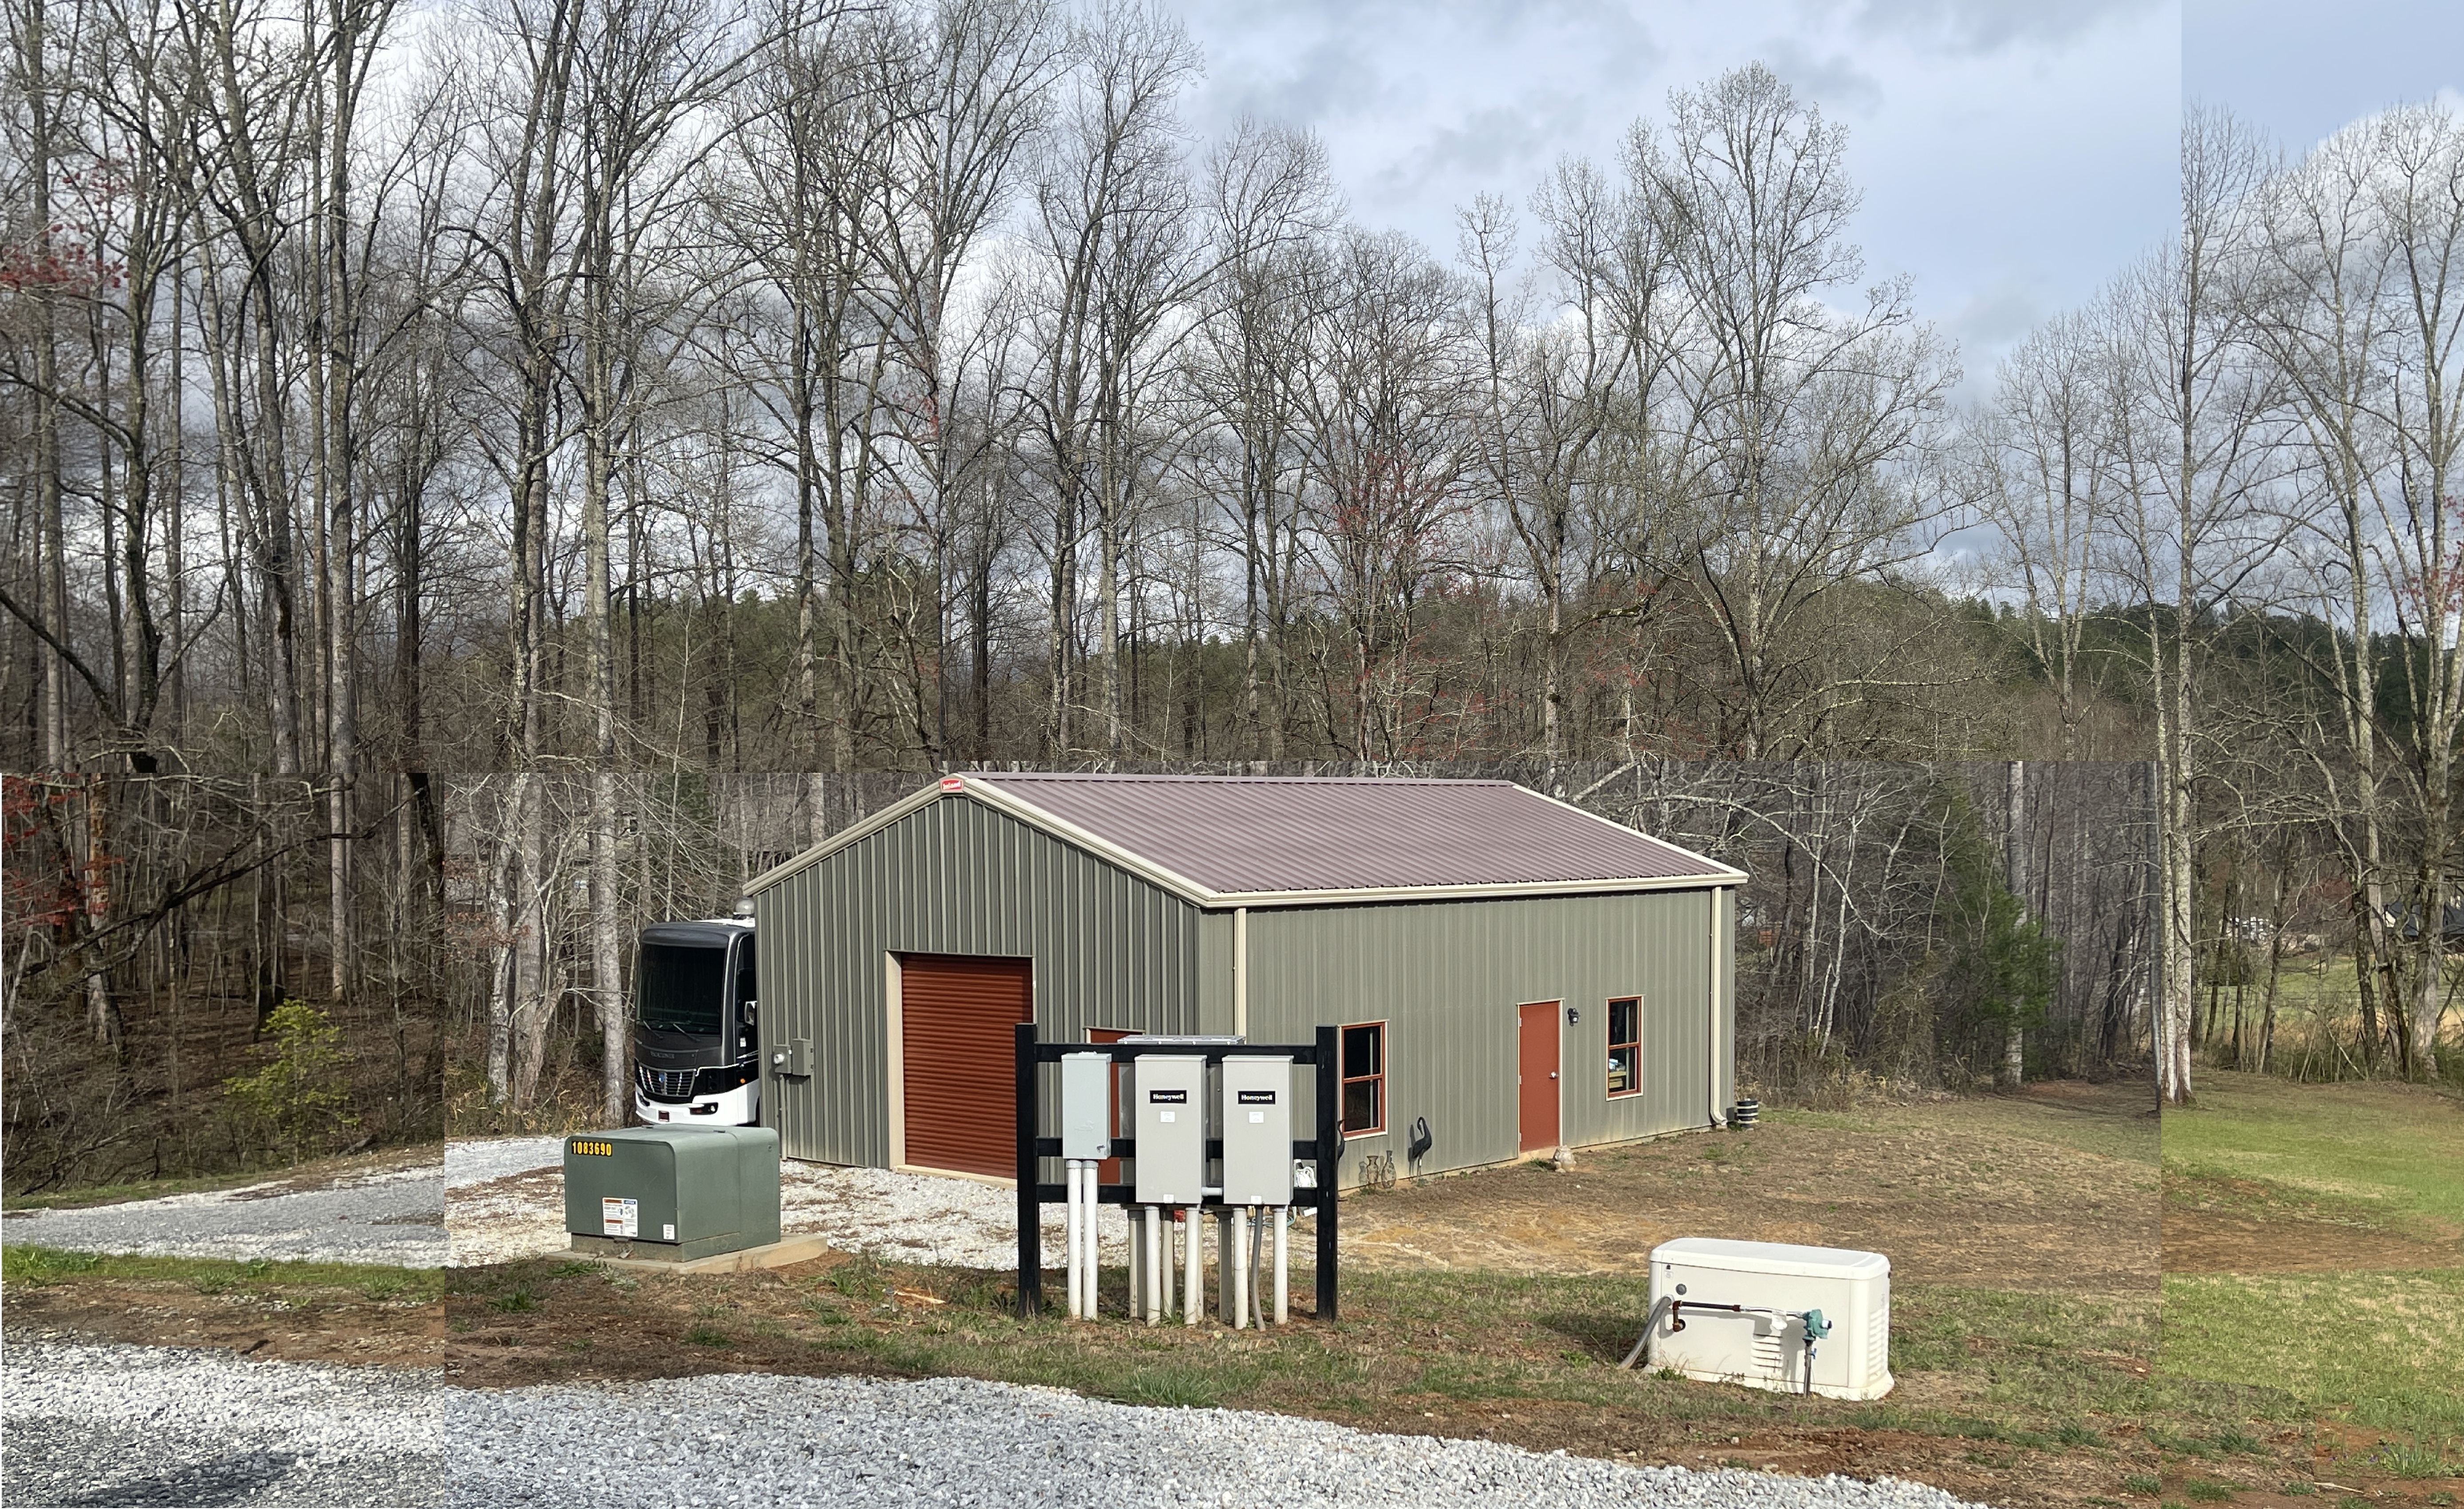
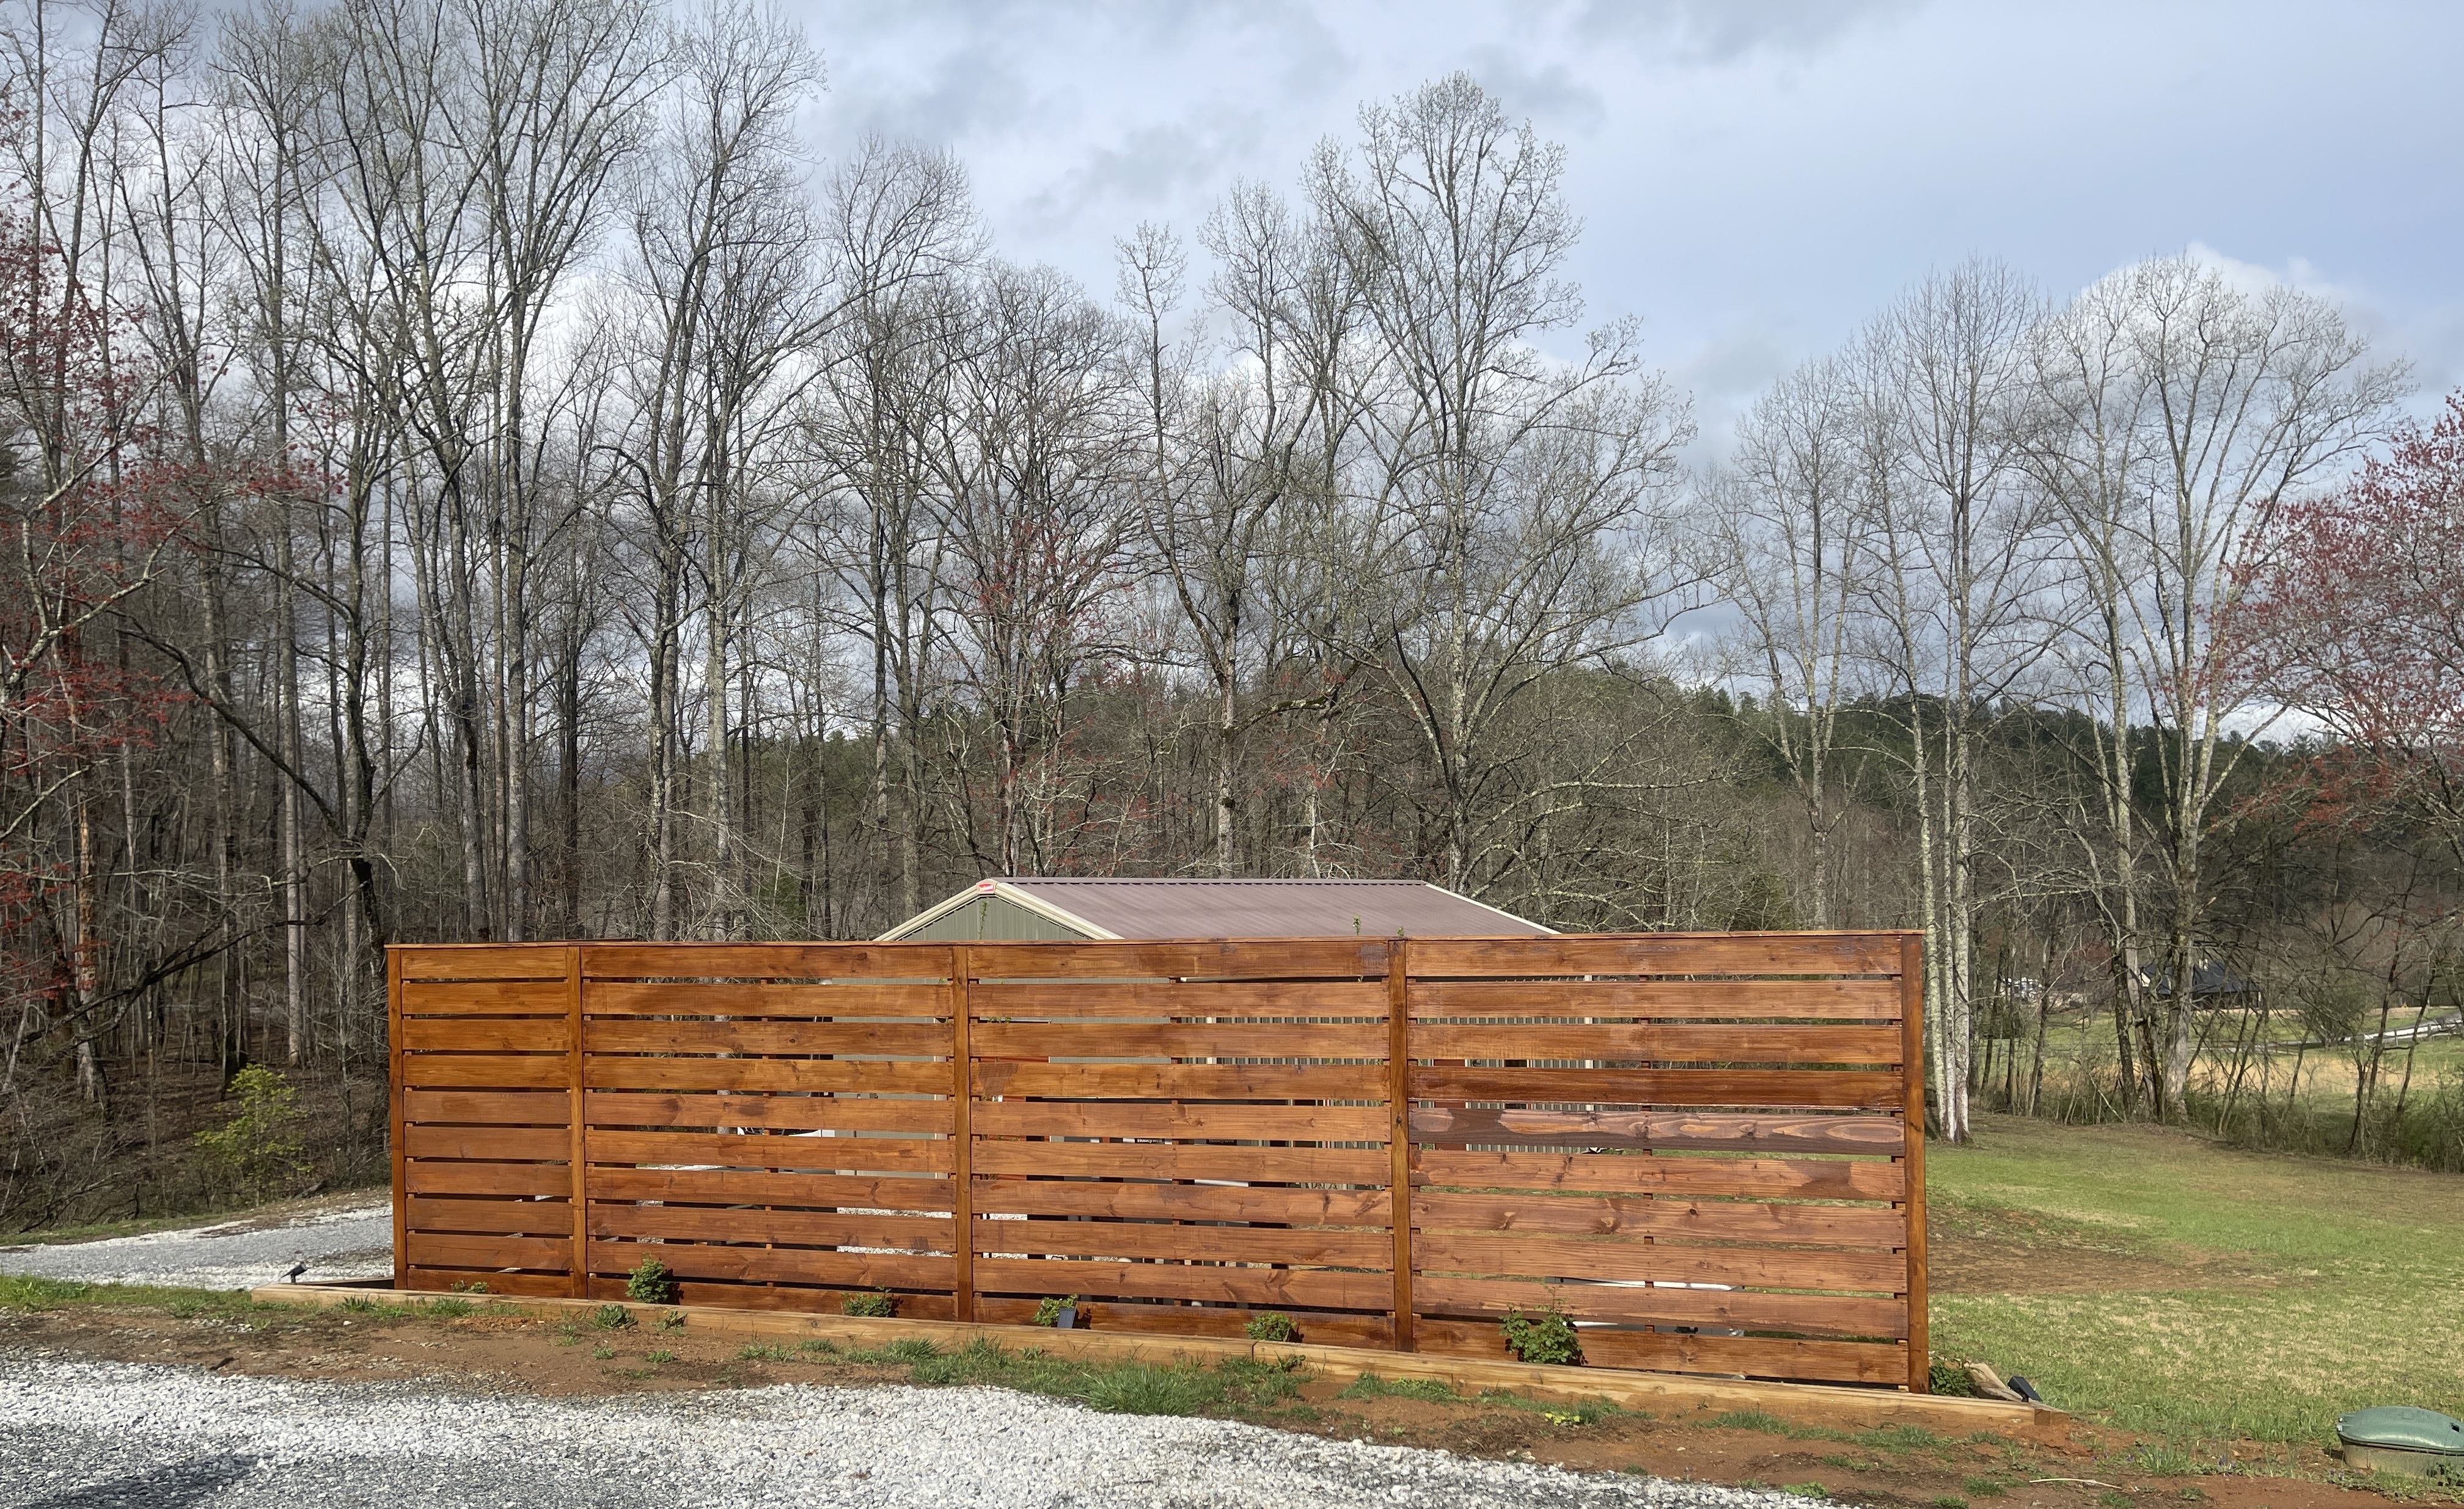
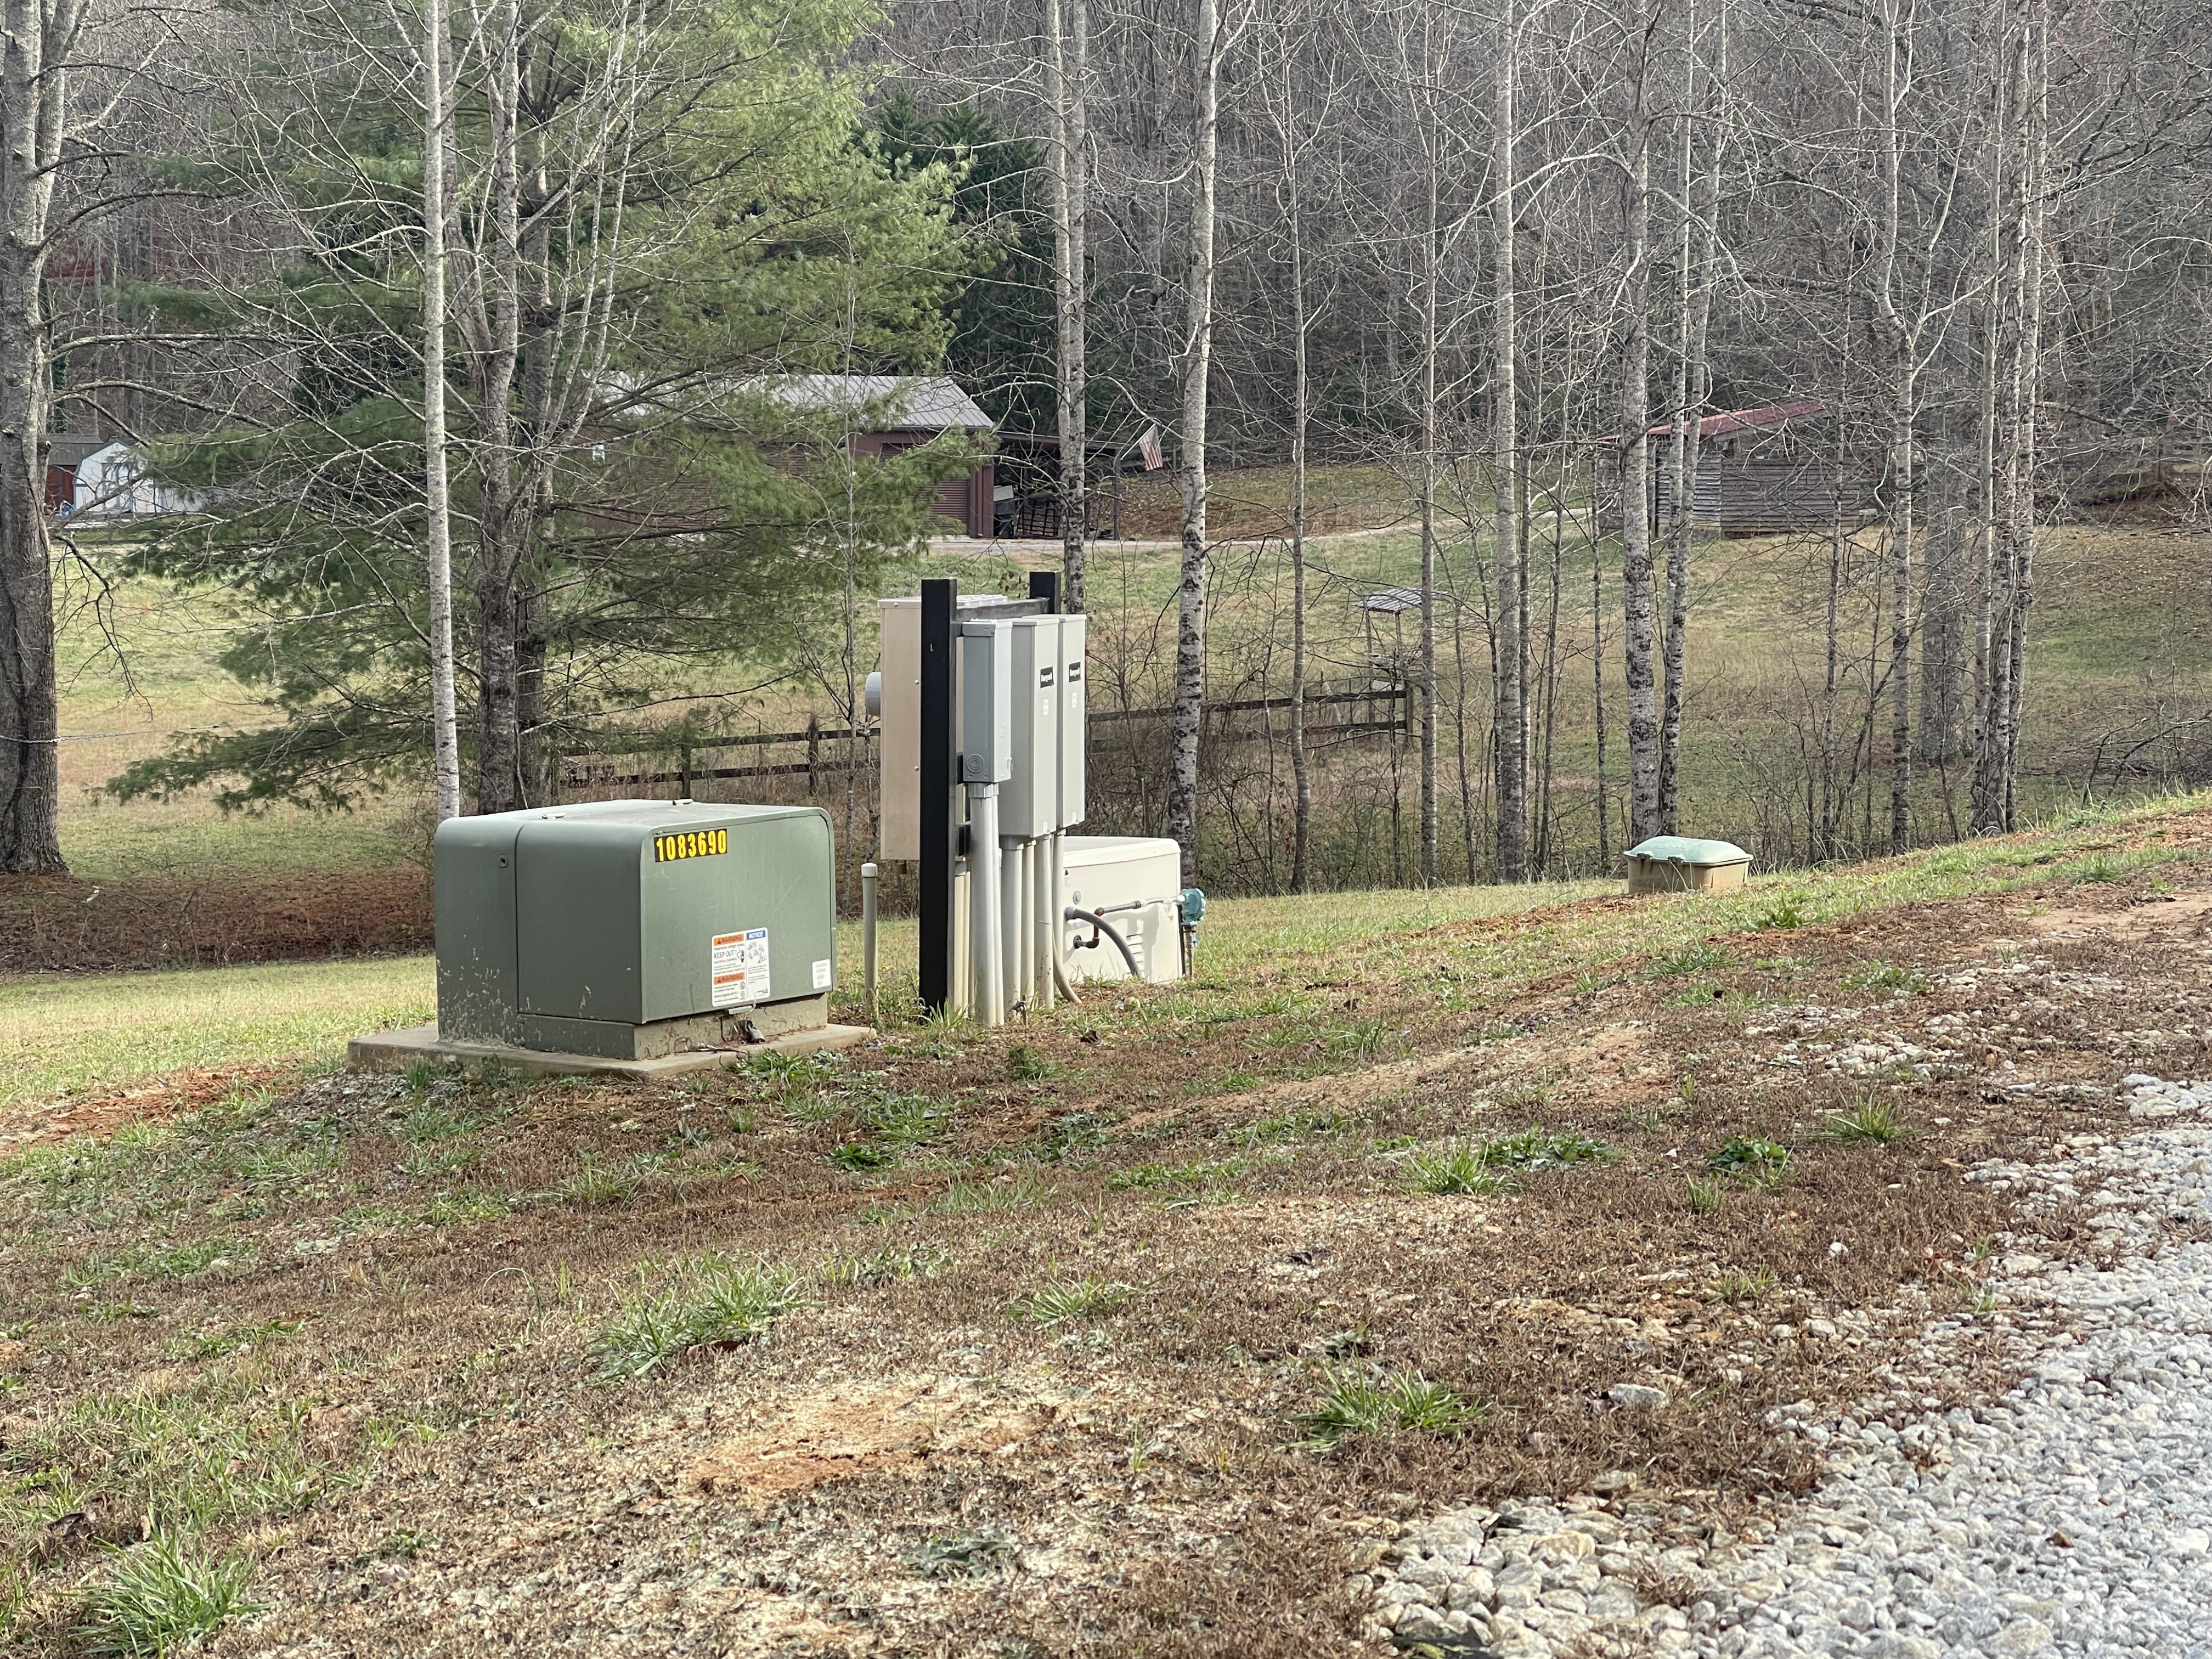
I was asked to construct a Blind to camouflage the utilities. There was a transformer, power disconnects and a whole house generator that they wanted to conceal.
After constructing the blind, I installed 6x6's around the blind, filled the area with black mulch, and planted 10 climbing rose bushes. I also added solar lighting as well.
There are 2 Plum trees that I planted on the back side of the blind inside the mulched area. I'll have to keep that area sprayed with deer deterrant once the plum trees start producing.
Garden Fence
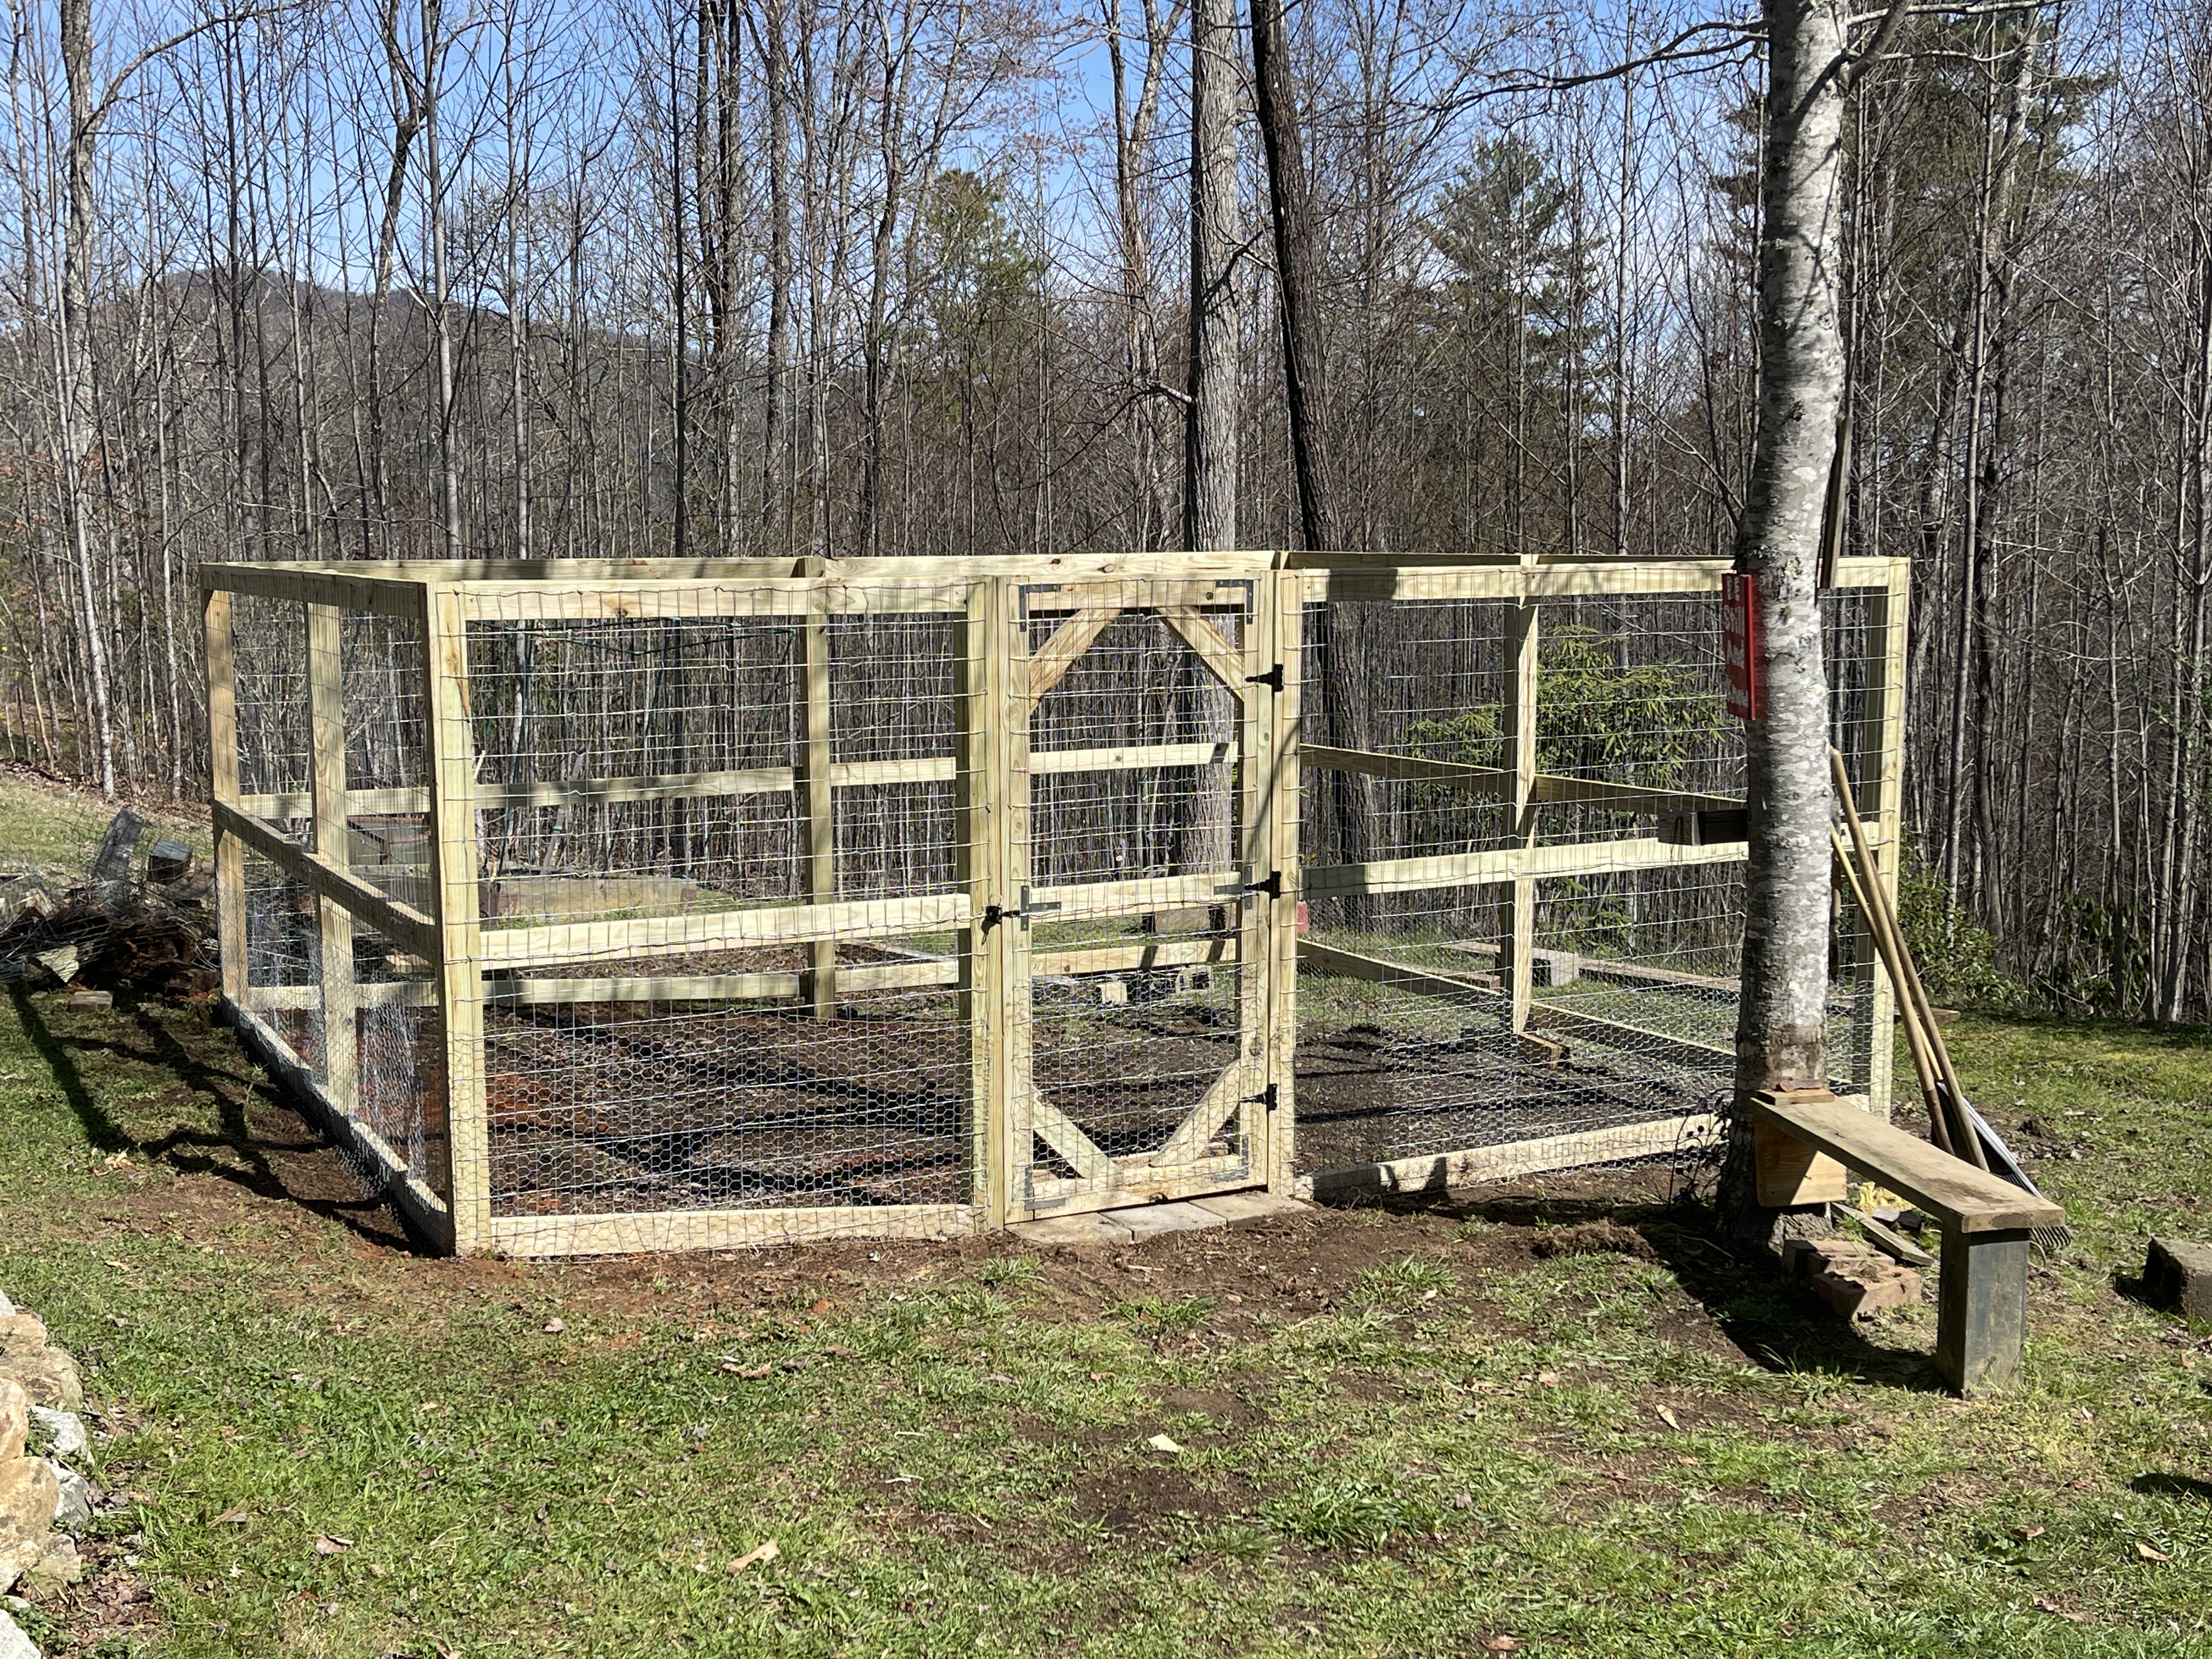
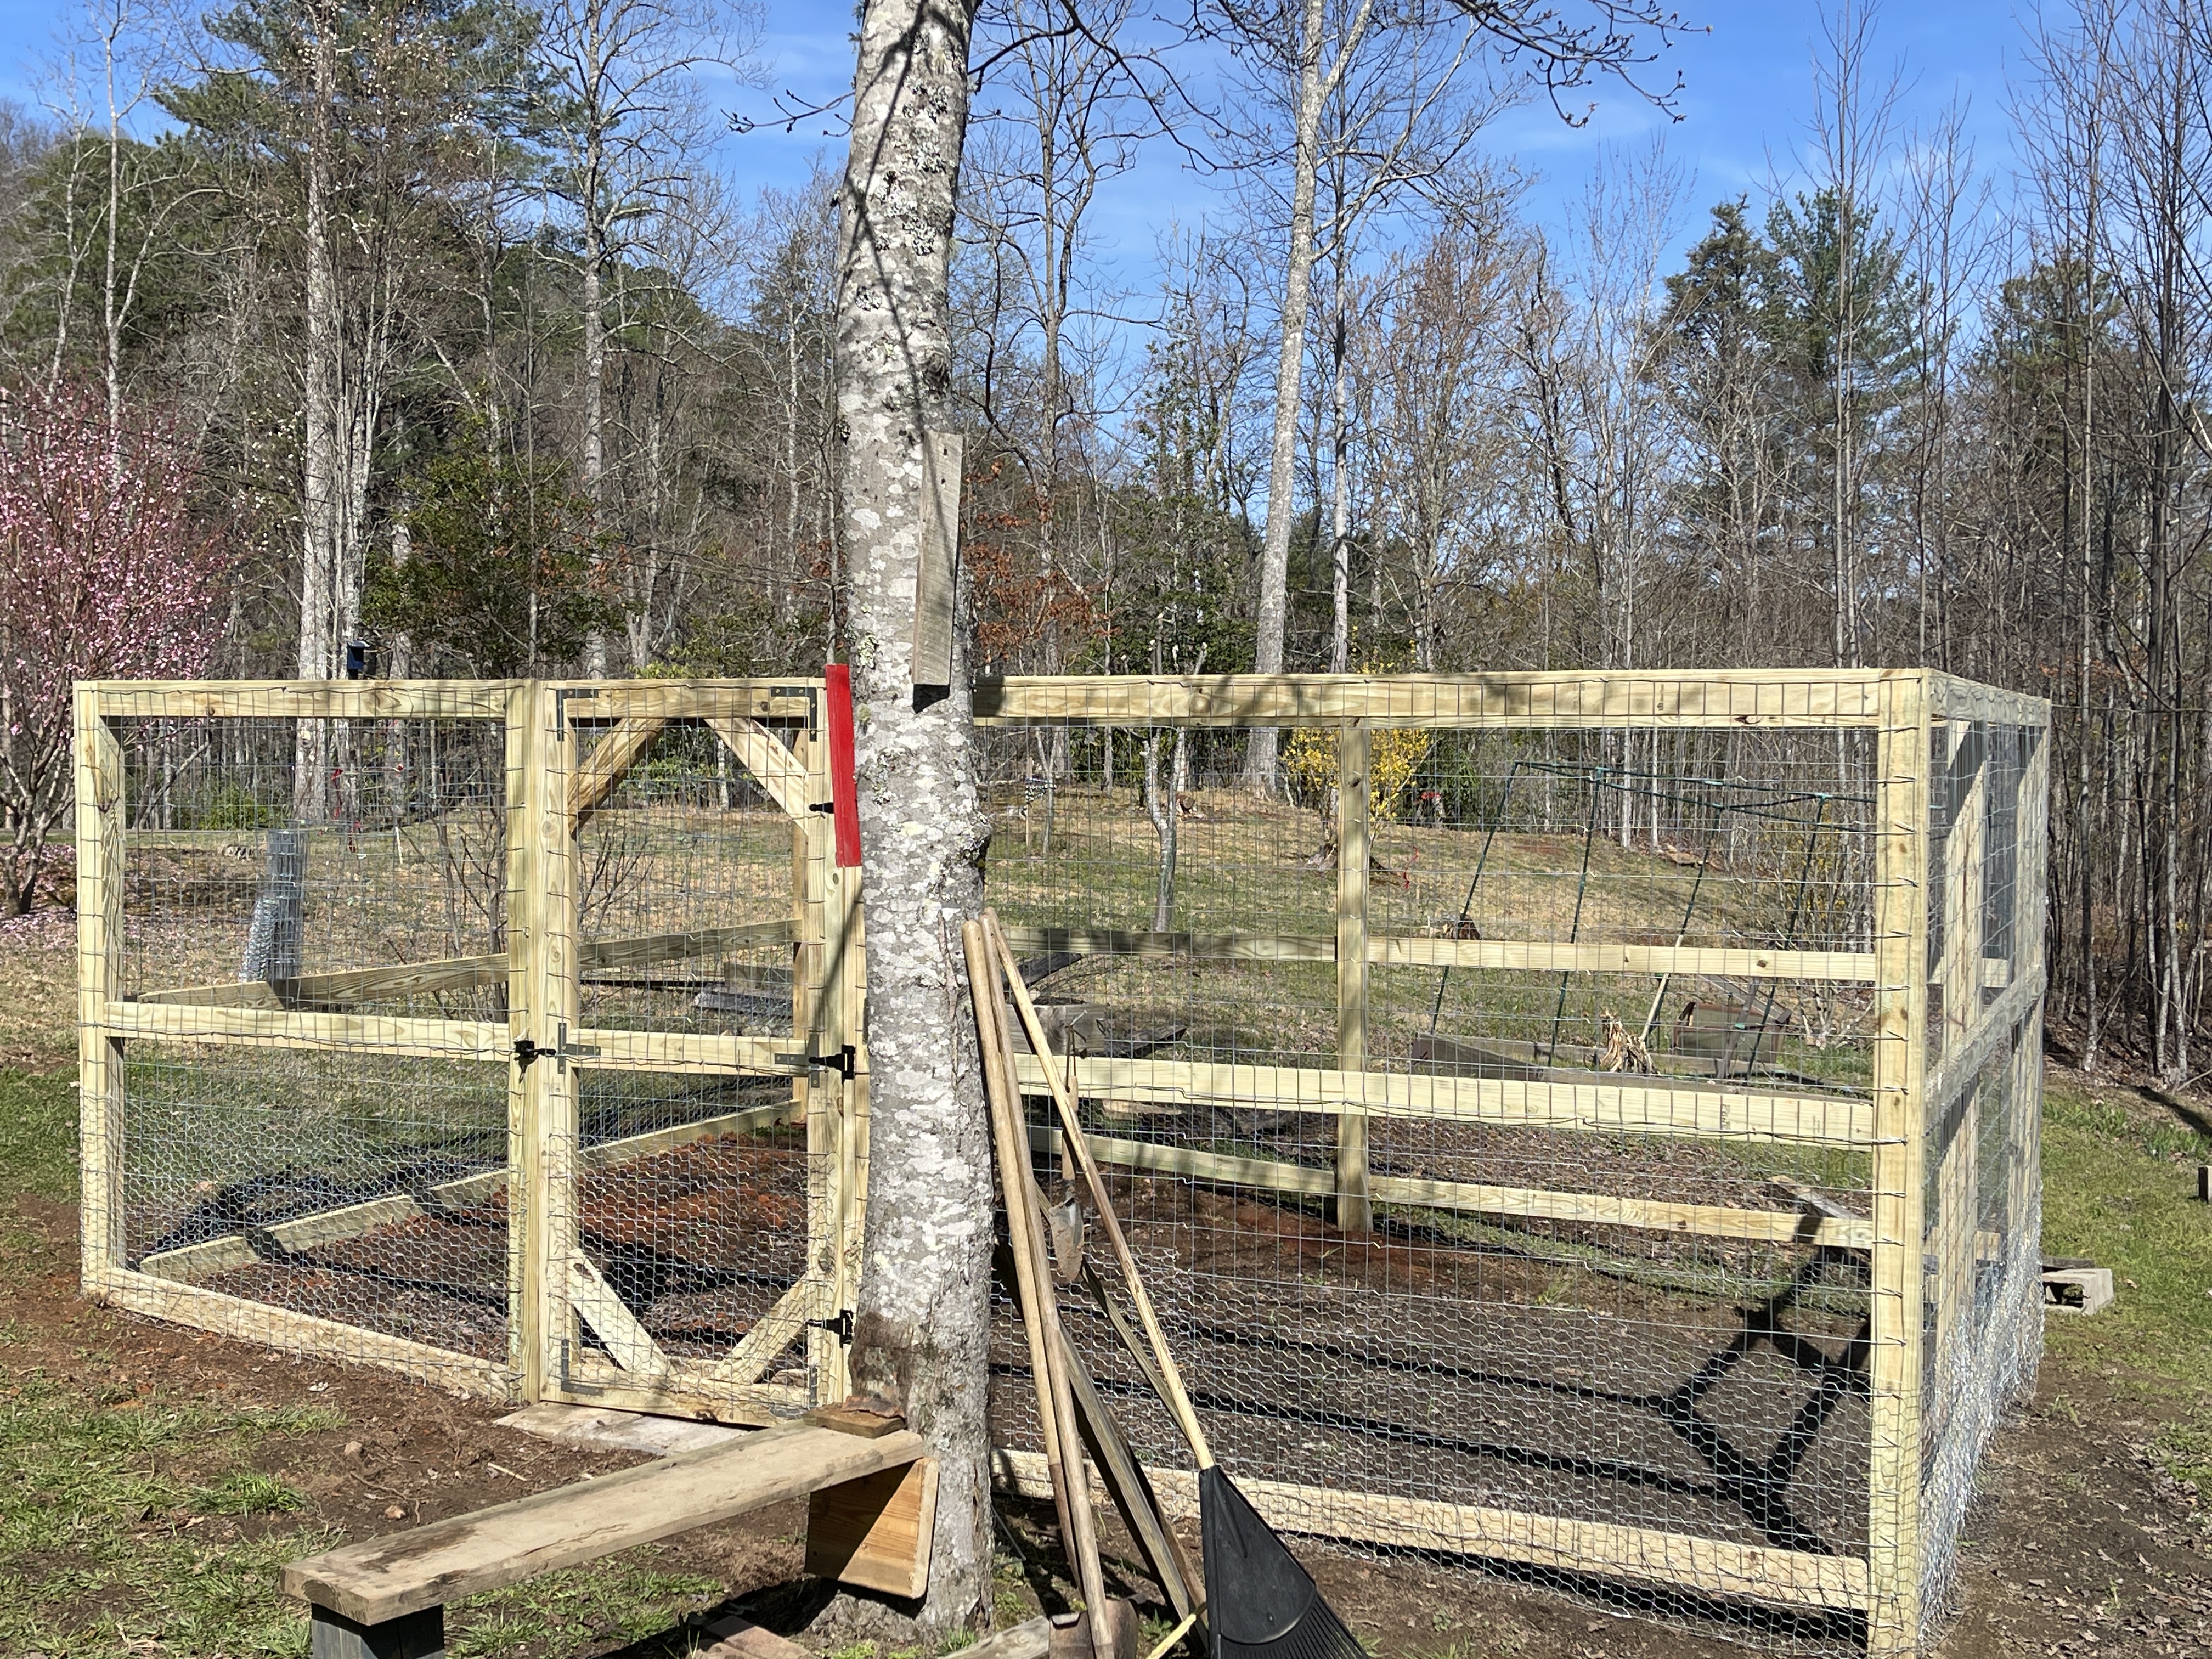
On this project, a gentleman had an existing fence that was about 3' high around a garden area. However, the fence wasn't high enough to keep the deer out from eating his crops.
He asked if I could remove the old fence and build one about 6' high that might keep the deer out. He also had a problem with small rabbits getting in that area as well that he wanted me to try to prevent.
I told him I would contruct the fence using pressure treated 4x4 posts and pressure treated 2x4s to tie it together.
I would use a 2x4 welded wire steel fencing material with poultry fencing material around the bottom to keep smaller animals out of the area.
I also added a gate with a latch, that has the ability to be opened from the inside to keep someone from being locked inside the fence. :-)
If he decides to, I can turn that area into a greenhouse by adding a roof and installing translusent polycarbonate panels to the roof and all the sides.